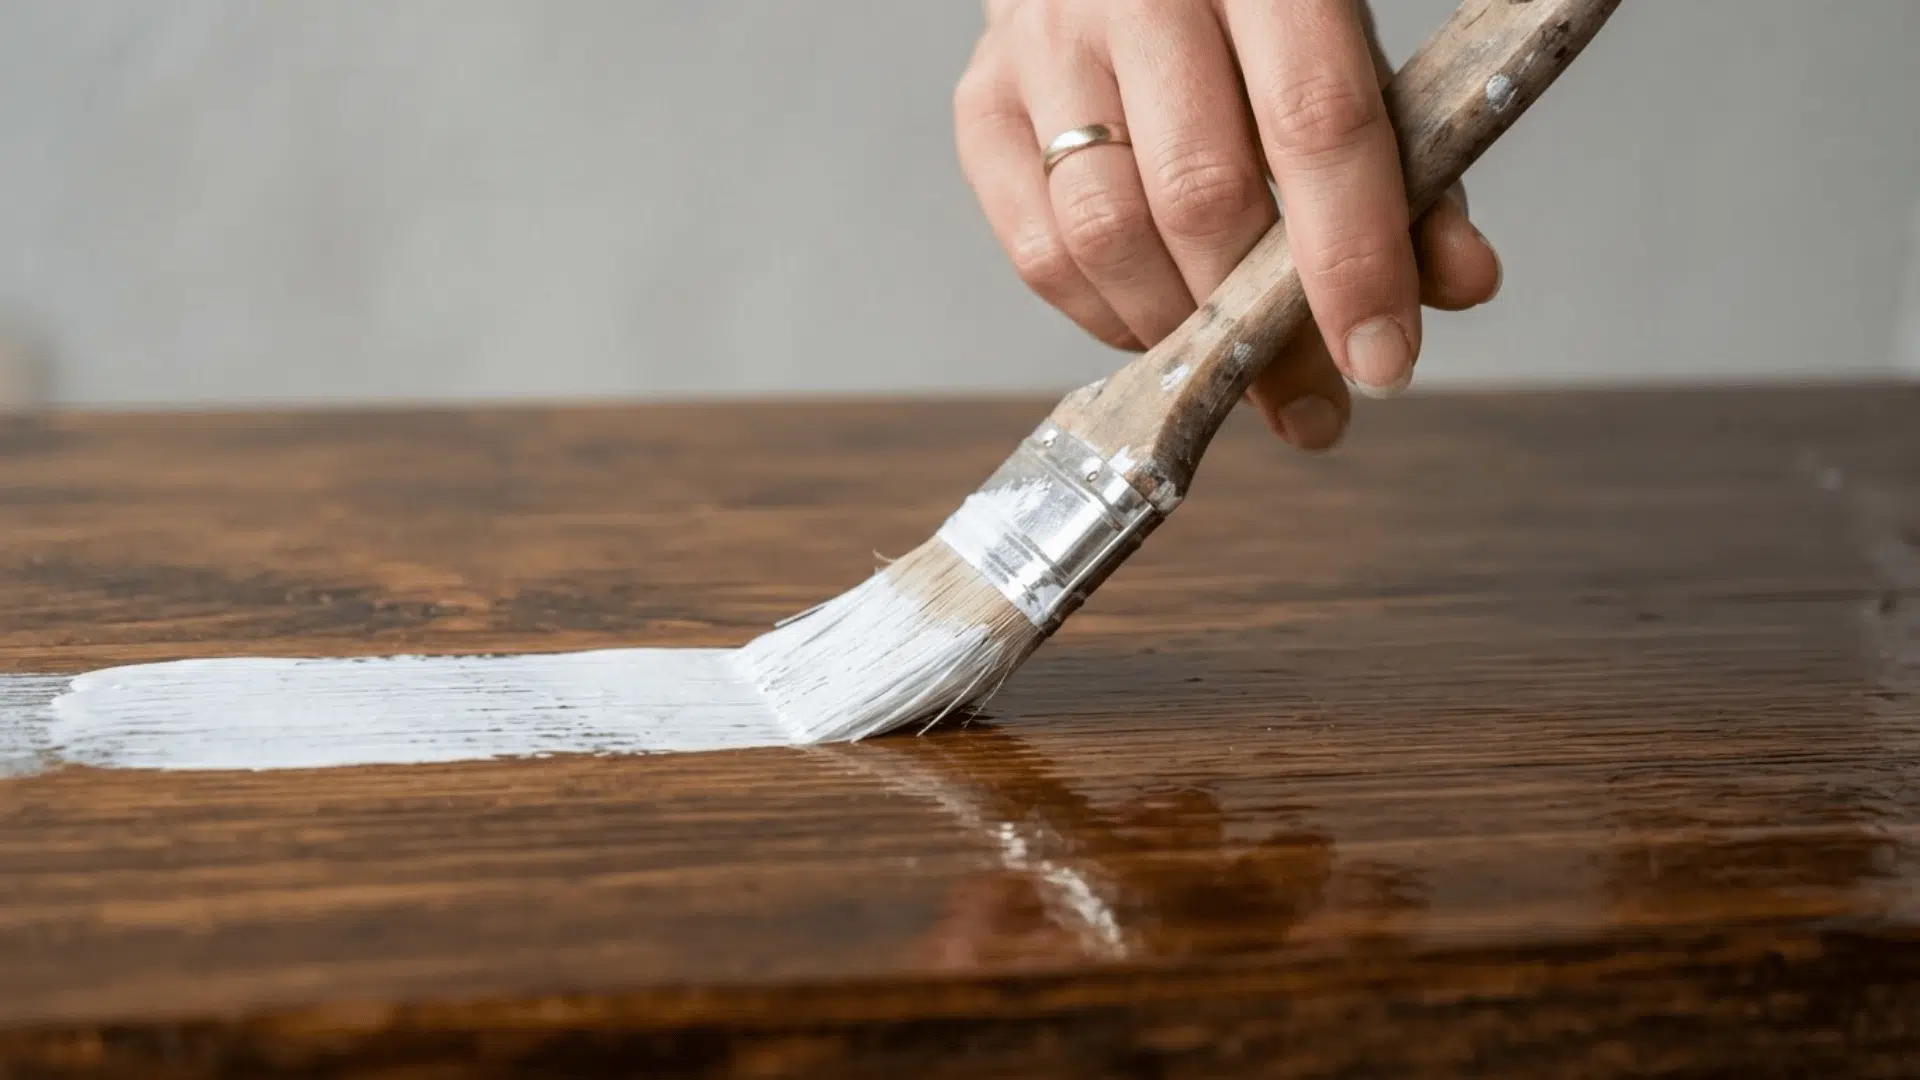
Yes, you can paint over polyurethane, but the surface needs proper preparation first. Polyurethane leaves a smooth, sealed finish that can make it difficult for paint to stick.
Without proper cleaning, sanding, and compatible products, the new paint may peel or wear quickly. However, you usually do not need to remove the entire coating.
Using the right primer and paint can help create a smooth, long-lasting finish.
Read on to learn the correct steps before starting your project.
What is Polyurethane?
Polyurethane is a clear protective coating applied over wood, paint, or stain. It creates a hard film that helps protect the surface from moisture, scratches, spills, and everyday wear.
Water-based polyurethane usually dries clear and has less odor. Oil-based polyurethane often adds a warm or amber tone and may take longer to dry.
Both types are commonly used on cabinets, furniture, doors, trim, and wood floors.
Because cured polyurethane has a smooth and often glossy surface, paint may not grip it properly without preparation. Cleaning, light sanding, and bonding primer help create a suitable base for the new paint.
When is it Safe to Paint Over Polyurethane?
It is safe to paint over polyurethane when the finish is fully cured, firmly attached, clean, dry, and free from major damage. Minor scratches can usually be sanded smooth before primer is applied.
Do not paint over polyurethane that feels sticky, soft, cloudy, cracked, or loose. Peeling areas must be removed because fresh paint cannot secure a failing layer underneath.
Wax, furniture polish, grease, and silicone residue must also be cleaned away.
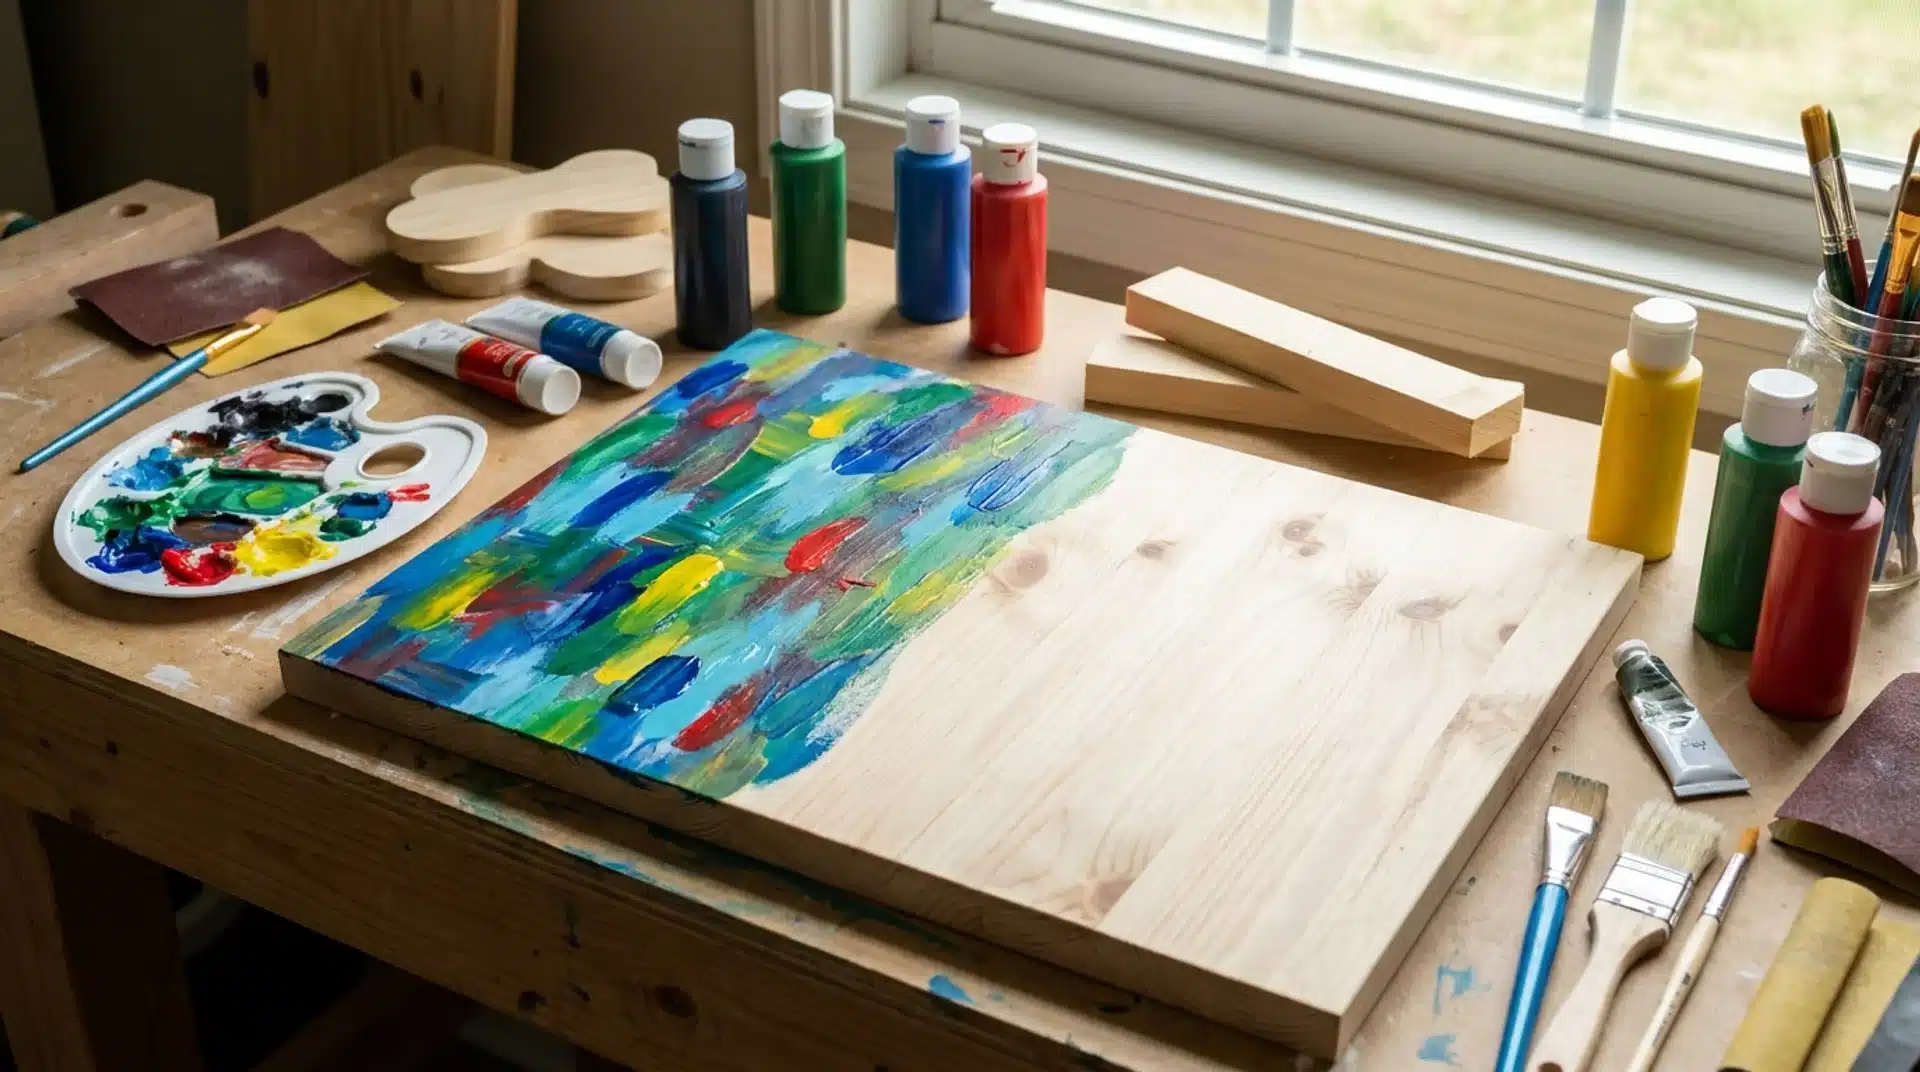
Check for moisture damage or damaged wood before starting. Apply primer and paint to a hidden test area first. Allow the sample to cure, then check whether it scratches or peels easily.
Essential Supplies for Painting Over Polyurethane
Gather all supplies before starting so the work moves smoothly and the surface stays clean between steps.
| Supply | Purpose |
|---|---|
| Mild cleaner or degreaser | Removes dirt, grease, wax, and surface residue. |
| Clean cloths or sponges | Wash and dry the surface. |
| Medium-grit sandpaper | Reduces heavy gloss and smooths damaged areas. |
| Fine-grit sandpaper | Scuffs the finish and smooths the primer. |
| Sanding block or orbital sander | Helps sand larger surfaces evenly. |
| Vacuum or tack cloth | Removes sanding dust before priming and painting. |
| Wood filler | Repairs dents, cracks, and small holes. |
| Bonding primer | Helps paint stick to the sealed polyurethane finish. |
| Paintbrush, roller, or sprayer | Applies primer and paint evenly. |
| Suitable paint | Adds the final color and protective finish. |
| Drop cloth and painter’s tape | Protect nearby areas from drips and splashes. |
| Gloves, mask, and safety glasses | Protect the skin, lungs, and eyes during preparation. |
Steps for Painting Over Polyurethane
Follow these clear steps to properly prepare, prime, paint, and cure a polyurethane-coated surface.
Step 1: Clean the Surface
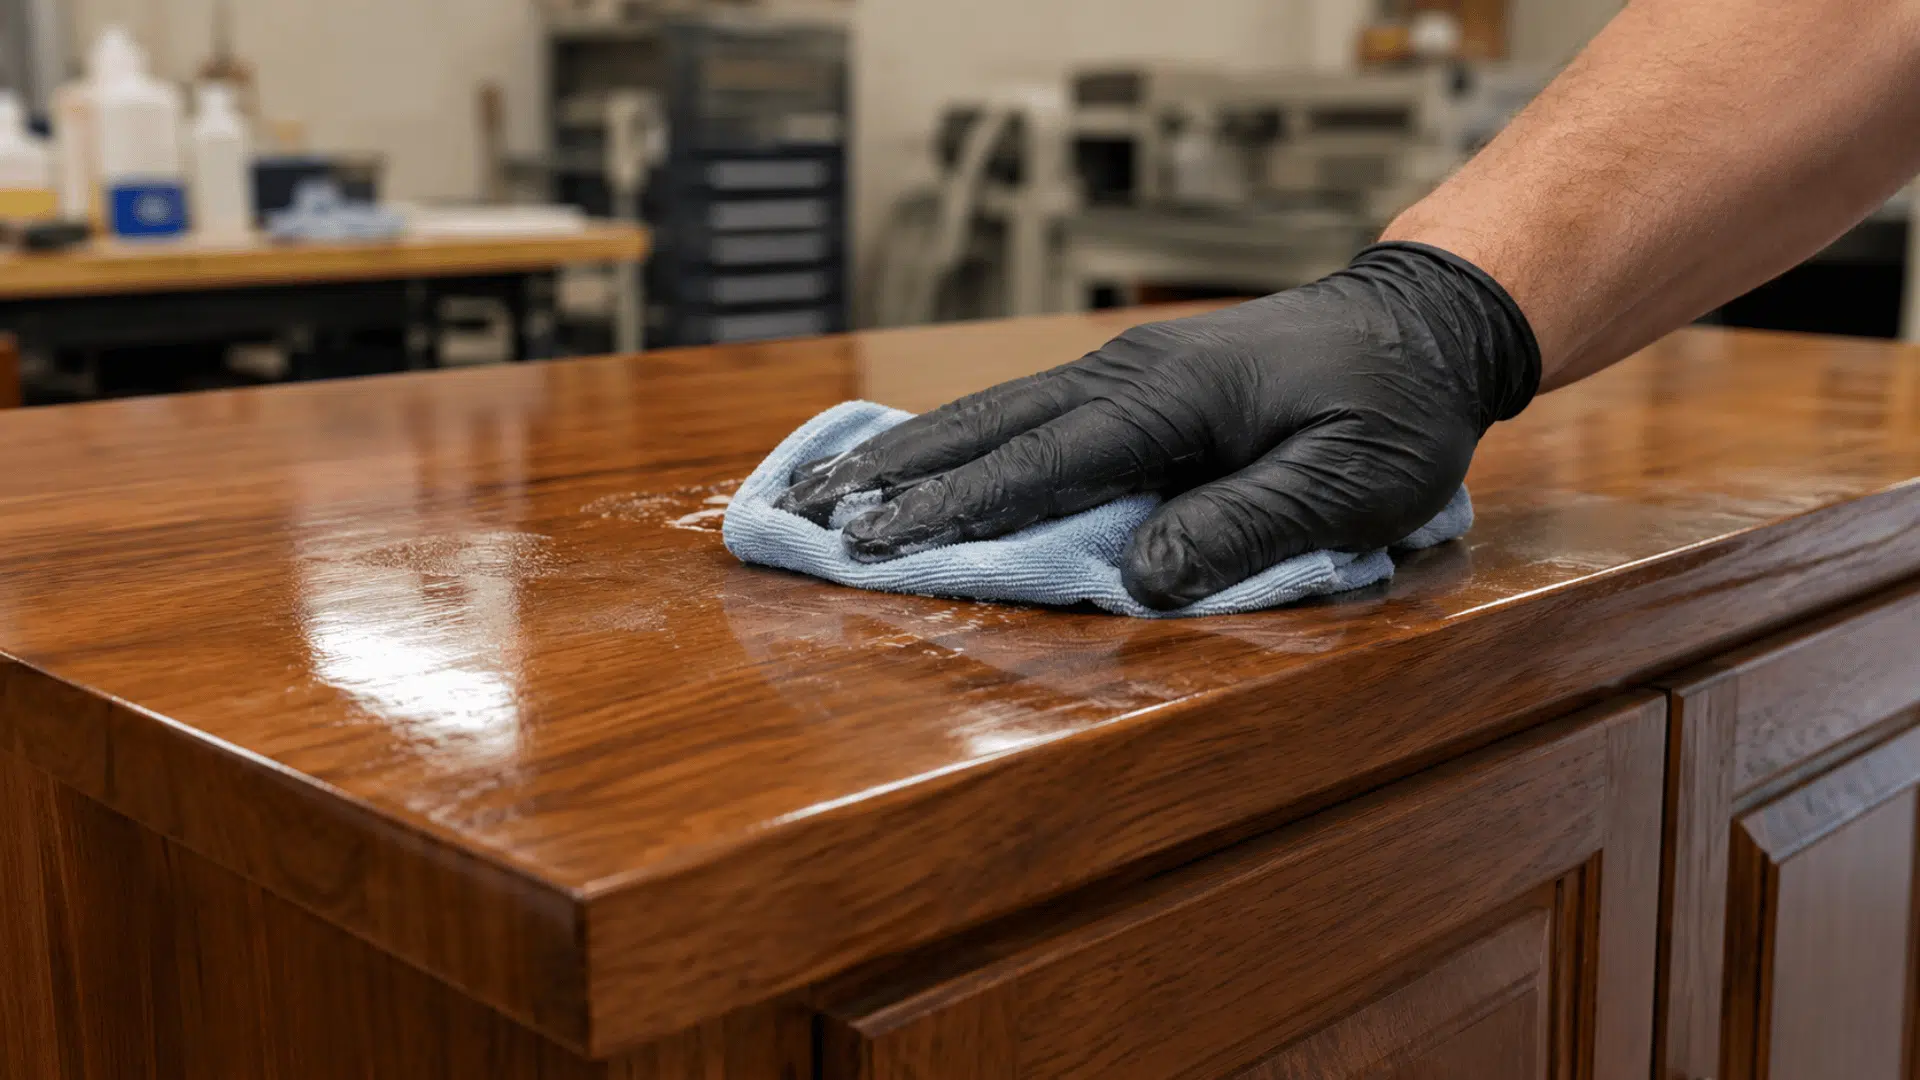
Wash the polyurethane-coated surface with mild soap and warm water. For greasy cabinets or furniture, use a gentle degreaser that is safe for the material.
Remove dust, oil, wax, polish, and sticky residue, as these can prevent primer from bonding. Wipe away the cleaner with a fresh damp cloth.
Leave the surface untouched until it is fully dry, especially around corners, joints, and decorative grooves, before you continue.
Step 2: Repair Any Damage
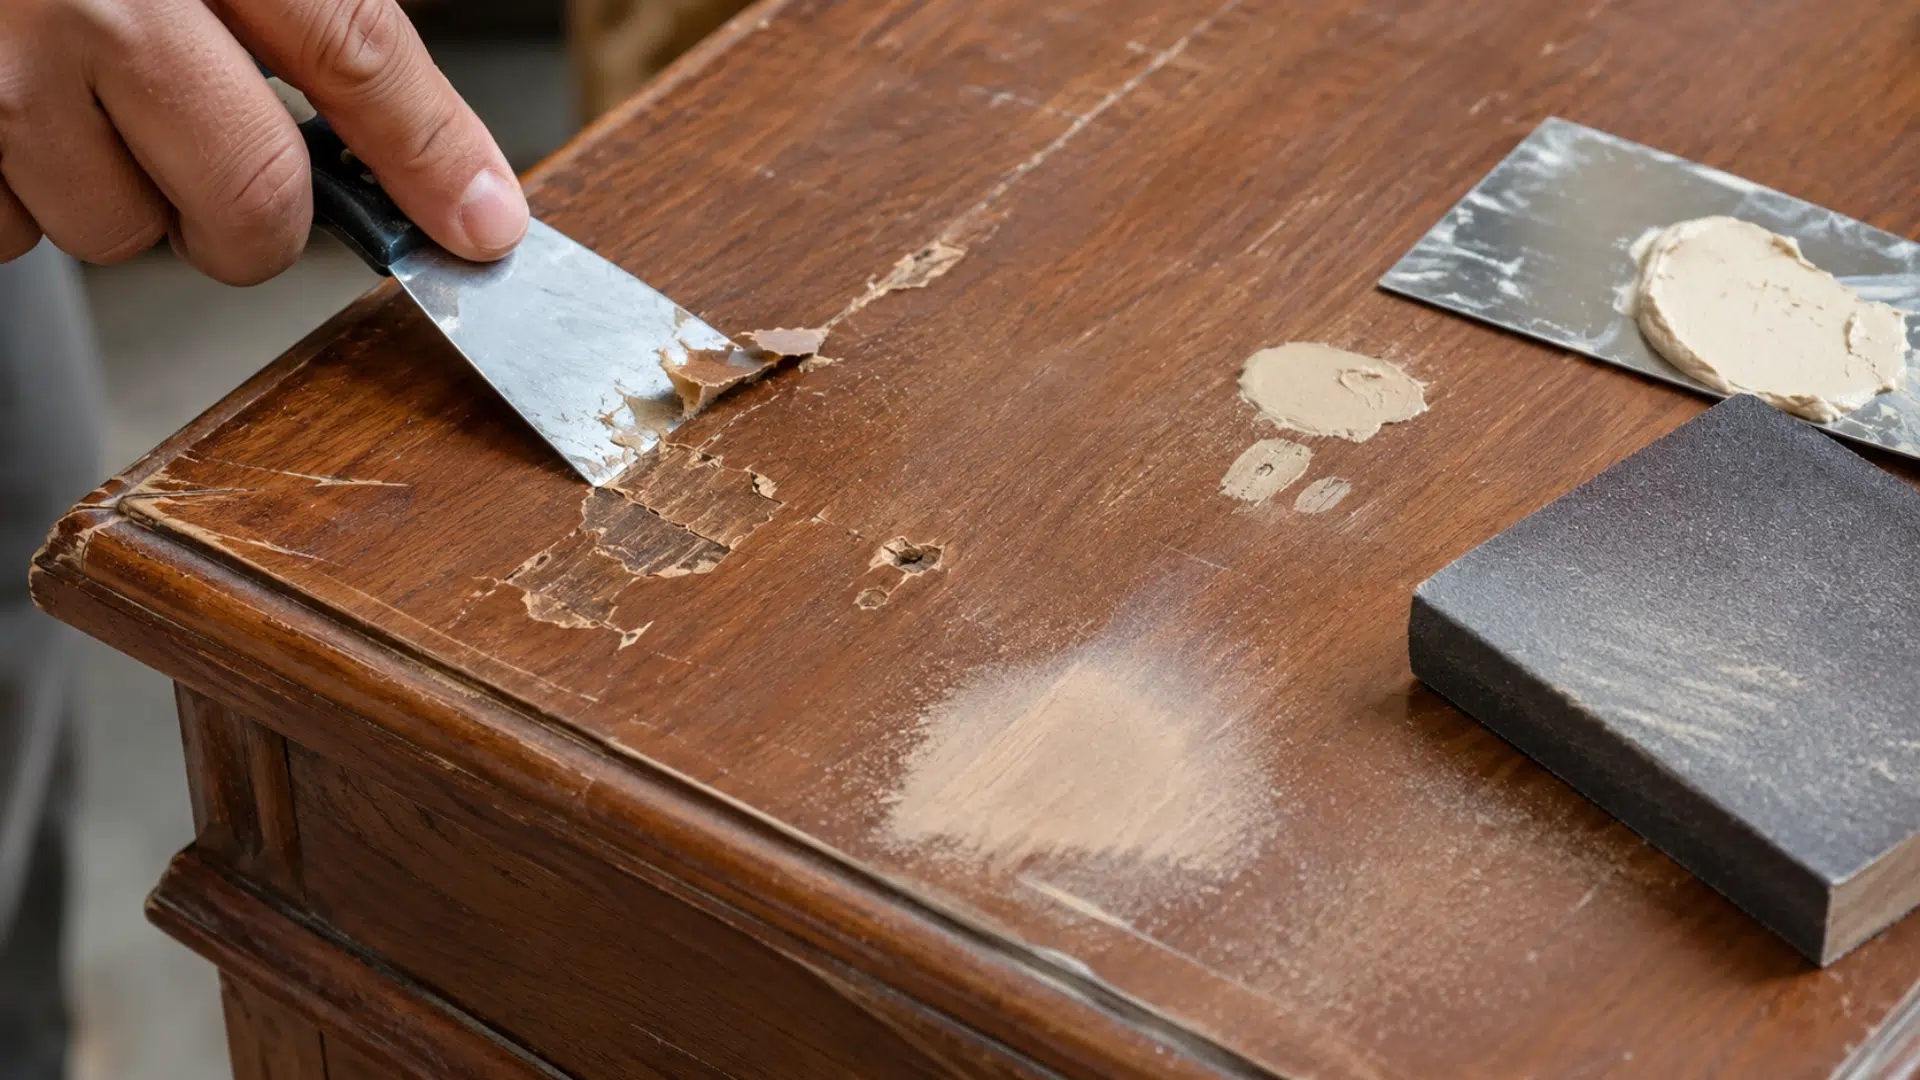
Inspect the surface for dents, cracks, chips, scratches, or peeling finish. Scrape away loose polyurethane carefully so the remaining coating has firm edges.
Fill small holes and damaged wood with a suitable wood filler. Follow the product directions and allow it to dry fully.
Sand each repaired area until it feels smooth and level with the surrounding surface. Remove raised edges that could remain visible beneath the final paint coats.
Step 3: Sand the Polyurethane
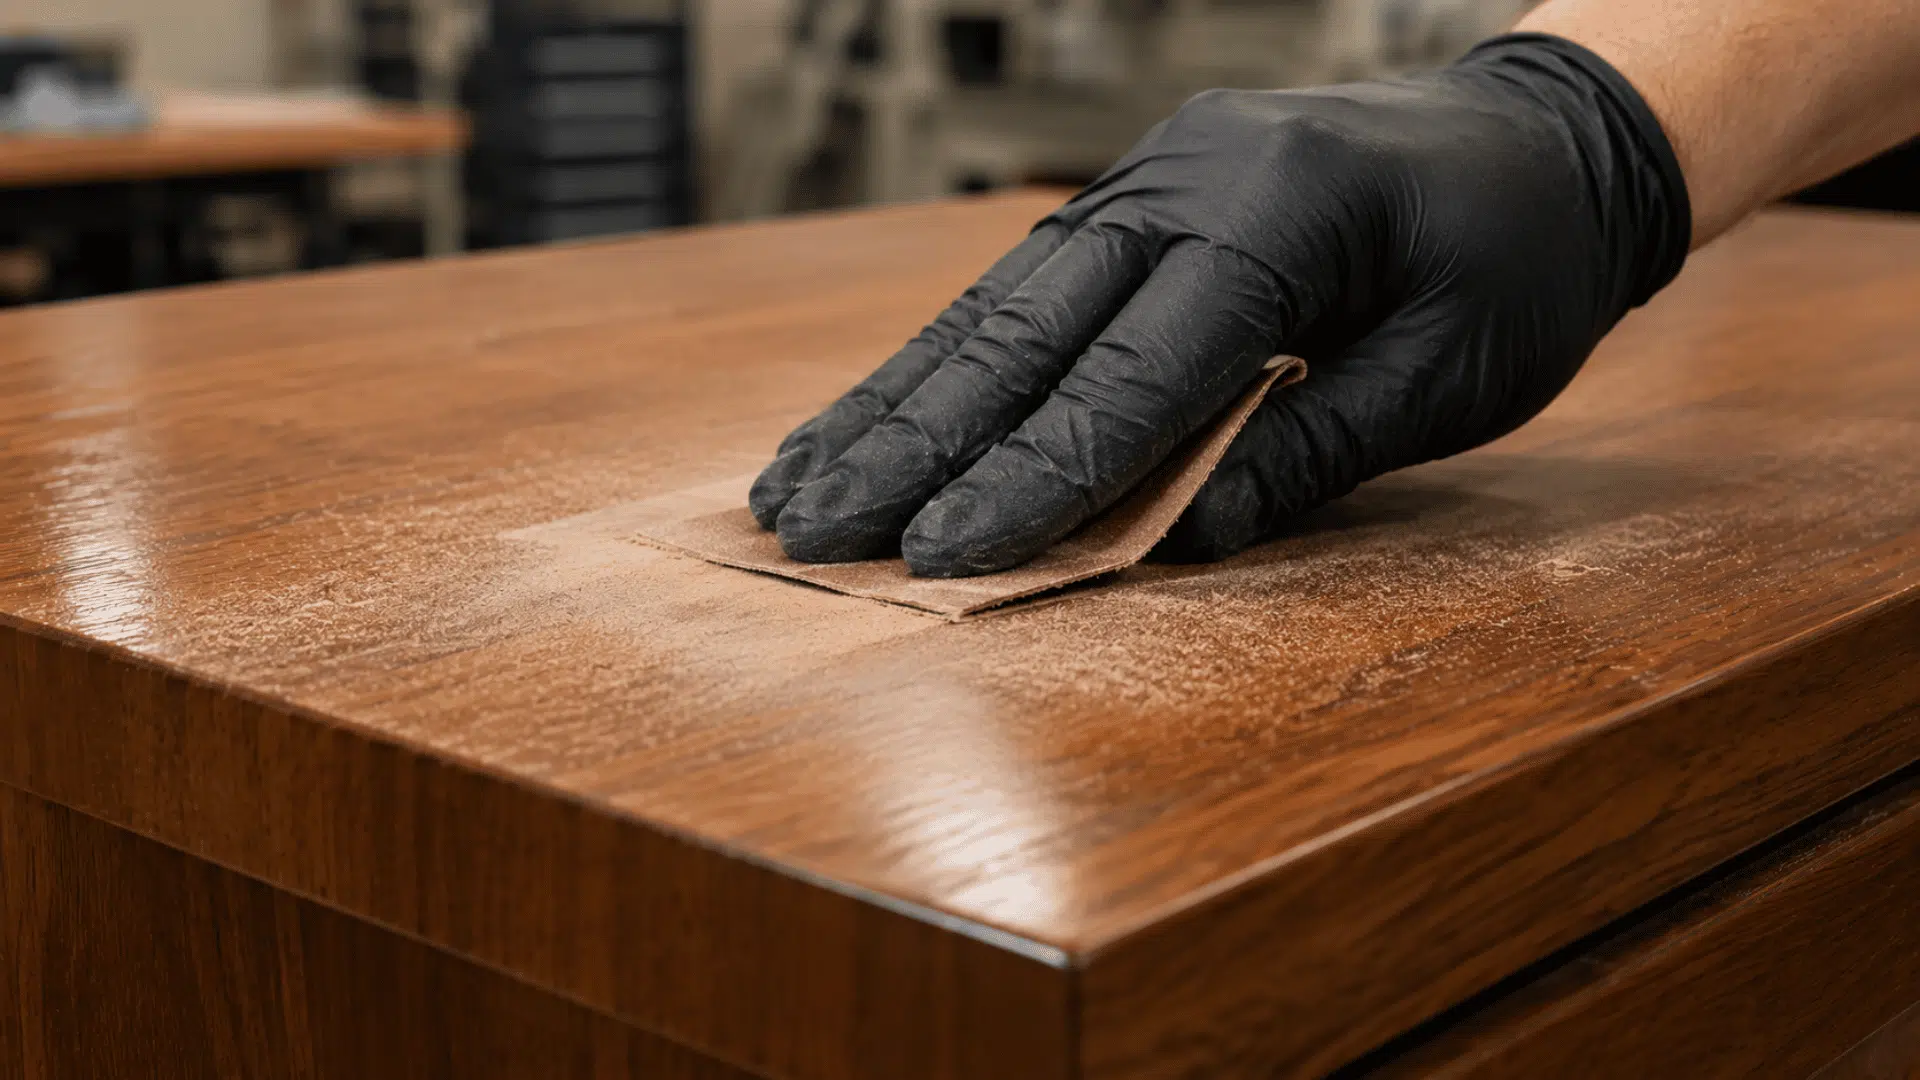
Lightly sand the full surface to dull the smooth, glossy polyurethane layer. The aim is to create a fine, even texture that gives the primer a stronger grip, not to remove the entire clear finish.
Use medium-grit sandpaper on heavily polished areas, then switch to fine-grit paper for a smoother result. Sand with the wood grain when possible.
Check the surface under bright light for any remaining shiny patches.
Step 4: Remove Sanding Dust
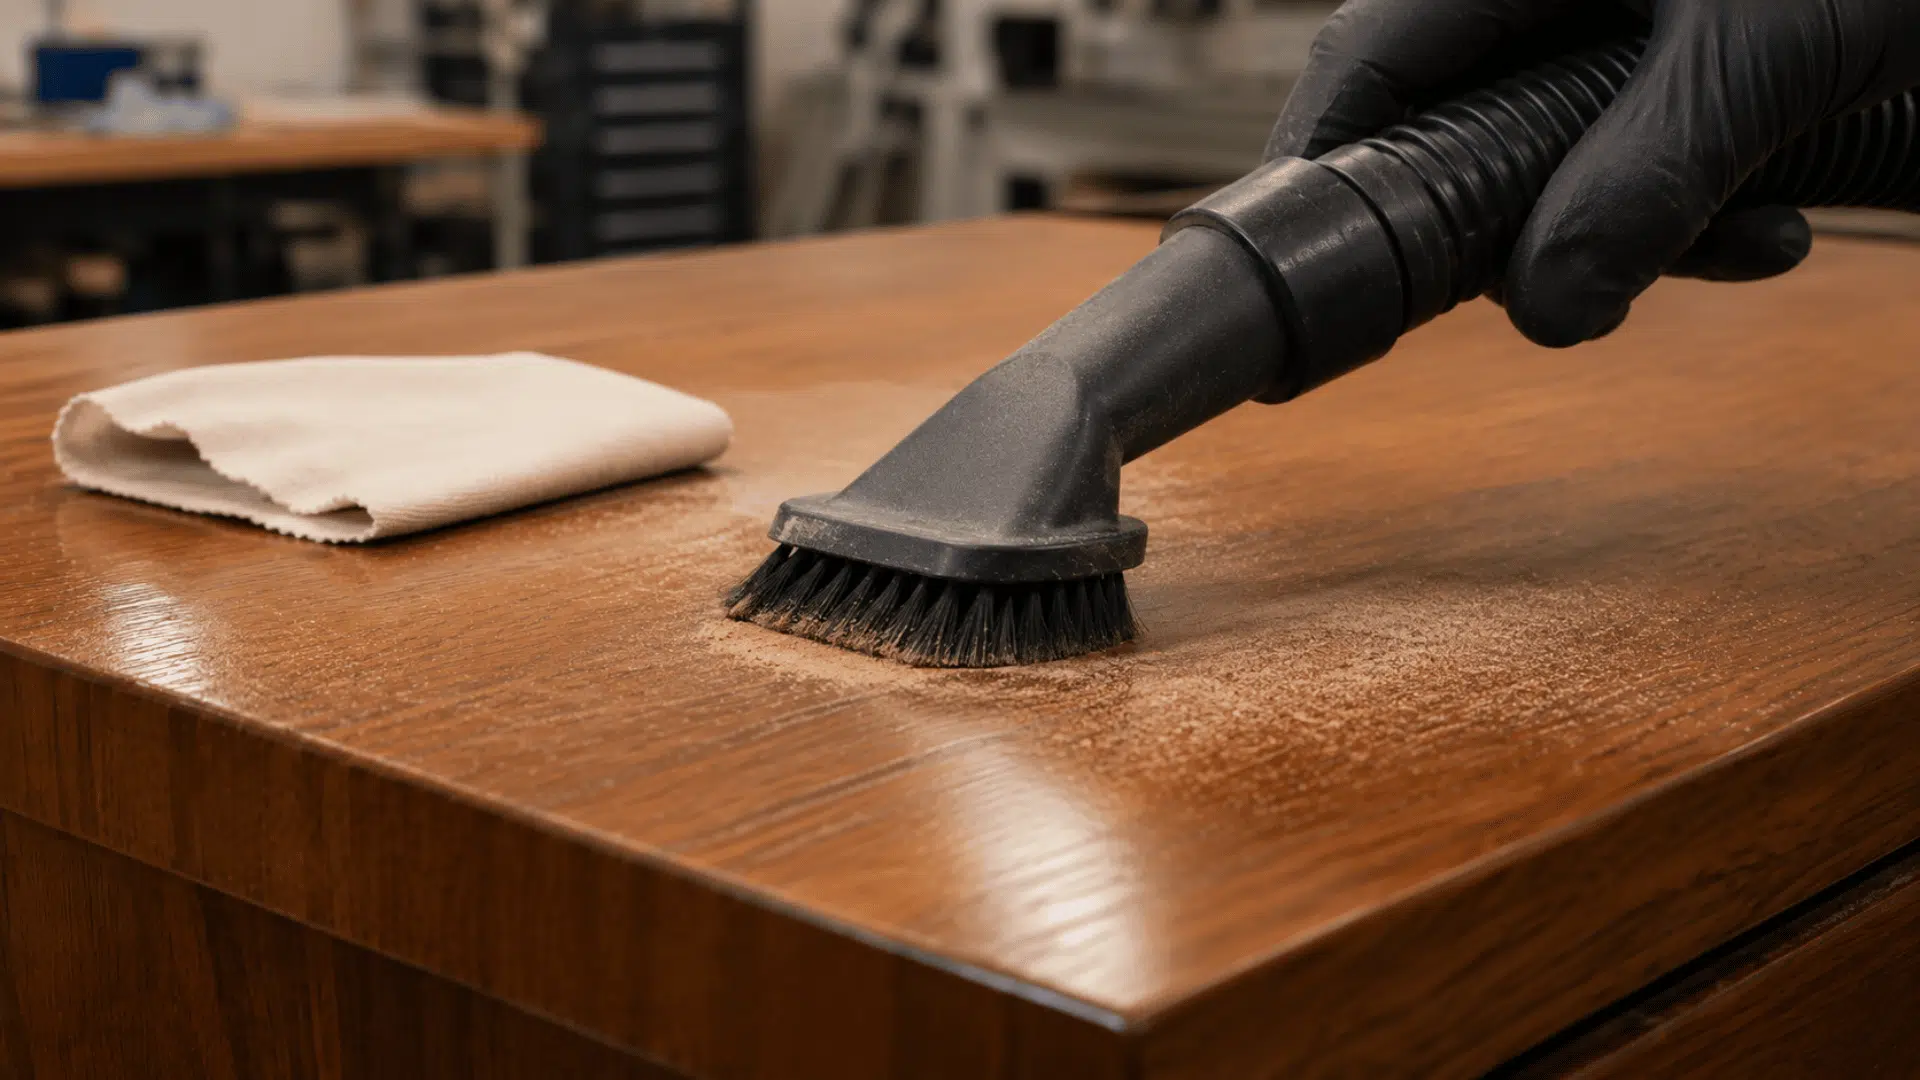
Vacuum the surface and surrounding work area after sanding. Use a soft brush attachment to reach corners, grooves, trim details, joints, and edges where fine particles often settle.
Wipe the surface with a tack cloth or slightly damp microfiber cloth. Avoid materials that leave oil, lint, or cleaning residue behind.
Inspect the area under good lighting, then allow any remaining moisture to dry fully before continuing with the project.
Step 5: Apply a Bonding Primer
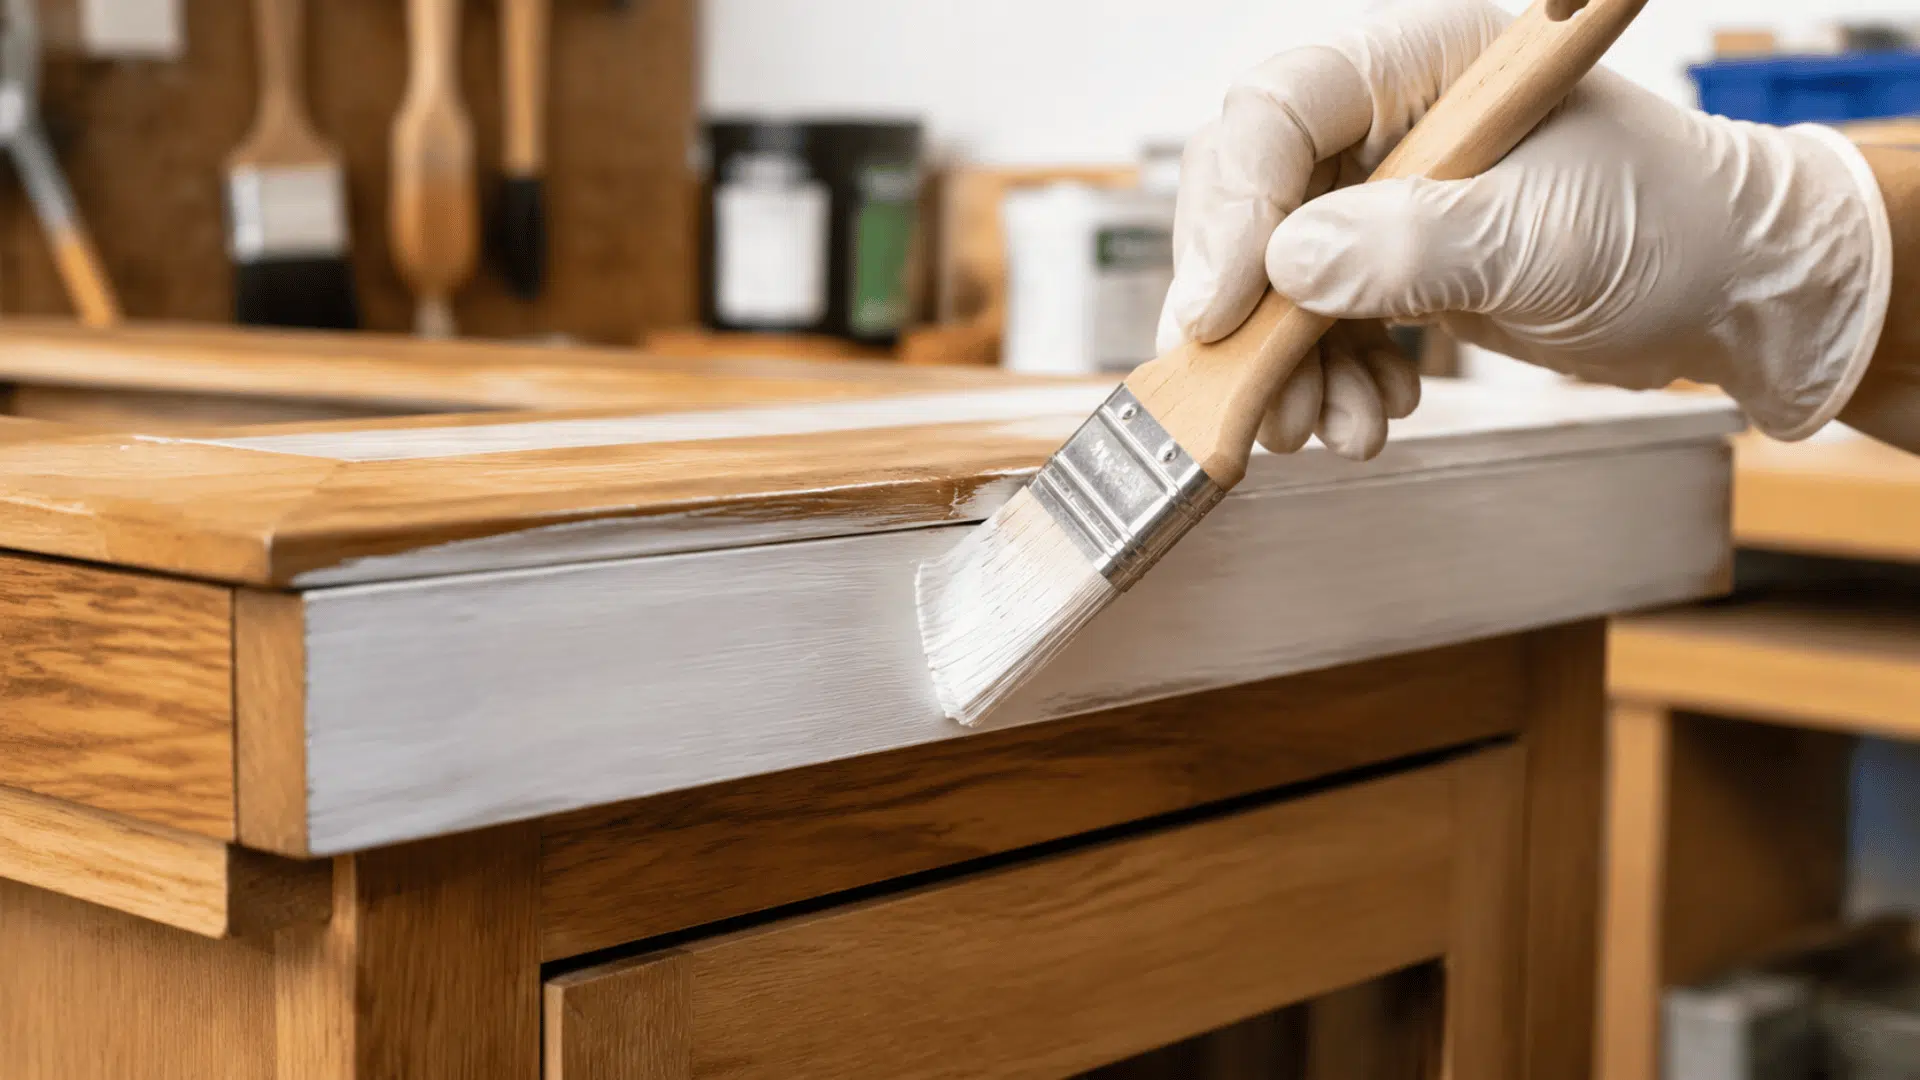
Spread a thin, even coat of bonding primer over the prepared surface with a brush, roller, or sprayer. Choose a primer labeled for glossy or previously finished materials.
Cover stained spots, exposed wood, repaired sections, and areas that still appear slightly slick. Follow the label for drying and recoating times.
Add another coat only when coverage or stain blocking requires it. Once dry, sand lightly to reduce raised grain or application marks.
Step 6: Apply the Paint
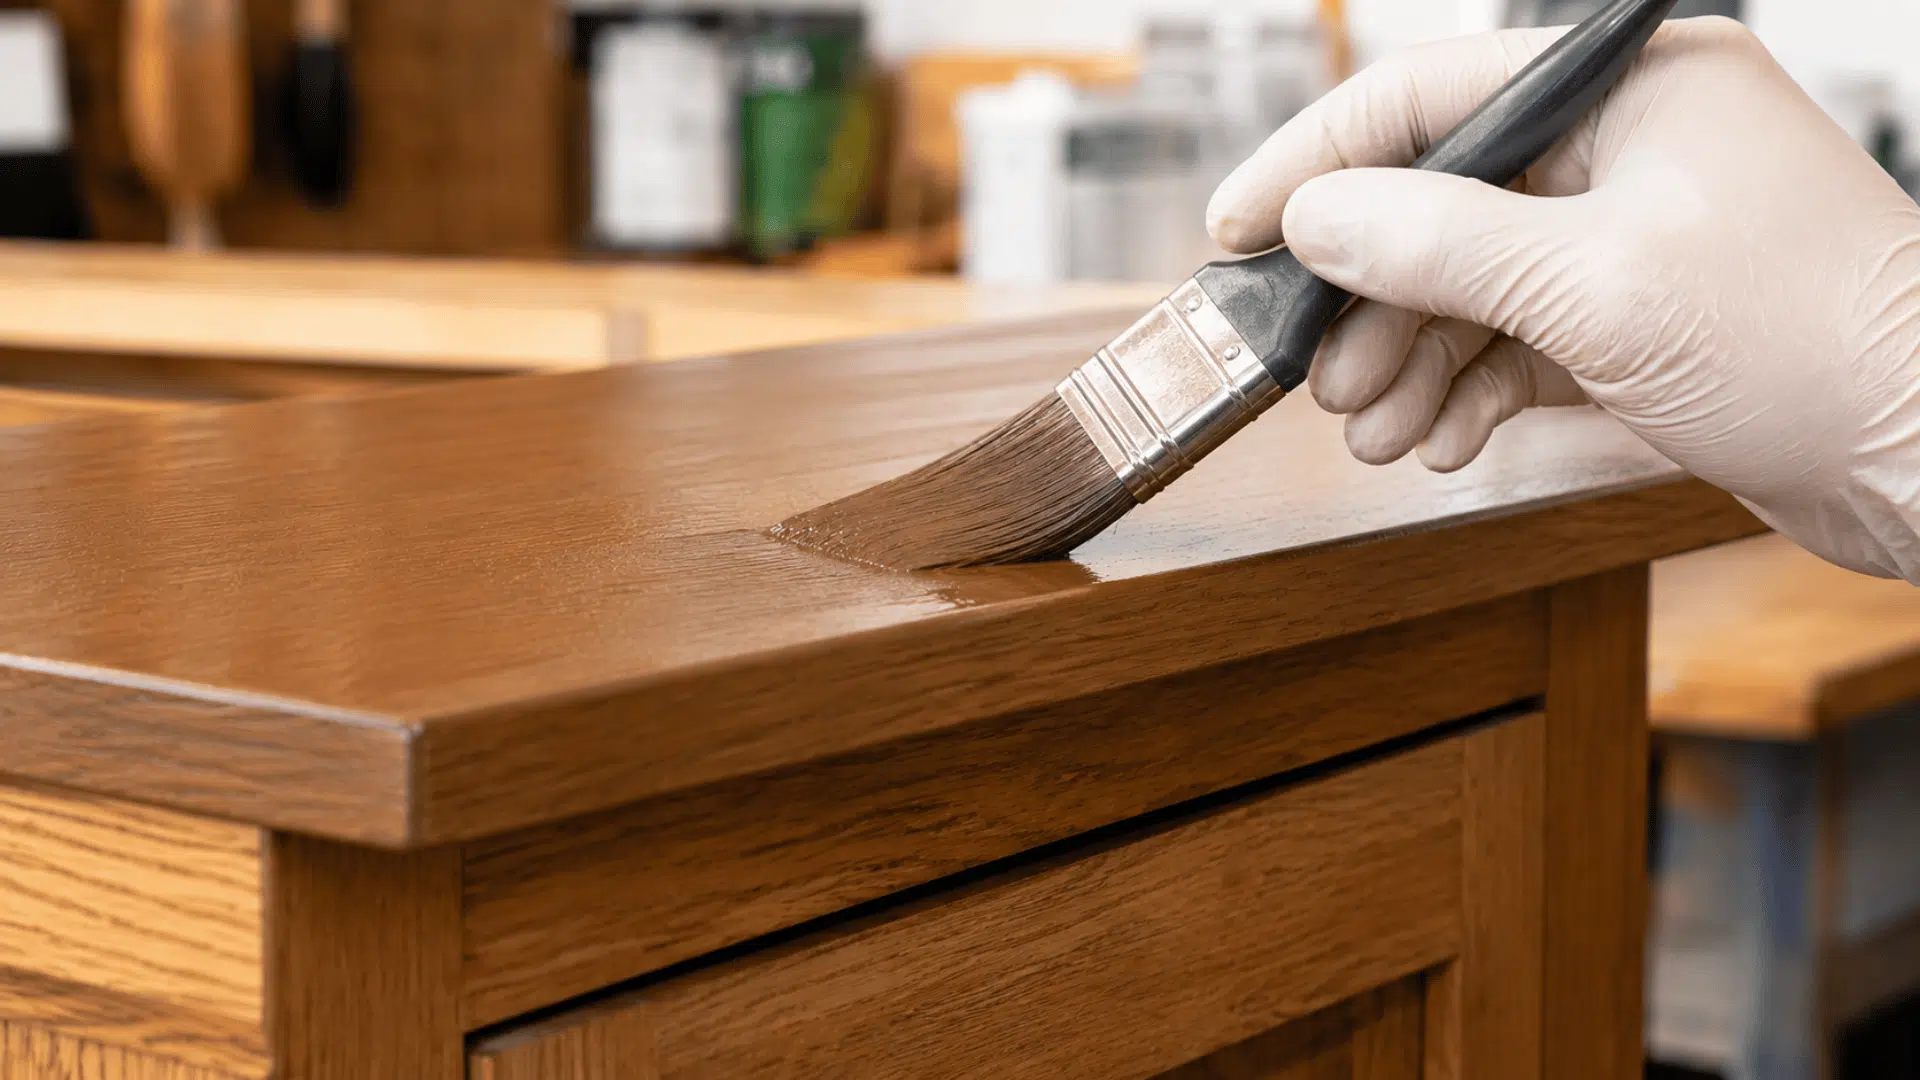
Apply the first paint coat in thin, controlled strokes, working in the same direction across each section. Maintain a wet edge to limit visible brush or roller marks.
Let the coat dry for the full time listed on the label before adding another. Two coats often provide even color and coverage, though darker surfaces may need more.
Avoid thick layers, as they can sag, wrinkle, trap moisture, and remain soft for longer.
Step 7: Let the Paint Cure
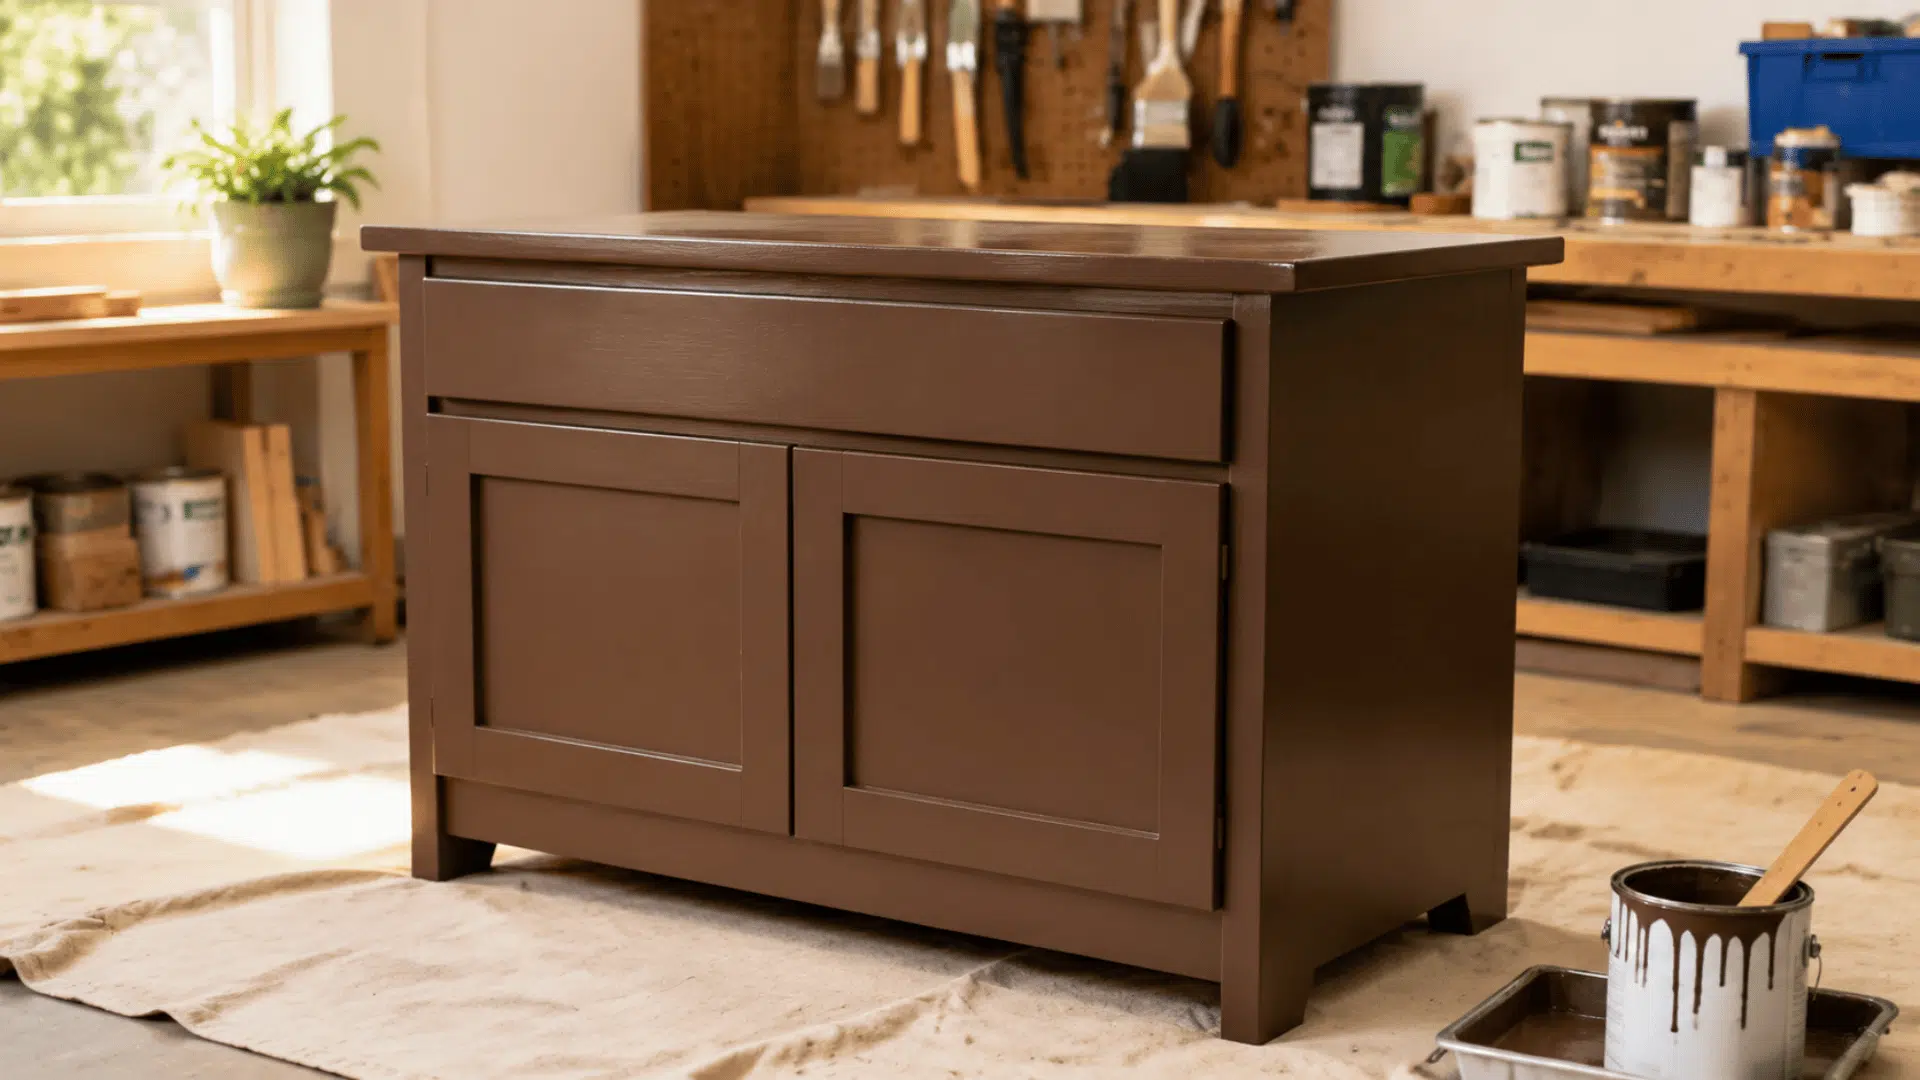
Leave the painted surface undisturbed while the coating hardens. Dry paint may feel ready to touch, but it can still dent, stick, or scratch before it fully cures.
Wait before reinstalling hardware, closing cabinet doors, placing heavy objects, or washing the surface. Use the curing time printed on the paint label as your main reference.
Temperature, humidity, and coat thickness can extend the process, so allow extra time in cool or damp conditions.
Best Primers for Painting Over Polyurethane
A suitable primer improves paint adhesion and lowers the risk of peeling, chipping, or uneven coverage. Choose one based on the surface condition and project location.
High-Adhesion Bonding Primer
A bonding primer grips prepared polyurethane and supports an even topcoat on furniture, cabinets, doors, and trim.
Suitable choices include INSL-X Stix Waterborne Bonding Primer, KILZ Adhesion Primer, and Sherwin-Williams Extreme Bond Primer.
Clean the surface and follow the product label for sanding, drying, and application directions.
Shellac-Based Primer
Shellac-based primer works well when wood knots, tannins, smoke marks, grease, or odors may bleed through the paint.
Zinsser B-I-N Shellac-Based Primer is suitable for furniture, cabinets, doors, and trim.
Use it mainly indoors or for exterior spot priming, and provide strong ventilation during application.
Oil-Based Primer
Oil-based primer offers firm adhesion and stain blocking on older, glossy, or heavily marked polyurethane finishes.
Recommended options include Zinsser Cover-Stain Oil-Base Primer and KILZ Original Oil-Based Primer.
These products can block tannins, water marks, smoke, and grease but require ventilation and careful cleanup.
Best Paint Types for Polyurethane-Coated Surfaces
Choosing the best paint types helps create a smooth, durable finish suited to the surface’s location and level of use.
1. Acrylic latex paint: A good choice for indoor furniture, trim, doors, and decorative wood. It dries quickly, has low odor, and works well over bonding primer.
2. Cabinet and furniture enamel: Suitable for cabinets, tables, shelves, and bathroom vanities. It creates a harder finish that handles regular cleaning and moisture.
3. Alkyd, exterior, and floor paint: Alkyd enamel resists scratches and wear. Use exterior acrylic paint outdoors and floor paint on coated floors or stairs. Match the paint to the surface and level of use.
Painting Problems and Their Solutions
Avoiding a few common mistakes can help the paint bond better and keep the finish smooth and durable.
- Skipping surface cleaning: Grease, wax and dirt can stop the primer and paint from bonding properly.
- Not sanding the finish: Painting directly over a glossy surface may lead to peeling, chipping or uneven coverage.
- Using the wrong primer: A standard primer may not adhere well to polyurethane. Use a high-adhesion bonding primer.
- Applying thick paint coats: Heavy coats can drip, wrinkle, or dry unevenly. Apply thin, even layers instead.
- Using the surface too soon: Paint may feel dry before it has fully cured. Allow enough time before regular handling or cleaning.
Conclusion
Painting a polyurethane-coated surface can provide a clean, updated finish without the time and mess of a full strip.
However, lasting results depend on more than the final coat of paint.
The condition of the existing finish, compatibility of the products, application method and curing period all affect the outcome.
Before beginning, inspect the area carefully and test the chosen primer and paint in a hidden spot. A measured approach helps reduce adhesion problems and creates a finish suited to regular use.
Frequently Asked Questions
Can Spray Paint Cover a Polyurethane Finish?
Yes, but choose a compatible spray paint and test a hidden spot before coating the entire surface.
Does Humidity Affect Painting Over Polyurethane Finishes?
High humidity can slow drying and increase tackiness, so work within the temperature range listed by manufacturers.
Can You Change Sheen After Repainting Polyurethane?
Yes, choose matte, satin, semi-gloss, or gloss paint based on appearance, cleaning needs and surface use.