
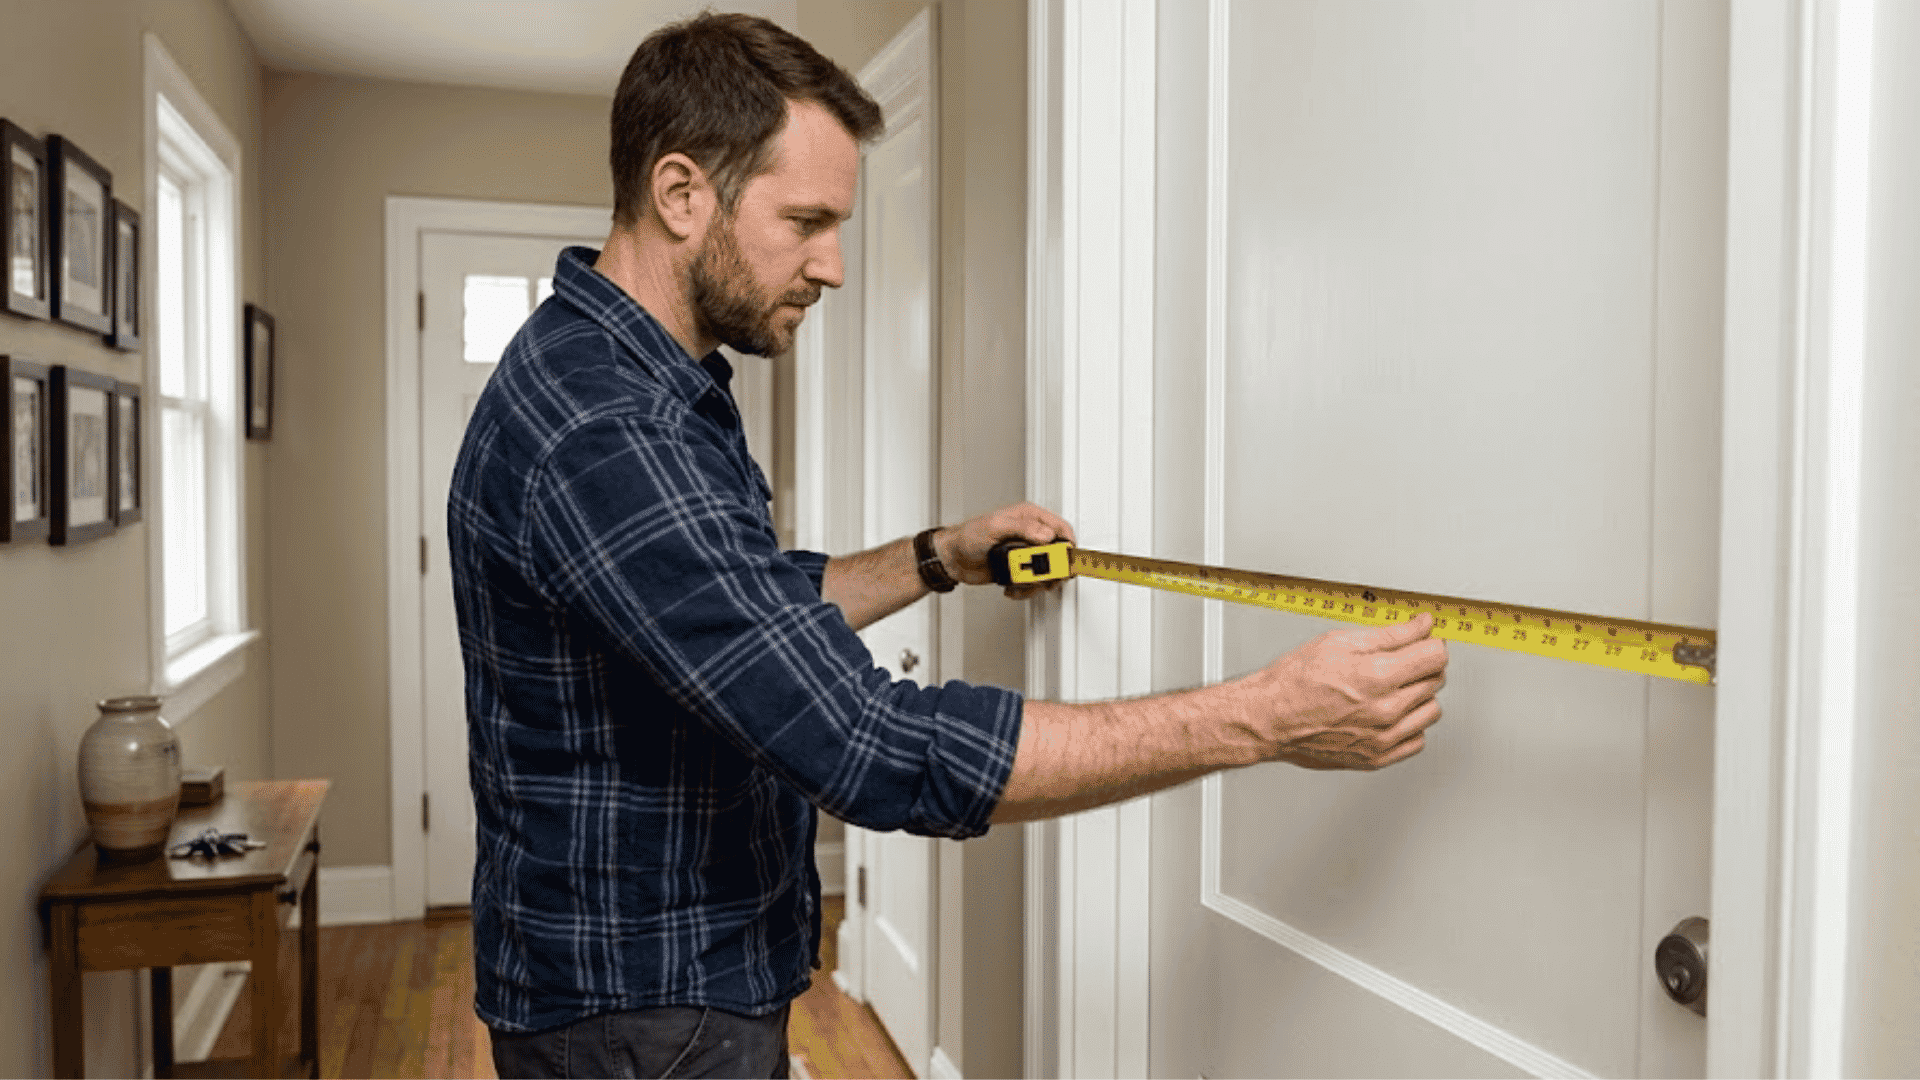
Buying a replacement door sounds simple until the new one arrives and does not fit. A door that is too wide, too short, or the wrong thickness can lead to extra costs and installation delays.
Knowing how to measure a door before ordering can help you avoid these problems.
With a tape measure and a few careful steps, homeowners can check the door’s width, height, thickness, and other important dimensions.
The process only takes a few minutes, but accurate measurements can make a big difference. Measure carefully, write down each dimension, and check the manufacturer’s requirements before choosing a replacement door.
Know What Type of Door You Are Replacing Before Starting
Identifying the replacement door type matters because each option requires slightly different measurements.
A door slab replaces only the existing door, while the current frame remains in place. For this replacement, the existing door’s width, height, and thickness need to be measured accurately.
A prehung door includes both the door and a new frame, so measurements must cover the entire opening and existing frame.
Knowing which type is being installed before measuring helps prevent incorrect sizing, ordering mistakes, and later installation problems.
What’s Needed Before Measuring a Door
Preparing the right tools before measuring improves accuracy, keeps dimensions organized, and reduces mistakes when ordering a replacement door.
Essential Tool | Purpose | Measuring Tip |
|---|---|---|
Tape Measure | Measures the door’s width, height, thickness, and opening. | Keep the tape straight and firmly positioned for accurate readings. |
Pencil | Helps mark measurement points or record dimensions. | Note each measurement immediately to avoid mixing up numbers. |
Notepad or Phone | Stores all measurements for easy reference when ordering. | Label every measurement clearly by width, height, or thickness. |
Level (Optional) | Checks whether the door frame and opening are level. | Use it to identify uneven areas that could affect installation. |
How to Measure a Door for Replacement
Knowing how to measure door size correctly starts with checking the existing door’s width, height, and thickness before ordering a replacement.
1. Measure the Door Width
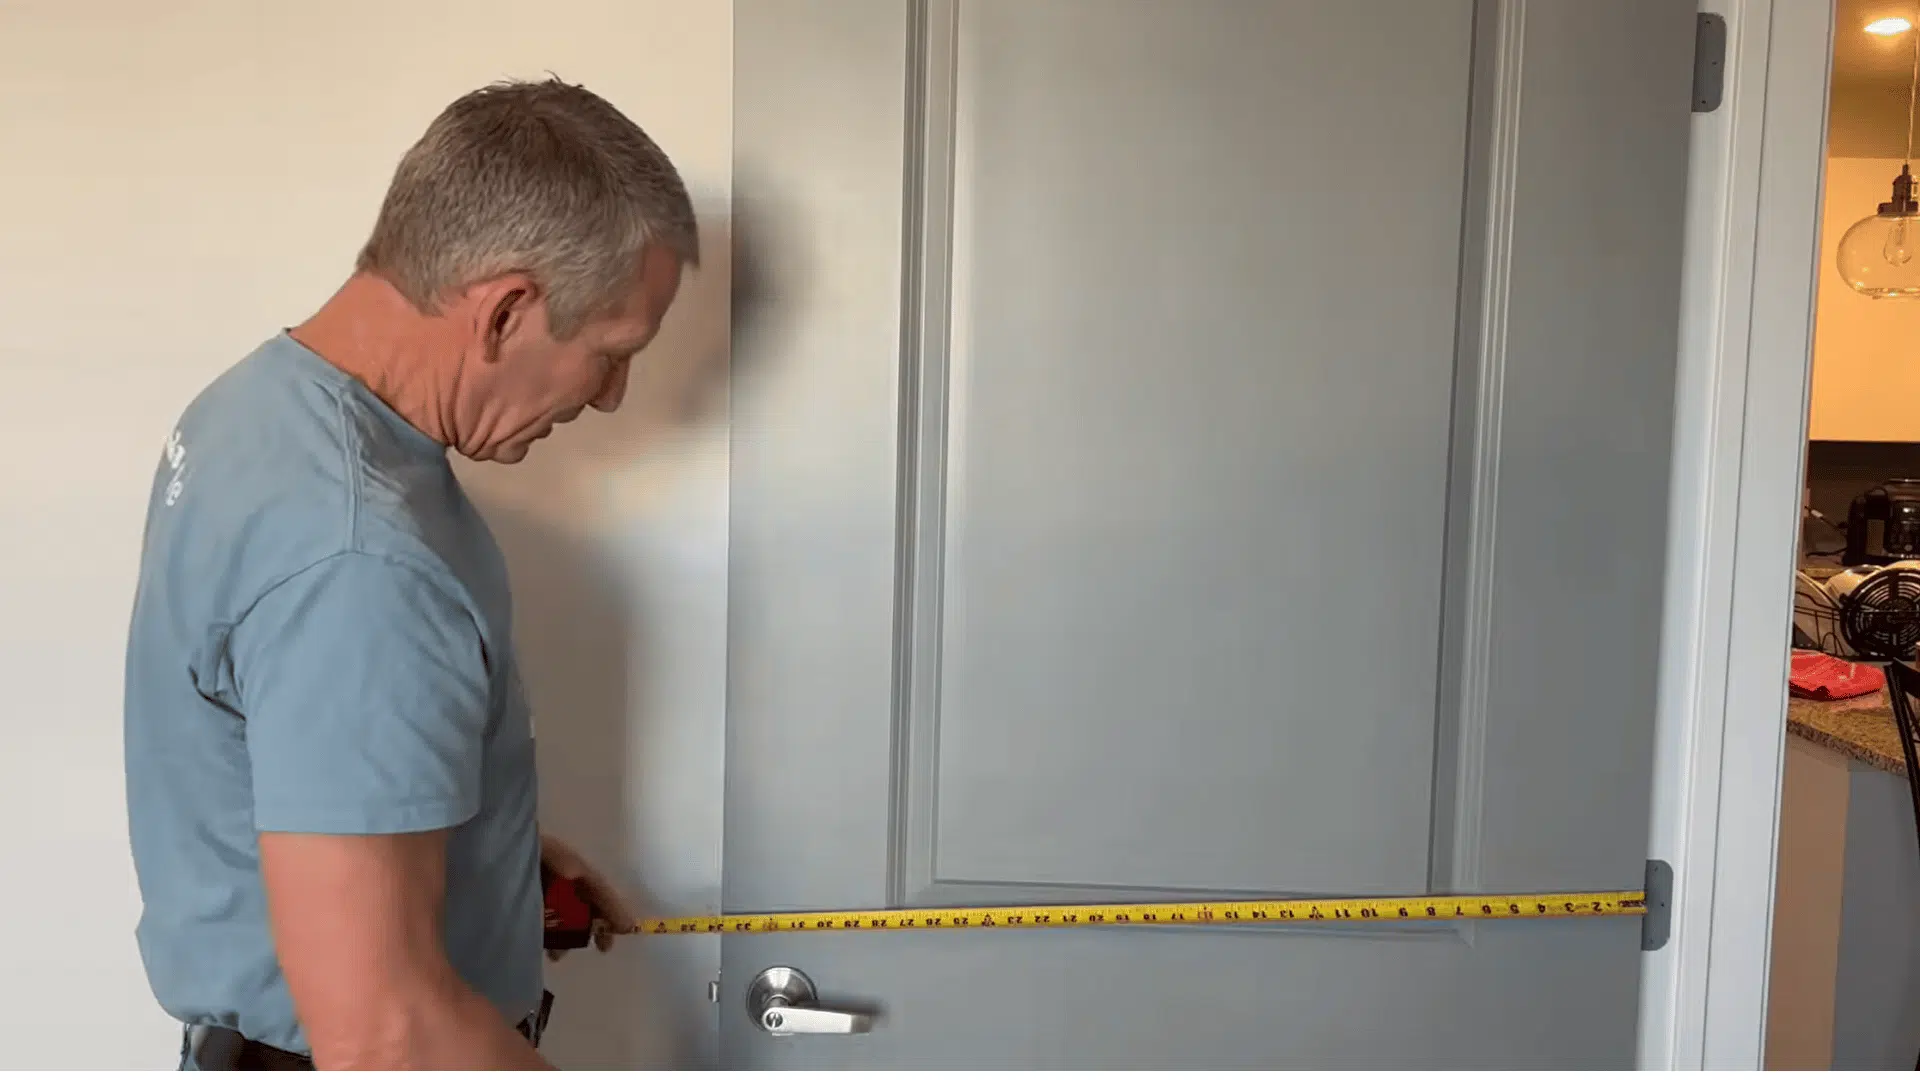
Place the tape measure against one vertical edge of the existing door and extend it straight across to the opposite edge. Take the measurement across the door itself rather than including the surrounding frame or decorative trim.
For the most accurate result, measure the width at the top, middle, and bottom of the door, then use the smallest number.
If the measurement falls slightly below a standard door width, compare it with common interior sizes (24 to 36 inches, most often 28, 30, 32, or 36 inches) before ordering.
Record the width immediately and keep the tape straight to reduce errors that could affect the replacement door’s final fit.
2. Measure the Door Height
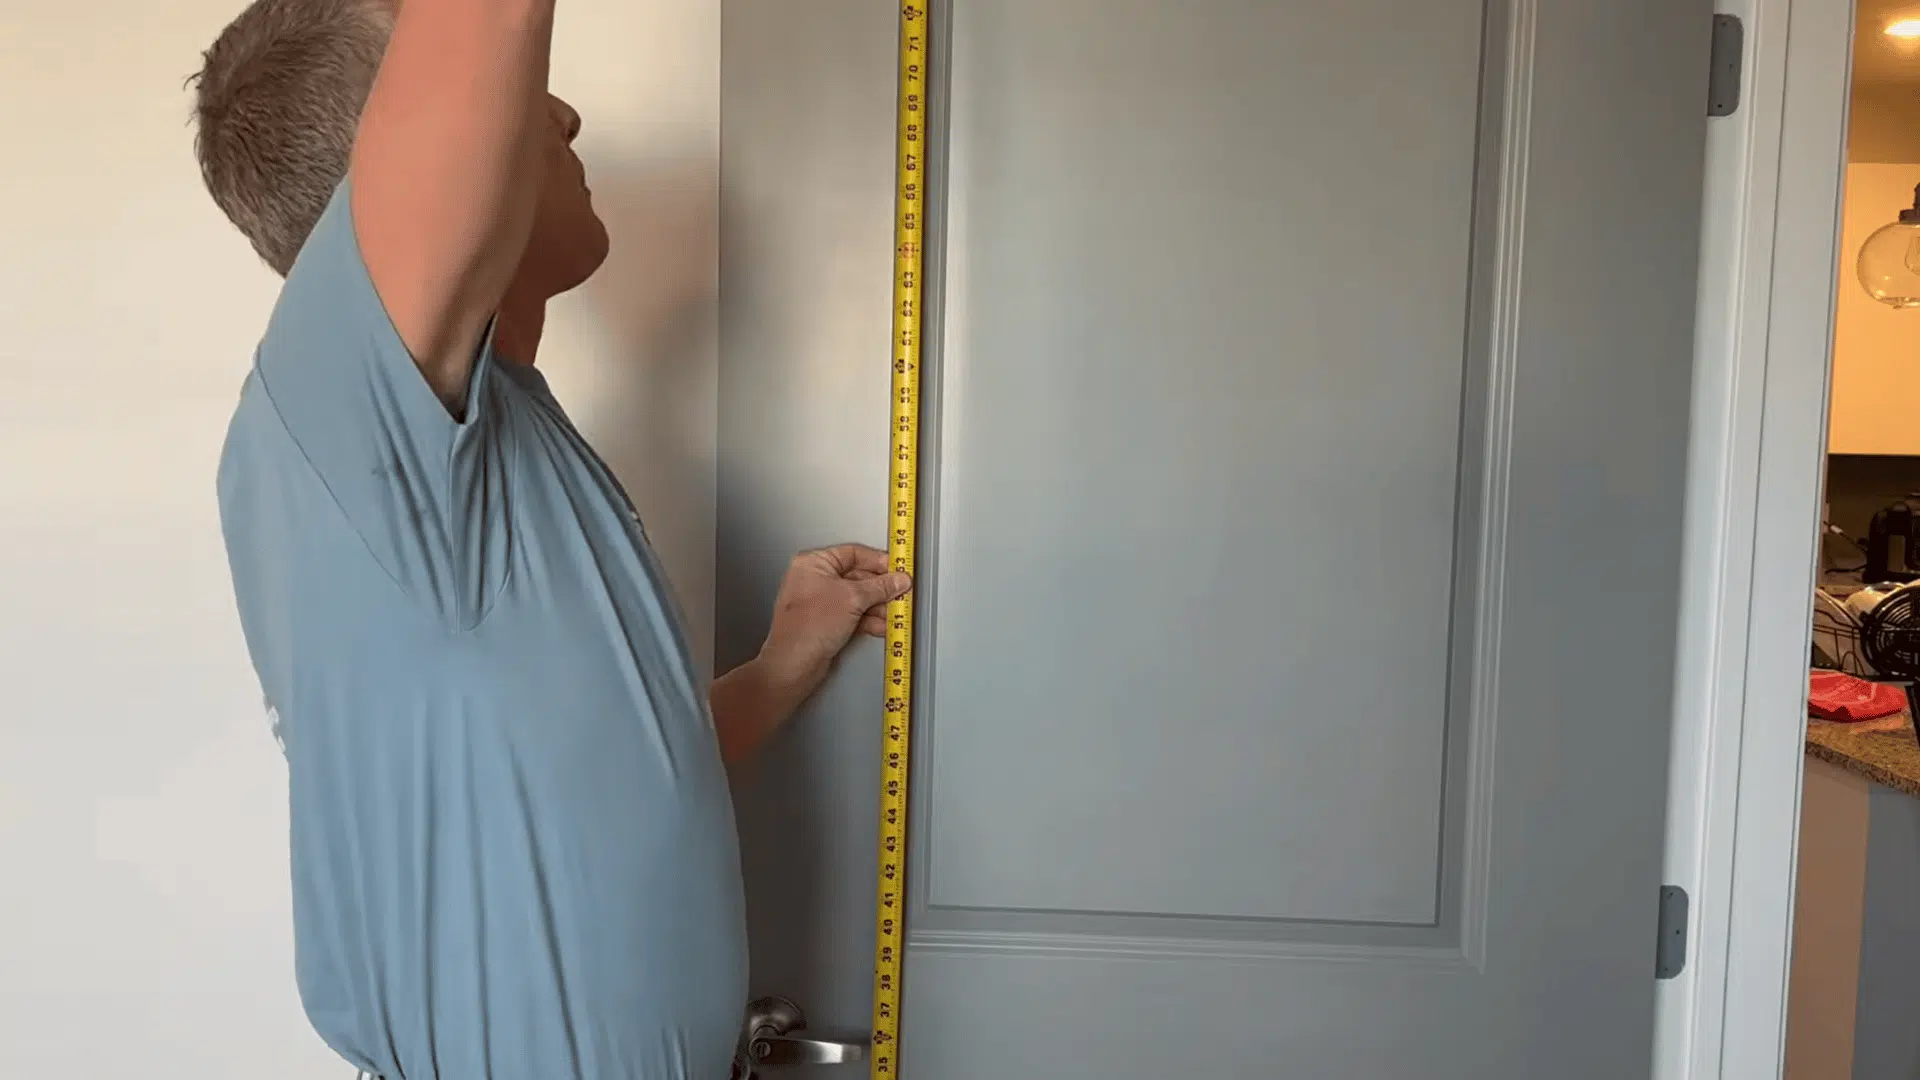
Position the tape measure at the bottom edge of the existing door and extend it vertically to the top edge. Keep the tape straight and measure only the door slab, not the surrounding frame.
Measure the height at the left edge, center, and right edge, then record the smallest reading as the true height.
Standard replacement heights commonly include 80, 84, and 96 inches, matching most charts for standard interior door height, although available sizes can vary.
Compare your measured height with these standard options, since the existing door may have been trimmed or adjusted during an earlier installation.
3. Measure the Door Thickness
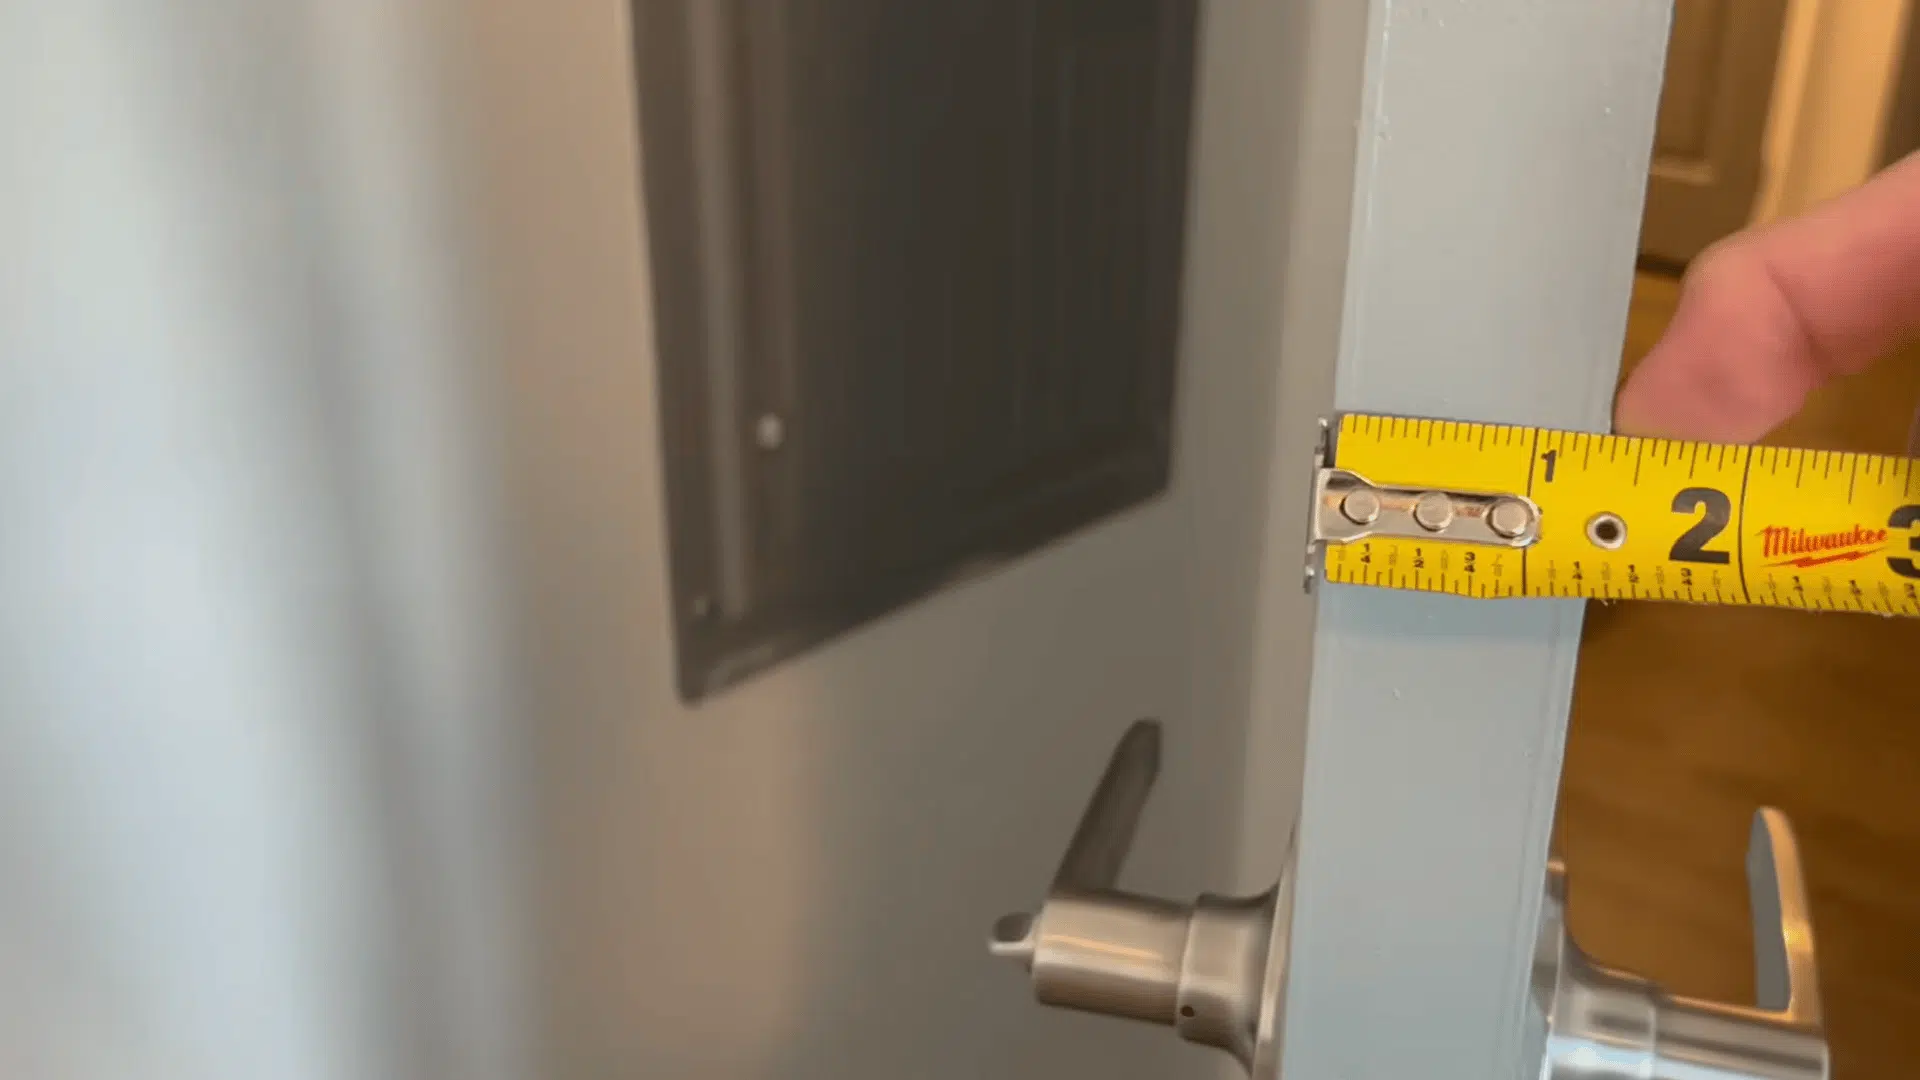
Open the door and place the tape measure across its narrow edge to determine the thickness. Interior doors are commonly 1⅜ inches thick, although some measure 1¾ inches, while many exterior doors measure 1¾ inches.
Measuring rather than assuming is important because thickness can affect hinges, locks, and compatibility with the existing frame.
Write this measurement beside the width and height so all three dimensions remain together when comparing suitable replacement door options.
Note: Always record door dimensions in width × height × thickness order, double-check every measurement, and compare the results with manufacturer specifications before purchasing a replacement door for proper sizing.
For a complete walkthrough, watch the video tutorial by Askillthatpays below:
Measuring a Prehung Door for Replacement
A prehung door replacement needs more than just the door slab measurements. Getting these numbers right also makes installing a prehung door go much smoother once the new unit arrives.
You also need to check the frame and a few other details to make sure the new unit fits your opening.
- Door Frame: Measure the width and height of the existing frame to help size the replacement unit.
- Jamb Depth: Measure the depth of the jamb to match the replacement unit to your wall thickness.
- Rough Opening: If you are removing the old frame, measure the rough opening between the framing studs.
- Door Swing: Open the door and watch which way it moves. A door that swings into the room is an inswing door. A door that swings away from the room is an outswing door.
- Door Handing: Stand in the doorway with your back to the hinges. If your left hand is closer to the doorknob, it’s a left-hand door. If your right hand is closer, it’s a right-hand door.
Write down every measurement clearly before you place your order. A manufacturer needs the frame size, jamb depth, swing direction, and handing to build a door that fits your opening correctly.
Door Measuring Mistakes to Avoid
Small measuring mistakes can affect door fit, increase installation work, and lead to ordering the wrong replacement size.
1. Measuring Only Once: Double-check each dimension before recording the final measurement.
2. Including Decorative Trim: Measure the actual door or opening, not the surrounding casing.
3. Forgetting Door Thickness: Record thickness along with the width and height.
4. Skipping Frame Measurements: Measure the frame when installing a complete prehung door.
5. Assuming Standard Sizes: Measure the existing door instead of relying on common dimensions.
6. Mixing up Dimensions: Always record measurements as width × height × thickness.
Final Thoughts
Knowing how to measure a door can make buying a replacement much easier and help prevent costly sizing mistakes.
Start by checking the door’s width, height, and thickness, then measure the rough opening and jamb depth when replacing a prehung door. If the new door needs to match existing hardware, check the hinge and lock locations, too.
Always compare your measurements with the manufacturer’s specifications before ordering.
Taking a few extra minutes to double-check the numbers can save time and prevent installation problems later. Have a door-measuring tip or question? Share it in the comments below!
Frequently Asked Questions
What is the Difference Between Nominal and Actual Door Size?
The nominal size is the advertised door size, while the actual size is slightly smaller. A “32-inch” door typically measures about 31¾ inches wide to fit its frame.
Should I Measure the Door or the Door Frame for Replacement?
For a slab replacement, measure the existing door. For a prehung door, always measure the frame’s width, height, and jamb depth for the new unit. The frame provides the true opening size.
What Clearance Gaps Should I Leave Around a New Door?
Leave small, even gaps to ensure smooth operation. A typical allowance is about ⅛ inch at the top and sides, and ½ to ¾ inch at the bottom to clear floor coverings.