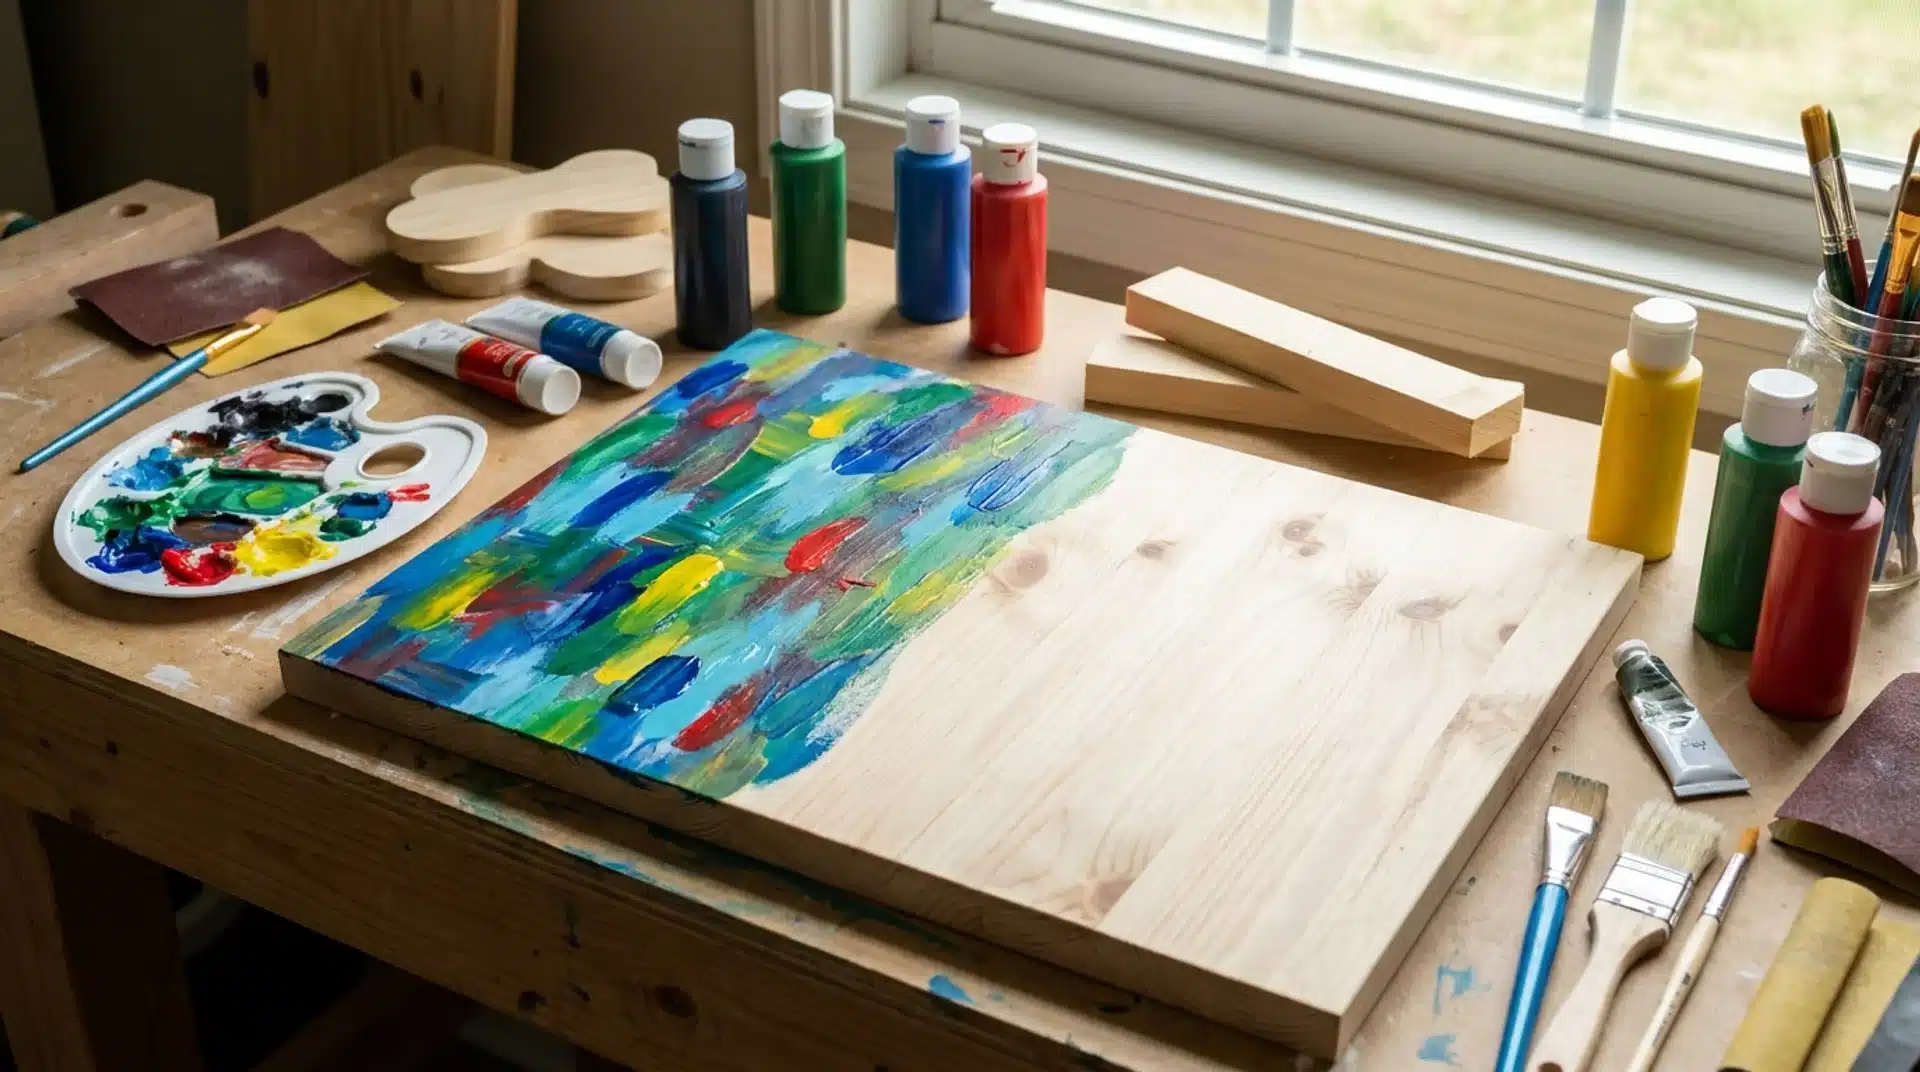
Acrylic paint on wood can turn a plain surface into something colorful, personal, and fun. But getting a smooth finish is not as simple as picking up a brush and starting to paint.
Wood can absorb paint unevenly, show stains through the color, or cause the finish to chip if it is not prepared properly. The type of wood, paint, and project also matter.
A small decorative sign needs different care than a piece of furniture or an outdoor planter. With the right preparation, painting method, and protective finish, acrylic paint on wood can give you a smooth and durable result.
Can You Use Acrylic Paint on Wood?
Yes, you can use acrylic paint on wood. It can adhere well to a clean, properly prepared surface and form a durable finish once it dries and cures.
You can paint raw wood directly, but its porous surface may absorb paint unevenly, causing patchy coverage.
Light sanding can smooth rough areas, while a suitable primer, sealer, or acrylic ground may help create a more even surface. Acrylic paint works well for crafts, wall art, signs, and other decorative projects.
For furniture, frequently handled items, or outdoor pieces, choose paint and protective coatings suited to the expected wear, moisture, and weather exposure for better long-term results.
Why Acrylic Paint and Wood Get Along So Well
Acrylic paint and wood work well together because a properly prepared wood surface gives the paint something to hold onto.
Acrylic paint is water-based, dries relatively quickly, and can be cleaned from brushes with water while it is still wet.
It also forms a flexible film as it dries, which helps it handle normal movement in the wood. Raw wood can absorb paint unevenly, so sanding and using a compatible primer or sealer can create a smoother finish.
Once fully cured, acrylic paint is generally water-resistant but not completely waterproof. A protective topcoat can add extra durability to furniture, frequently handled items, and other projects exposed to moisture or wear.
How to Prepare Wood for Acrylic Paint?
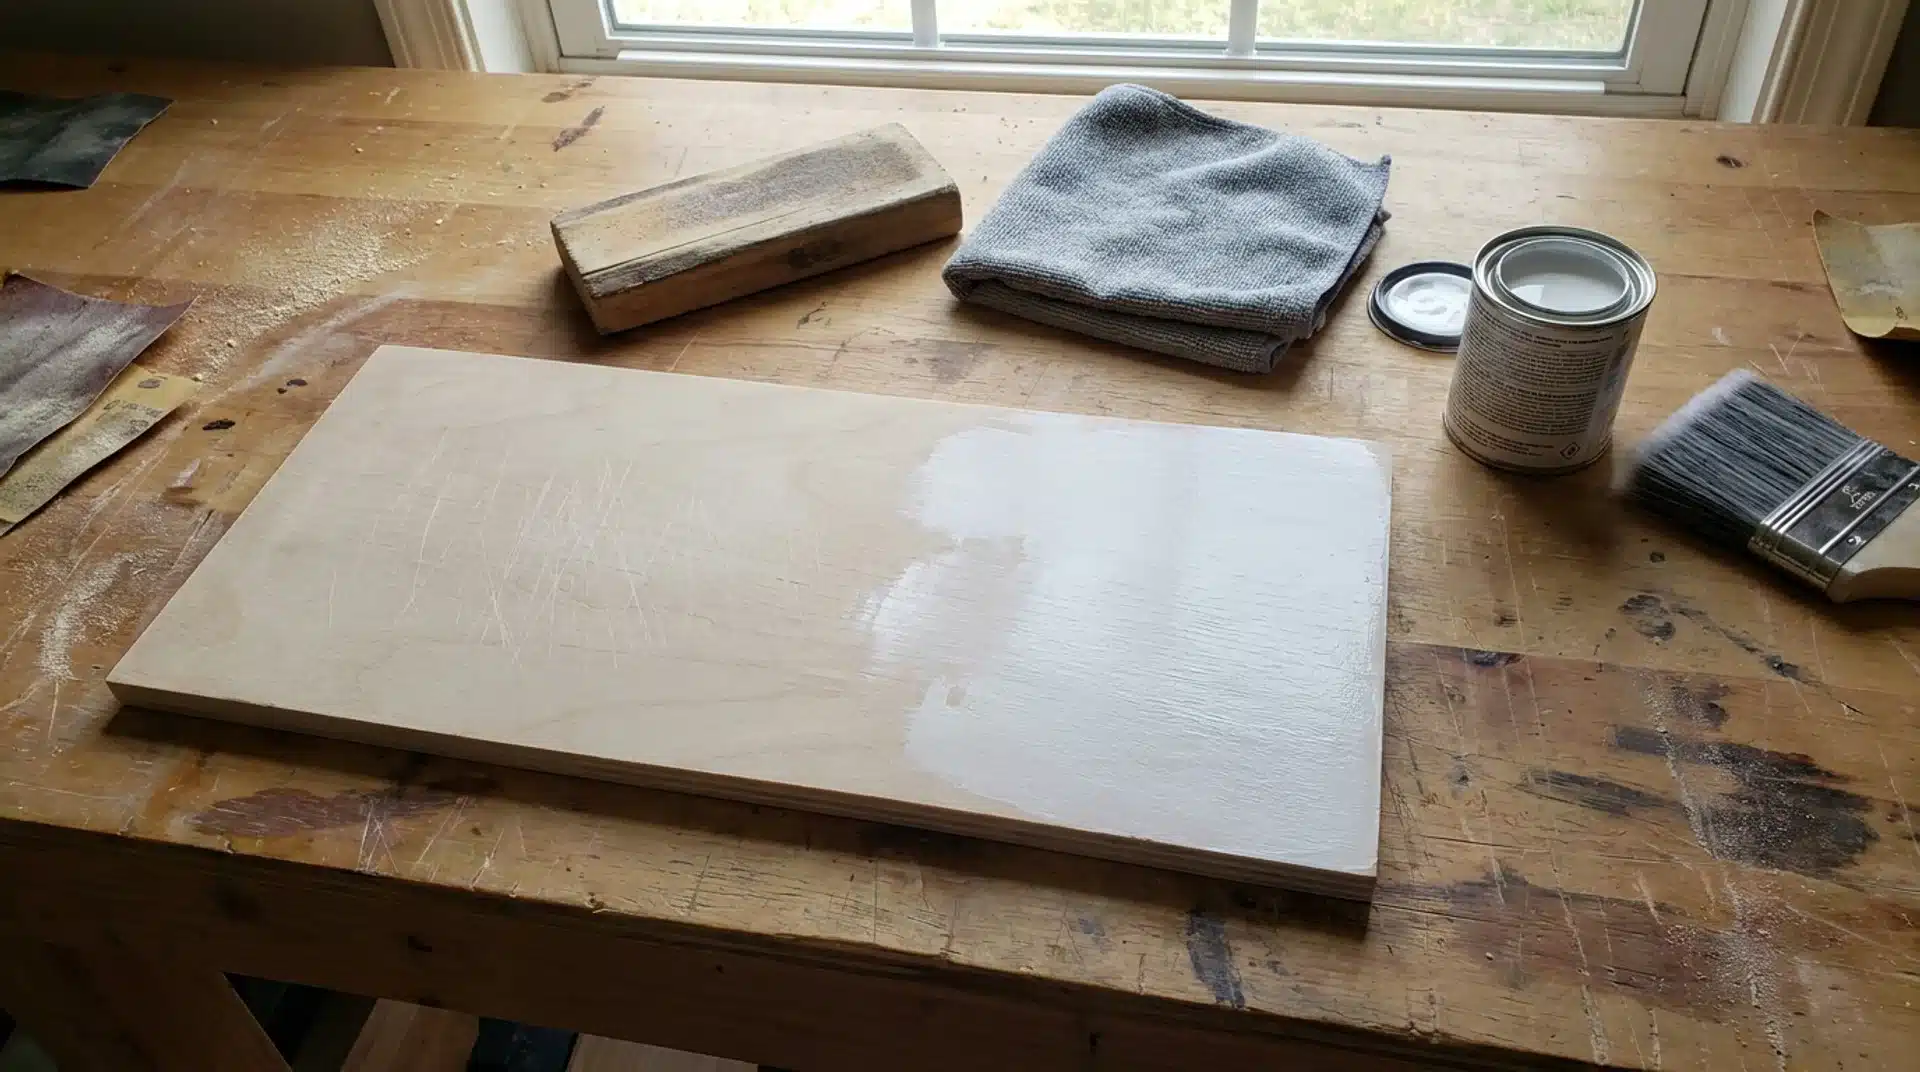
Proper preparation helps acrylic paint adhere better and creates a smoother finish. Clean the wood first, then prepare the surface based on its condition and how you plan to use the finished piece.
- Clean The Surface: Remove dust, dirt, grease, and loose material. Make sure the wood is completely dry before painting.
- Sand Rough or Glossy Areas: Lightly sand rough wood to smooth the surface, or scuff glossy finishes to improve adhesion. Always remove the sanding dust before painting.
- Prime or Seal when Needed: Raw, highly absorbent wood may benefit from a compatible primer, sealer, or acrylic ground to create a more even painting surface. Pre-primed or smooth wood may need less preparation.
- Prepare Problem Areas Carefully: MDF edges are especially absorbent, while stain-prone woods may need a suitable stain-blocking primer. Test your paint system on a small area first if you are unsure about adhesion.
How to Paint Wood with Acrylic Paint?
Once the wood is clean and prepared, painting is simple. Apply thin layers and let each coat dry before adding another. Check the product label, as drying times can vary.
1. Choose Your Paint: Use craft acrylic for small decorative projects and artist acrylic for artwork. For furniture or larger, high-wear pieces, choosing the right furniture paint matters more than sticking with craft acrylic alone.
2. Pick the Right Brush: Use a flat synthetic brush for broad areas and a smaller brush for edges and details.
3. Apply a Thin First Coat: Use smooth, even strokes and avoid loading too much paint onto the brush at once.
4. Let Each Coat Dry: Wait until the paint is dry before applying another coat. Add thin layers until you get even coverage.
5. Finish and Cure: Lightly sand between coats only if you need to smooth raised grain or imperfections. Remove the dust, then let the final coat dry and cure according to the manufacturer’s instructions before heavy use or sealing.
Does Acrylic Paint on Wood Need to Be Sealed?
Not always. Acrylic paint can dry into a durable surface on its own, so sealing is optional for decorative indoor pieces that will not be handled often.
A protective topcoat is more useful for furniture, crafts, or other items exposed to frequent handling, scratches, dirt, or moisture.
Varnish can add protection and make the painted surface easier to clean, but the right product depends on the project and the type of paint used.
For outdoor pieces, use an exterior-rated paint system and follow the manufacturer’s instructions for compatible protective coatings. Always allow the paint to dry or cure fully before sealing.
How to Seal Acrylic Paint on Wood
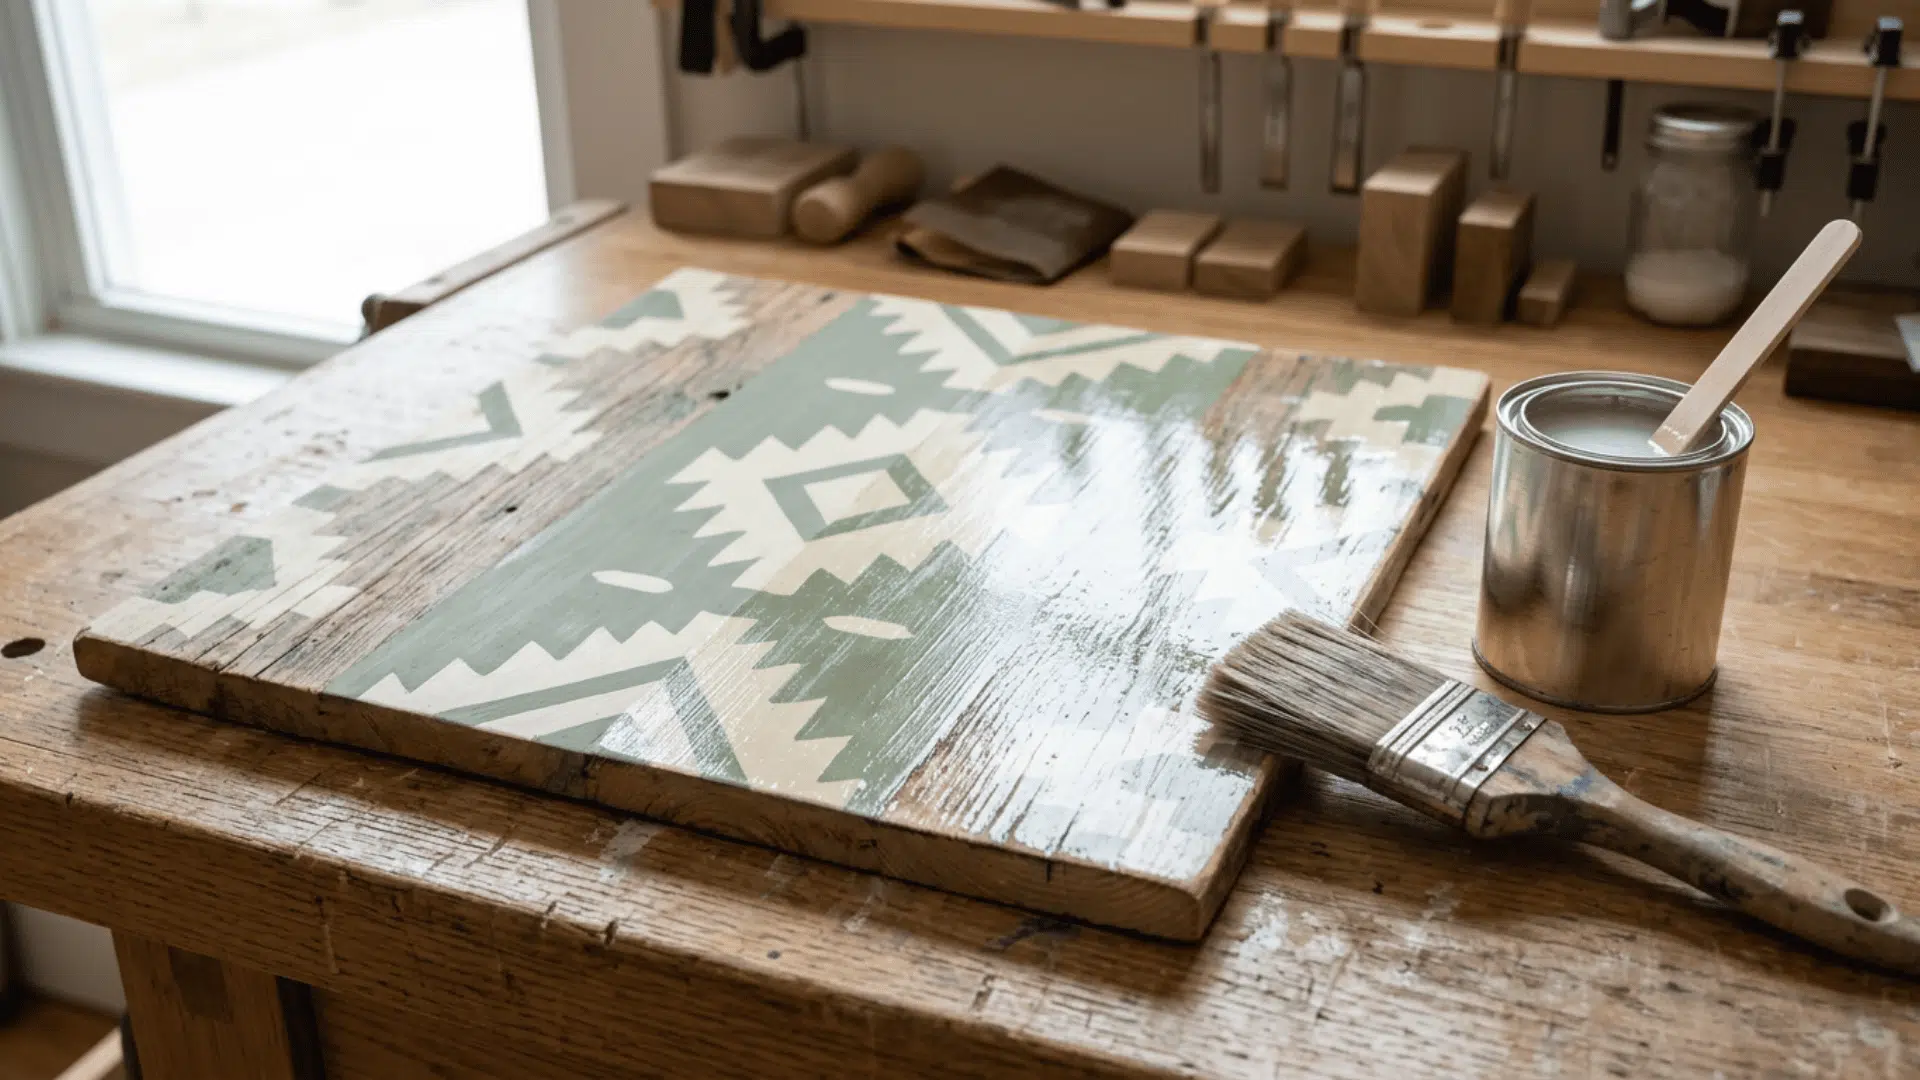
A sealer keeps your painted wood surface safe from scratches, moisture, and fading. For indoor pieces, polycrylic is the go-to option because it dries clear and will not yellow.
Oil-based polyurethane is tougher but can turn slightly yellow over white or light paint. Spray sealers work well for small or detailed projects. For outdoor use, marine-grade or spar urethane holds up best against weather.
Wait at least 24 to 72 hours after painting before you seal, but check your paint’s label; some acrylics need one to four weeks to fully cure before a topcoat will bond properly.
Apply two to three thin coats with a soft brush, letting each one dry fully before the next.
How to Prepare Different Wood Surfaces for Acrylic Paint
Different wood surfaces need different preparation to prevent uneven absorption, stain bleed-through, peeling, and poor adhesion. The table below highlights the main steps and concerns.
SURFACE | PREPARATION | MAIN CONCERN |
|---|---|---|
Plywood | Lightly sand the surface and prepare rough or exposed edges as needed. | Rough edges, splinters, and thin surface veneer |
MDF | Seal or prime the surface and cut edges before painting. | Heavy absorption and swelling when exposed to moisture |
Furniture | Clean away dirt and grease, remove loose coating, and scuff-sand glossy areas. Use a bonding or stain-blocking primer when needed. | Daily wear and poor adhesion on smooth finishes |
Pine | Sand smooth and use a suitable stain-blocking primer on knots or areas showing bleed-through. | Resin, knots, and discoloration |
Previously Painted Wood | Remove loose or peeling paint, clean the surface, and sand glossy areas before repainting. | Weak or failing old coatings |
Wood Slices | Make sure the wood is dry and stable, then remove loose bark or fibers before painting. | Cracks, loose bark, and natural movement |
Using Acrylic Paint on Wood Outdoors
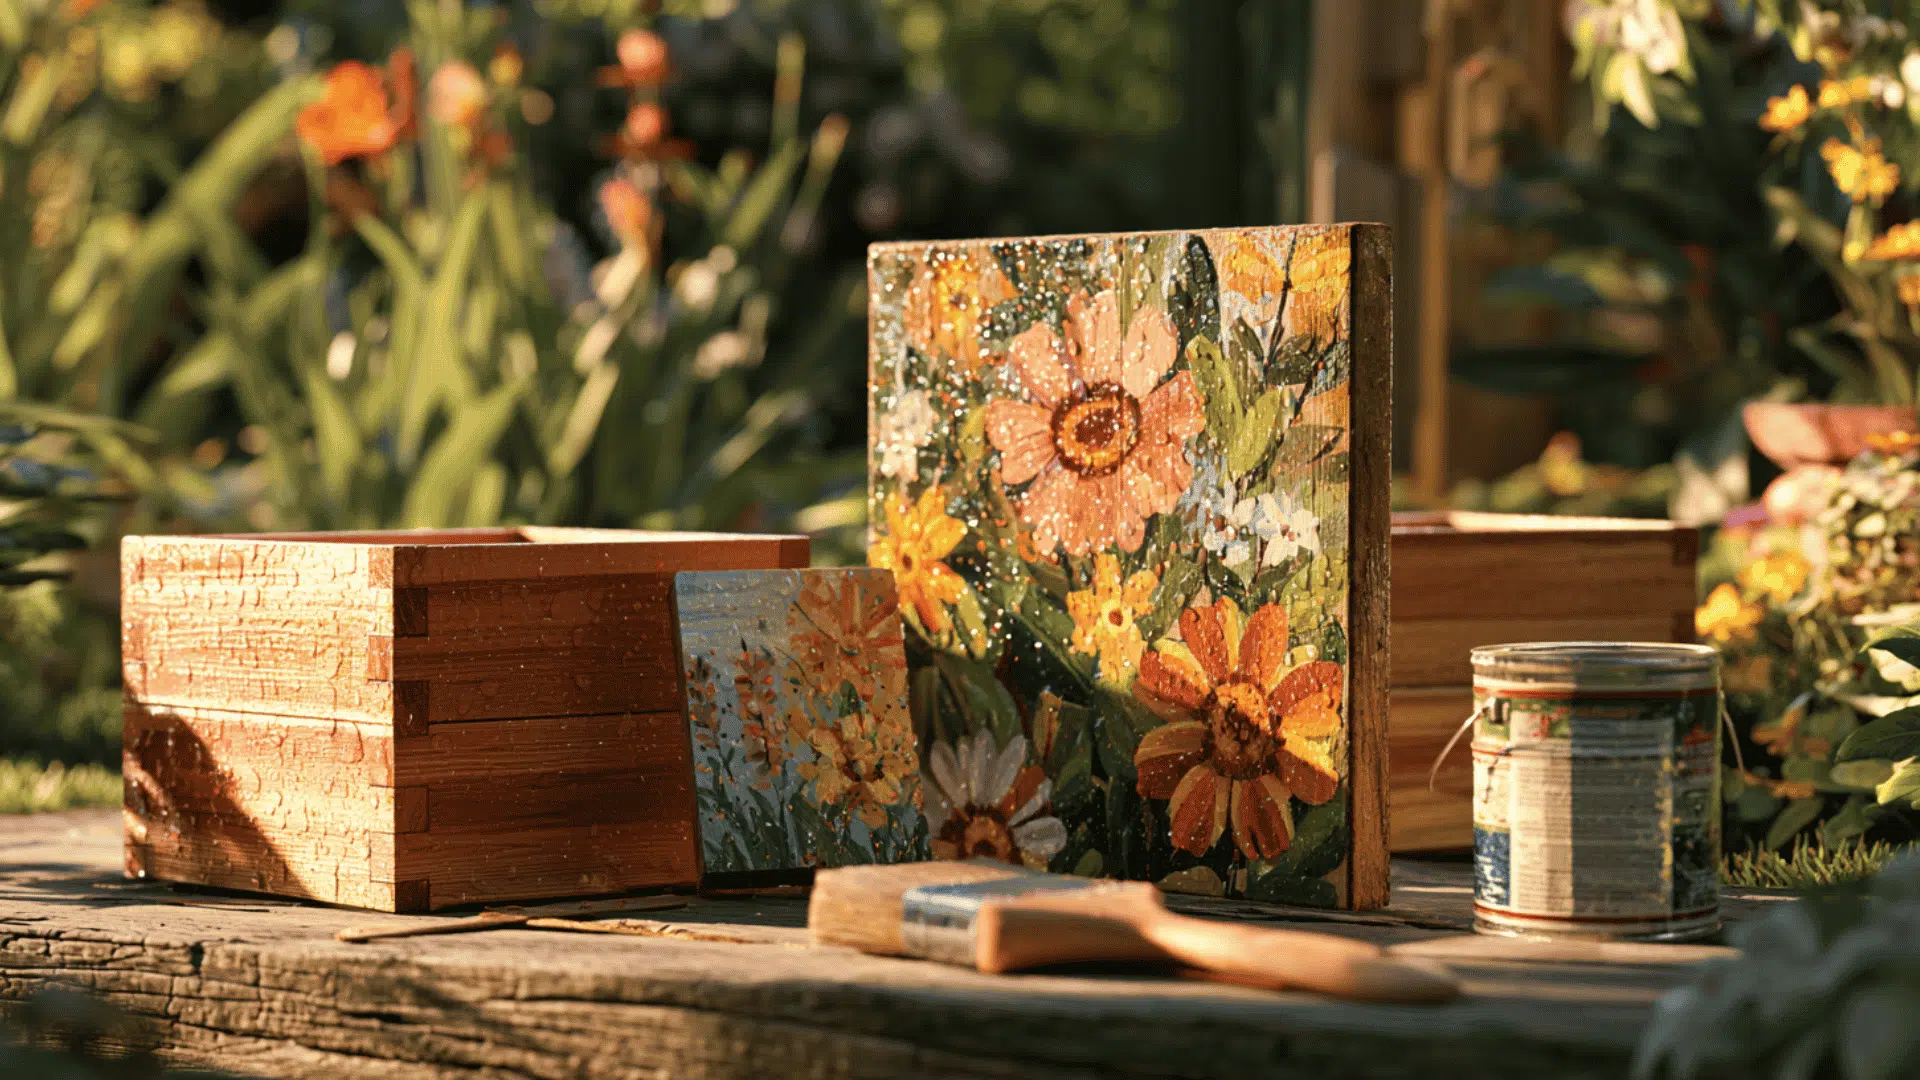
Regular acrylic paint does not hold up outdoors without extra care. Let it dry fully, then seal every side of the wood before it faces rain or sun.
Use spar urethane instead of regular polyurethane, since it bends with the wood and blocks UV rays, though oil-based versions can yellow over time.
Pick cedar or treated lumber instead of MDF, which soaks up water and falls apart. Check the finish once a year and add a new coat every one to three years, since no sealer lasts forever.
Some let their wood age naturally into a worn patina instead of resealing. A five-year Forest Products Laboratory study found sanding plus water-repellent treatments, like tung oil, made outdoor paint last longer.
Common Mistakes and How to Fix Them
Even with good prep, things can go sideways. These are the most common issues and what to do about them.
- Paint Peeling Off: This usually means the surface was dusty, oily, or not sanded before painting. Strip the loose paint, sand the area, prime it, and repaint.
- Blotchy or Uneven Color: Too much water in the paint or no primer on porous wood. Sand lightly, apply a coat of gesso, and start over with thicker paint.
- Yellow or Brown Stains Bleeding Through: Tannin bleed from pine or cedar. Sand the area, seal with a shellac-based primer like Zinsser BIN, and repaint.
- Sticky Finish that Will Not Cure: Thick coats in humid conditions cause this. Move the piece to a dry, well-ventilated space and give it a few extra days.
- Cracking over Time on Outdoor Pieces: Wood expands and contracts with temperature and moisture changes. A flexible acrylic finish and a flexible sealer handle this better than rigid coatings.
Wrapping Up
Using acrylic paint on wood is simple when you prepare the surface and choose products that fit the project. Clean and sand the wood as needed, use a primer or sealer when the surface requires one, and apply thin, even coats.
Decorative indoor pieces may not always need a topcoat, but furniture, frequently handled items, and outdoor projects often need extra protection.
Always follow the instructions for the specific paint and finish you use, especially when drying and curing times are involved. With a little care, acrylic paint on wood can look smooth and last longer.
Have you painted wood with acrylics? Share your experience or questions in the comments below!
Frequently Asked Questions
How Many Coats of Acrylic Paint Do You Need on Wood?
Most wood projects need two to three thin coats for solid, even coverage. Darker colors, unprimed surfaces, or absorbent wood like MDF may need an extra coat to hide grain.
Can Oil-Based Paint Be Used over Acrylic Paint on Wood?
Yes, fully cured oil-based paint can go over acrylic paint since oil stays flexible. Reversing the order is risky, since acrylic struggles to adhere over oil-based paint and can crack.
Can Acrylic Paint Be Used on Wood Floors?
Acrylic paint can cover wood floors, but foot traffic demands a floor-rated topcoat like polyurethane; without it, the paint wears through quickly in walkways, entryways, and high-traffic areas.