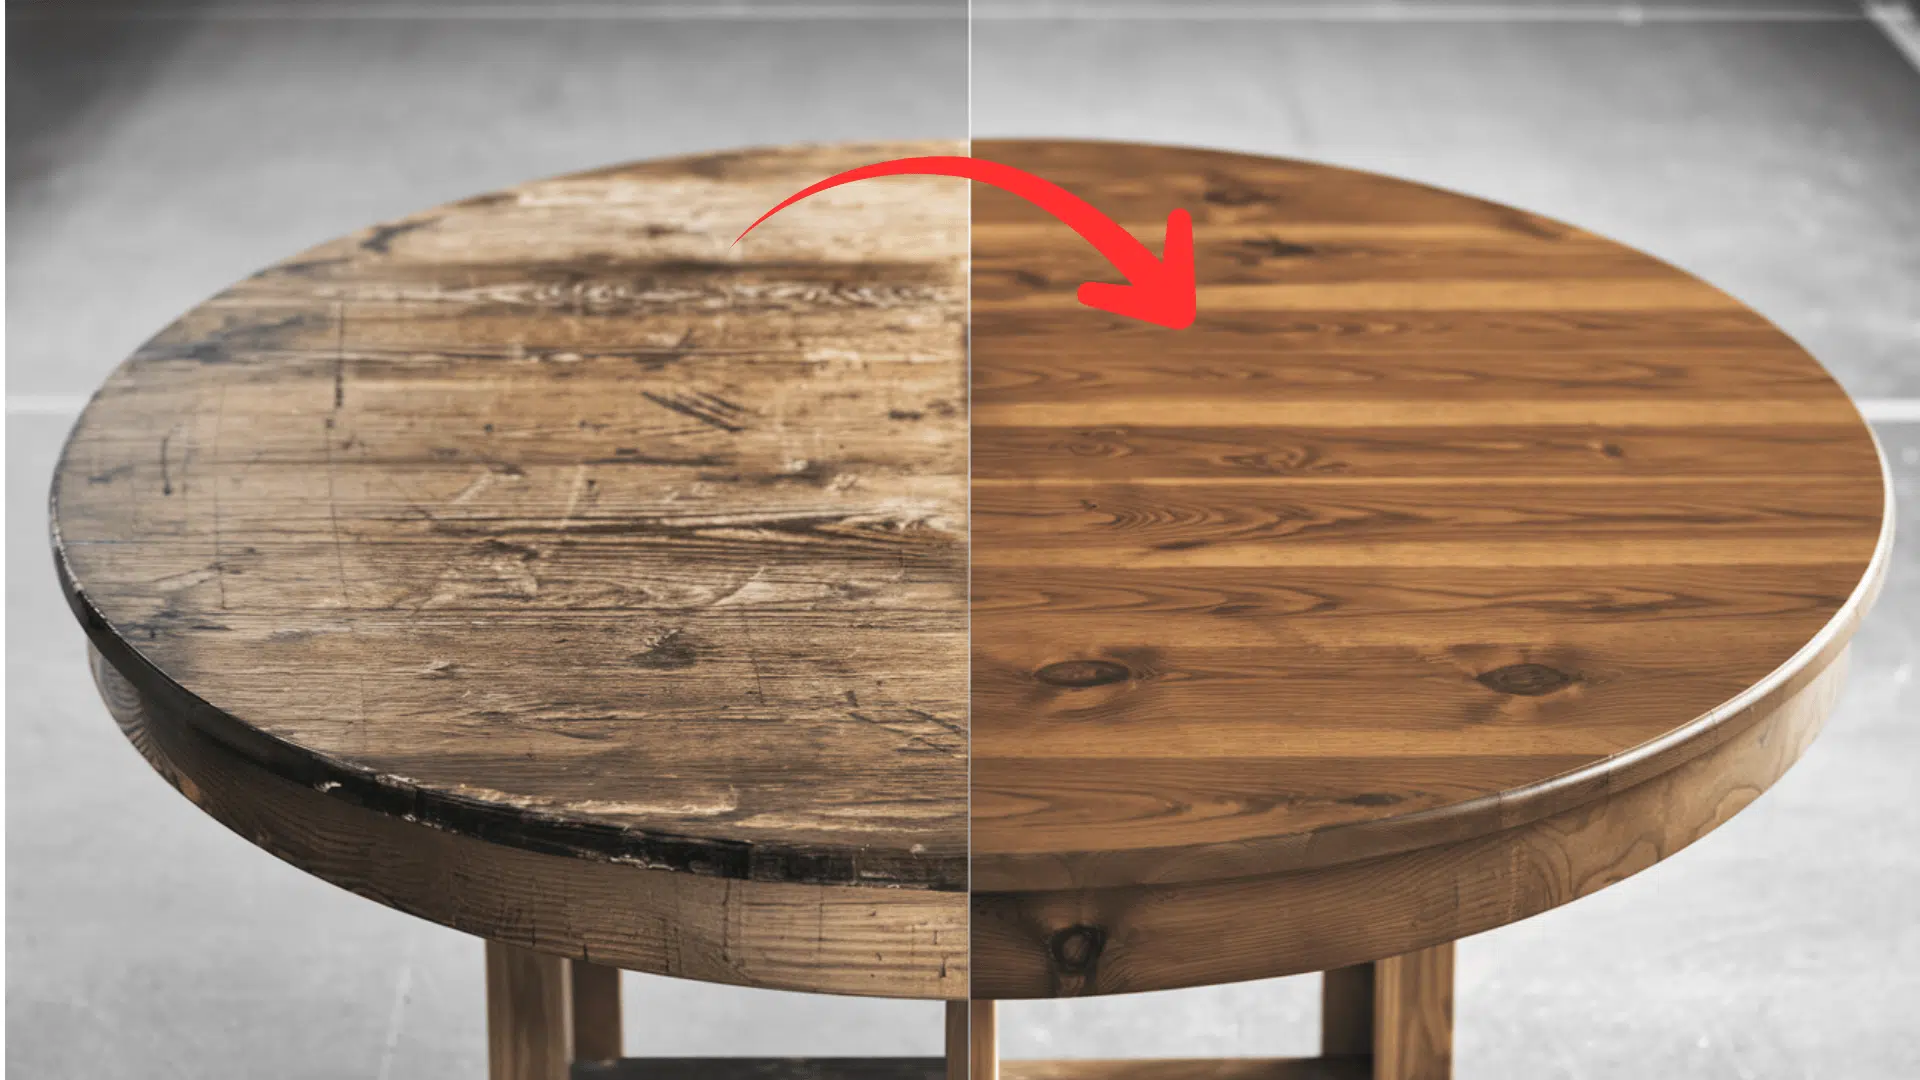
When I learned how to refinish a wood table for the first time, I realized it was something you can do even if you’ve never tried a project like this before.
You don’t need fancy tools or years of experience. You just need clear steps, a little patience, and a plan.
In this guide, I’ll walk you through everything from picking the right supplies to sanding, staining, and sealing your table so it looks fresh again.
I’ll also share the small details that matter, like how to avoid uneven spots and when to slow down so you get a clean finish.
By the end, you’ll know the process and what to expect. My goal is to help you refinish your table with confidence and keep the process simple.
Why Refinishing a Table is a Good Idea?
Refinishing a table is a practical way to give a piece new life when it’s starting to look worn, dull, or scratched.
Instead of spending money on a new table, you can update the one you already have with some time and steady effort.
When you refinish, you’re removing old marks, fixing rough spots, and giving the wood a cleaner, smoother surface. It’s a straightforward way to make a table look cared for again.
Many people choose to refinish because it’s budget-friendly and lets them keep a solid piece that still has plenty of use left in it.
You can also change the color, tone, or style to better fit your home. If your table is painted rather than stained, painting it instead of stripping down to bare wood is sometimes the faster route.
Whether you want a lighter look, a richer stain, or a simple refresh, refinishing gives you control over the final result while making the most of what you already have.
Tools & Materials Needed
Make sure to gather these basic items before you start:
| Item | Purpose |
|---|---|
| Sandpaper (80, 120, 220 grit) | Removes finish and smooths wood |
| Sanding block | Keeps pressure even |
| Tack cloth | Removes dust before finishing |
| Wood filler | Repairs dents and cracks |
| Degreasing cleaner | Cleans the surface before sanding |
| Dust mask | Protects from dust |
| Polyurethane | Seals and protects the table |
| Brush | Applies finish |
How to Refinish a Wooden Table: Step-By-Step Process
Now that your tools are ready, you can start the refinishing work. Each step builds on the last, so move in order and don’t rush for the best results.
Quick note before you start: if your table was previously painted or varnished, you’ll need a bit more sanding upfront to strip that layer. If it’s bare or lightly stained wood, you can skip straight to sanding.
Step 1: Clean and Prep the Table
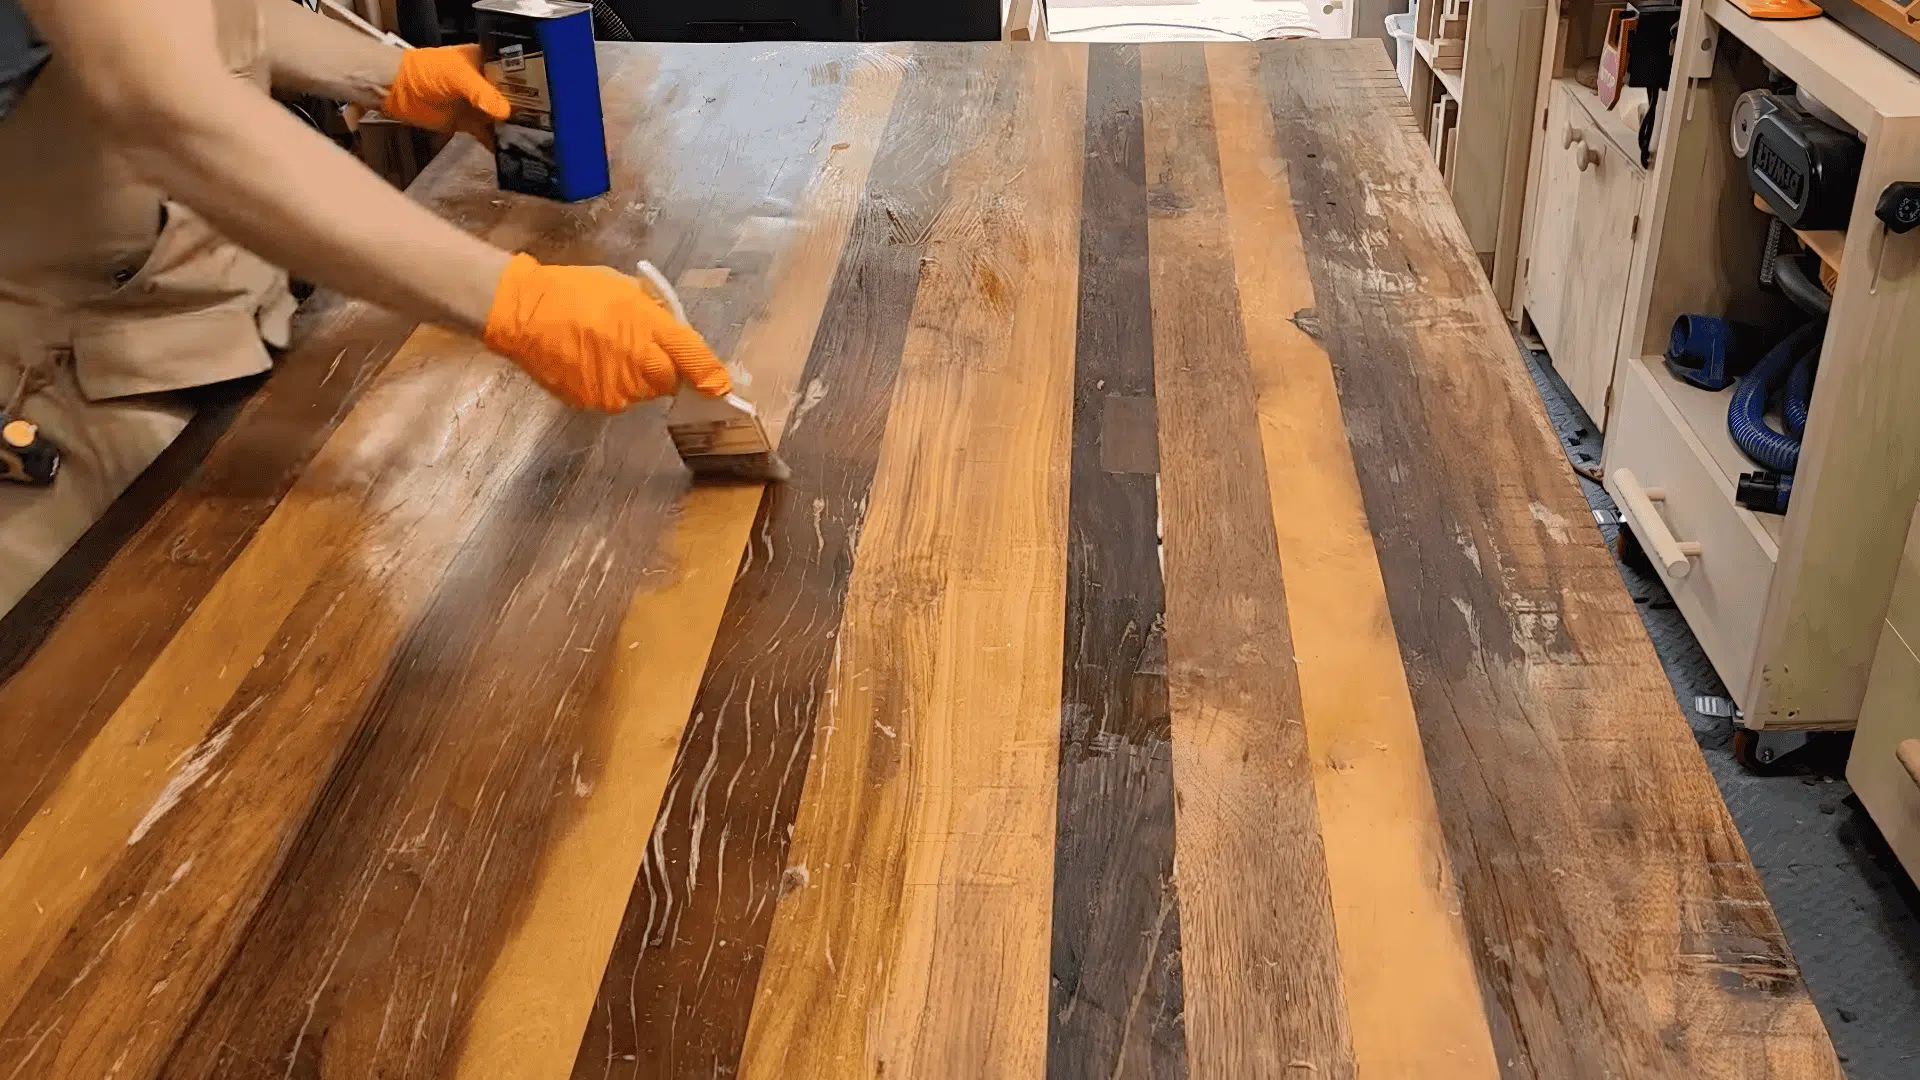
Remove all hardware and store screws in labeled bags, then clean the entire surface with degreasing cleaner to remove oils, dirt, and grime that could interfere with sanding.
Pay special attention to areas where hands touch frequently, as these spots collect more buildup.
If your table has water rings or cloudy spots from cups and glasses, deal with those separately before sanding. Clearing up water stains first keeps you from sanding more than you need to just to chase a mark that a simpler fix could have handled.
Set up in a well-ventilated space like a garage, laying down protective covering to catch dust.
Make sure you have good lighting so you can spot any missed areas during cleaning and prep, as poor visibility often leads to skipped sections that cause problems later.
Pro Tip: Photo the hardware before removing it for easy reassembly.
Step 2: Sand the Table Surface
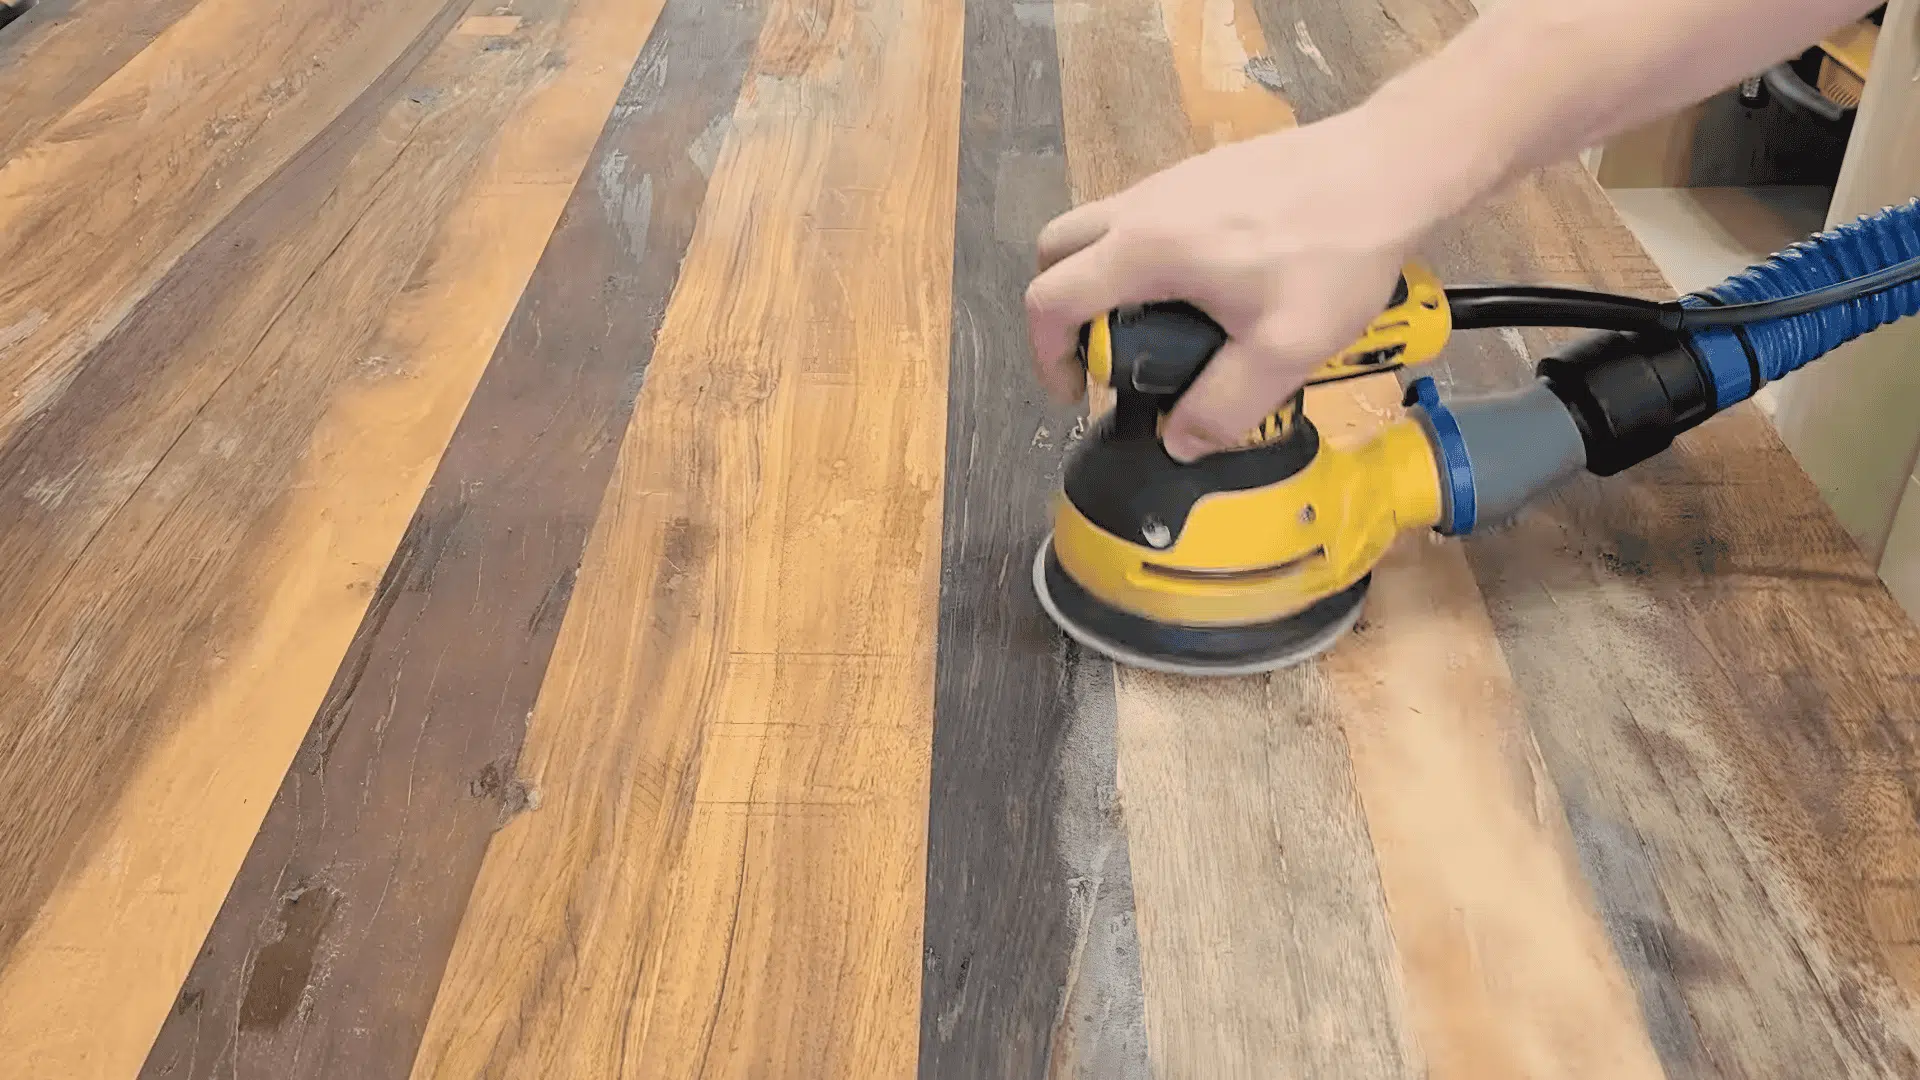
Begin with 80-grit sandpaper to strip away the old finish, always sanding parallel to the wood grain since cross-grain scratches become visible through stain.
Switch to 120-grit to smooth out the coarser scratches, then finish with 220-grit to prepare the surface for stain.
Don’t skip grits, as each one removes marks from the previous level.
Keep steady, even pressure throughout, and avoid staying in one spot too long to prevent uneven surfaces, which create low spots that show up as darker areas after staining.
Pro Tip: Wipe the surface with a damp cloth between grits to check your progress.
Step 3: Fix Surface Damage
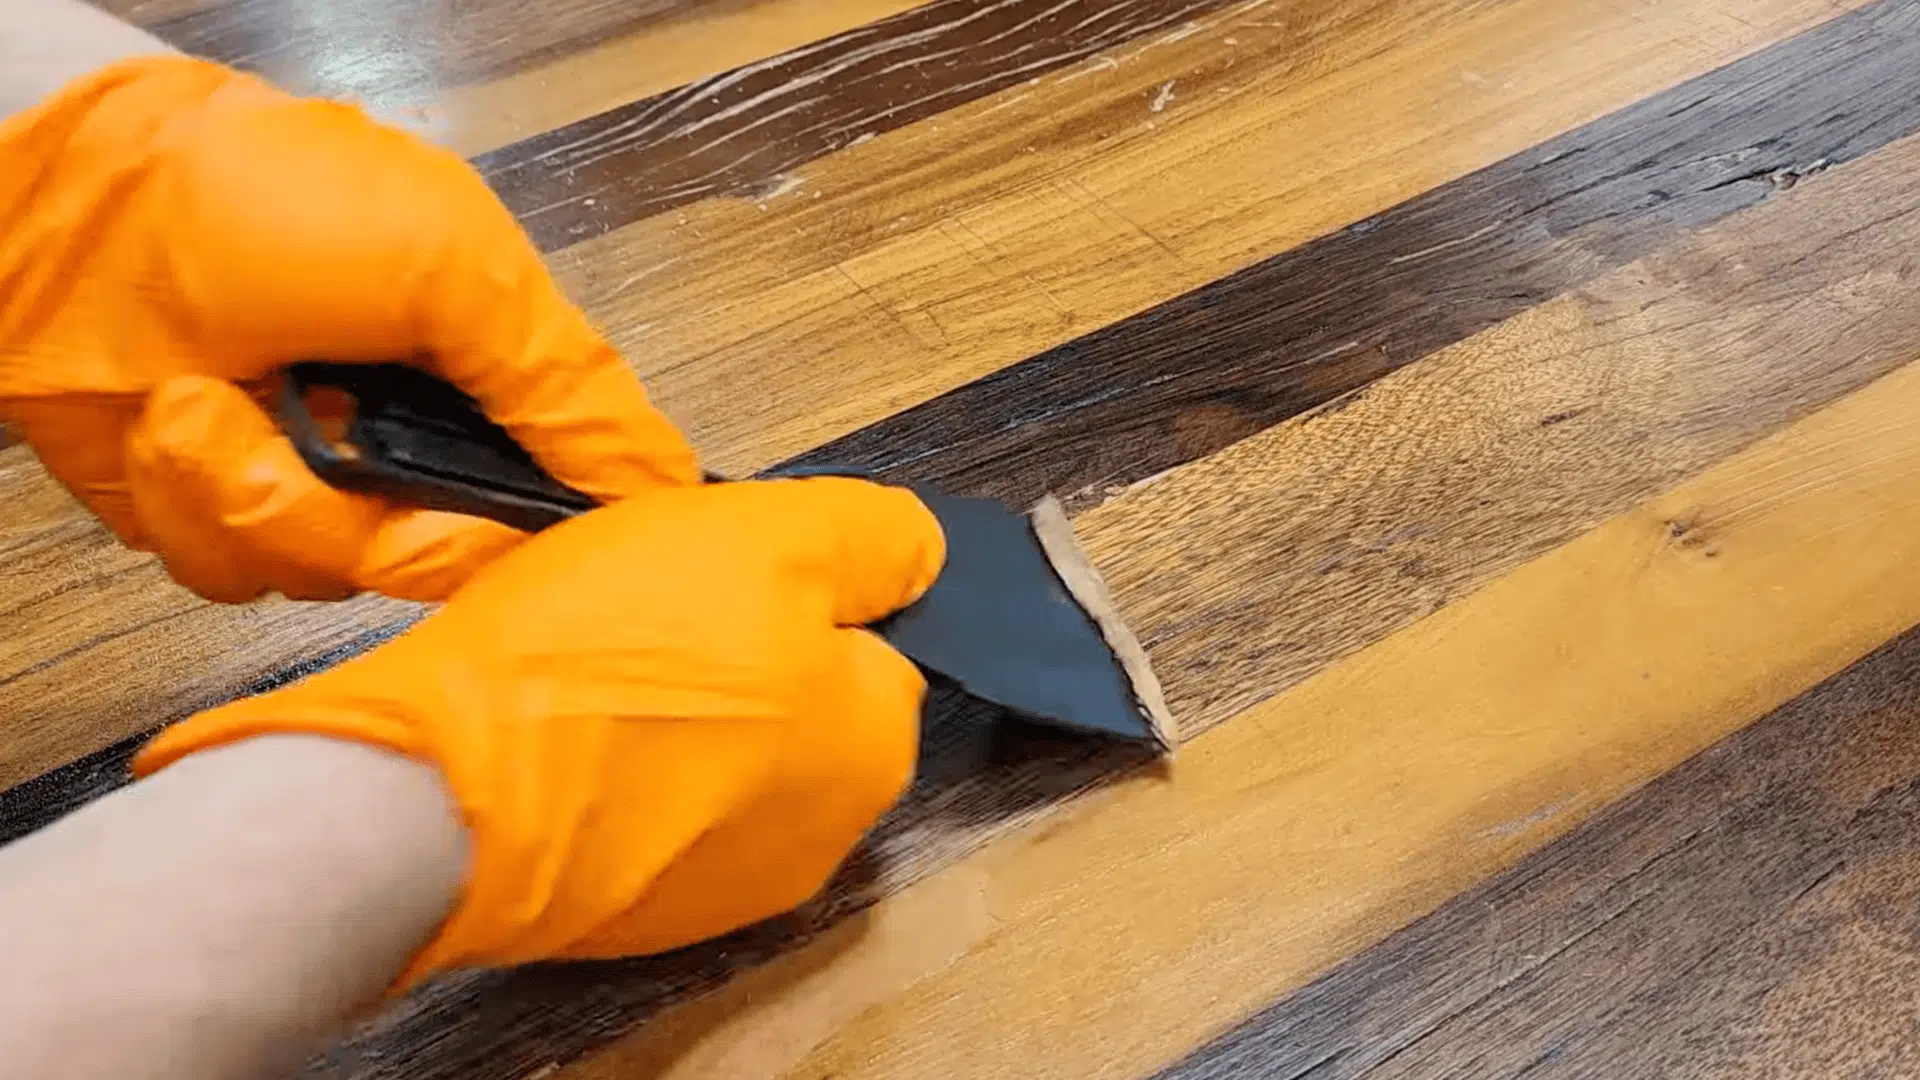
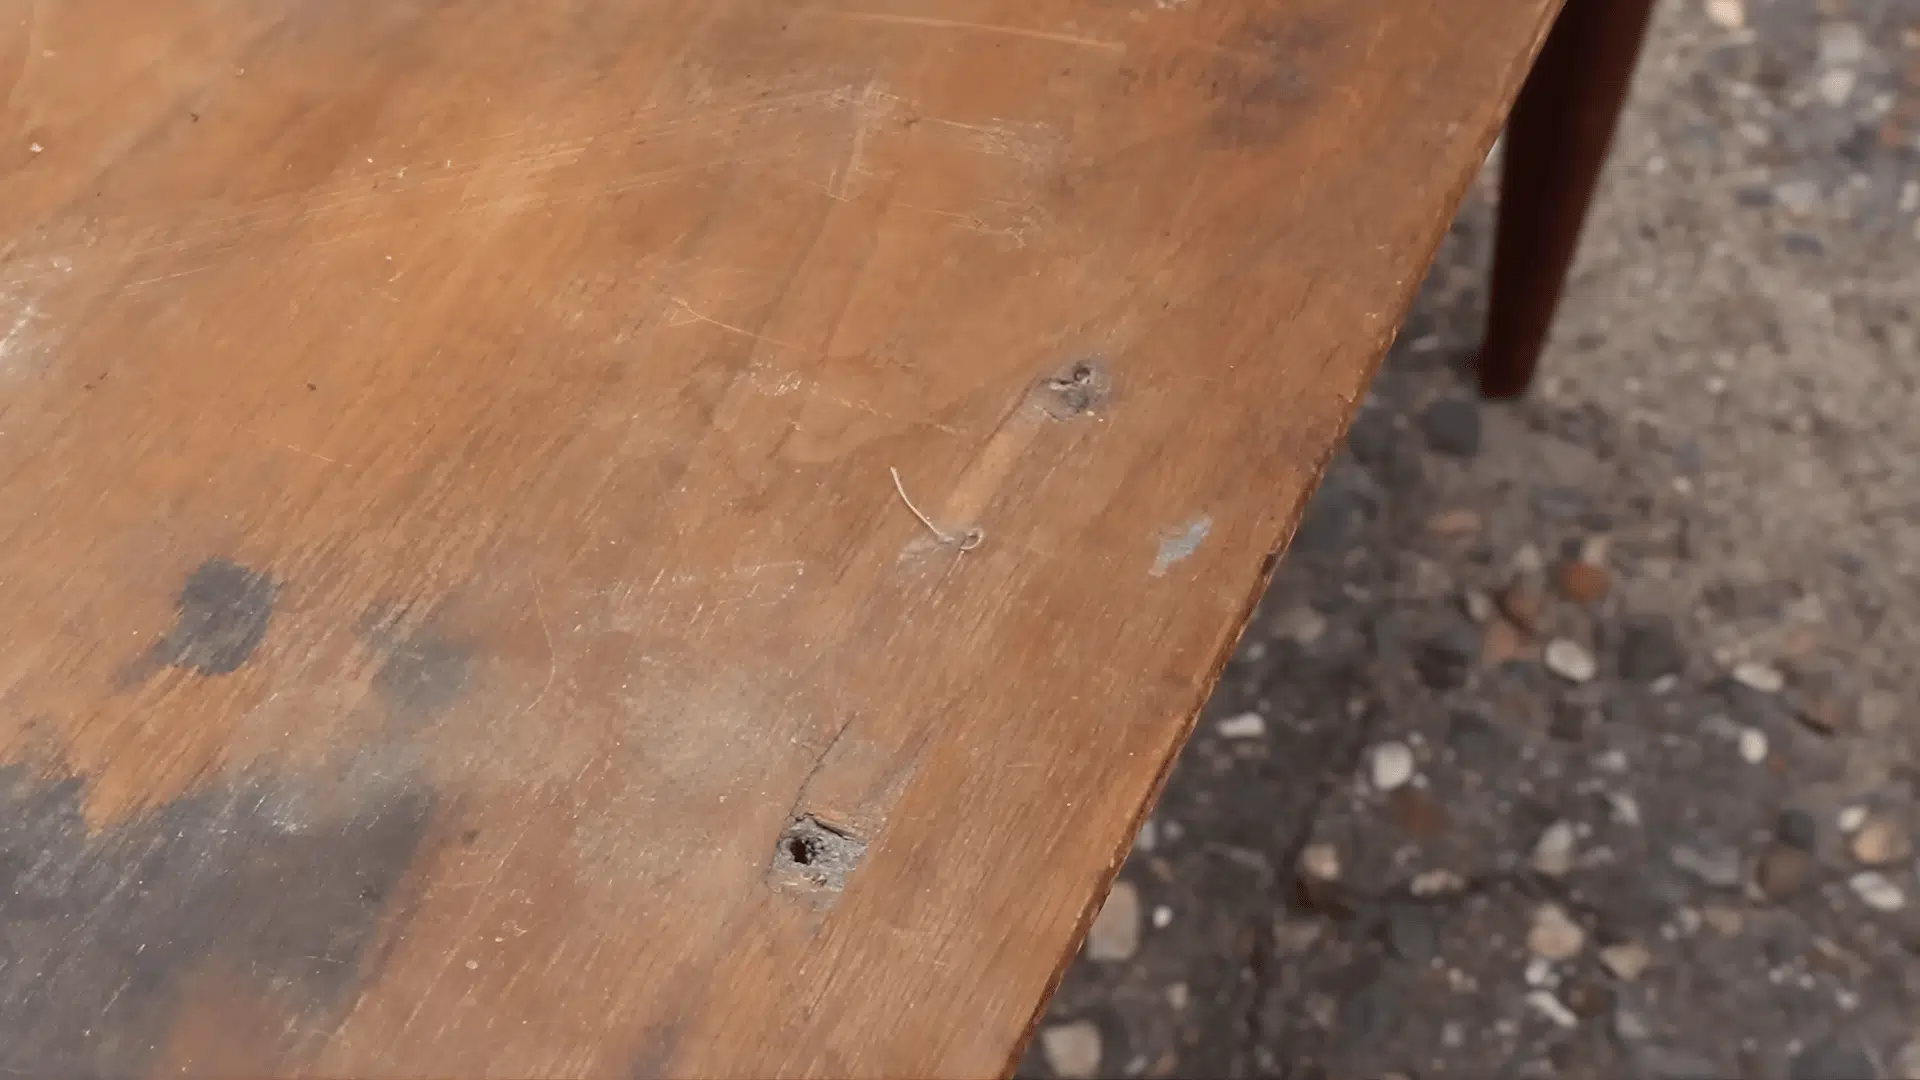
Check the bare wood for dents, cracks, and serious damage that need fixing, as small scratches usually disappear during finishing.
Press wood filler firmly into damaged areas and overfill slightly since it shrinks as it dries.
For serious damage, build up thin layers and let each one dry for 2 to 4 hours before adding more, and once fully dry, sand the repaired areas flush using 120-grit followed by 220-grit.
Choose a filler that matches your wood type for better blending, as the color difference becomes more visible once the stain is applied.
Pro Tip: Test filler dryness by gently pressing your fingernail into it.
Step 4: Remove All Dust
Vacuum the entire table thoroughly, including the top, bottom, legs, and all crevices, to remove bulk dust.
After that, wipe everything down with a tack cloth to pick up the fine particles that vacuuming misses.
Work systematically from one end to the other using light pressure, refolding the cloth to expose clean sections as you go.
Pay extra attention to corners, carved details, and joints where dust tends to accumulate.
A clean surface helps your finish stick better and keeps bumps from showing up in your final coat, saving you from having to sand down and reapply everything.
Pro Tip: Dust is the number one cause of bumpy finishes, so don’t rush this step.
Step 5: Apply Stain (Optional)
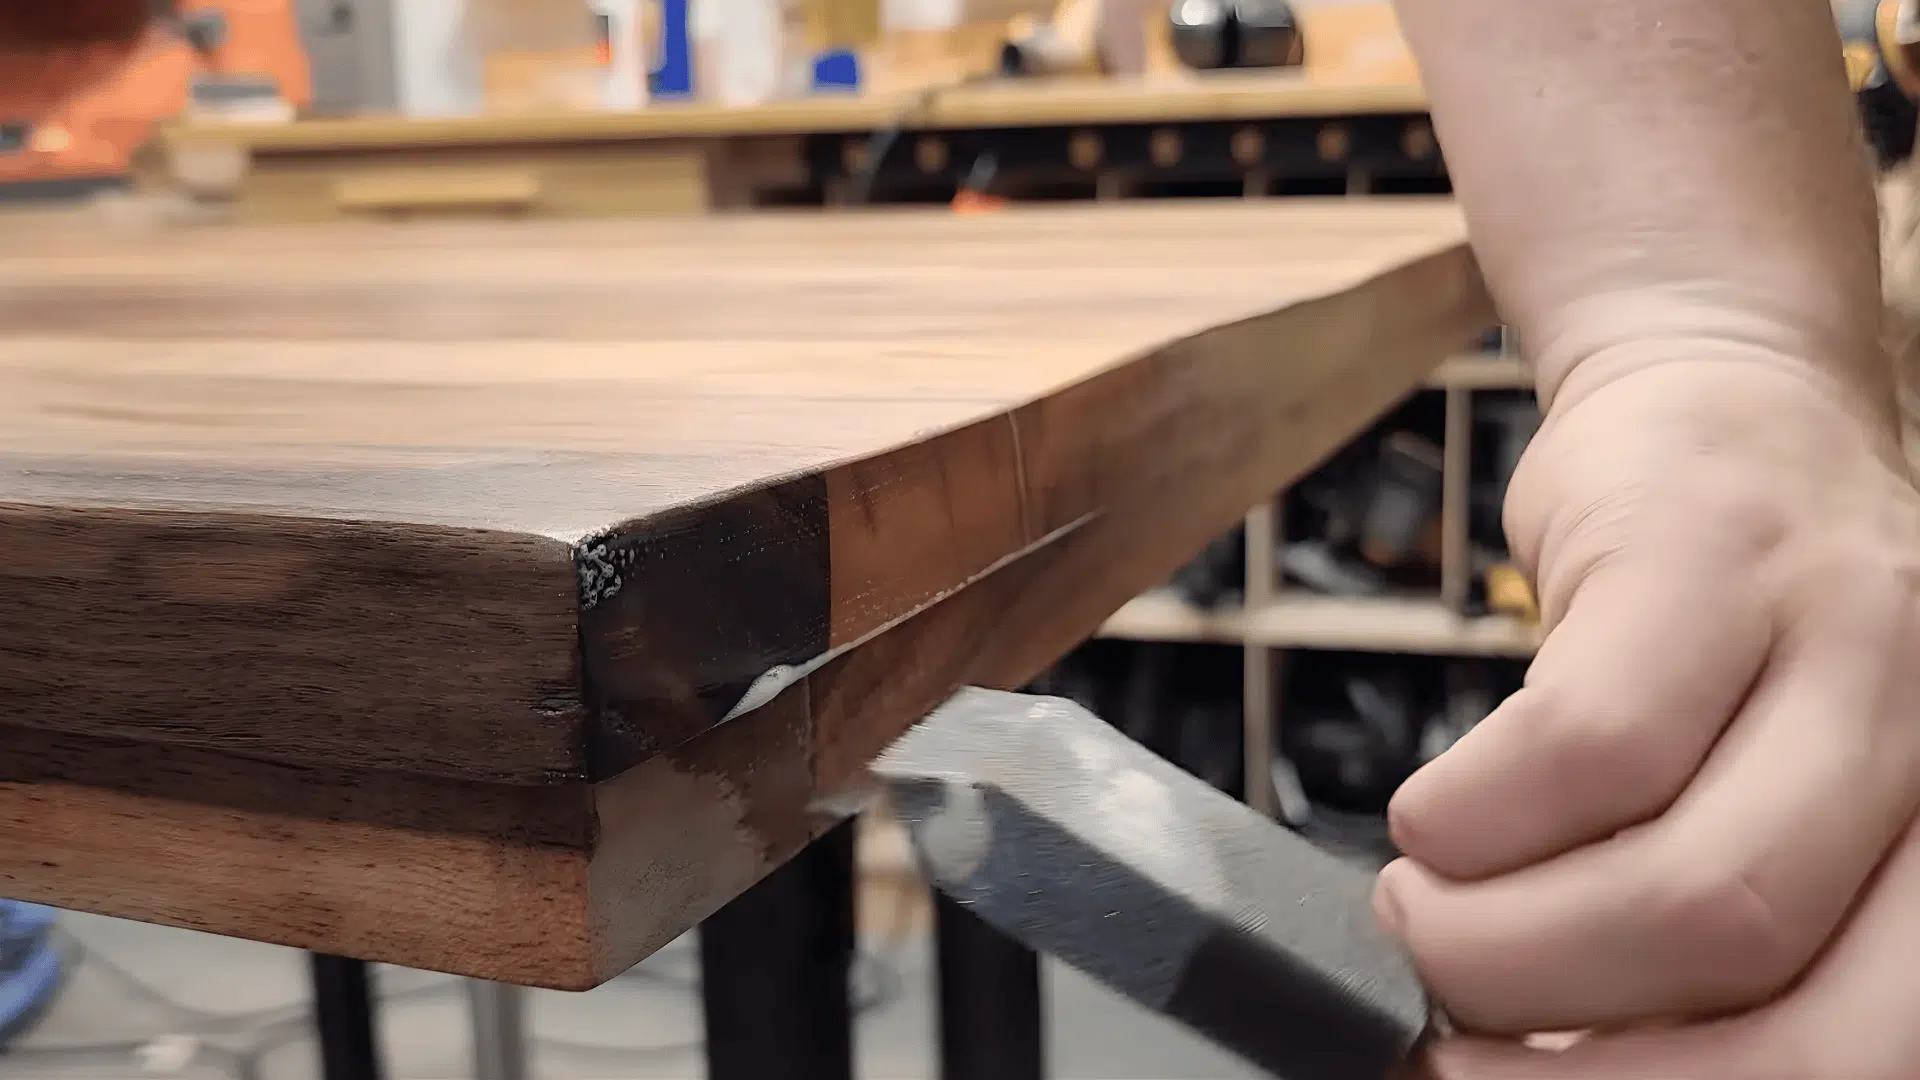
Staining adds color while showing the natural wood grain, though this step is optional if you prefer a clear finish.
Always test your stain on a hidden area first to see how the wood reacts.
Apply stain liberally with a brush or cloth, working with the grain, let it sit for 3 to 5 minutes, then wipe off excess with a clean cloth.
Longer wait times create darker tones while shorter periods produce lighter shades.
Want something with more character than an even stain? Aging the wood on purpose with an oxidizing solution gives you a worn, vintage look instead of a flat, uniform color.
Wait for the stain to dry overnight before proceeding to the next step, as applying the finish over a wet stain causes streaking and uneven color.
Pro Tip: Work in small sections to keep a wet edge and avoid lap marks.
Step 6: Apply Protective Finish
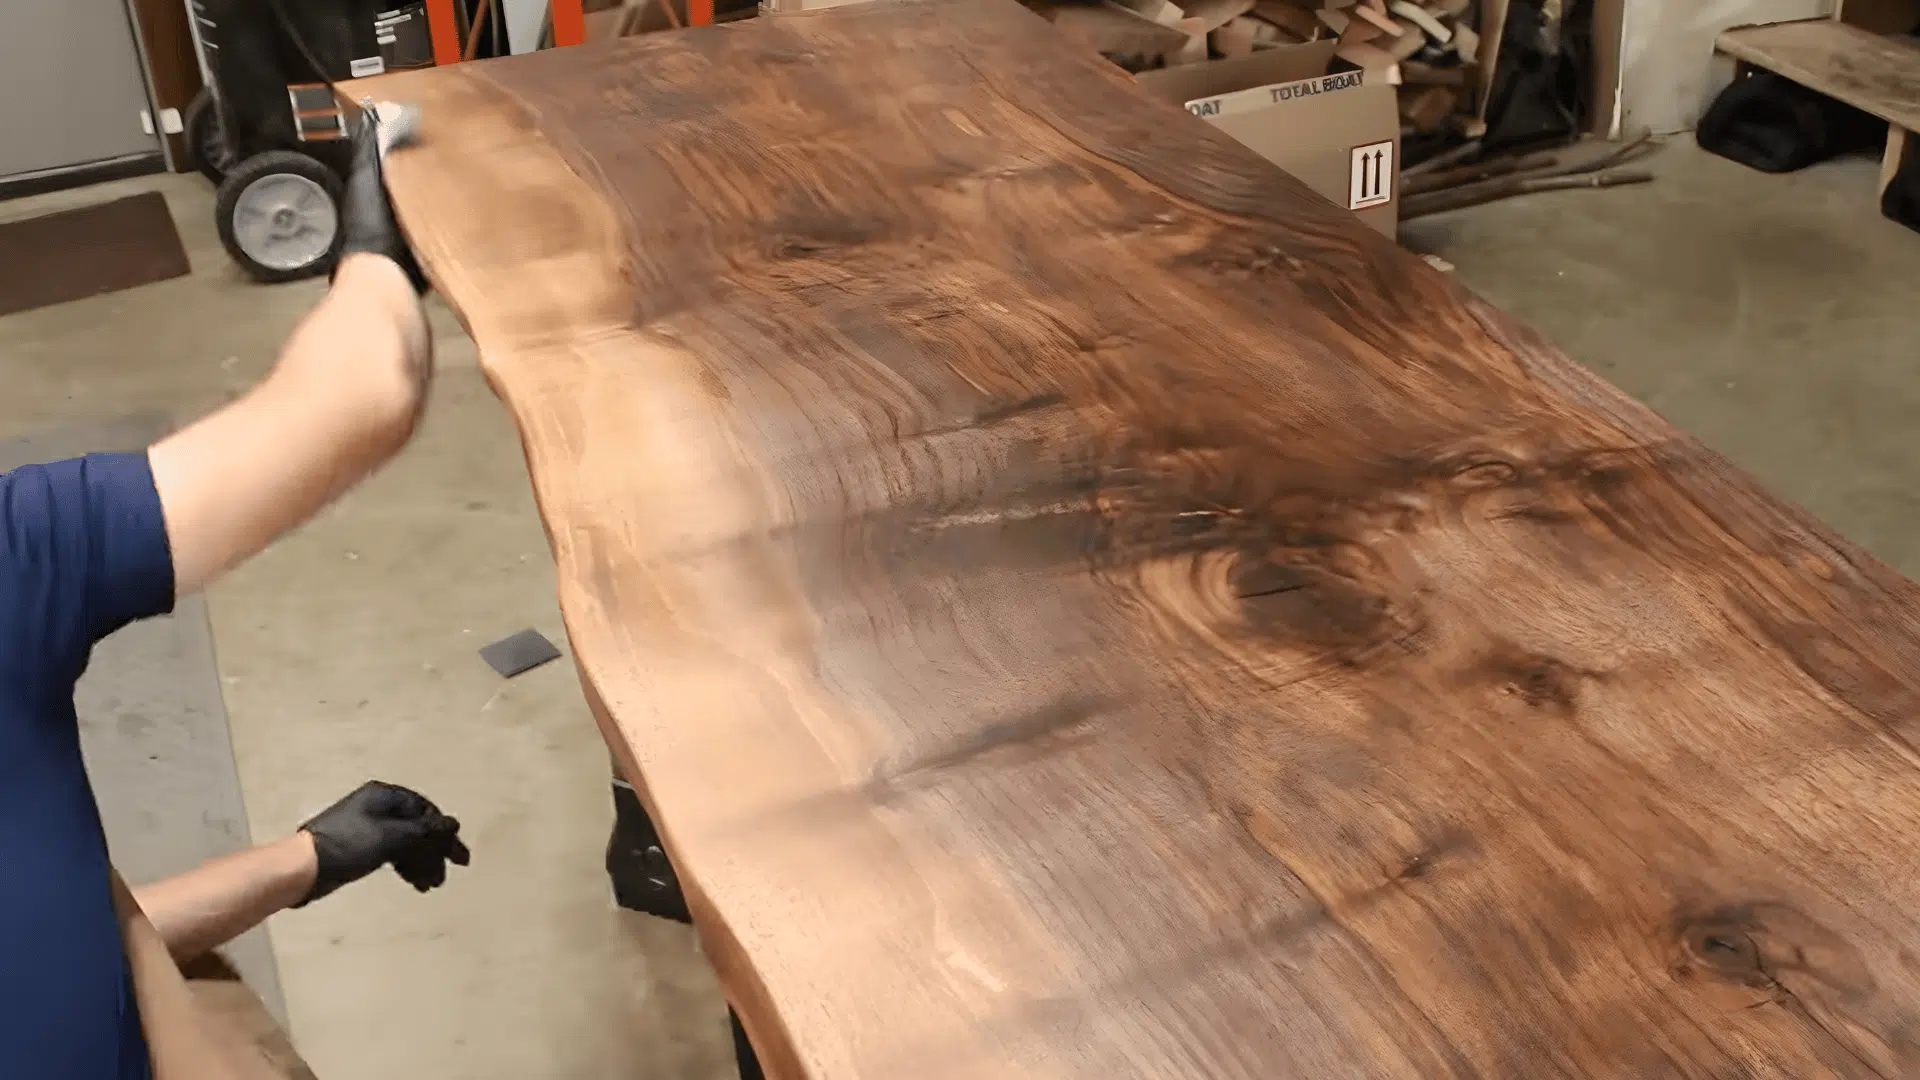
Apply a protective finish to seal the surface and give it long-lasting durability.
Use polyurethane in either oil-based or water-based form and stir it gently to avoid bubbles.
Brush on thin coats along the grain, let each coat dry fully, then sand lightly with 220-grit sandpaper and repeat for two or three smooth, even layers.
Water-based formulas dry faster, but oil-based versions provide richer depth.
Apply your final coat without sanding for the smoothest possible result, as sanding the last layer can leave tiny scratches visible in certain lighting.
Pro Tip: Multiple thin coats work better than one thick coat.
Step 7: Cure Time
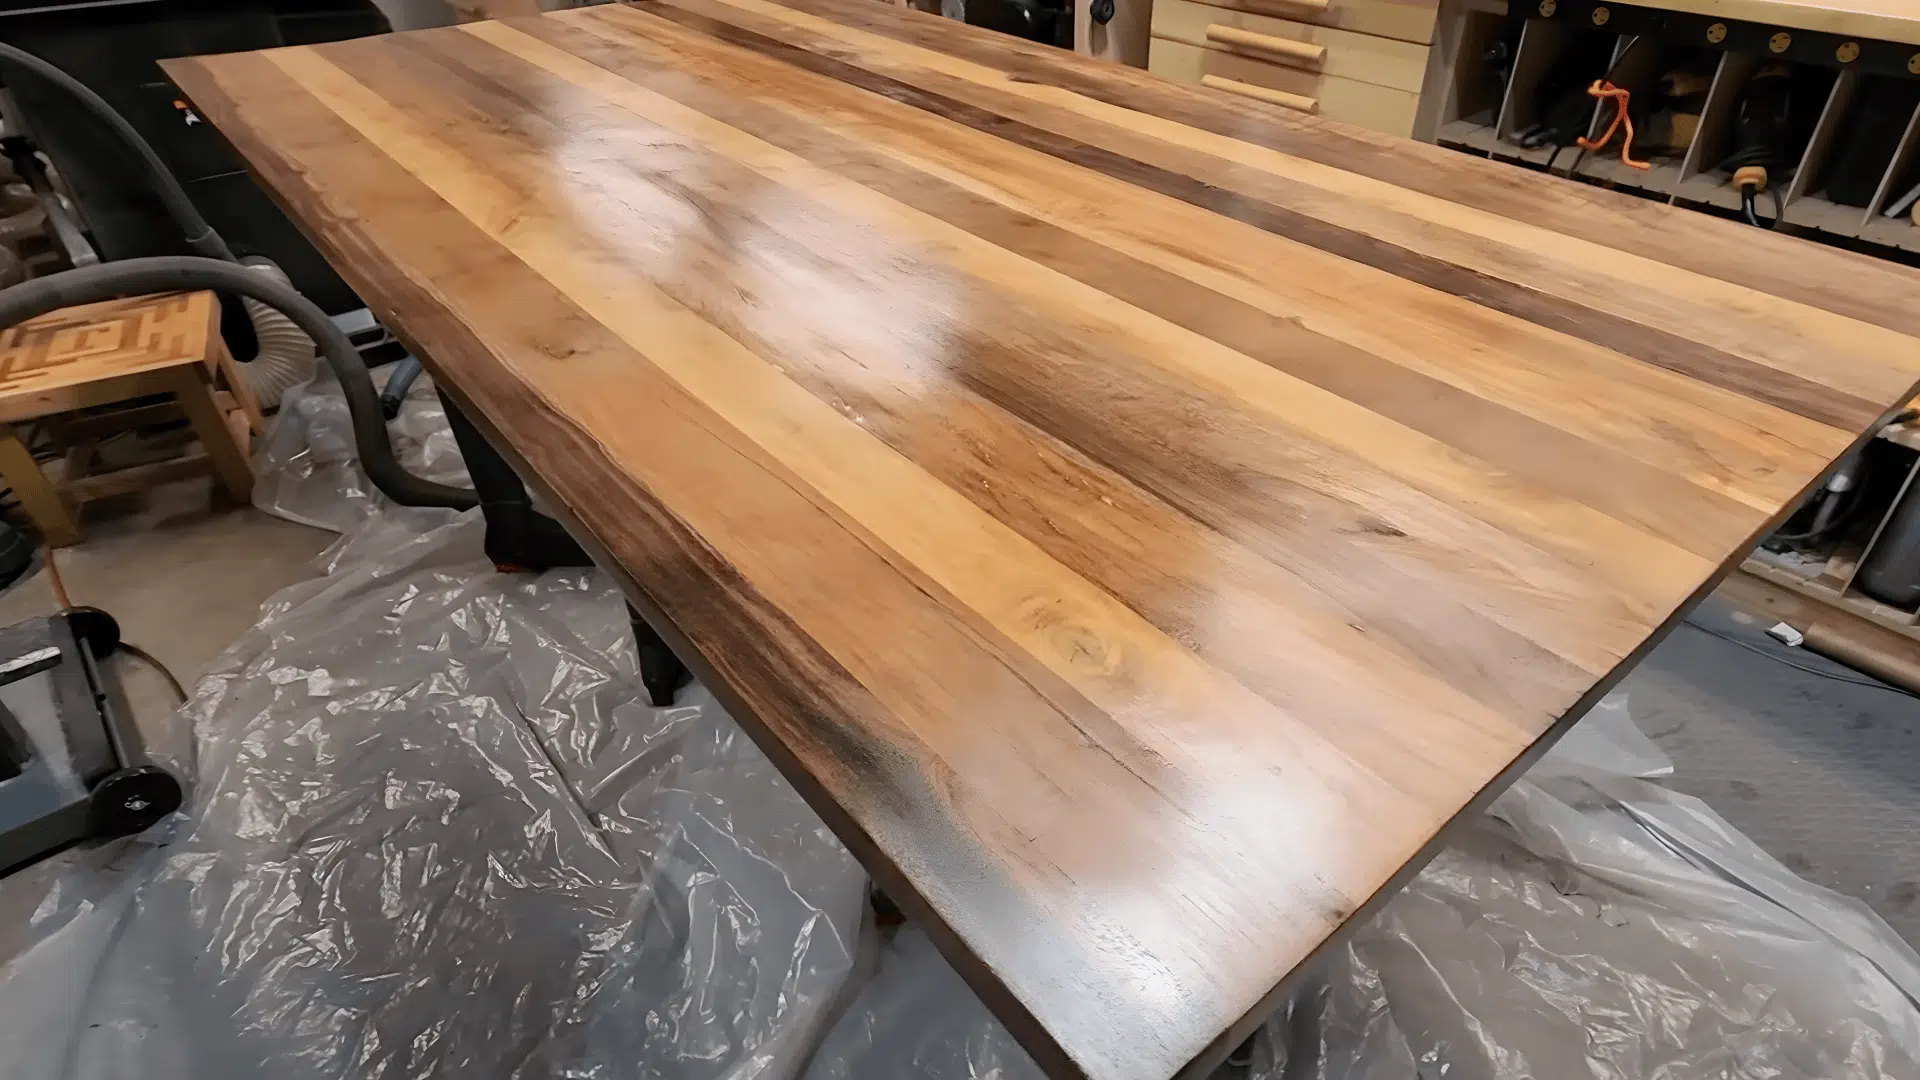
The finish feels dry after 4 to 6 hours. Full cure takes 7 to 30 days, though, as chemical reactions continue inside the finish to make it harder and more durable.
Avoid placing heavy objects during this period to prevent permanent impressions.
Temperature and humidity affect curing speed: warmer, drier conditions speed up the process, while cold or humid environments can double the cure time.
This is when you can safely use your table:
- 24-48 hours: Lightweight items only (centerpieces, mail)
- 3-5 days: Normal dining with placemats
- 1 week: Safe to use tablecloths
- 2 weeks: Can place hot items (always use trivets)
Pro Tip: Mark your calendar for the full cure date to avoid using the table too early.
This tutorial is based on a helpful video by The Evening Woodworker. A big thanks to the creator for providing such a clear and detailed walkthrough.
You can check out the original video on their YouTube channel here or watch it below.
Common Mistakes to Avoid
Even small mistakes during refinishing can ruin your results and waste all your hard work. Watch out for these common errors:
- Skipping sandpaper grits: Jumping from 80-grit to 220-grit leaves deep scratches visible through your stain.
- Applying thick coats: Thick stain creates blotchy spots while thick polyurethane runs, sags, and traps bubbles.
- Poor dust removal: Every dust particle becomes a permanent bump under your finish. Vacuum and use a tack cloth before each coat.
- Using the table too soon: Polyurethane cures for weeks after feeling dry. Early use causes permanent marks requiring complete refinishing.
Community Advice on How to Refinish a Table

A discussion in the Reddit forum highlights practical tips that many DIYers find helpful when working on worn or damaged tables.
Many users point out that stripping the old finish before sanding is one of the smartest steps you can take.
It creates a cleaner, smoother base and helps you avoid more sanding than you need.
Others warn that applying stain over an intact finish almost never gives an even color, which can leave the surface looking blotchy or muddy.
There’s also a shared agreement that refinishing isn’t a quick task. It takes space, time, and patience to do it well.
Because of that, many people suggest planning the process in advance so you’re not rushing or missing steps along the way.
Conclusion
You now know how to refinish a table from start to finish, and each step plays its own role in getting a smooth, clean result.
The process takes patience, but seeing a worn table look new again makes it worth it. The same steps work on plenty of other wooden pieces around your home, too.
If you’ve tried refinishing before, or you’re planning to start soon, share your experience or ask a question in the comments below.
Note: This guide draws on a step-by-step video by The Evening Woodworker, with additional prep notes from Caleb Brown, a DIY builder with hands-on experience in carpentry, woodworking, and home repair.
Frequently Answered Questions
How long does it take to refinish a table?
Plan for a full weekend of hands-on work, spread over several days once you count drying and cure time. Sanding, filling, and cleanup usually take 3 to 5 hours; staining and sealing add another day or two for drying between coats.
Do I need to strip the old finish before sanding?
Only if the table is painted, varnished, or has a thick existing topcoat. Bare or lightly finished wood can go straight to 80-grit sanding without a separate stripping step.
Can I skip staining and still refinish a wood table?
Yes. Staining is optional. Many people sand, fill, clean, and seal with polyurethane over the natural wood color for a clear, simple finish.