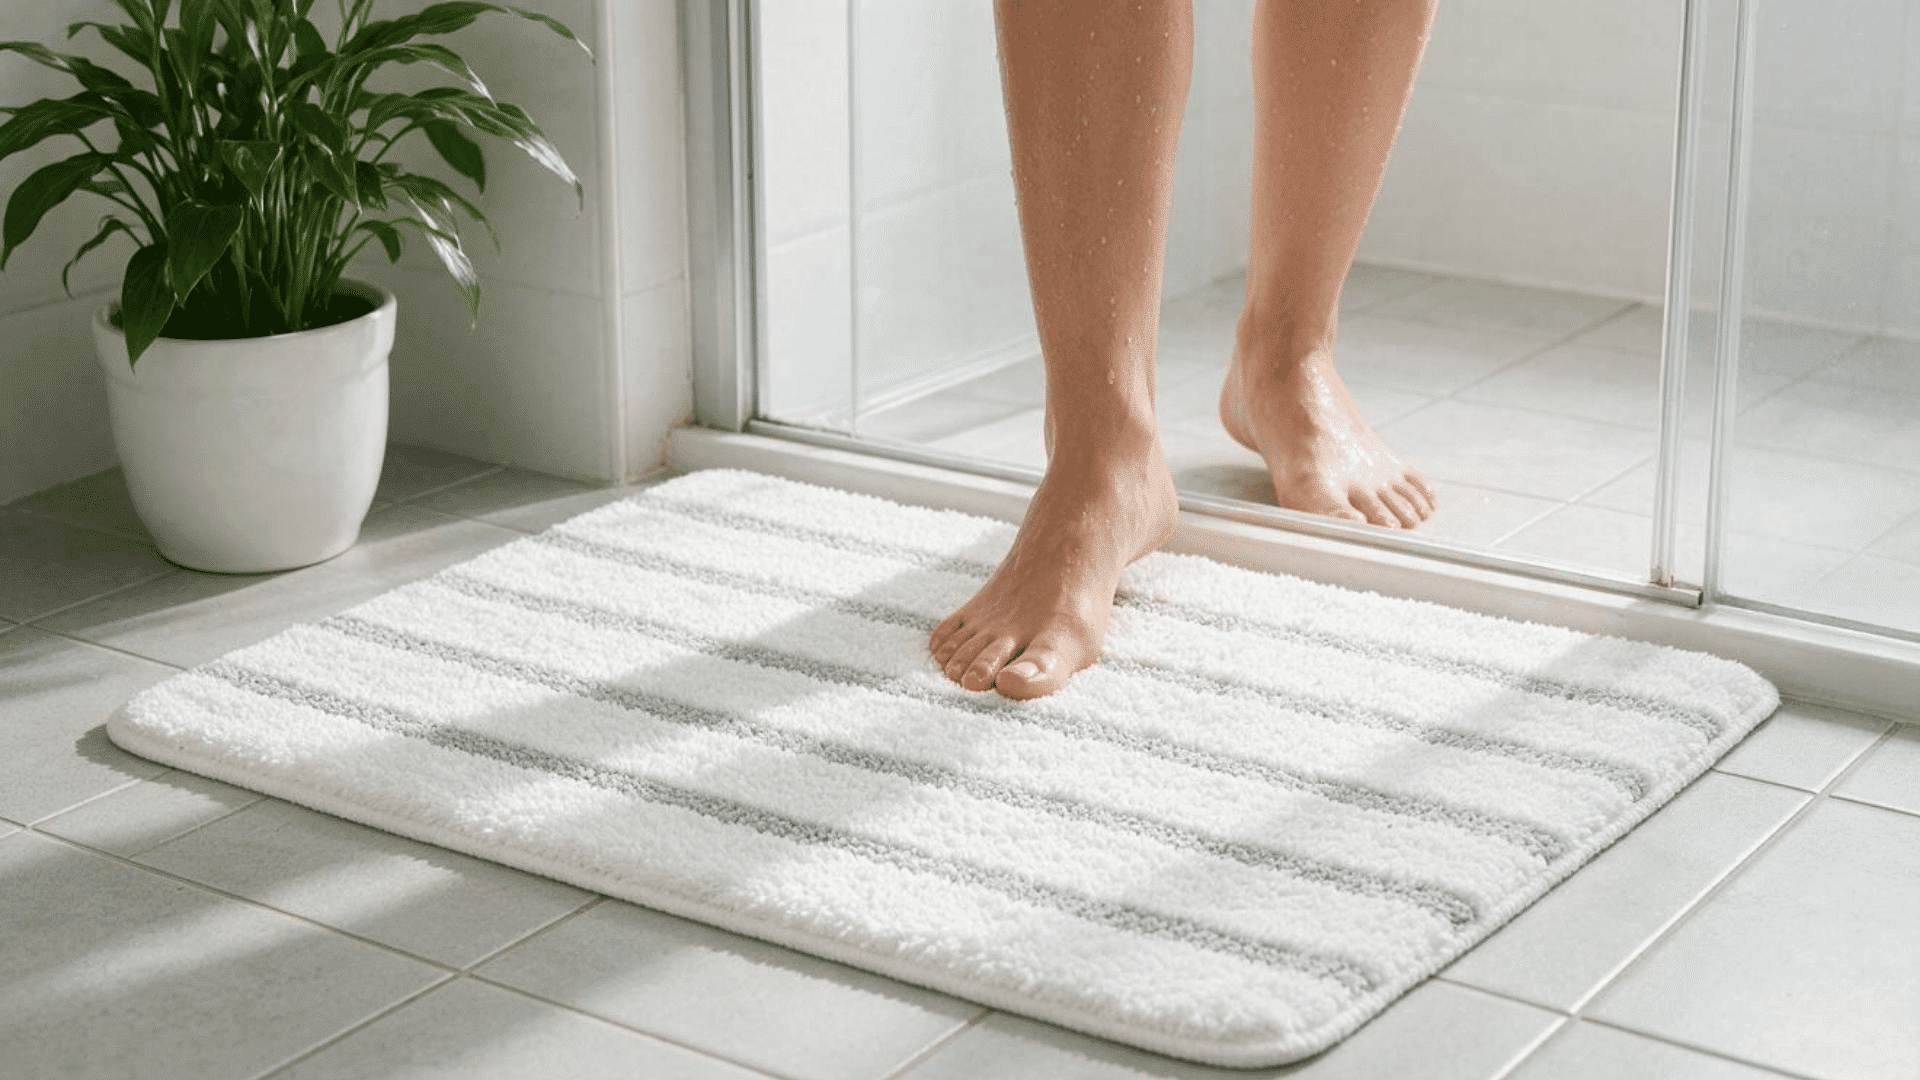
You step out of the shower, and your stone bath mat feels different. The water sits on top instead of disappearing in seconds. That smooth, fast-drying surface you loved now feels slow and sticky.
Many stone bath mats begin to absorb water more slowly once residue collects on the surfaces. Soap, body oils, and hard-water minerals build up inside the tiny pores over time.
Once those pores clog, the mat stops working the way it should.
This post walks you through cleaning a stone bath mat the right way. You can fix this yourself with a few simple steps. No special tools or expensive products are needed.
Why Does a Stone Bath Mat Need Special Cleaning?
Many rigid stone bath mats are made from diatomaceous earth and need gentle care because their porous surface easily traps soap, body oils, and hard-water minerals.
Harsh cleaners, strong detergents, or long soaking can damage the mat, clog its pores, and reduce its fast-drying absorbency.
Do not soak the mat or place it in a washing machine unless the manufacturer’s care instructions allow it.
For routine cleaning, wipe the surface with a damp cloth or soft sponge and a small amount of manufacturer-approved mild soap.
When the mat stops absorbing water well, lightly sand the surface using the grit recommended by the manufacturer.
This removes built-up residue and helps reopen the pores so the mat can dry quickly again.
How to Clean a Stone Bath Mat?
Stone bath mats accumulate various types of buildup over time. Each one needs a slightly different approach. This is how to handle each problem without damaging the surface.
Removing Dirt and Dust
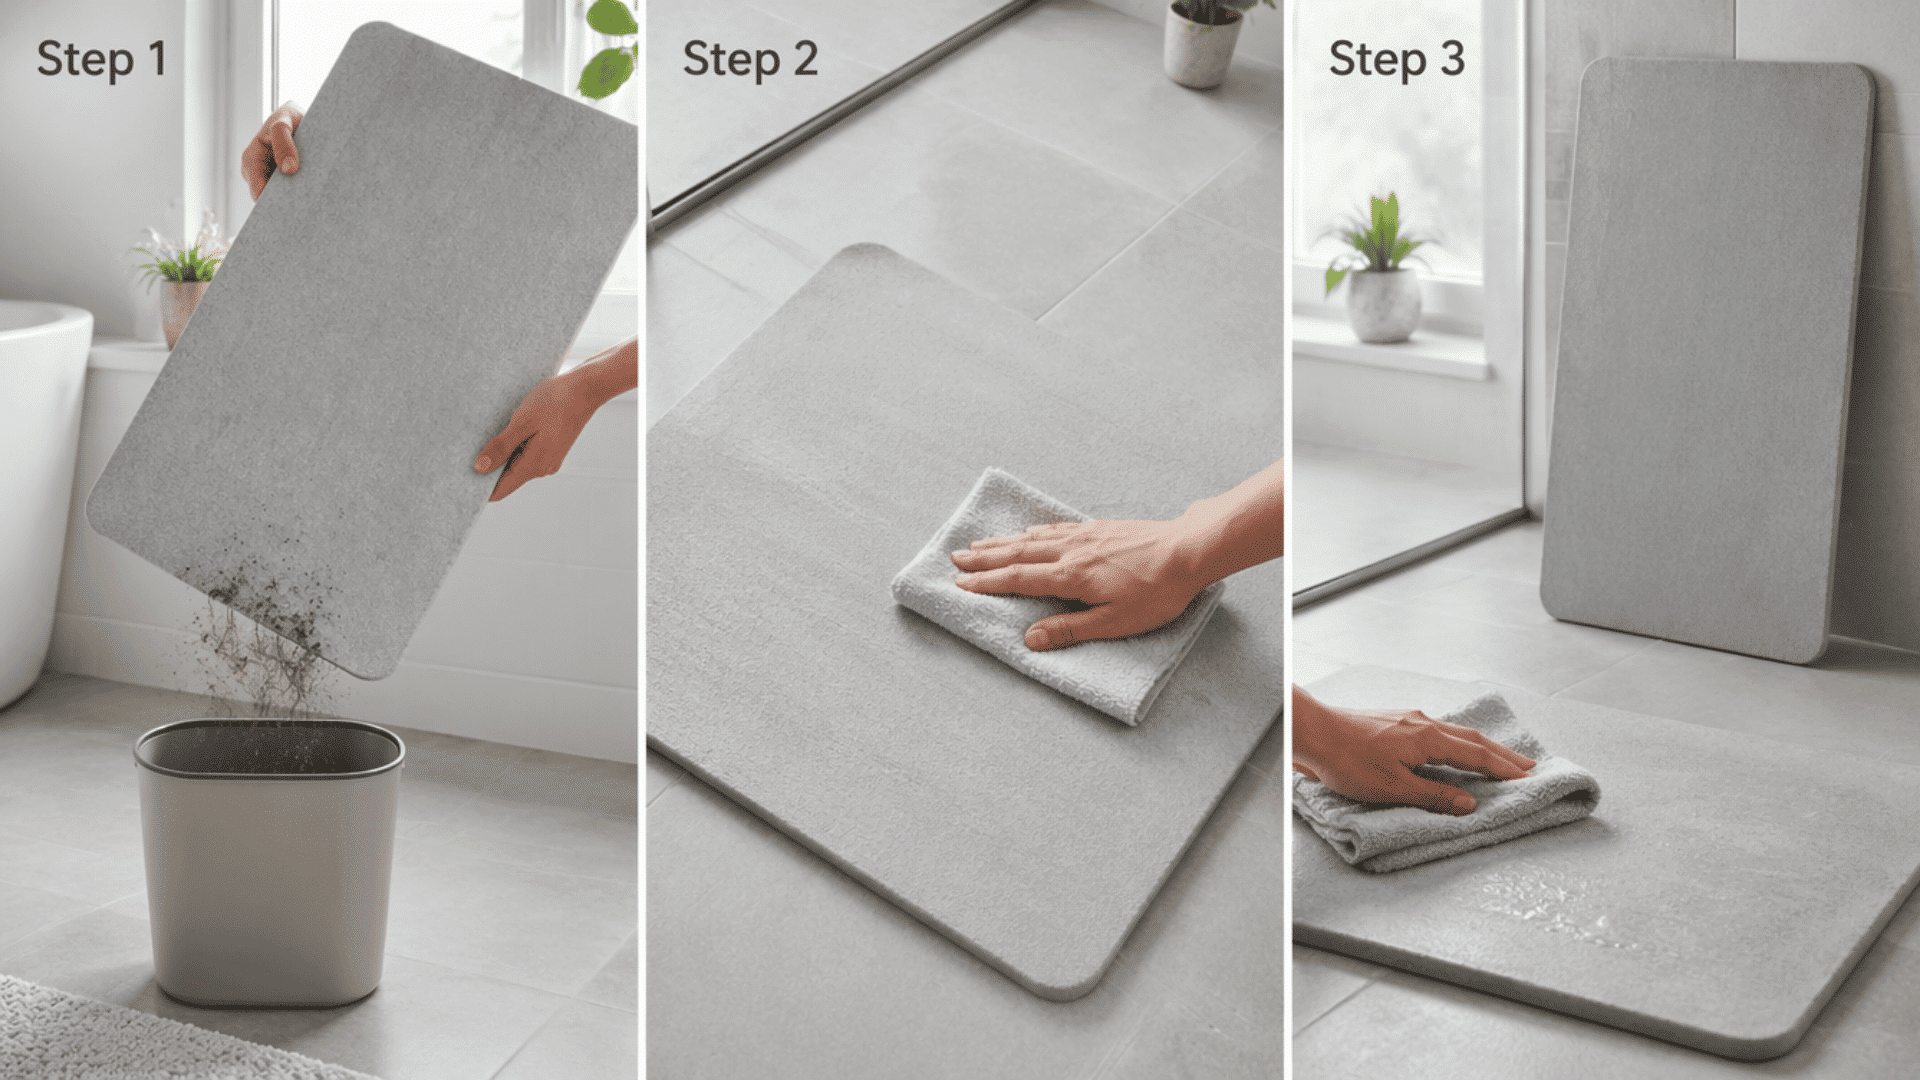
Loose dirt, hair, and dust settle into the surface daily. Cleaning them early stops the pores from clogging.
Step 1: Shake or tilt the mat gently over a bin to remove loose hair, dust, and surface dirt before any wet cleaning.
Step 2: Wipe the full surface with a dry microfiber cloth using light, straight strokes from one end to the other.
Step 3: For stuck-on dirt, dampen the cloth slightly with lukewarm water, wipe again, then stand the mat upright to air-dry.
Removing Stains
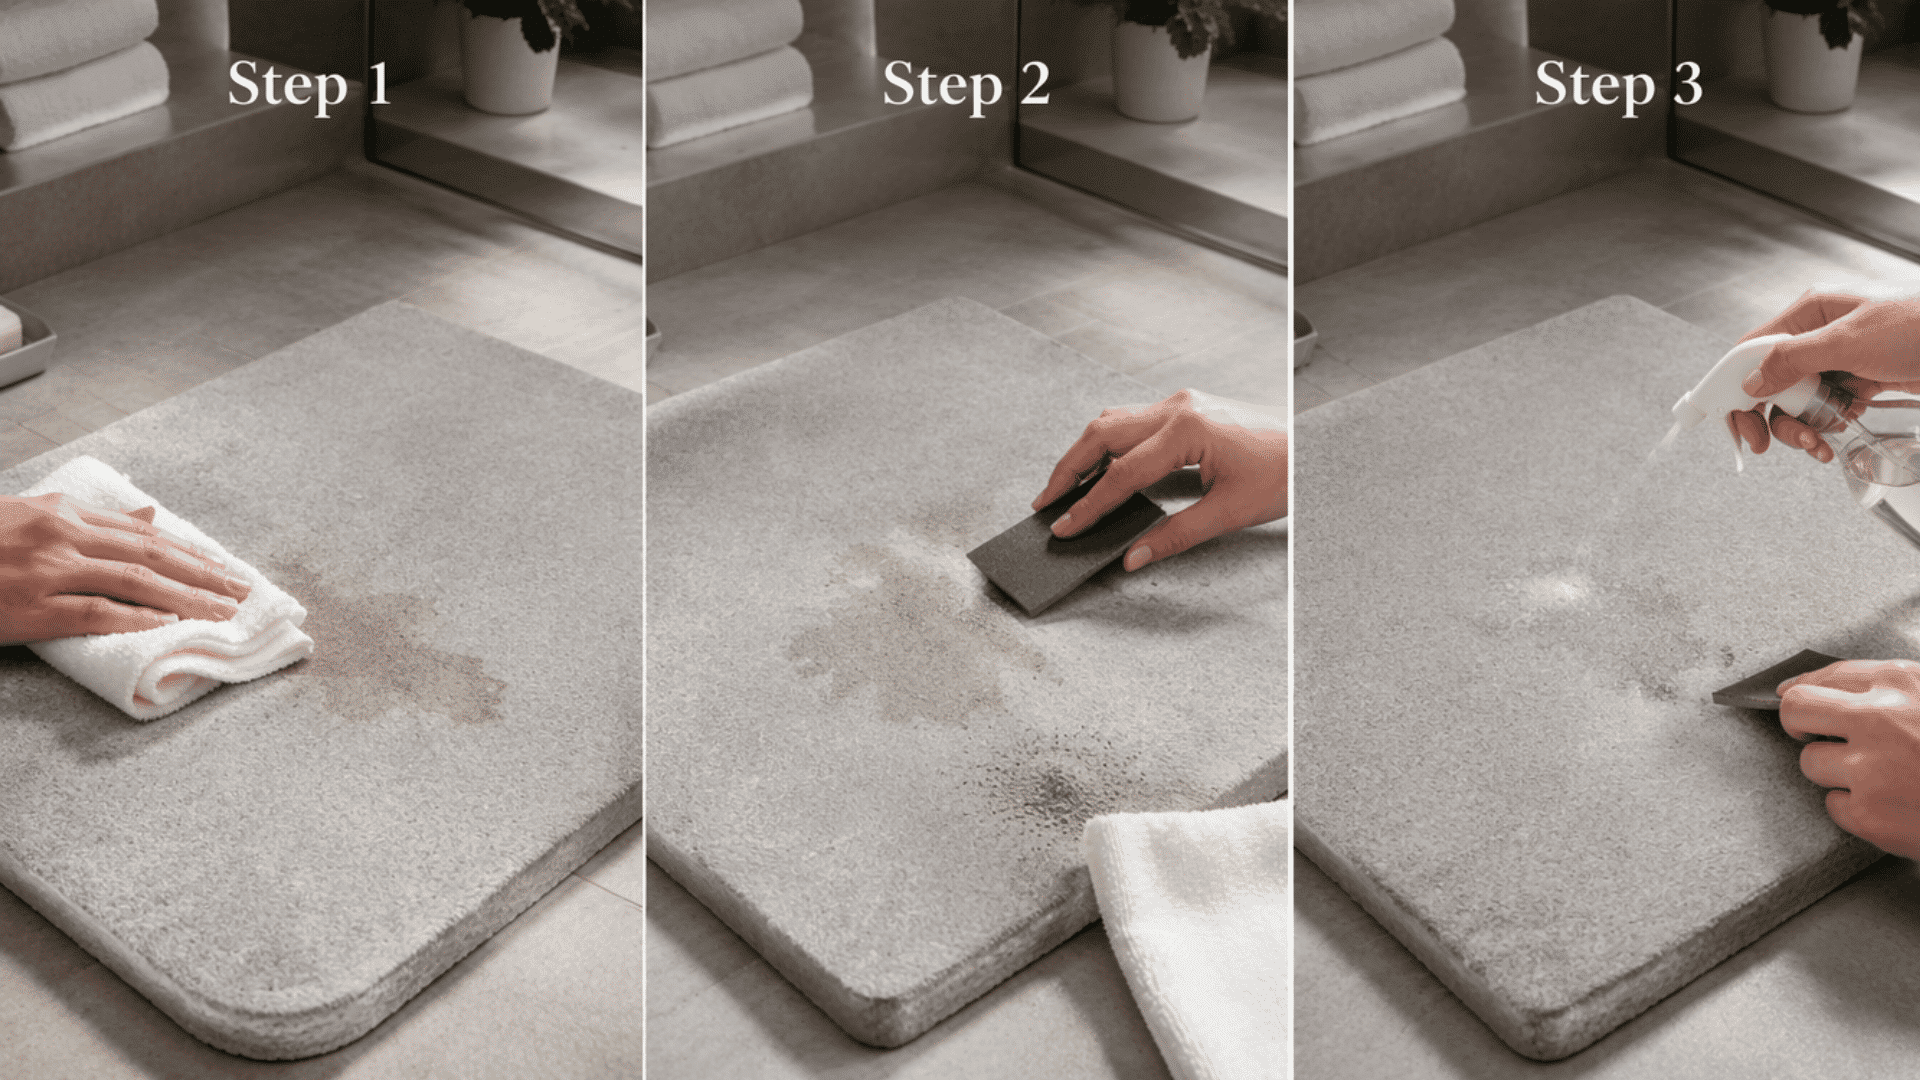
Soap drips, hair dye, colored liquids, and cosmetics can leave marks that a simple wipe won’t fix.
Step 1: Blot fresh stains right away with a dry cloth; do not rub, which pushes the color deeper into the pores.
Step 2: For light stains, gently sand the area with the sandpaper grit recommended in the product’s care instructions, then wipe away the dust.
Step 3: For stubborn stains, use a cleaner approved by the manufacturer or lightly sand the area if the care guide allows it.
Removing Soap Residue
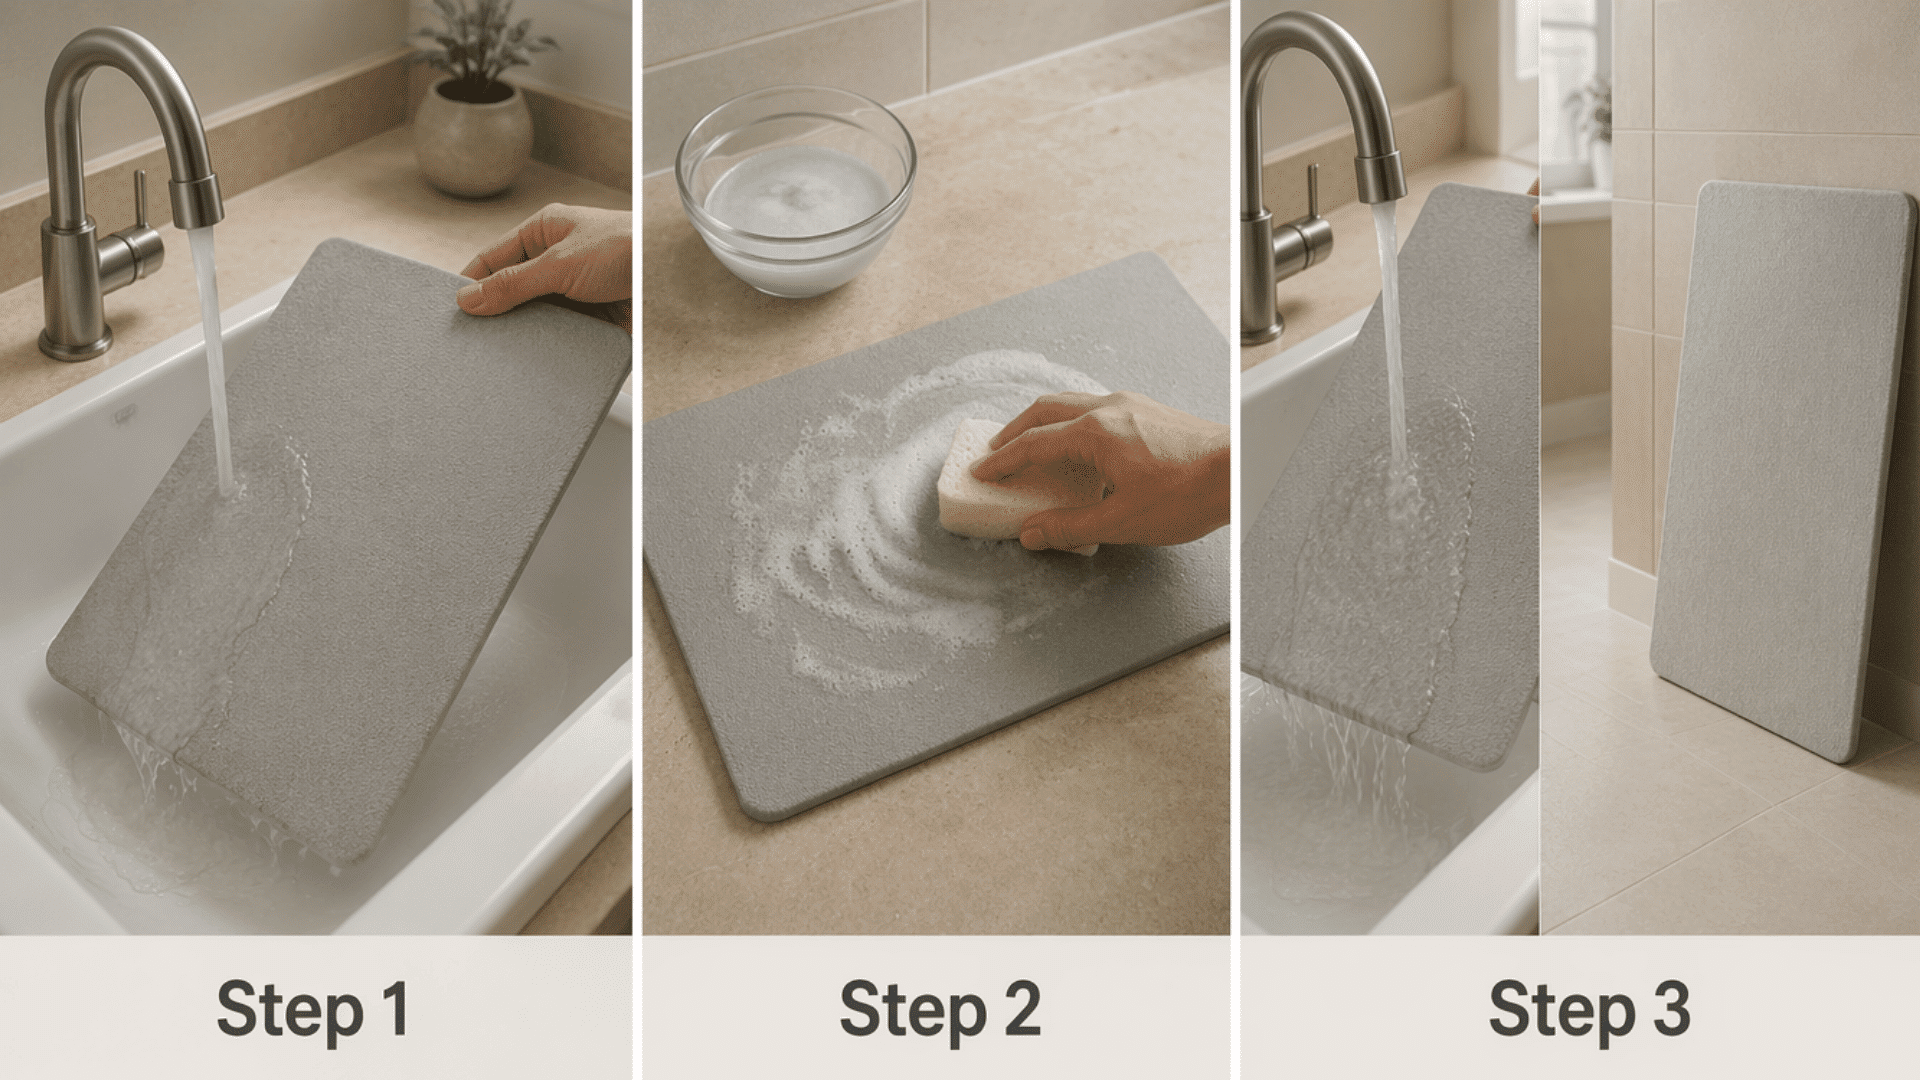
Liquid soap, shampoo, and body wash leave a film that blocks the tiny pores and slows down water absorption.
Step 1: Rinse the mat under lukewarm running water for 30–60 seconds to wash away surface soap. Do not soak or submerge it.
Step 2: Mix a small amount of mild liquid soap with lukewarm water, dip a soft sponge in it, and gently scrub the surface in small circles.
Step 3: Rinse again thoroughly until the surface feels smooth and not slippery, then stand the mat upright to dry fully before placing it back.
Removing Hard Water and Mineral Buildup
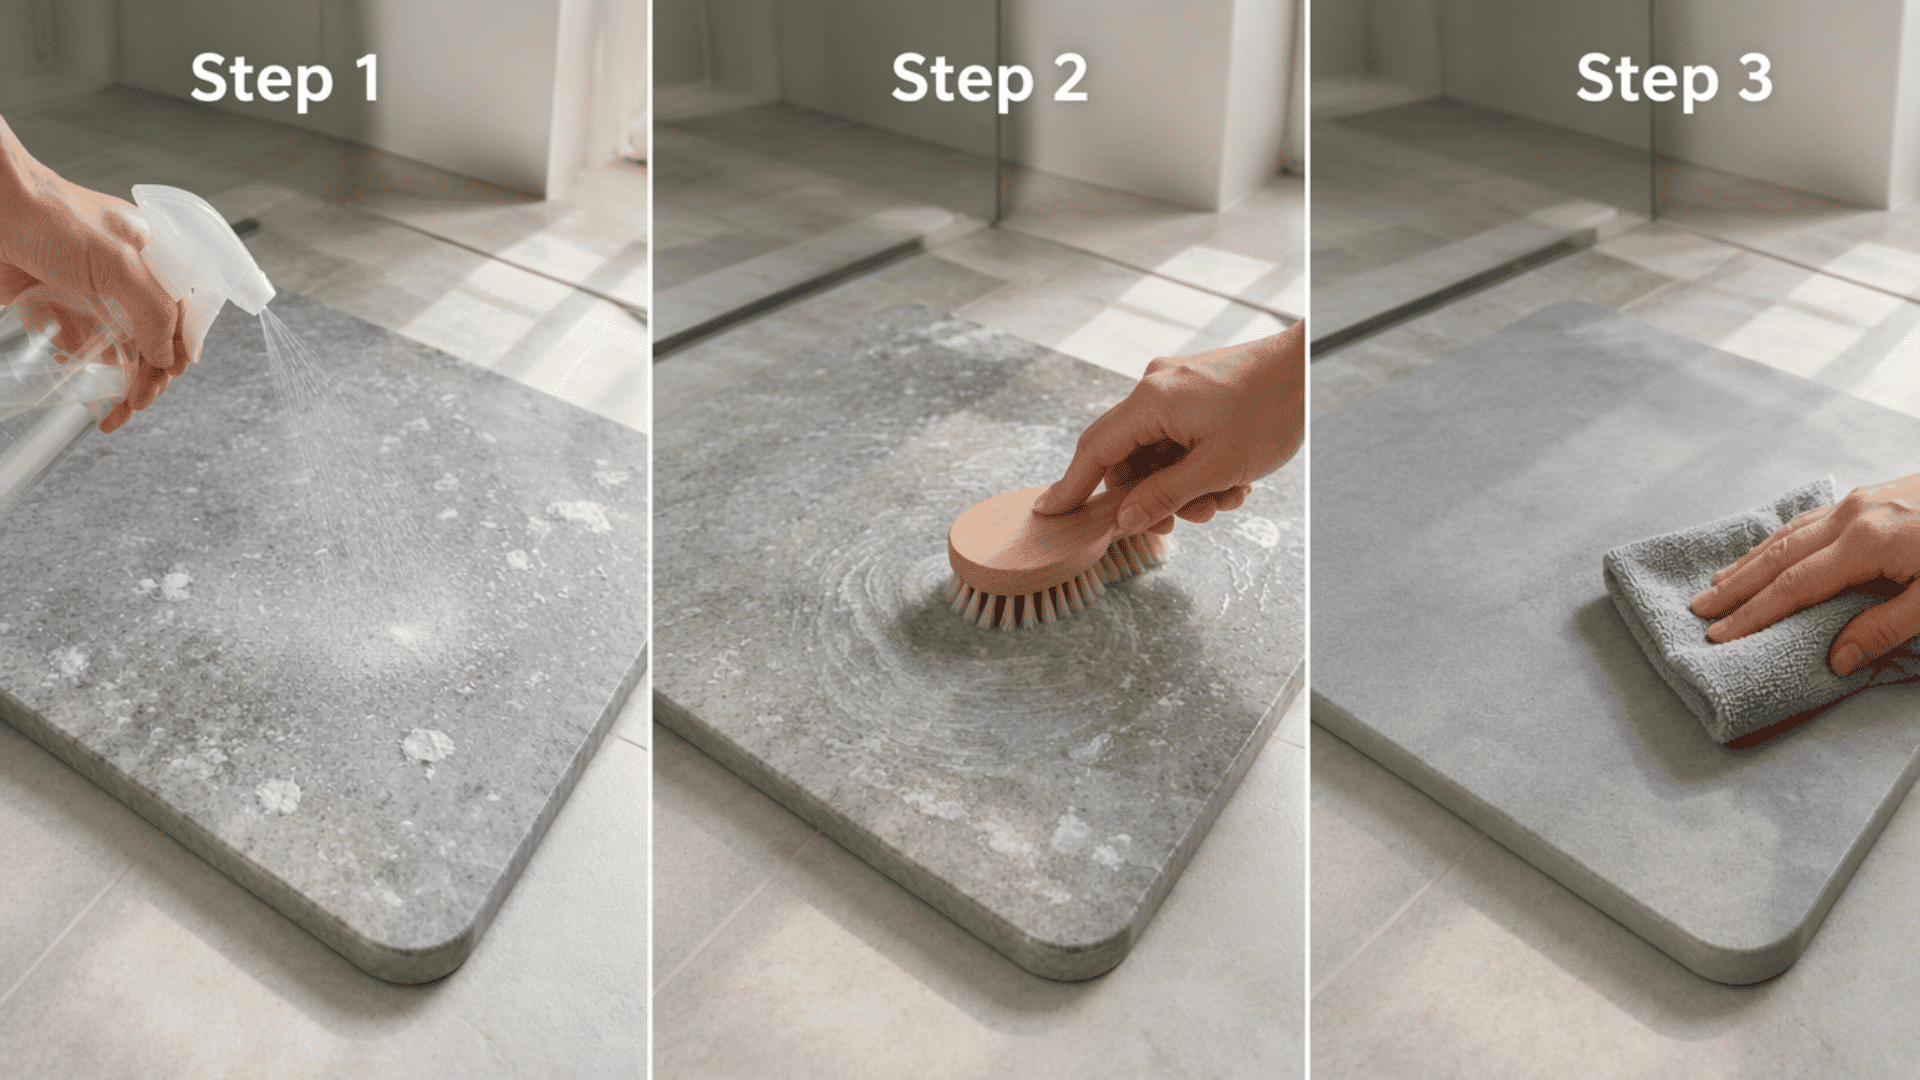
White spots, chalky patches, and a rough texture usually result from calcium and other mineral deposits in your tap water.
Step 1: Spray a 1:1 mix of white vinegar and water onto the affected area and let it sit for 5 minutes to break down the minerals.
Step 2: Scrub gently with a soft-bristle brush in circular motions, paying extra attention to white or rough patches.
Step 3: Rinse with lukewarm water, wipe with a damp cloth, and dry upright. Repeat once more if the buildup is heavy or layered.
Removing Mold or Mildew
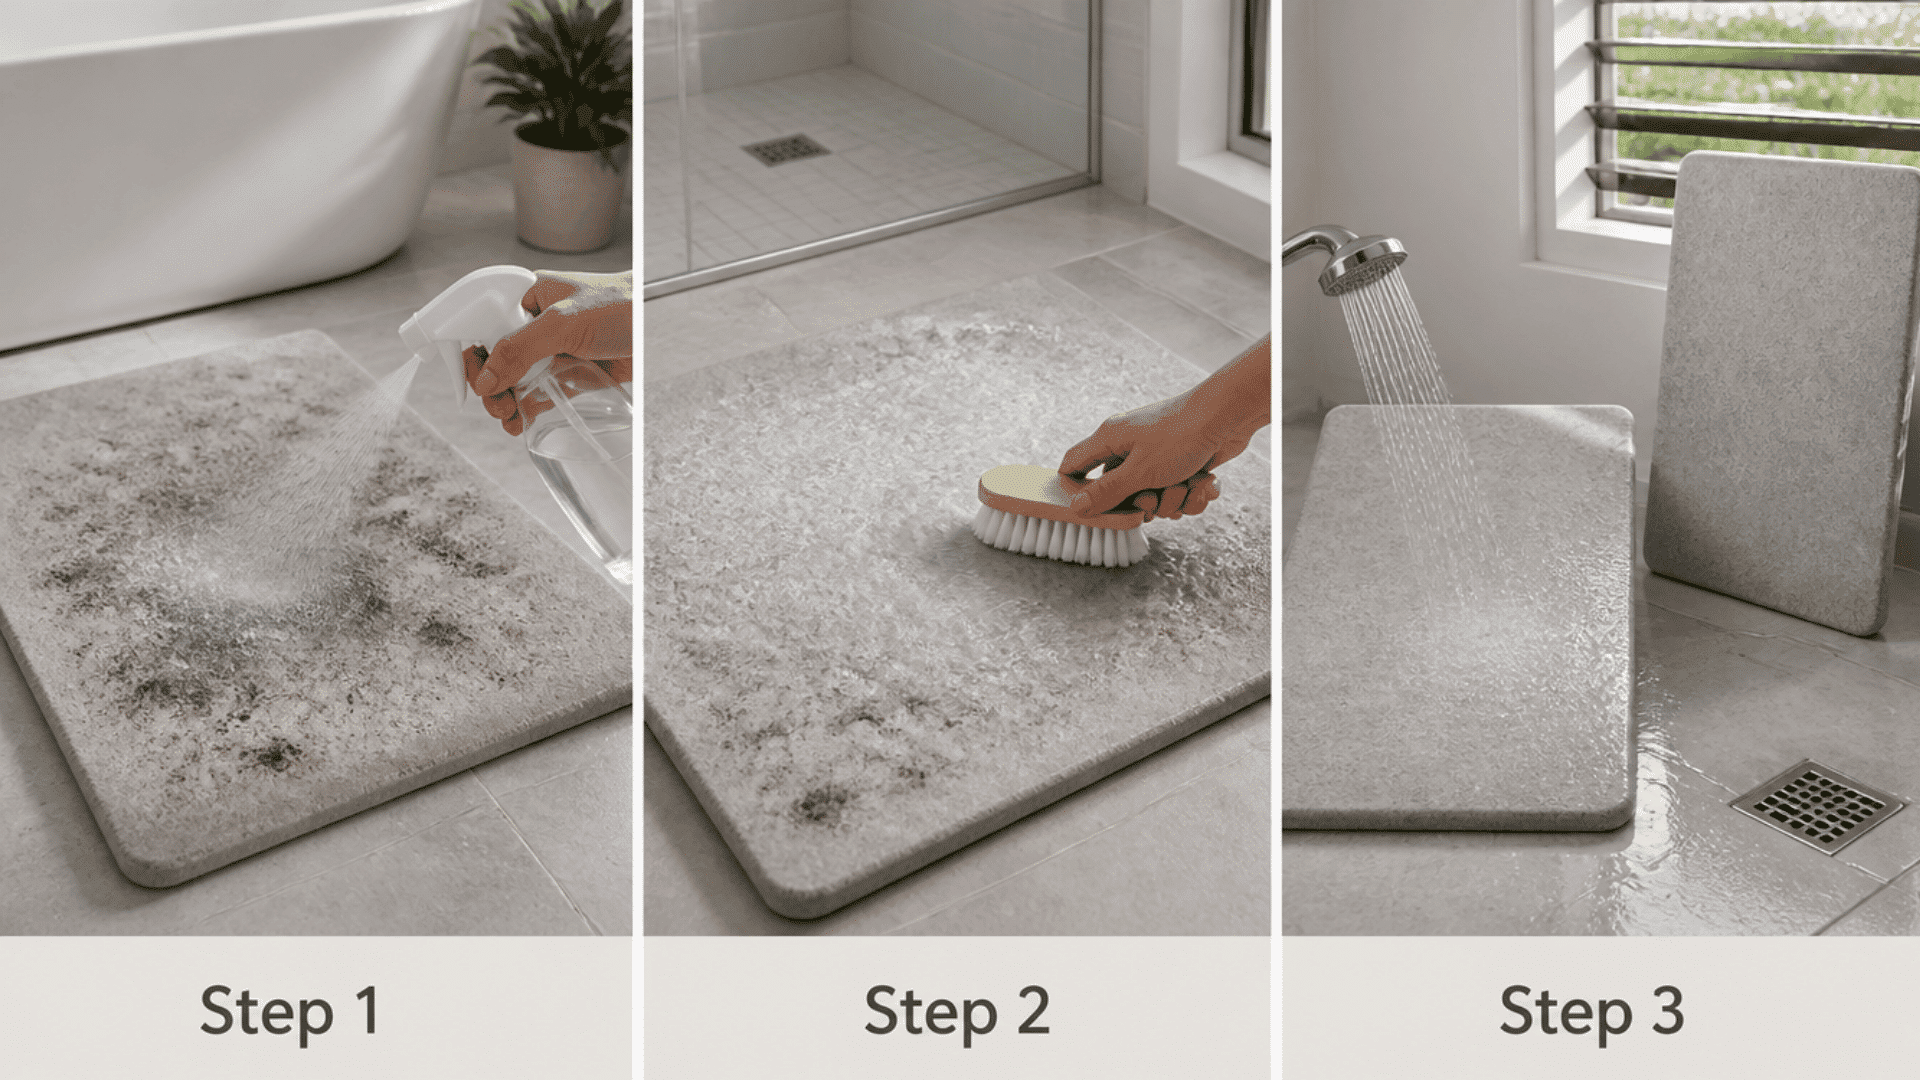
Dark spots, a musty smell, and discolored patches usually mean moisture has been sitting too long and mold has started to form.
Step 1: Mix one part hydrogen peroxide with two parts water in a spray bottle and spray it directly onto the moldy area.
Step 2: Let the solution sit for 10–15 minutes, then gently scrub with a soft brush until the dark spots lift off the surface.
Step 3: Rinse the mat well with lukewarm water, then dry it completely upright in a well-ventilated area. Mold returns if the mat stays damp.
Removing Grease and Body Oil Buildup
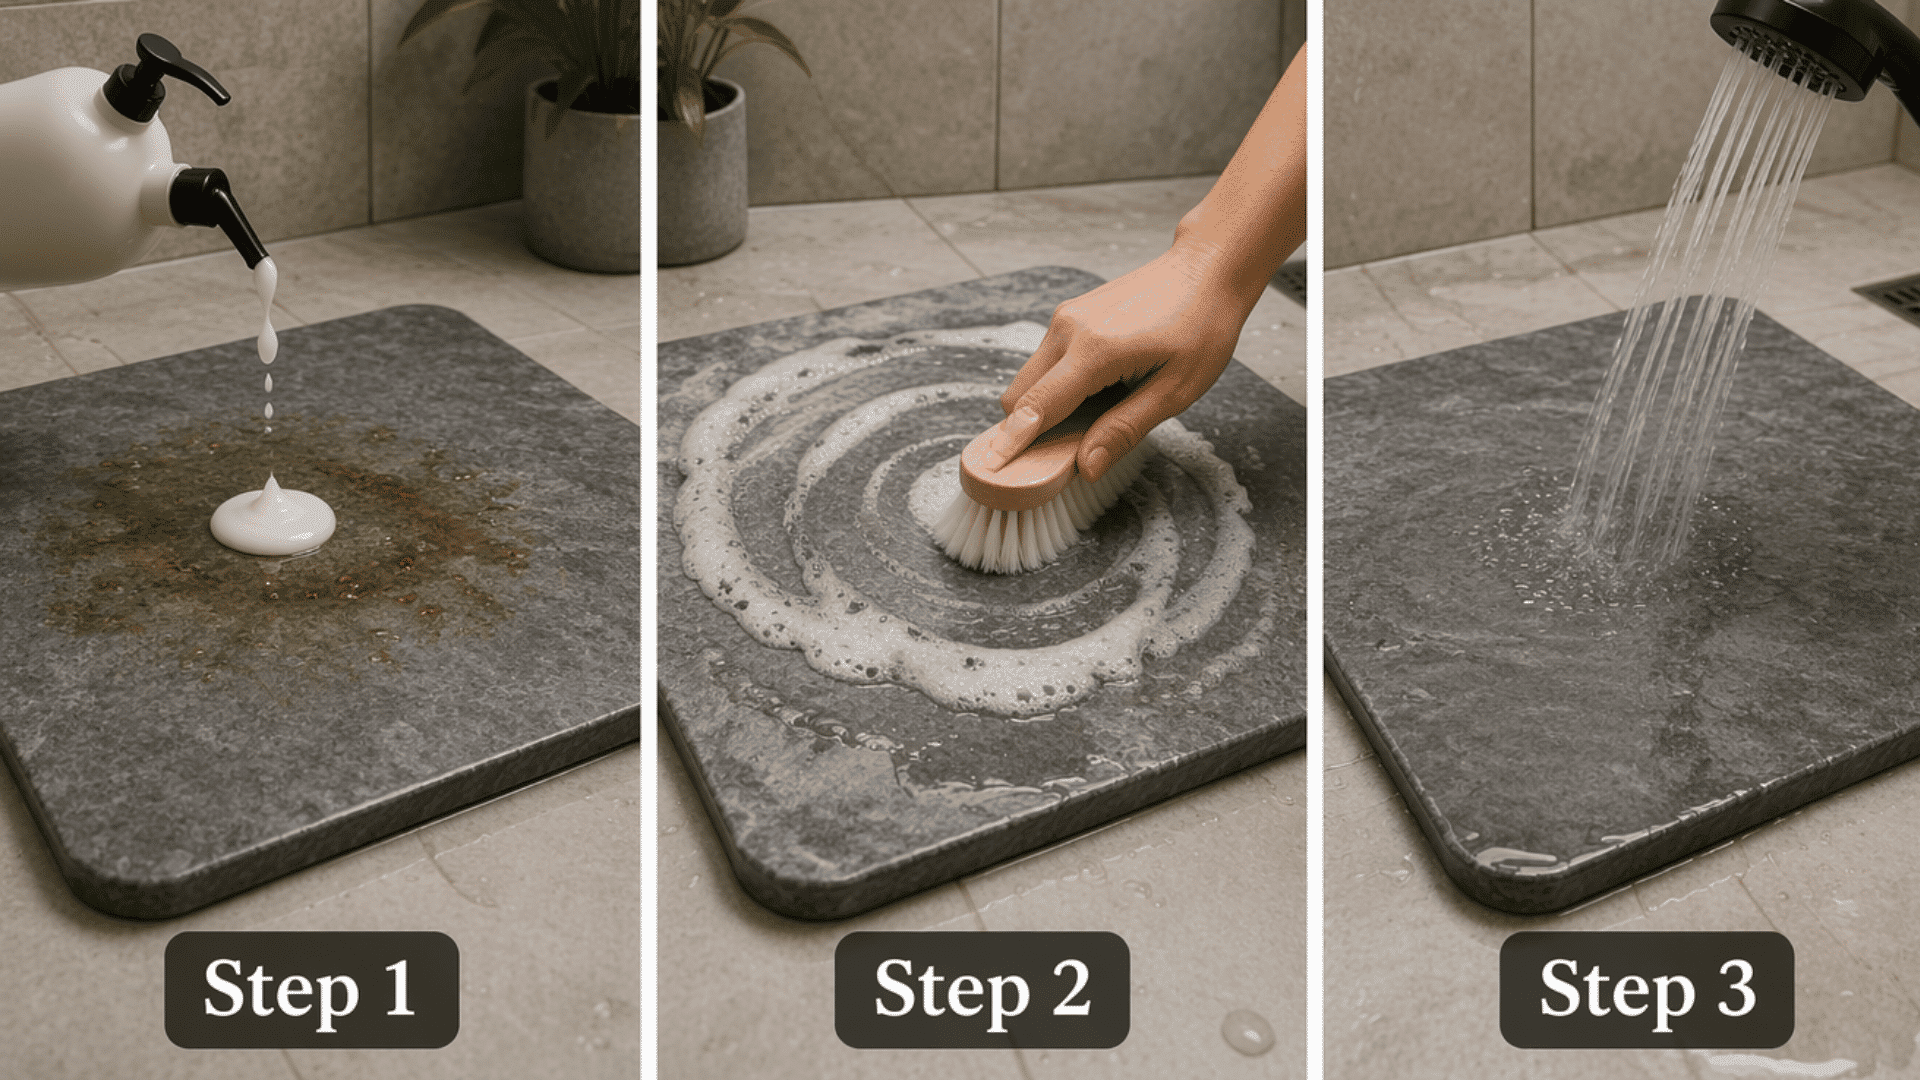
Body oils, lotion residue, and oily foot cream leave a slick film that soap alone may not cut through.
Step 1: Apply one drop of mild dish soap directly onto the greasy spot and let it sit for 2–3 minutes to break down the oil.
Step 2: Scrub the area with a damp non-abrasive sponge in tight circular motions until the slick feeling disappears.
Step 3: Rinse thoroughly under running lukewarm water. Soap residue may reduce absorption if it is not fully rinsed away.
The Right Cleaning Method
Stone bath mats are not like fabric mats. You cannot machine wash them, soak them, or use strong cleaners. The right method depends on how dirty the mat is.
Daily Cleaning
A quick daily wipe stops most problems before they start.
| Task | Method |
|---|---|
| Wipe the mat | Remove water, hair, and soap with a dry microfiber cloth. |
| Stand it upright | Let air reach both sides after each use. |
| Dry the floor | Clear puddles and wet items around the mat. |
Weekly Cleaning
A light weekly scrub removes what daily wiping misses.
| Task | Method |
|---|---|
| Rinse briefly | Use lukewarm running water without soaking the mat. |
| Scrub gently | Clean with a soft brush and diluted dish soap. |
| Dry upright | Rinse well and let the mat air-dry fully. |
Deep Cleaning When Needed
Light sanding may help restore absorption when regular cleaning no longer removes the buildup.
| Task | Method |
|---|---|
| Sand the surface | Use the sandpaper grit recommended by the manufacturer and apply light pressure. |
| Remove dust | Wipe the mat with a slightly damp microfiber cloth. |
| Dry fully | Let the mat air-dry before placing it back. |
When to Replace a Stone Bath Mat
A stone bath mat may last several years, but its lifespan depends on the product, use, care, and bathroom conditions. Watch for these signs that yours needs replacing:
- Cracks or chips: Structural breaks caused by drops or uneven floors create tripping hazards and can’t be fixed.
- Poor absorption: Consider replacing the mat if water still pools after repeated cleaning and manufacturer-approved sanding.
- Persistent mold or odors: Replace the mat if approved cleaning and drying do not remove the mold or smell
- Worn anti-slip base: The rubber or silicone pad underneath can tear or lose grip over time, making the mat unsafe.
Conclusion
Cleaning your stone bath mat doesn’t need to be hard. A quick daily wipe, a gentle weekly clean, and sanding as needed can help maintain the mat’s absorption capacity.
The key is to act early. Soap film, hard-water spots, and body oils are easy to remove when you catch them fast.
If buildup is left for too long, the mat may need deeper cleaning or manufacturer-approved sanding. Now you know how to clean a stone bath mat at every stage, from light dust to deep stains.
Check your mat’s care instructions, start with a damp wipe or approved mild cleaner, and let it dry fully before testing its absorption
Frequently Asked Questions
Can You Use Regular Soap on a Stone Bath Mat?
Use a small amount of mild liquid soap or dish detergent, then scrub gently with a soft brush or sponge.
Do Stone Bath Mats Smell?
Stone bath mats usually resist odors because their porous surface dries quickly, but trapped moisture beneath them may still cause odors.
What is the Stone that Absorbs Water?
Diatomaceous earth, also called diatomite, is a porous sedimentary rock composed of fossilized algae and known for its rapid water absorption.