Building your own Murphy bed at home is something I learned when I needed more room but didn’t want to get rid of the things I loved.
A Murphy bed, also called a wall bed or fold-down bed, is one of the smartest ways to free up space in a small room without giving up a proper place to sleep.
In this Murphy bed diy guide, you will get everything that actually matters: the tools, the materials, how each section comes together, how to mount it safely, and the mistakes most people make the first time.
I got into this because my home office had to double as a guest room, and I was constantly choosing between a desk I used every day and a bed that barely got used.
After building a few over the years, some from kits and one completely from scratch, I can say this is one of those weekend projects that actually feels worth it.
The finished result looks like built-in furniture and costs way less than buying one.
Murphy Bed Kit vs. Full DIY: Which One Makes More Sense?
Before you start cutting wood, decide whether you want to use a hardware kit or build every part from scratch.
A Murphy bed kit usually comes with the pivot system, springs or pistons, mounting plates, and the small parts that are hard to make safely at home.
You will still build the cabinet and front frame yourself, so it does not feel like cheating. The kit just handles the tricky part: balancing the bed around your mattress weight.
Most kits cost around $150 to $350 and are made for standard mattress sizes. You can browse a range of Murphy bed hardware kits at Rockler to compare piston versus spring options before committing to one.
I would only go fully DIY if you already know your way around custom hardware. For a first build, I would choose a kit every time.
It saves you from guessing the weight rating, pivot placement, and cabinet measurements, and most kits include templates that make the whole build much easier to follow.
Tools and Materials Needed for a Murphy Bed DIY Build
Before you start building, gather everything in advance so you are not stopping mid-project. These are the essentials that keep the build smooth and accurate.
| Item | Spec / Notes |
|---|---|
| Plywood (main cabinet) | 3/4-inch, sanded birch or maple; quantity depends on mattress size |
| Plywood (back panel) | 1/2-inch |
| 1×3 and 1×4 boards | Pine or poplar for face frames and supports |
| 1×6 board | For faux door center and drawer front |
| Murphy bed hardware kit | Piston or spring-loaded, rated for your mattress weight |
| Pocket hole jig and screws | 1-1/4-inch and 2-1/2-inch |
| Drawer slides | Side-mount, 3/4 extension |
| Butt hinges (heavy duty) | 3 per fold-down section |
| Locking leg supports | Fold-flat style with locking pin |
| Edge banding | Iron-on, matching wood species |
| Minwax Polycrylic | Water-based, for sealing and protecting finished wood |
| Stud finder | Required, the cabinet must anchor into the wall studs |
| Drill and driver bits | Including long screws for wall mounting (3-inch) |
| Level (48-inch preferred) | Critical for straight installation |
| Tape measure, clamps, square | Standard shop tools |
| Cabinet door latches | Magnetic or roller catches, minimum 2 |
| Knobs and drawer pulls | Any style, match your room hardware if needed |
Step-By-Step Guide to Building a DIY Murphy Bed
These steps walk you through each part of the build in a clear and simple way. It breaks the project into manageable tasks so you can follow along with confidence.
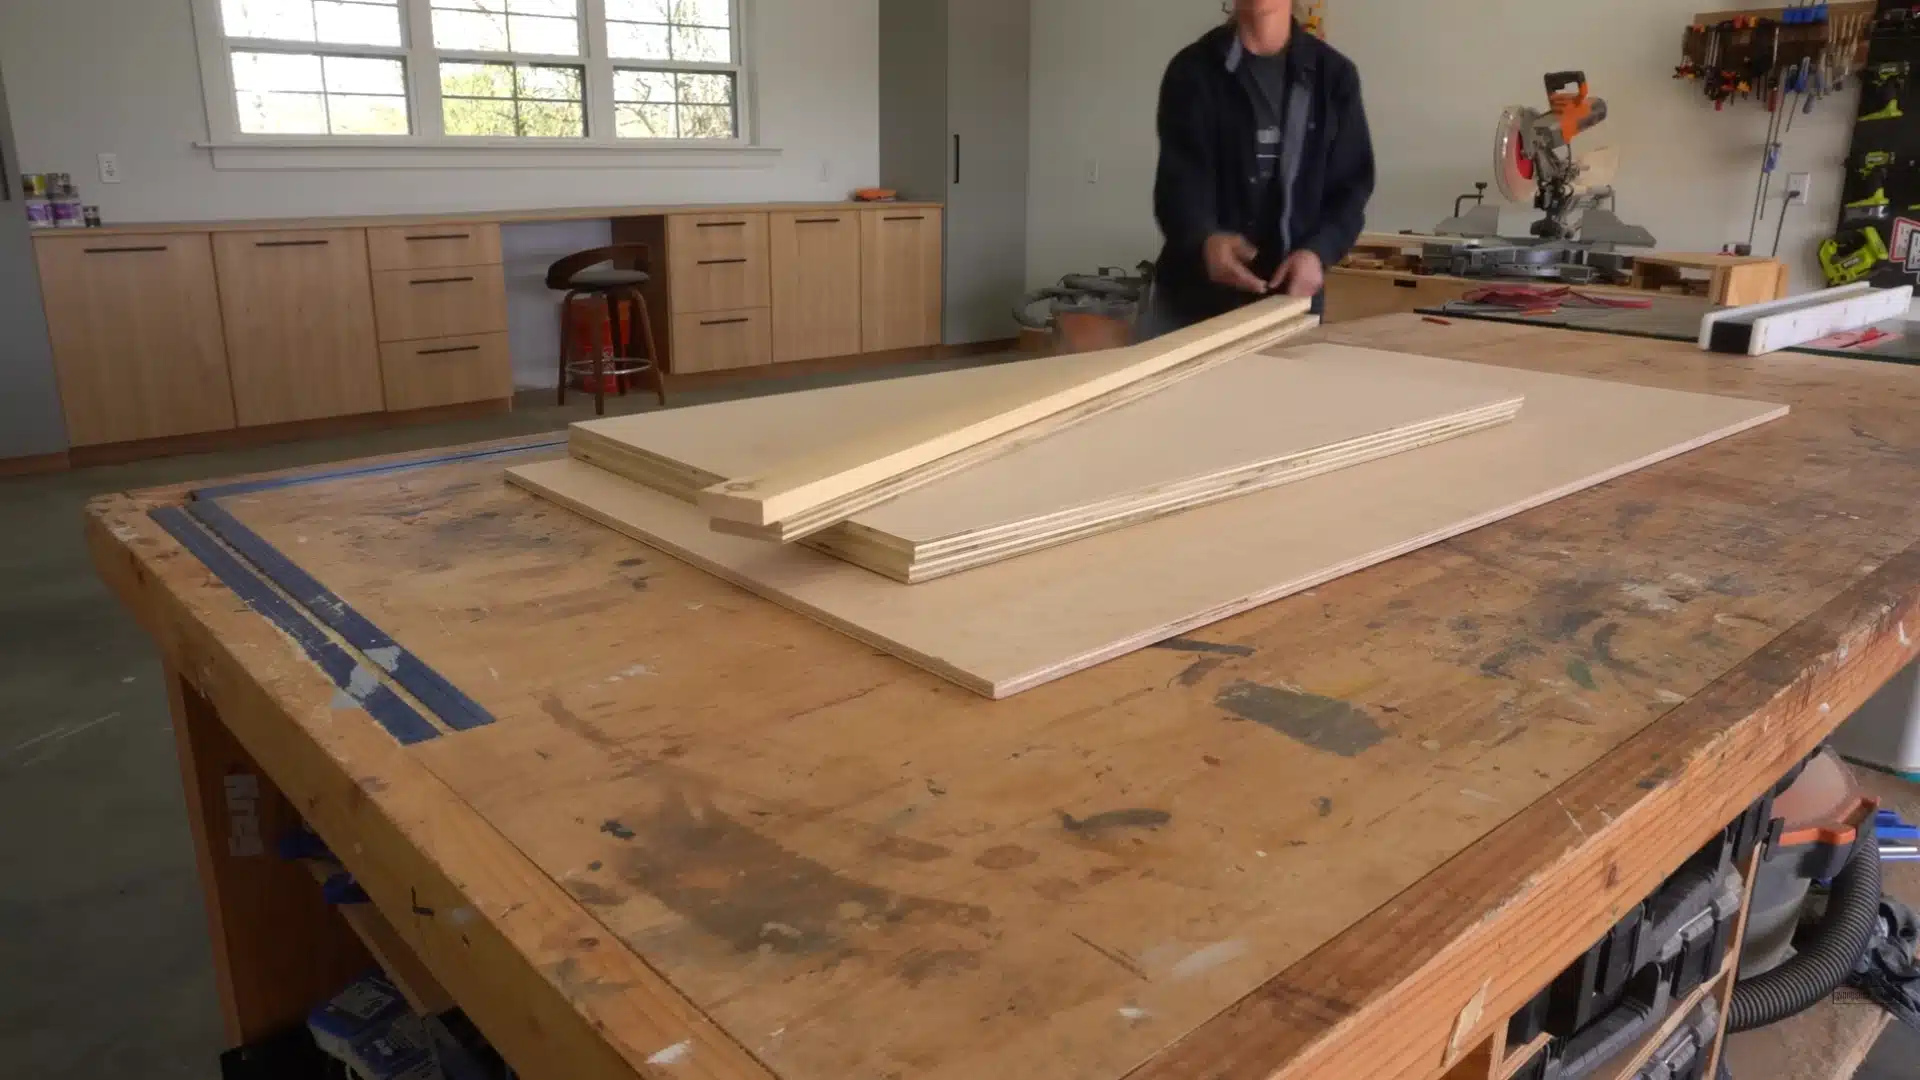
Step 1: Cut the Main Cabinet Panels
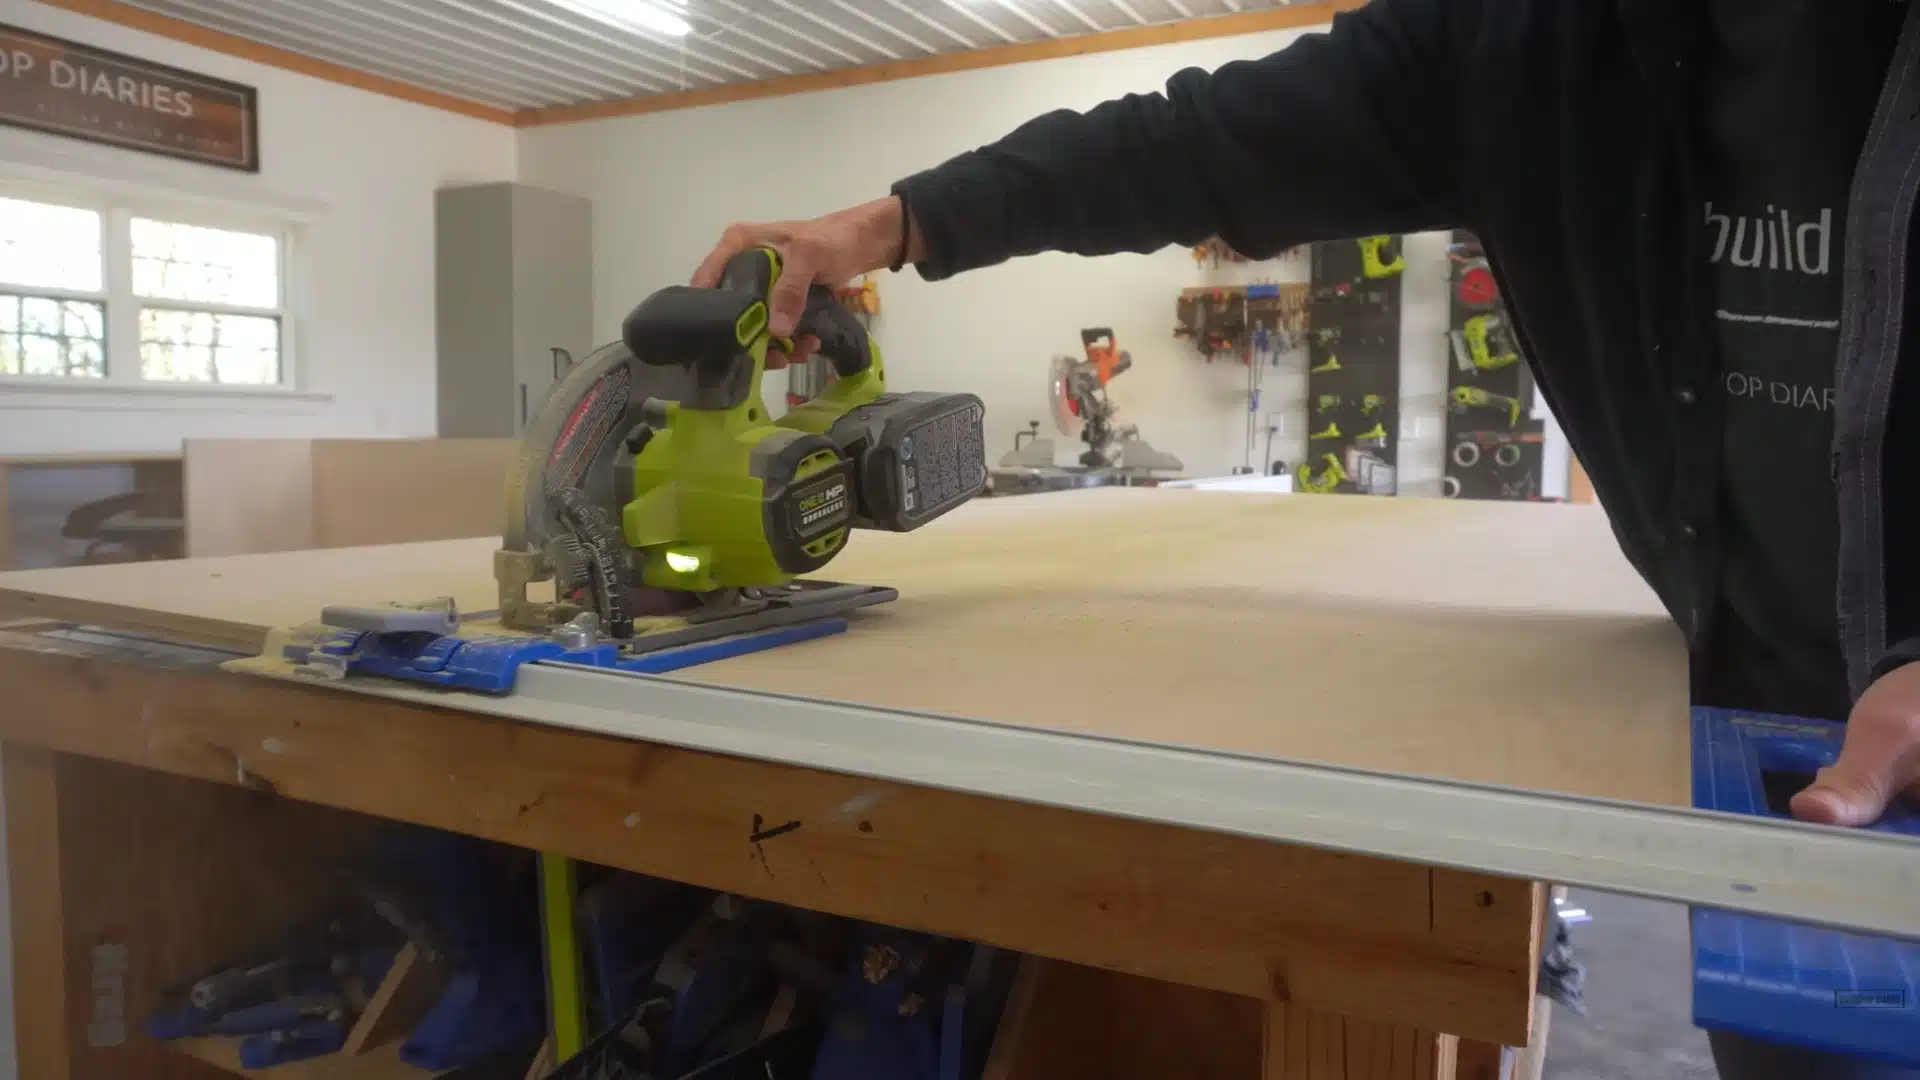
The build begins by cutting all the plywood pieces needed for the main cabinet. This includes two side panels made from ¾-inch plywood and a large back panel made from ½-inch plywood.
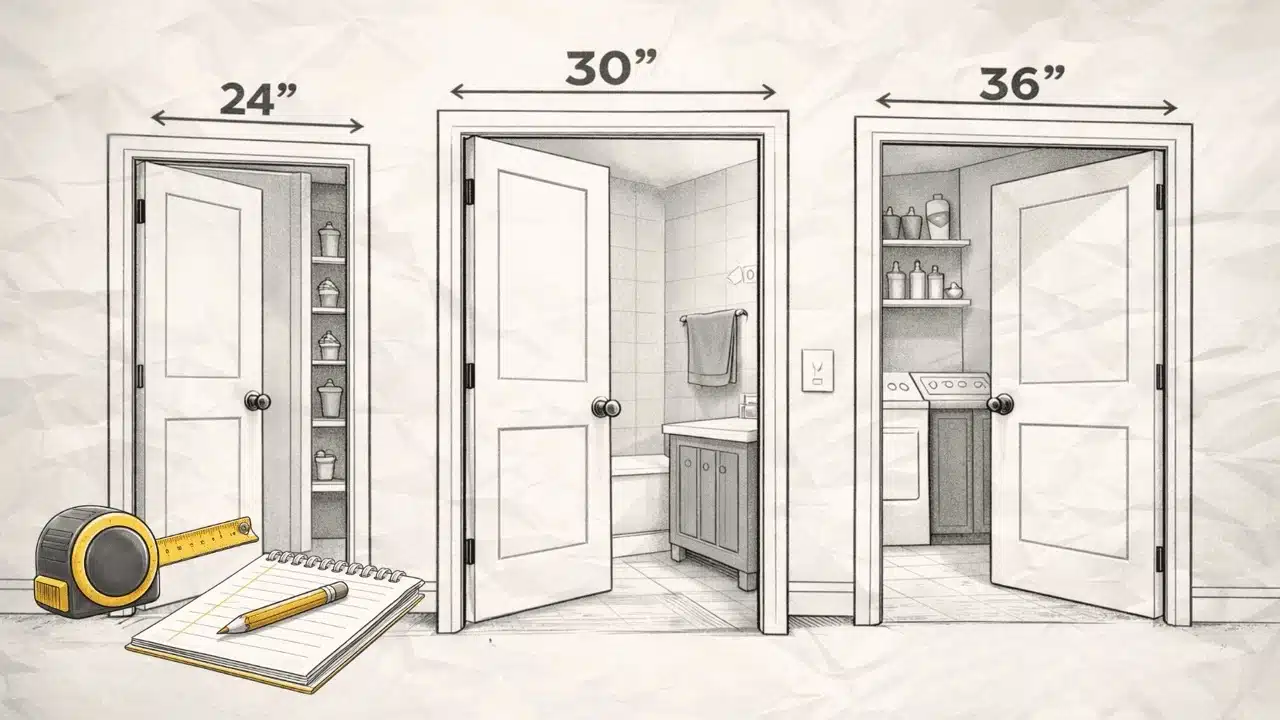
Before making any cuts, confirm your mattress dimensions. The interior cabinet width should match your mattress width plus 1 inch of clearance on each side.
If you are not confident about this step, it helps to know how to measure furniture correctly before you start cutting.
The interior depth needs to accommodate your mattress thickness; most Murphy bed kits recommend a maximum of 11 to 12 inches.
On my first build, I forgot to account for mattress depth and had to recut the side panels. Measure the actual mattress you plan to use, not the size listed on the tag.
These cuts form the foundation of the cabinet frame, and accurate sizing helps the rest of the project come together smoothly with proper alignment throughout.
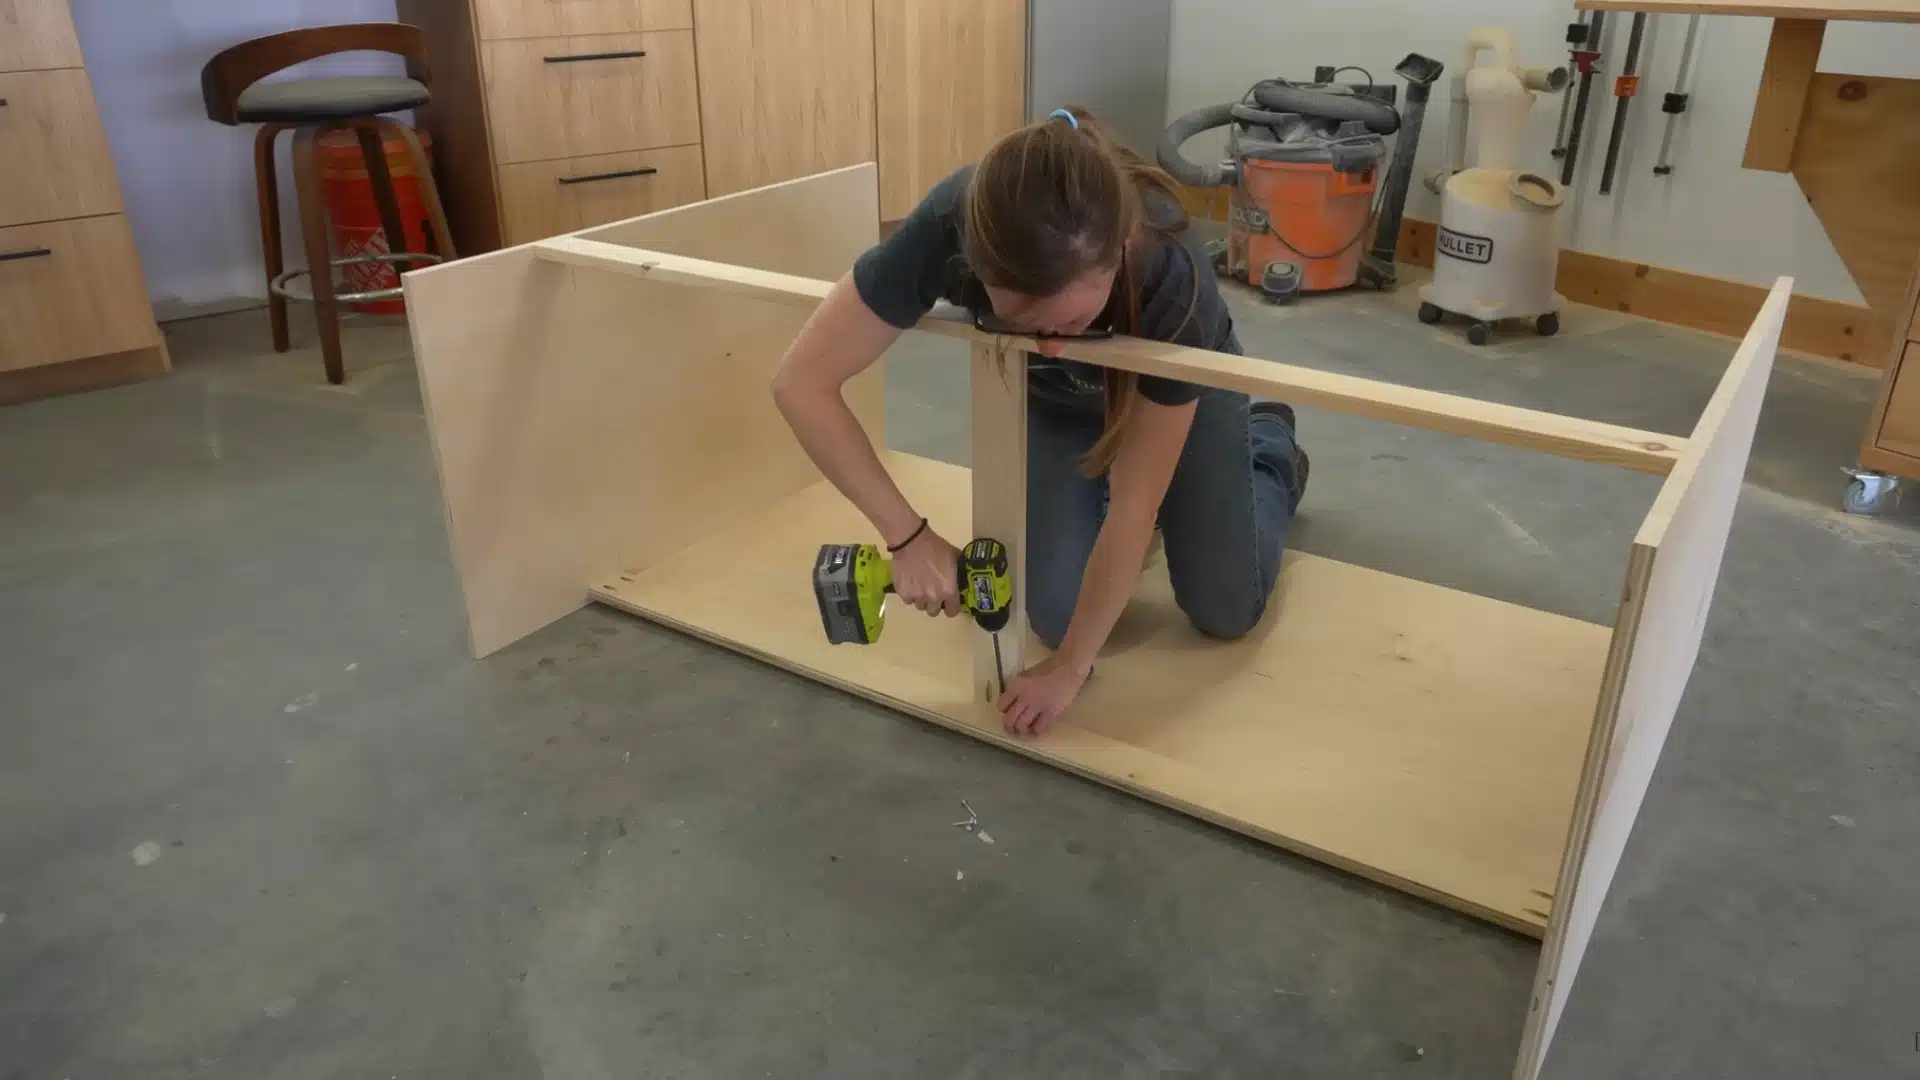
Step 2: Assemble the Main Cabinet Frame
The next step is assembling the cabinet using pocket holes and screws, with the solid 1×3 placed at the front and the plywood support strip positioned at the back for stability.
Once everything is squared and aligned, the back panel is secured to the support strip with screws.
This assembly forms the main cabinet shell, which will hold all the moving parts of the Murphy bed.
A strong and well-secured frame helps prevent shifting, gaps, and uneven pressure once the bed is in use, making tight connections essential for long-term stability.
Step 3: Build and Split the Top Panel
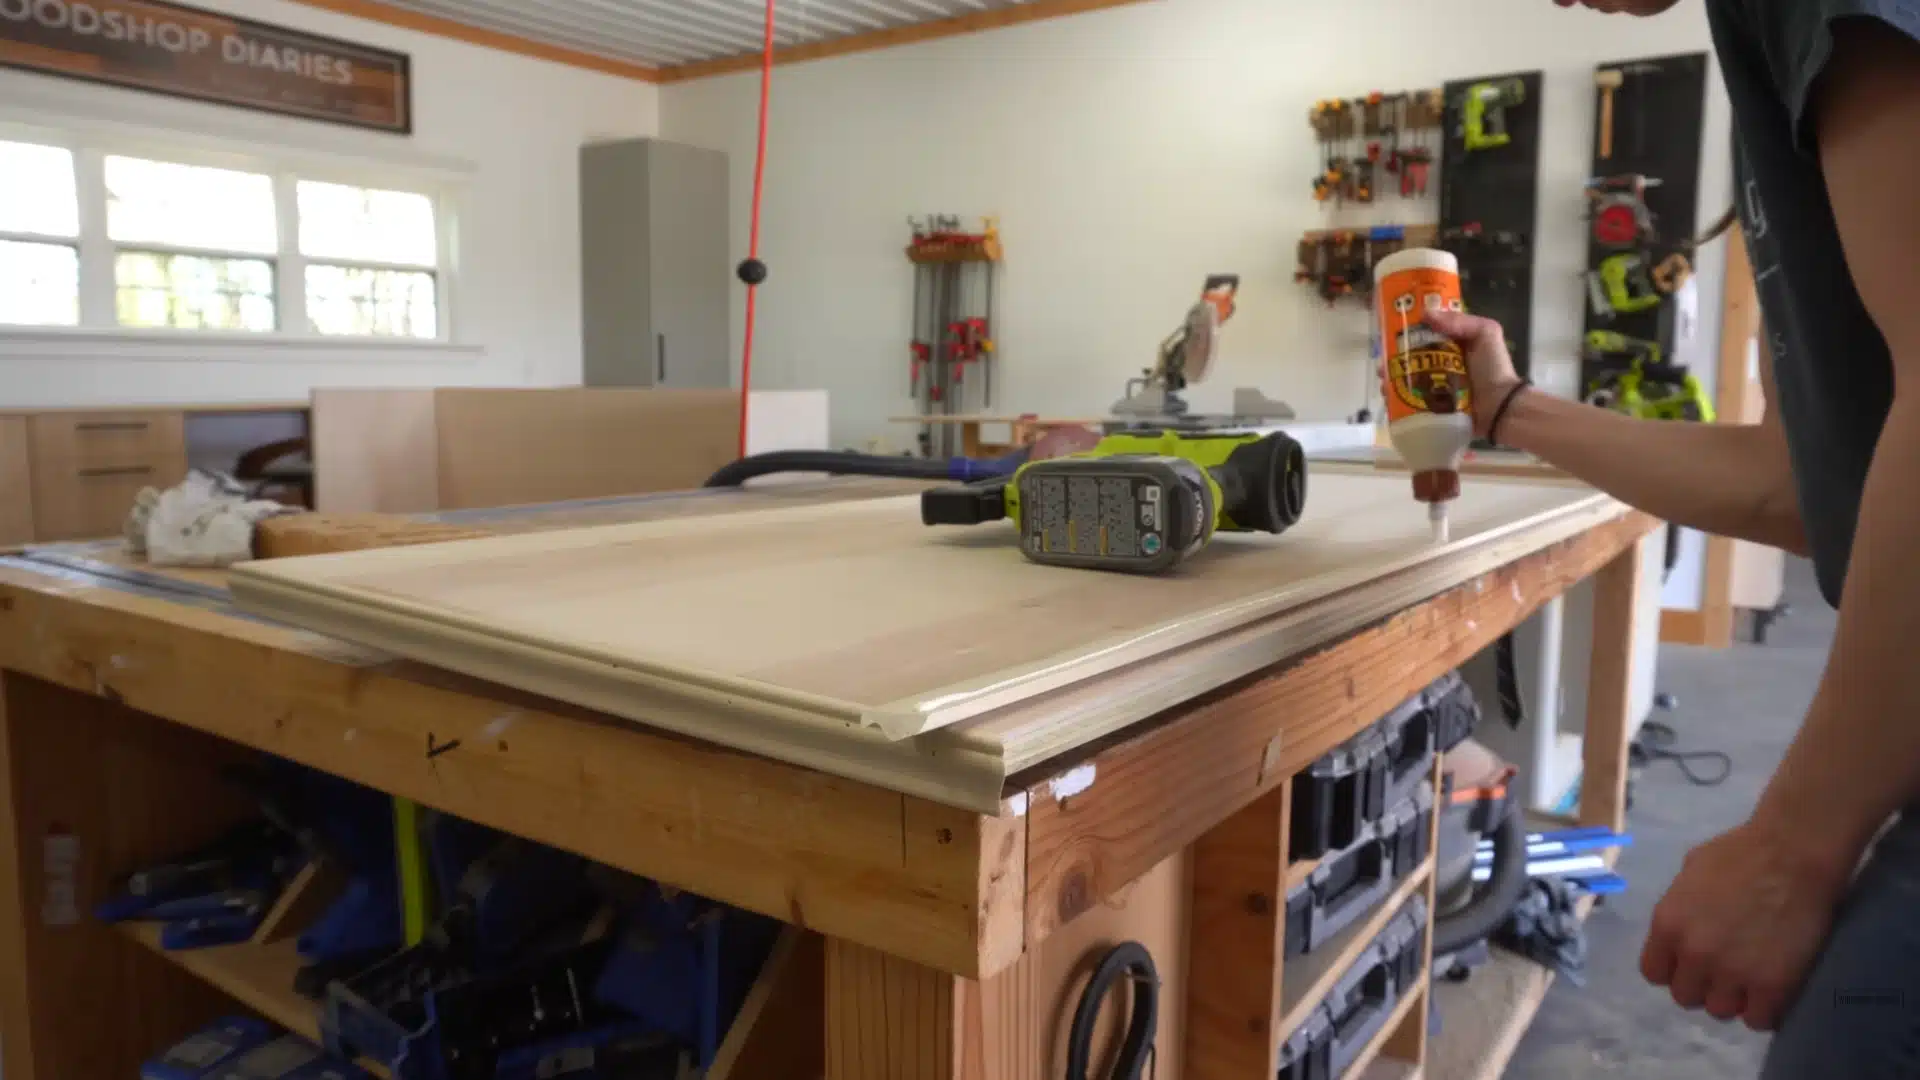
To create the top section, one solid panel is cut, and a trim is attached around the front and sides using glue and nails.
Care is taken to avoid placing nails along the line where the top will later be cut.
After the glue has dried, the panel is ripped down the center so the front half can flip forward while the back half remains fixed to the cabinet.
This approach keeps the top looking seamless while allowing enough clearance for the folding bed sections. The trim helps conceal small gaps and gives the cabinet a polished, finished appearance.
Step 4: Add Interior Supports and Bottom Panels
Inside the cabinet, a strong support strip is added running from the front to the back to anchor the foldout frames.
For the bottom surface, two smaller plywood panels are used instead of one large piece to make efficient use of leftover materials.
Both panels are attached with pocket holes to the side panels and secured with screws to the support strip. Even though the bottom is made from multiple pieces, the support ensures everything stays level and strong.
This internal structure creates a reliable base for the folding mechanism and evenly distributes weight during use.
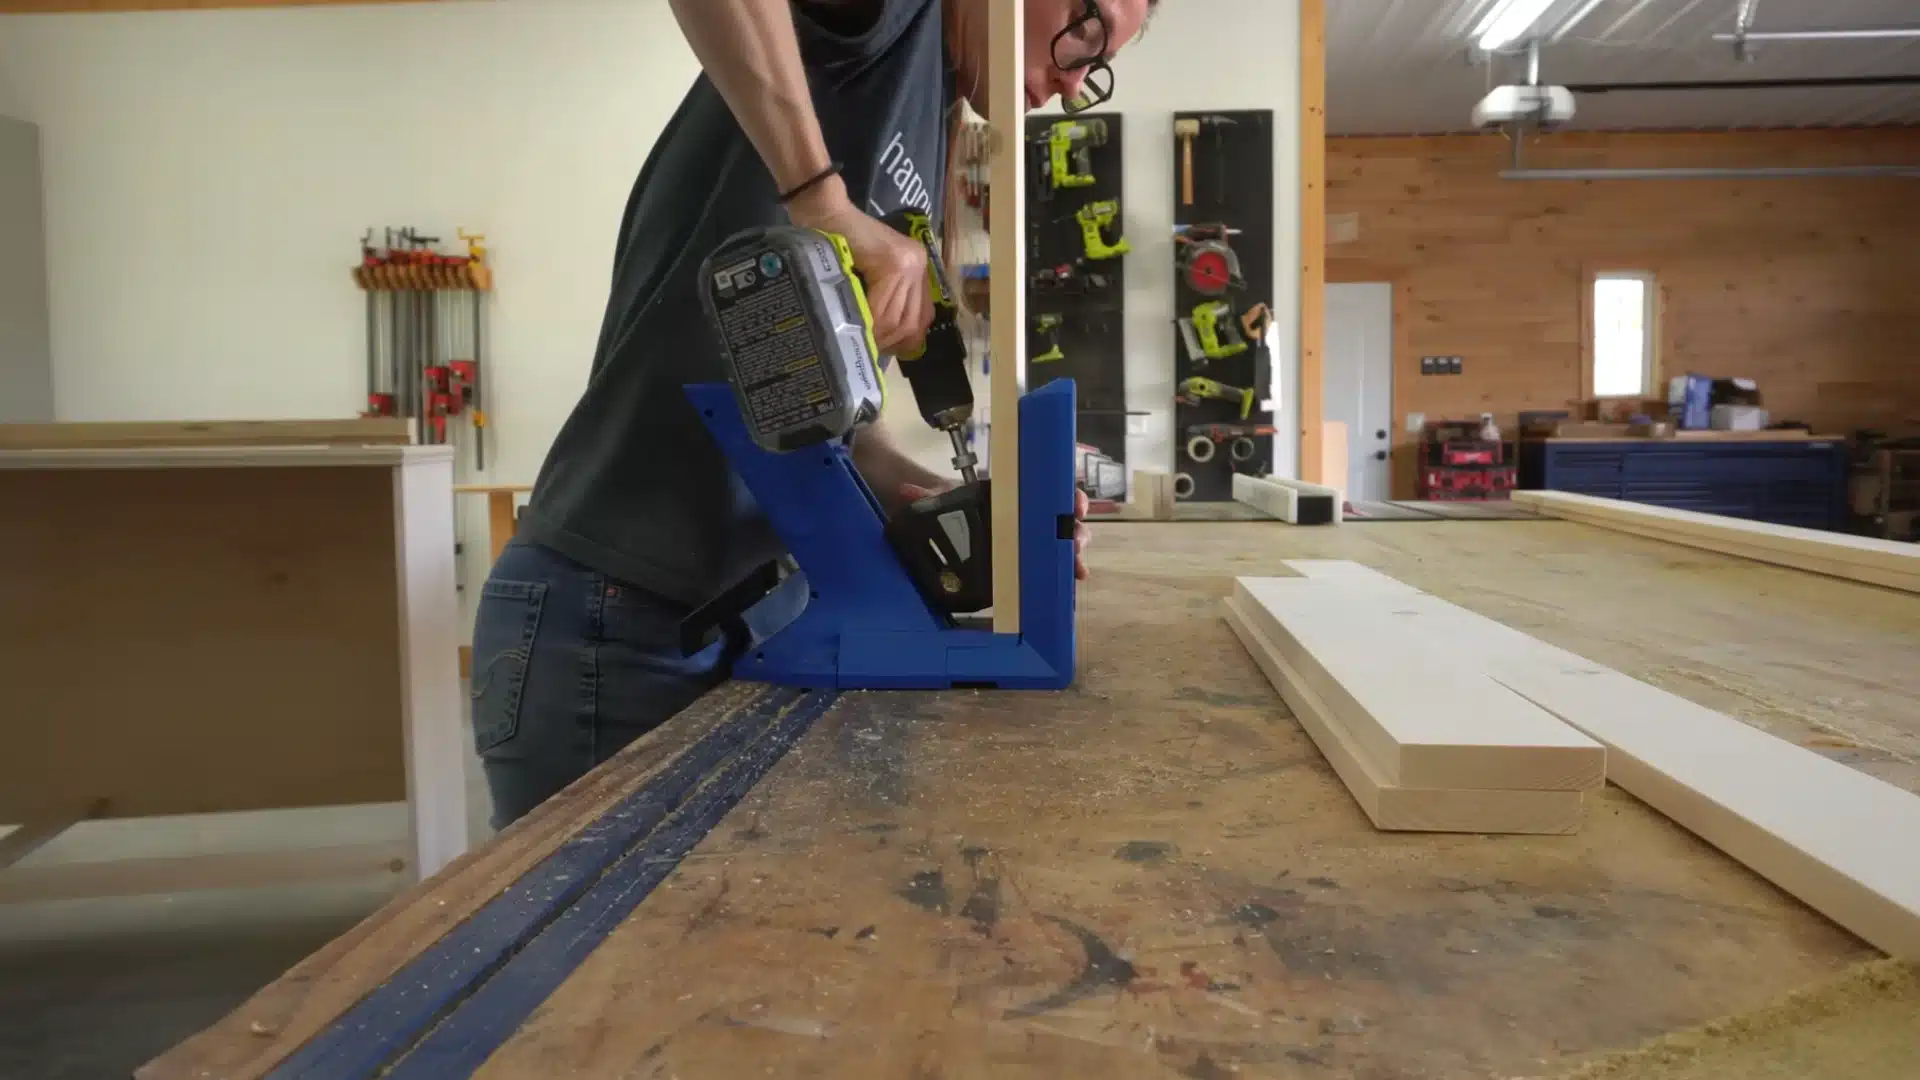
Step 5: Build the Faux Door Front Frame
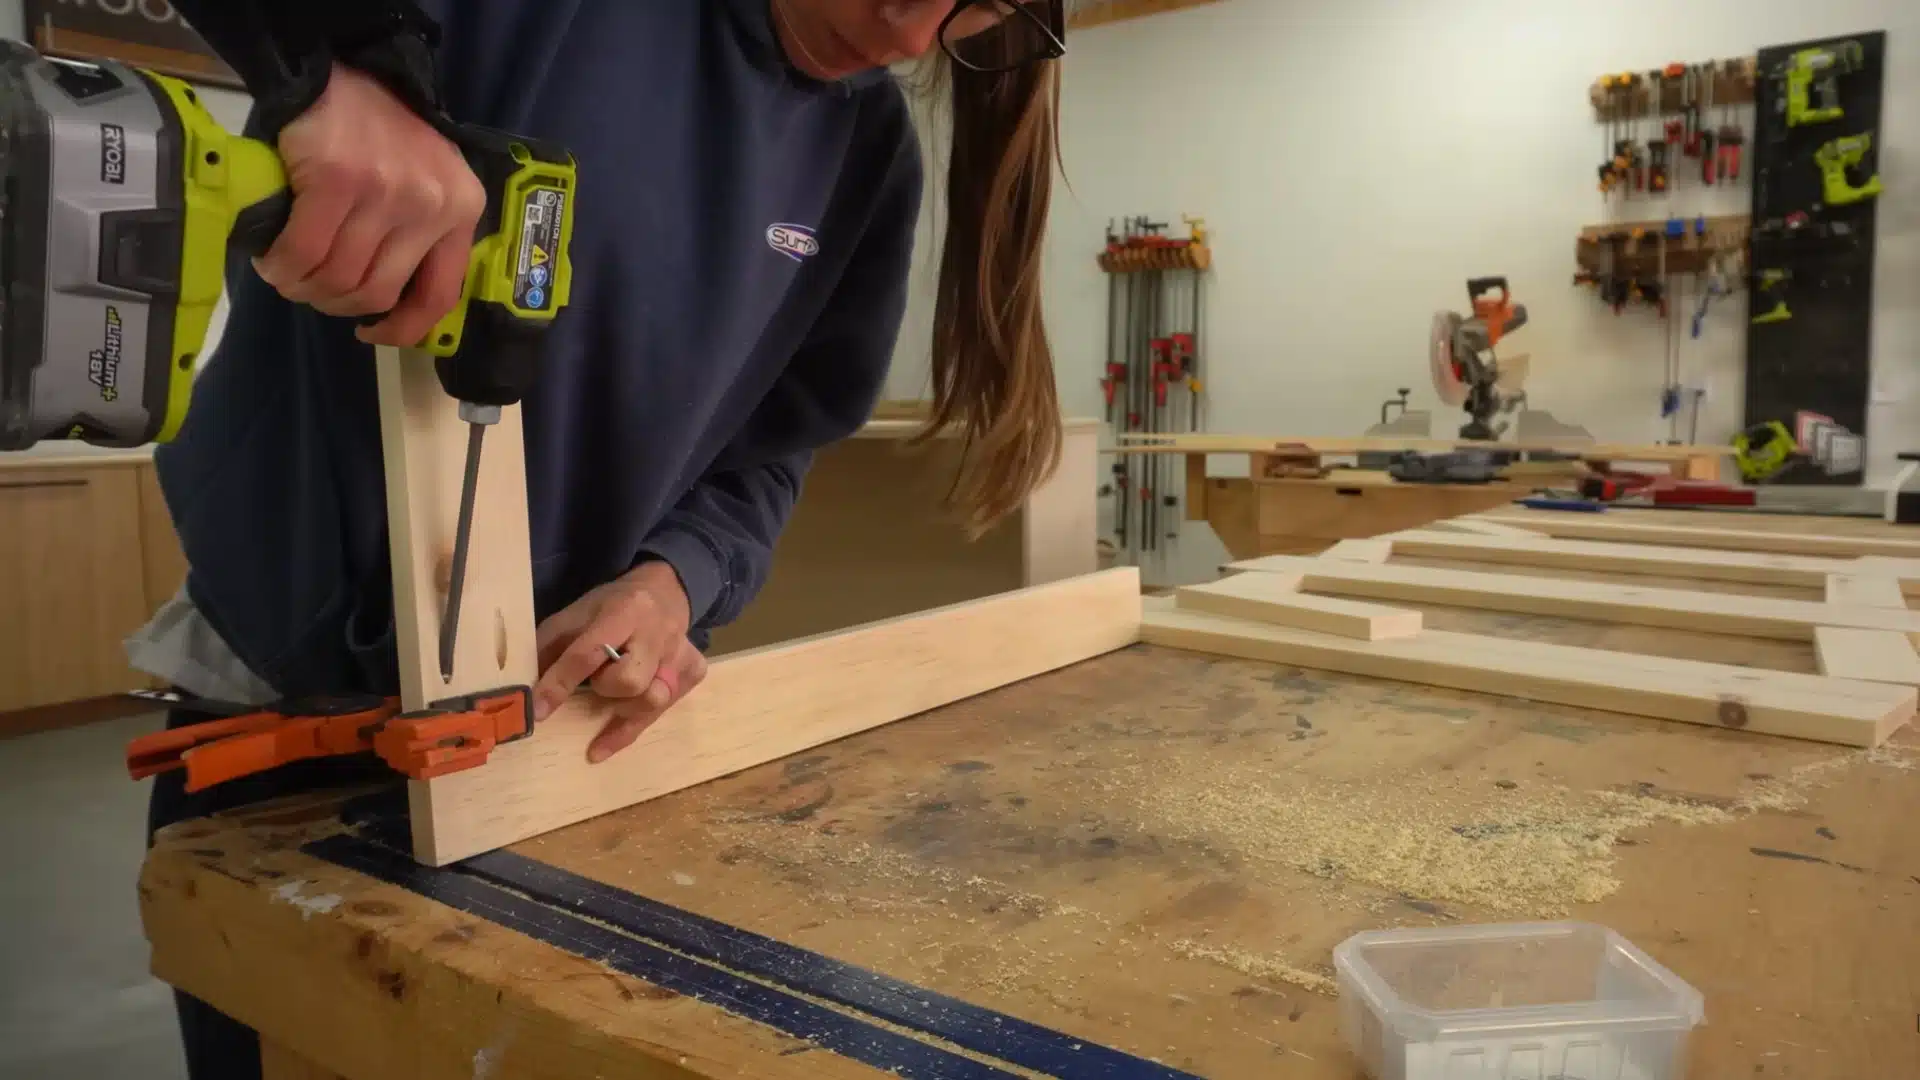
The front of the Murphy bed is designed to look like four cabinet doors, even though it functions as one large fold-down panel.
This is done by building a frame using 1×3 boards for the outer edges and a 1×6 board in the center. A curved groove is cut down the middle of the 1×6 to mimic the appearance of two doors meeting.
If you want the front to look more refined, the same panel style pairs well with a classic shaker cabinet door profile, which uses the same basic framing method.
Pocket holes are used to assemble the frame, and although the frame may bow slightly during assembly, it flattens once attached to the backer panel.
This method creates a clean, furniture-style look when the bed is closed.
Step 6: Add the Backer Panel and Hinges to the Door Section
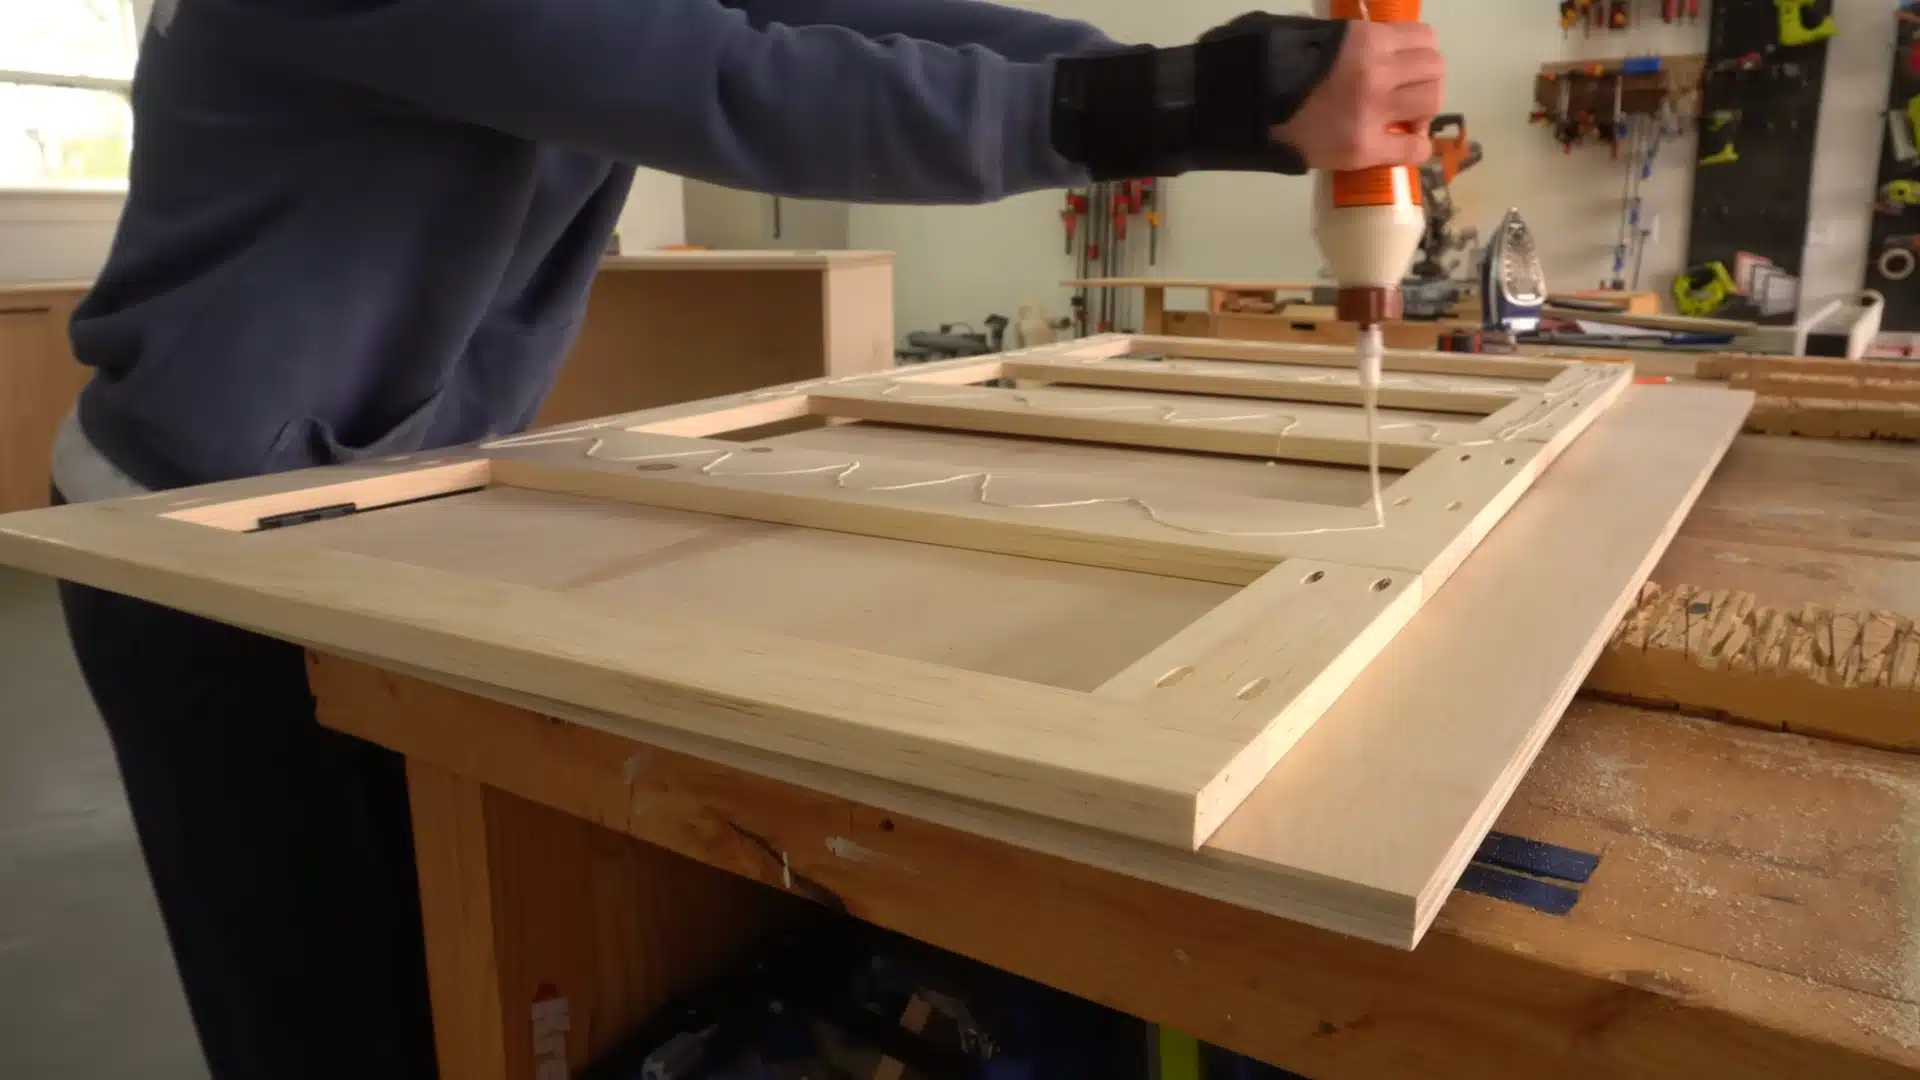
A ¾-inch plywood backer panel is cut slightly smaller than the frame so it overlaps the cabinet edges once installed. Three butt hinges are installed along one long edge of the plywood.
After the hinges are secured, the frame is glued and clamped onto the backer panel.
Once dry, this creates a strong, stable fold-down front that supports the mattress and handles most of the motion when the bed opens and closes.
Building this section with even pressure and solid attachment allows the bed to fold smoothly and keeps the front visually clean and sturdy.
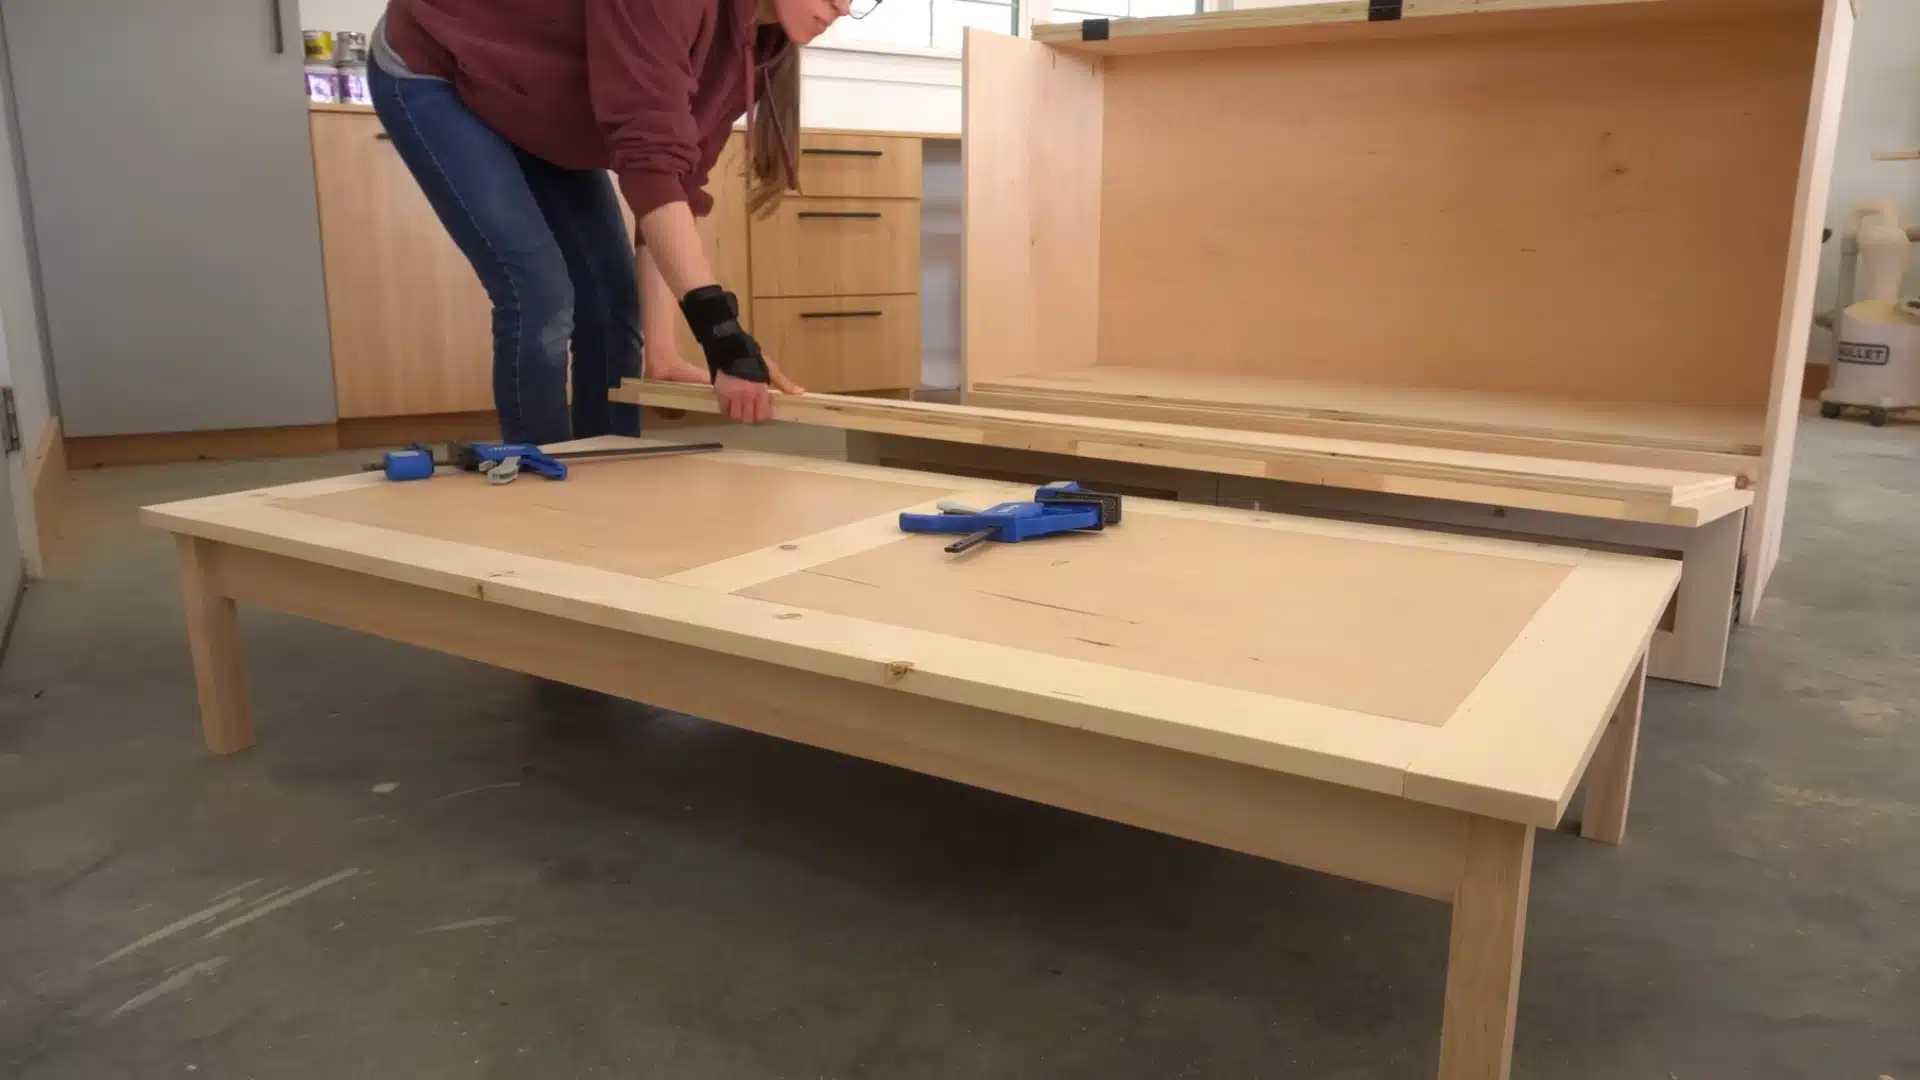
Step 7: Build the Second Foldout Frame with Legs
The second foldout frame is built using 1×4 boards and ½-inch plywood inserts, which is helpful if full sheets of ¾-inch plywood aren’t available.
The strength of the frame is tested by placing weight at the center, and it holds well because the mattress’s weight is spread across the full panel during use.
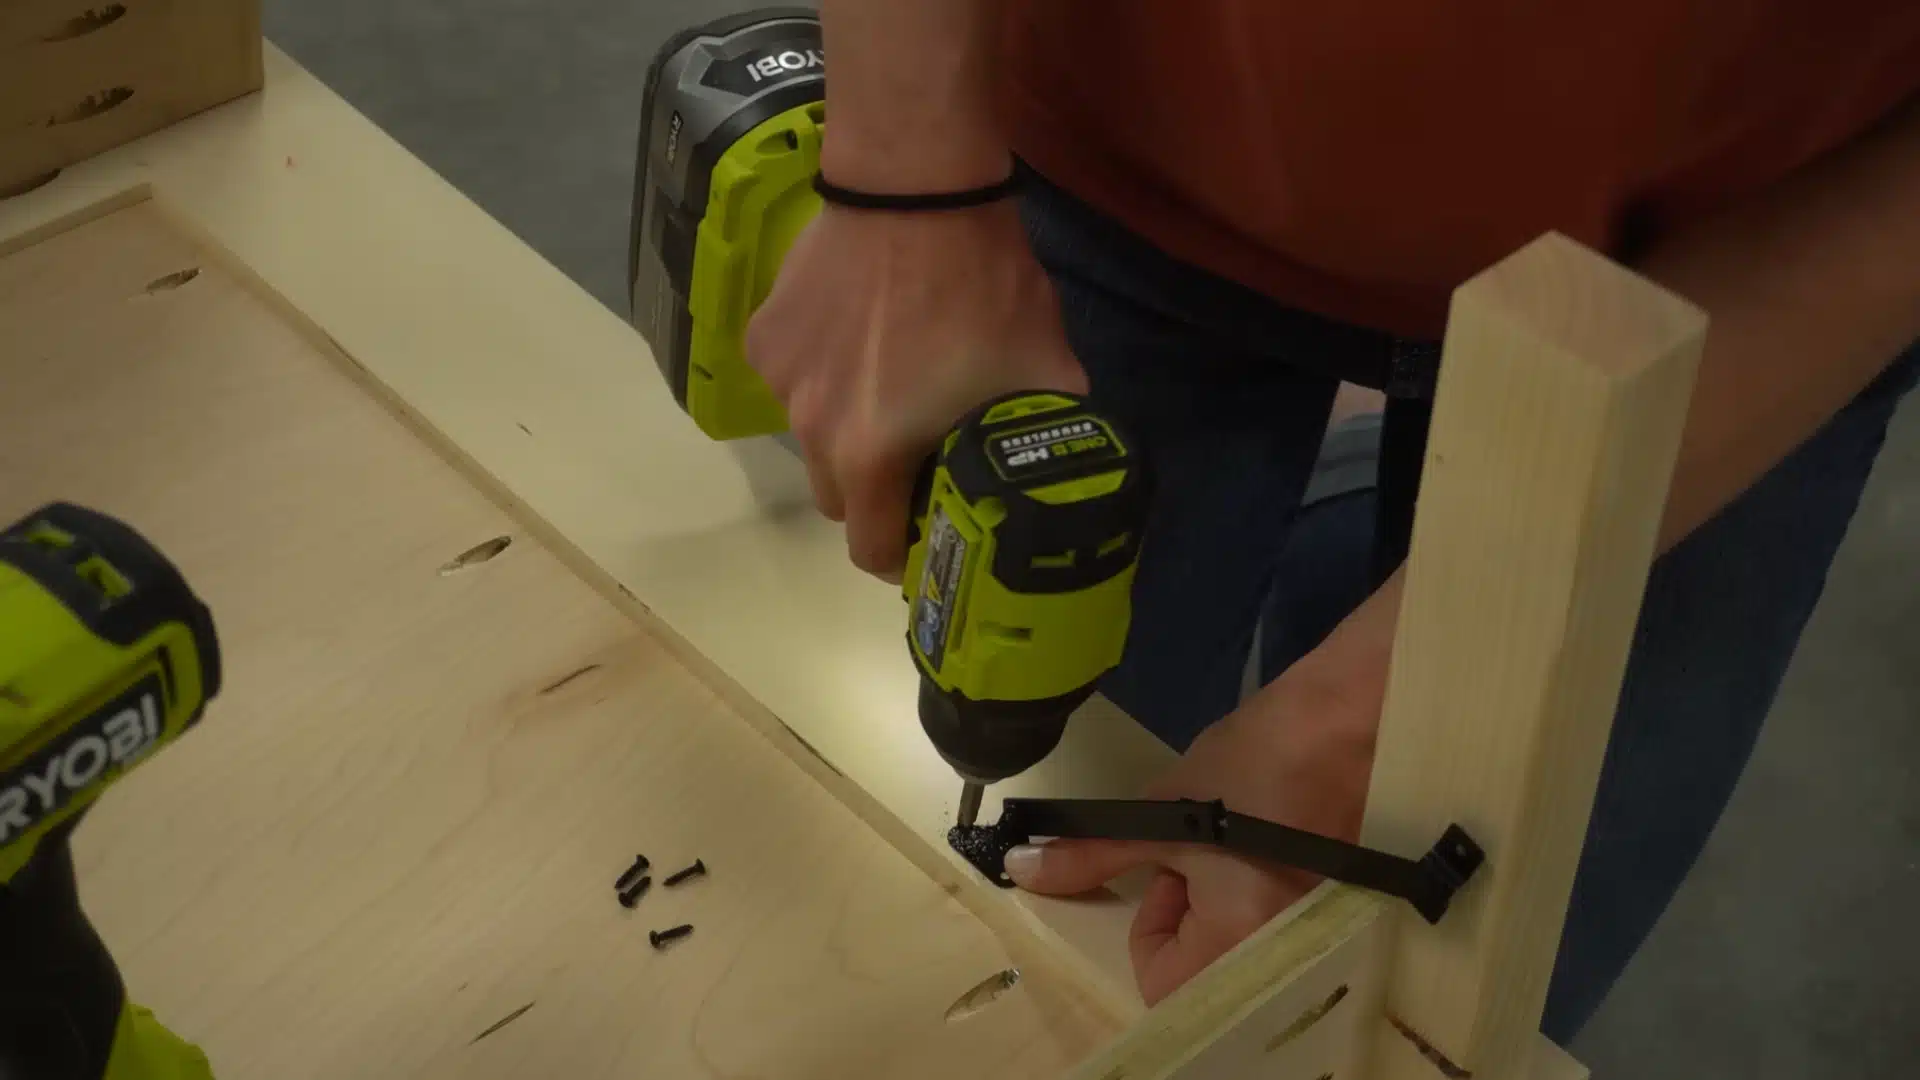
Foldable legs are attached with hinges so they can swing out when the bed is opened.
Locking supports are added to the legs to improve stability and prevent wobbling, making the structure feel stronger and more secure.
Step 8: Install Drawer Slides and Build the Drawer Box
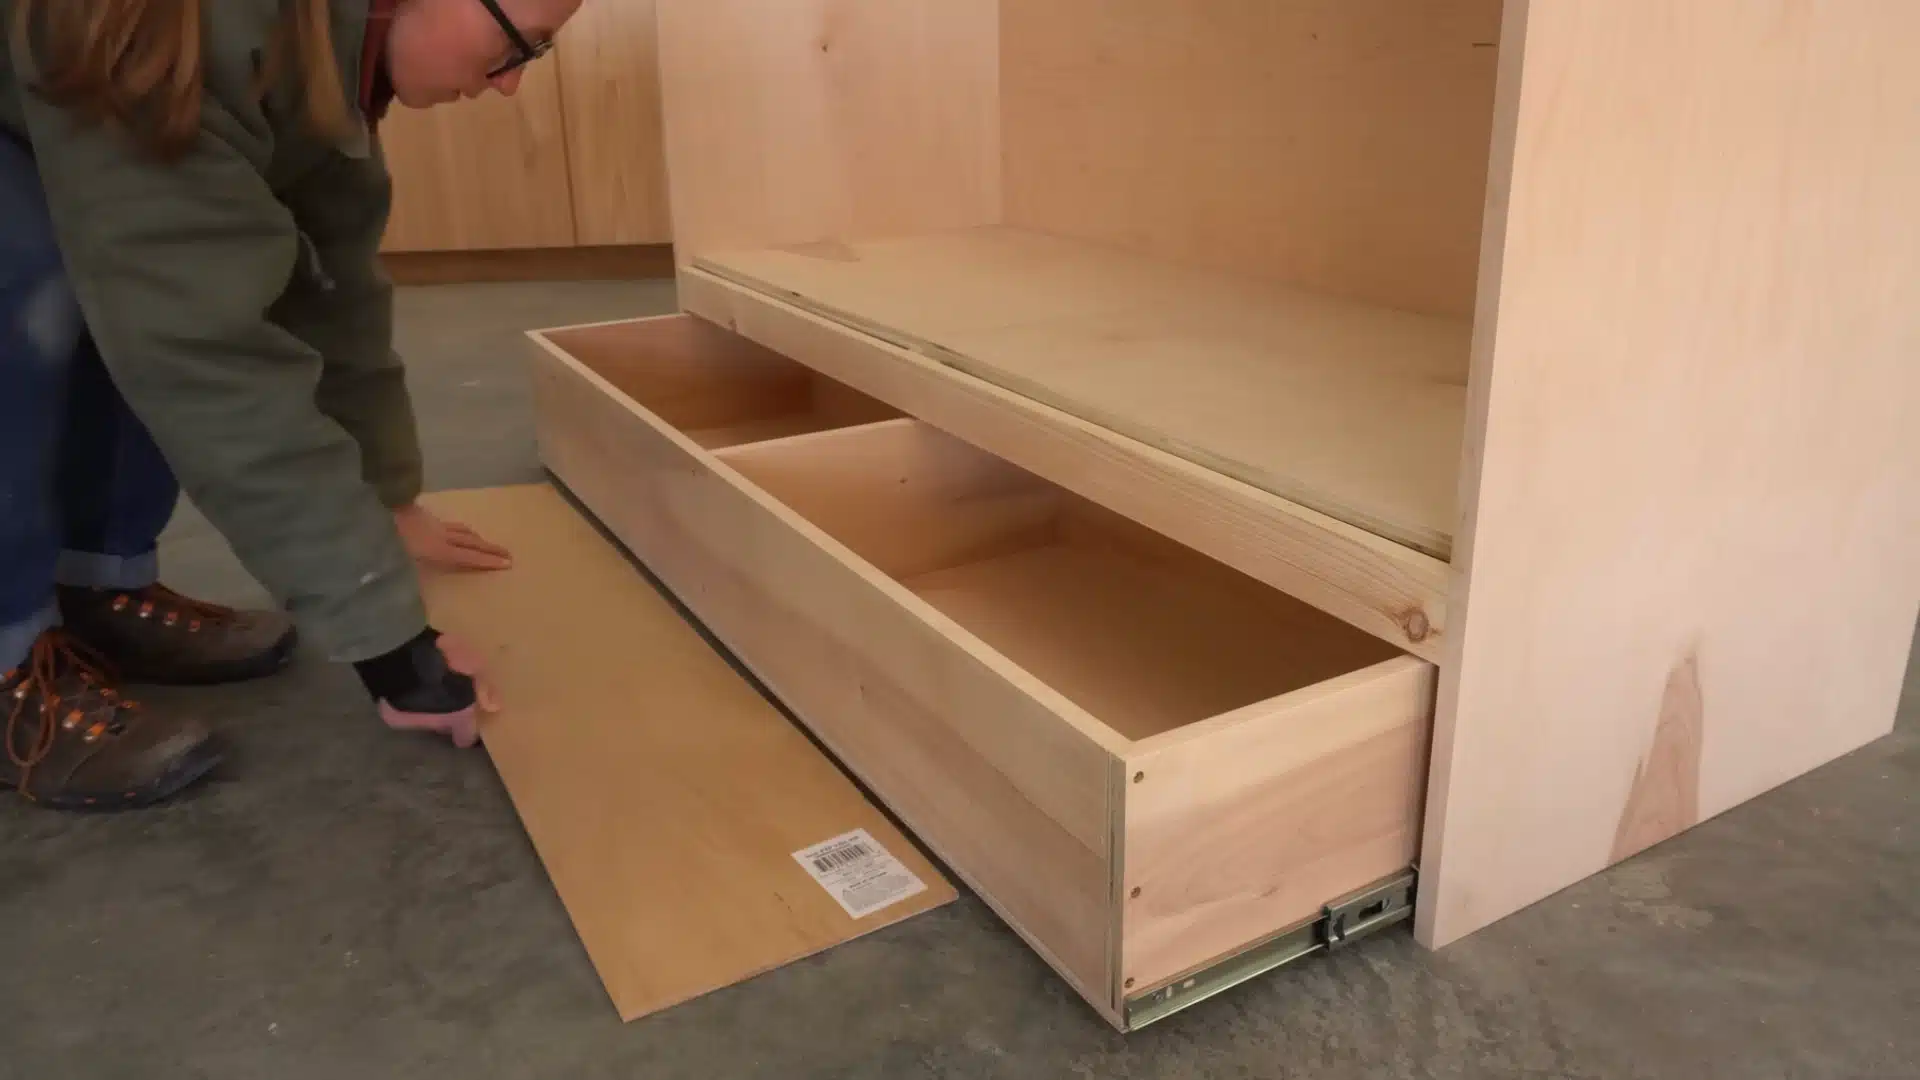
Drawer slides are installed about ½ inch above the bottom of the cabinet.
While they do not carry the bed’s full weight, they offer support to the foldout panel during movement and help keep everything level.
The drawer box is built from ¾-inch plywood pieces with a ½-inch plywood bottom attached. Once the drawer is assembled, it is slid into the cabinet to ensure smooth operation.
Besides offering storage, the drawer also stabilizes the middle foldout frame and helps it rest evenly as the bed moves from closed to open.
Step 9: Add the Drawer Front and Connect the Foldout Frames
The drawer front is built using a 1×6 board in the center with 1×3 boards on each side to match the look of the faux door panel above.
It is spaced ¼ inch above the floor to allow smooth movement. With the drawer installed, its top surface helps support the middle foldout frame during hinge installation.
Three hinges are attached between the two foldout panels, and the middle section is connected to the cabinet.
Testing the bed at this point confirms that the folding action is smooth and that the mattress fits properly without pressure points.
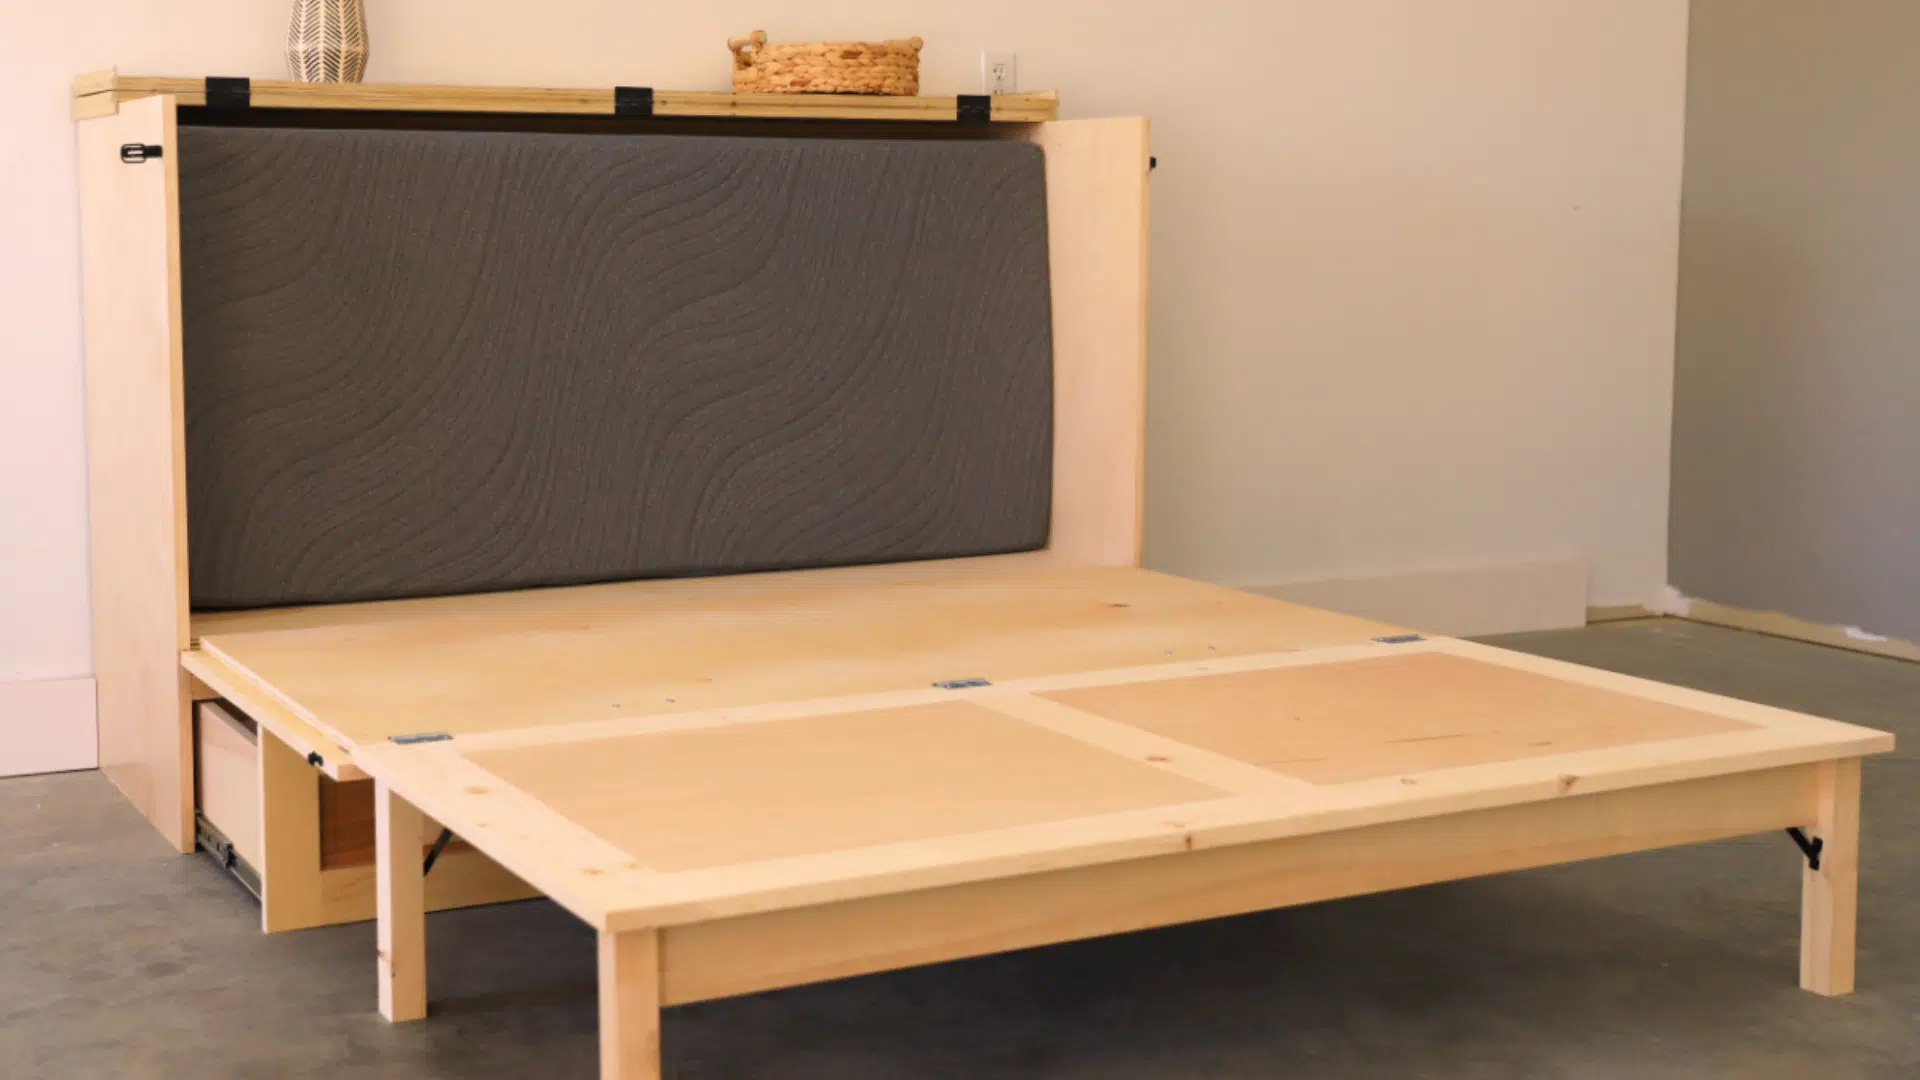
Step 10: Add Finishing Touches and Test the Bed
To finish the project, add latches inside the cabinet to keep the front panel closed when upright.
Apply two coats of Minwax Polycrylic to seal and protect the wood. Then add knobs to the doors and pulls to the drawer.
For safety, lock the leg supports and add shims under the drawer front whenever extra stability is needed.
After everything dried, test the bed with the mattress in place. The bed opened evenly, folded cleanly, and felt sturdy and secure.
This tutorial is based on a helpful video by Shara Woodshop Diaries. You can check out the original video on their YouTube channel here or watch it below.
Common Murphy Bed DIY Mistakes to Avoid
Most Murphy bed problems come from a few easy-to-miss mistakes. The good part is that you can avoid nearly all of them before the first cut.
The biggest mistake is skipping the mattress measurement. Do not rely only on the size printed on the label.
Measure the actual mattress first because even a 1/2-inch difference can stop the bed from clearing the cabinet or closing flat.
Weak hardware is another problem. The hinges, pivot system, pistons, springs, and mounting screws all need to match the weight of the bed and mattress.
If your Murphy bed diy kit has a weight limit, stay under it. Overloaded pistons can weaken over time, and that is not something you want to test.
Never mount the cabinet into drywall alone. I once heard from someone who used toggle bolts rated at 50 lbs each, and the whole cabinet started pulling away from the wall within 3 months.
The repair meant patching the drywall, adding blocking between studs, and mounting the frame again. Save yourself the mess and anchor it into studs from the start.
Also, do not skip locking legs or support hardware. When the bed folds down, the legs should carry the load. If they are not locked in place, too much weight sits on the hinge connection, and that is not what the hinges are built for.
Tips to Keep Your Murphy Bed Working Smoothly
A Murphy bed works like a small mechanical system, so a little care every few months keeps it folding safely and smoothly.
- Check the hardware: Tighten screws, brackets, and fasteners every few months because wood can shift and loosen over time.
- Adjust the pivot tension: If the bed feels too heavy while lifting, the piston may need adjustment or replacement.
- Balance the weight: Avoid piling heavy bedding on one side because uneven weight can strain the pivot mechanism.
- Clean the moving parts: Wipe the cabinet frame and hinges with a dry cloth so dust does not build up inside the hardware.
- Test after humidity changes: Fold and unfold the bed after significant humidity changes, as wood expansion can tighten the fit.
Conclusion
Building your own Murphy bed can feel like a big project at first, but it becomes much easier when you break it into planning, cutting, assembling, mounting, and testing.
The biggest wins come from measuring your mattress properly, using a reliable hardware kit, anchoring the cabinet into wall studs, and checking that the folding motion feels smooth before regular use.
This Murphy bed diy project is worth it if you want a room that works harder without feeling cramped. You save money, get a built-in look, and still have a proper bed ready when guests stay over.
Would you build yours with a hardware kit or go fully from scratch? Drop your thoughts in the comments and tell me what kind of Murphy bed setup you would build.
Frequently Asked Questions
Can You Install a Murphy Bed on Any Wall?
Not every wall works. You need a wall with solid studs behind it. Concrete or brick walls can also work, but drywall alone is not safe for mounting.
How Much Vertical Space Do You Need for a Murphy Bed?
You need enough ceiling height to allow the bed to stand upright when closed. For most designs, at least 7 to 8 feet is recommended, depending on mattress size.
Can You Use Any Mattress With a Murphy Bed?
No, not every mattress works. You should avoid very thick or overly heavy mattresses. Most setups work best with mattresses under 12 inches thick and within the hardware weight limit.