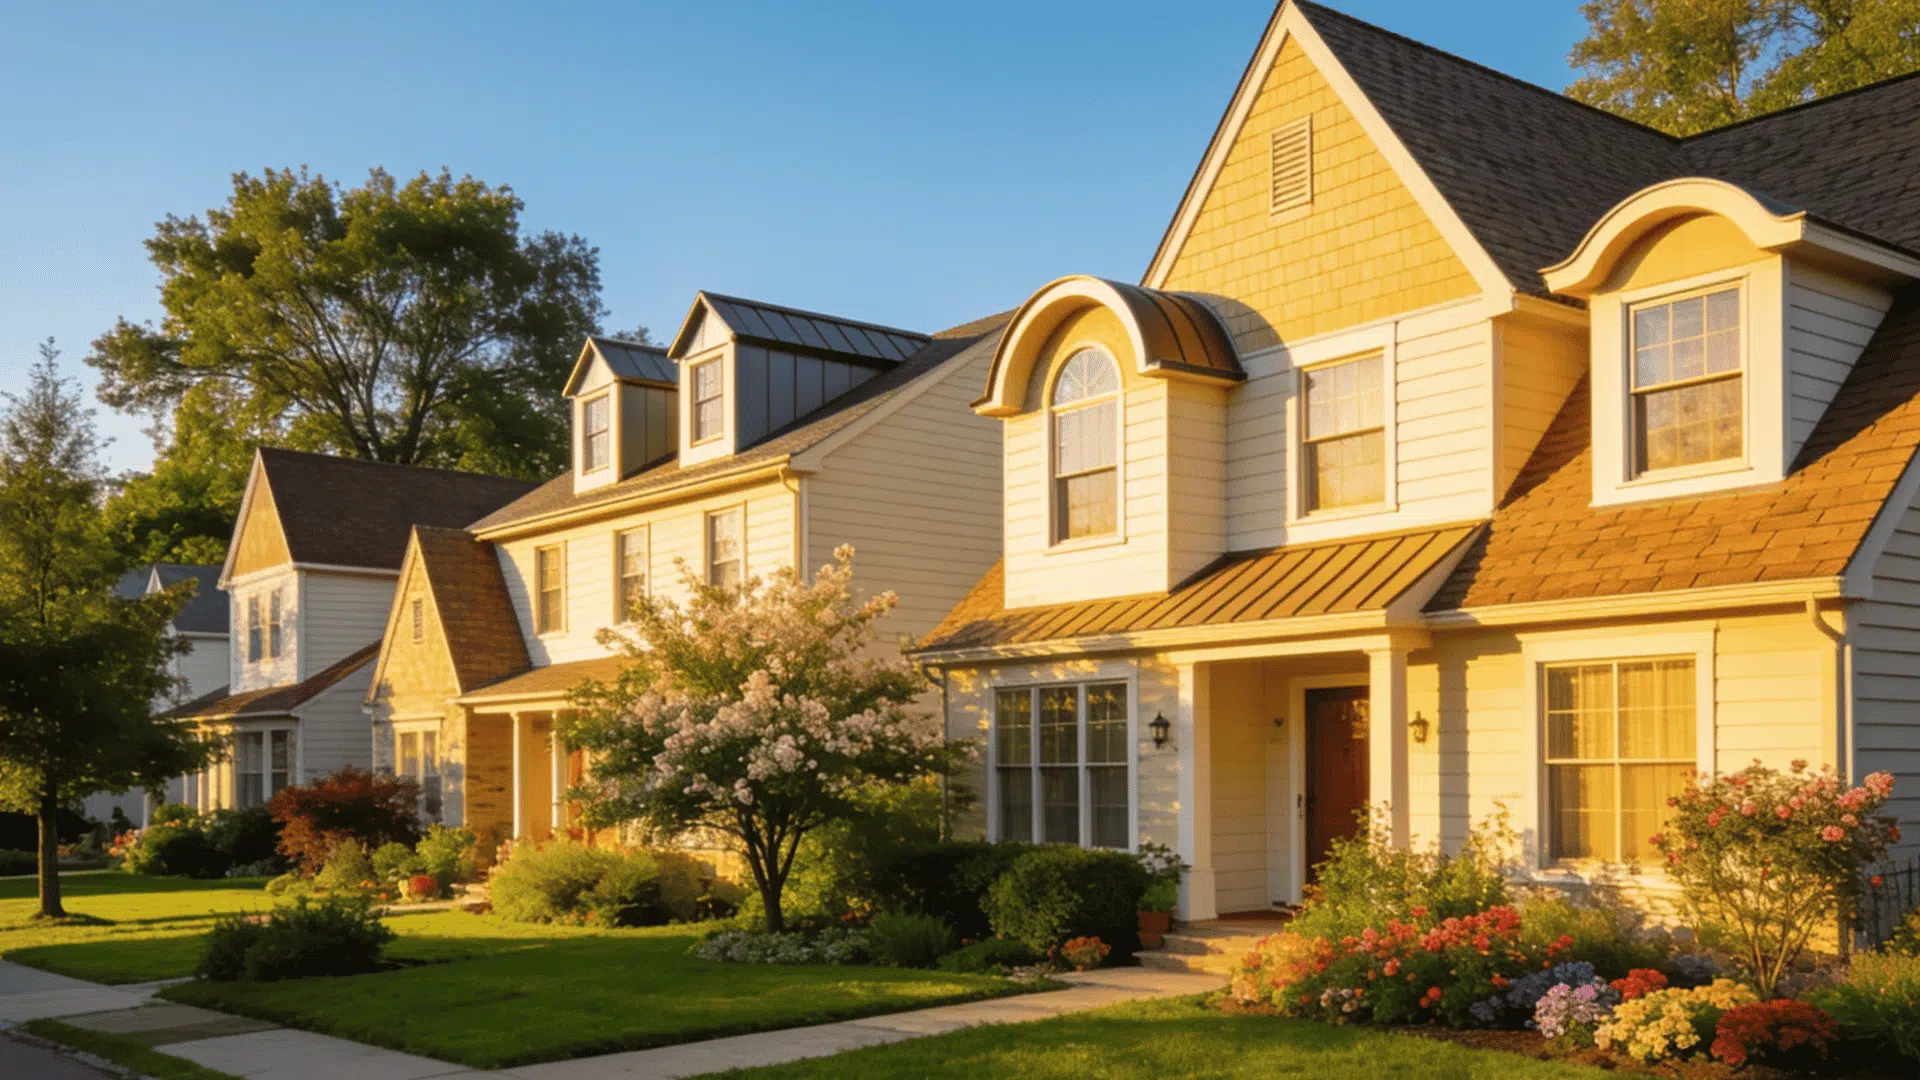
Roof eaves are the sections of a roof that extend beyond the exterior walls, helping direct rainwater away from siding, windows, and foundations.
Adding eaves after a house is already weather-tight requires careful planning because the new framing must connect securely to the existing roof structure without creating leaks.
Homeowners also need to account for soffits, fascia boards, flashing, gutters, ventilation, and local building rules. The exact method depends on the roof shape, rafter layout, and desired overhang depth.
Read on to learn the main parts, planning checks, construction steps, costs, and mistakes to avoid before starting the work safely.
What are Eaves on a House?
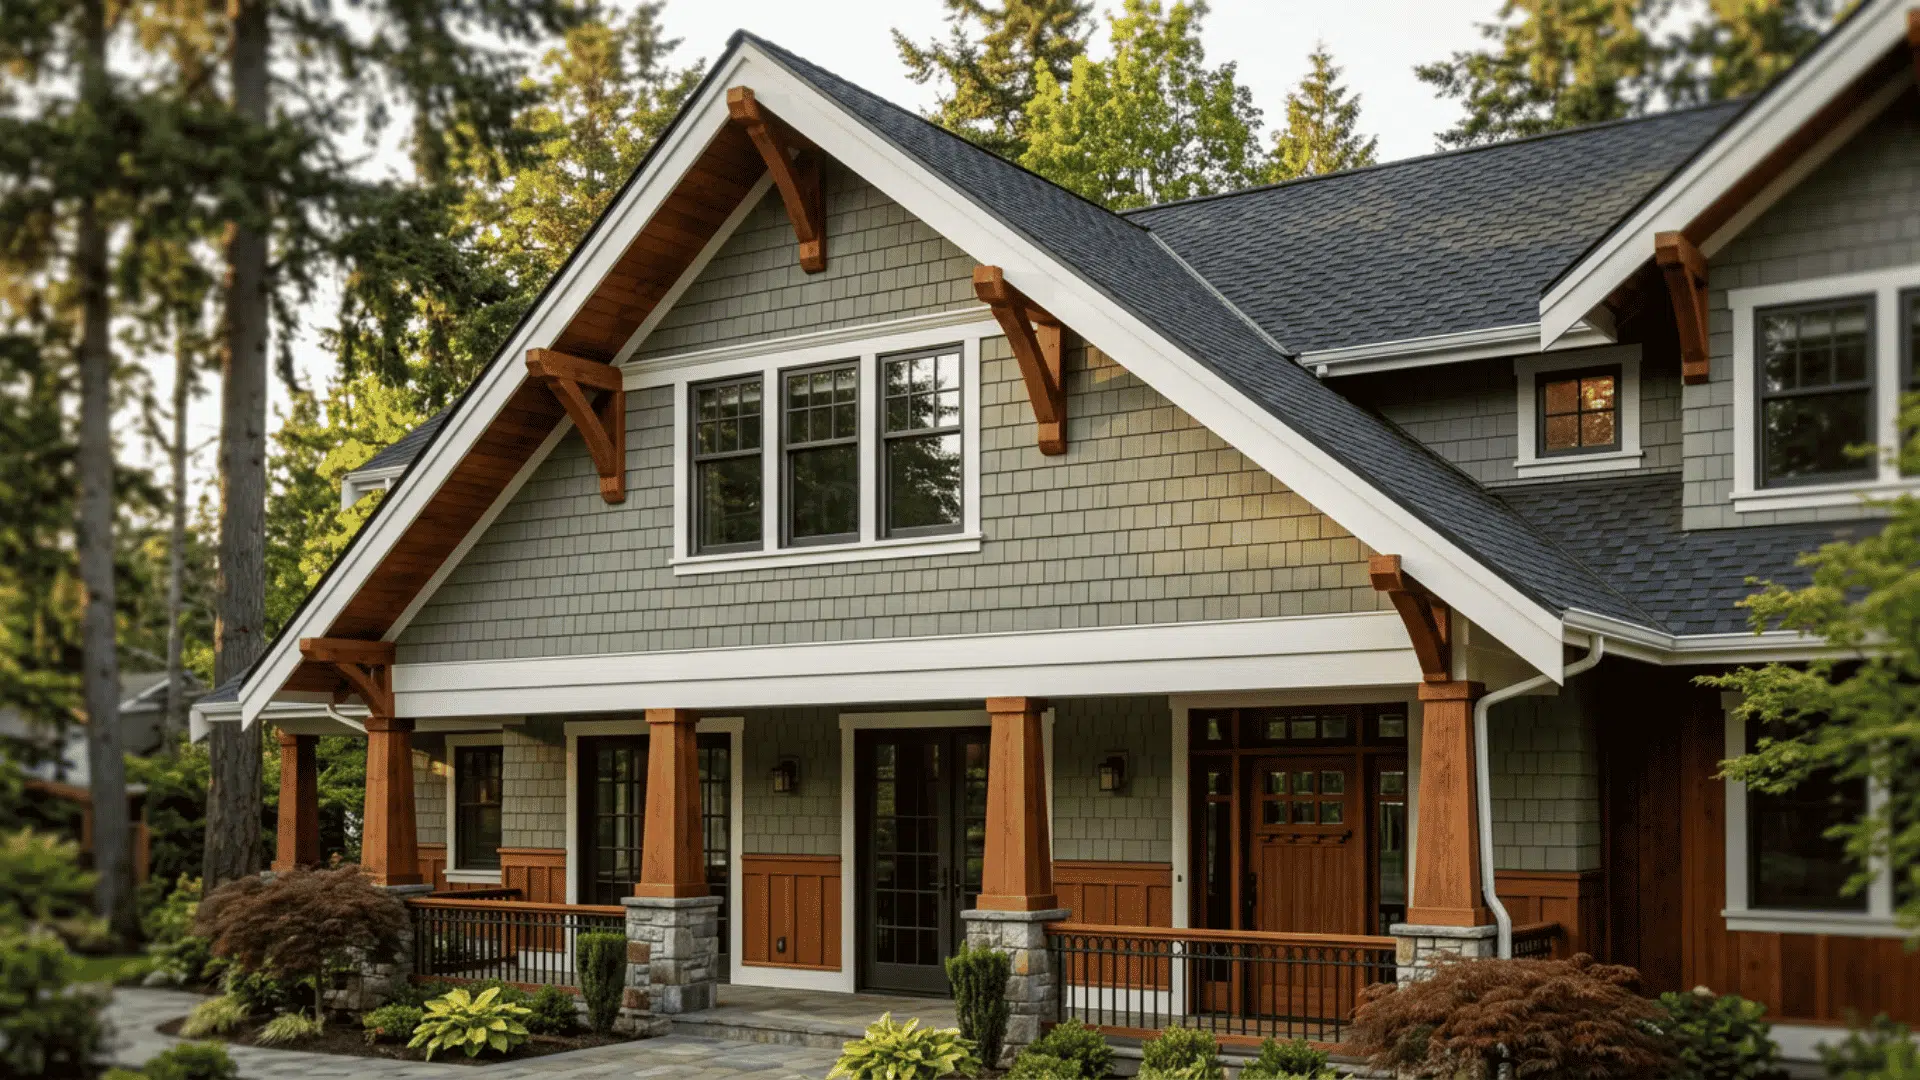
Eaves are the roof edges that project past the outer walls of a house. They form the point where the roof surface ends and the exposed or covered underside begins.
The horizontal underside is called the soffit, while the vertical board along the edge is the fascia. Rafters or trusses support the overhang, and a drip edge helps water run off the roof rather than run behind the fascia.
Gutters are often fixed to this area to collect runoff. Eaves may be open, boxed, or enclosed, depending on the home’s design.
They also affect shade, attic airflow, and the overall look of the roofline. In simple terms, eaves are the complete overhanging section, not just a single board or part of the roof.
Main Parts of a Roof Eave
The main parts of house eaves protect the roof edge, manage rainwater properly, cover exposed framing, and support airflow around the attic and exterior walls.
- Rafter Tails: These extended ends of the roof rafters create the main frame that projects beyond the exterior wall and supports the eave structure.
- Roof Sheathing: Panels attached over the rafters form a solid roof surface and provide support for shingles, metal panels, or other roofing materials.
- Underlayment: This protective layer sits between the roof sheathing and finished roofing, helping reduce water entry if rain passes beneath shingles or panels.
- Drip Edge: This narrow metal flashing runs along the roof edge and directs rainwater away from the sheathing, fascia board, and exposed wood.
- Fascia Board: The fascia covers the ends of the rafters, gives the roof edge a finished look, and often provides support for gutters.
- Soffit: The soffit covers the underside of the roof overhang and may contain vents that allow fresh air to enter the attic.
- Gutters: Gutters collect rainwater flowing from the roof and carry it toward downspouts, helping protect walls, foundations, landscaping, and nearby walkways.
- Frieze Board: This trim board covers the joint where the soffit meets the exterior wall, creating a cleaner finish and closing small gaps.
Tools and Materials Needed to Build Roof Eaves
Having the right tools and materials helps keep the work accurate and safe. The exact list may vary with the roof design, but these are commonly used for most roof-eave projects.
| Tool or Material | Main Use |
|---|---|
| Tape measure and chalk line | Measures and marks the layout |
| Circular saw | Cuts rafters, fascia, and sheathing |
| Hammer or framing nailer | Fastens framing and roof panels |
| Drill and driver | Installs screws and structural fasteners |
| Ladder or scaffolding | Provides safe roof-edge access |
| Framing lumber | Builds rafters, lookouts, and blocking |
| Sheathing and underlayment | Forms the roof base and moisture barrier |
| Fascia, soffit, and drip edge | Finishes and protects the roof edge |
| Nails, screws, flashing, and safety gear | Secures materials and supports safe work |
Step-by-Step Process for Building Roof Eaves
Building roof eaves on an existing house requires sound framing, accurate measurements, and careful water control. These five steps cover the main work from structural checks to the final inspection.
Step 1: Inspect the Existing Roof Structure
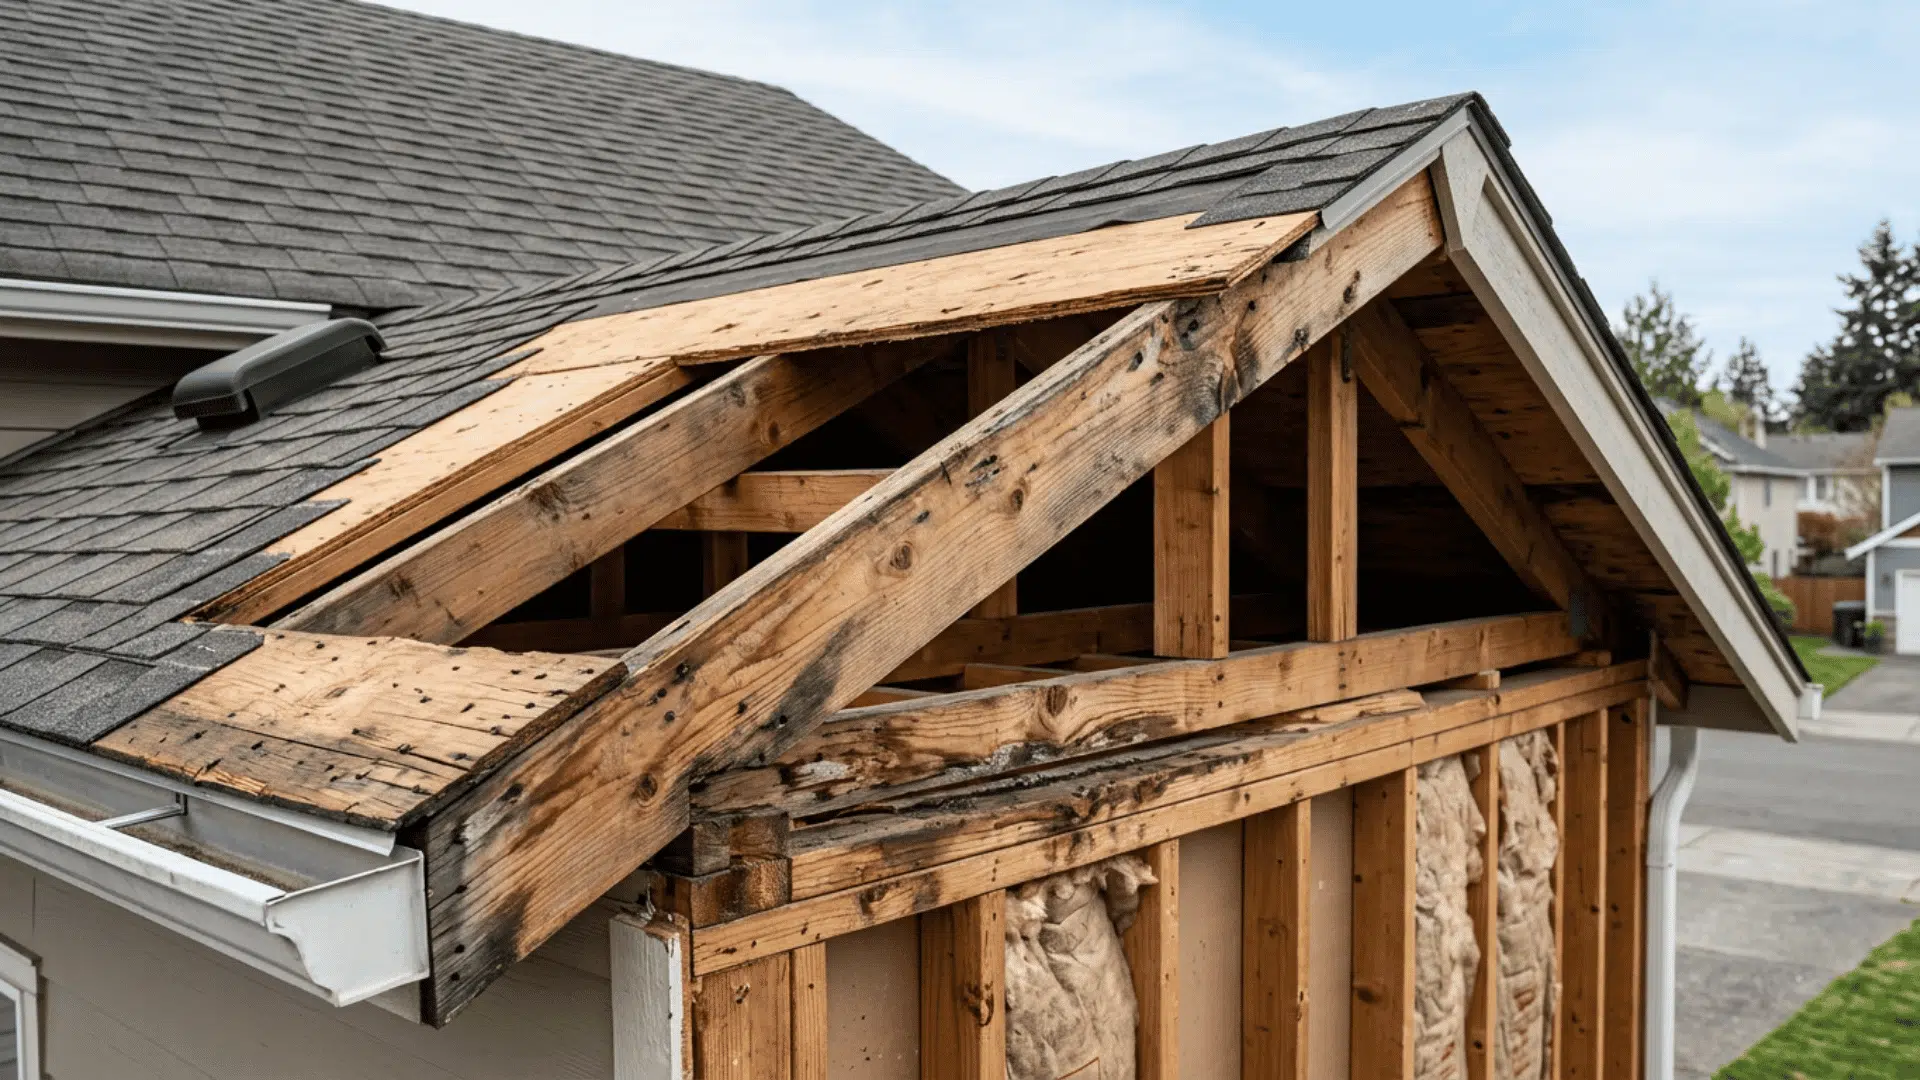
Before adding a roof eave, inspect the rafters or trusses, roof sheathing, and wall framing to confirm they can carry the planned overhang.
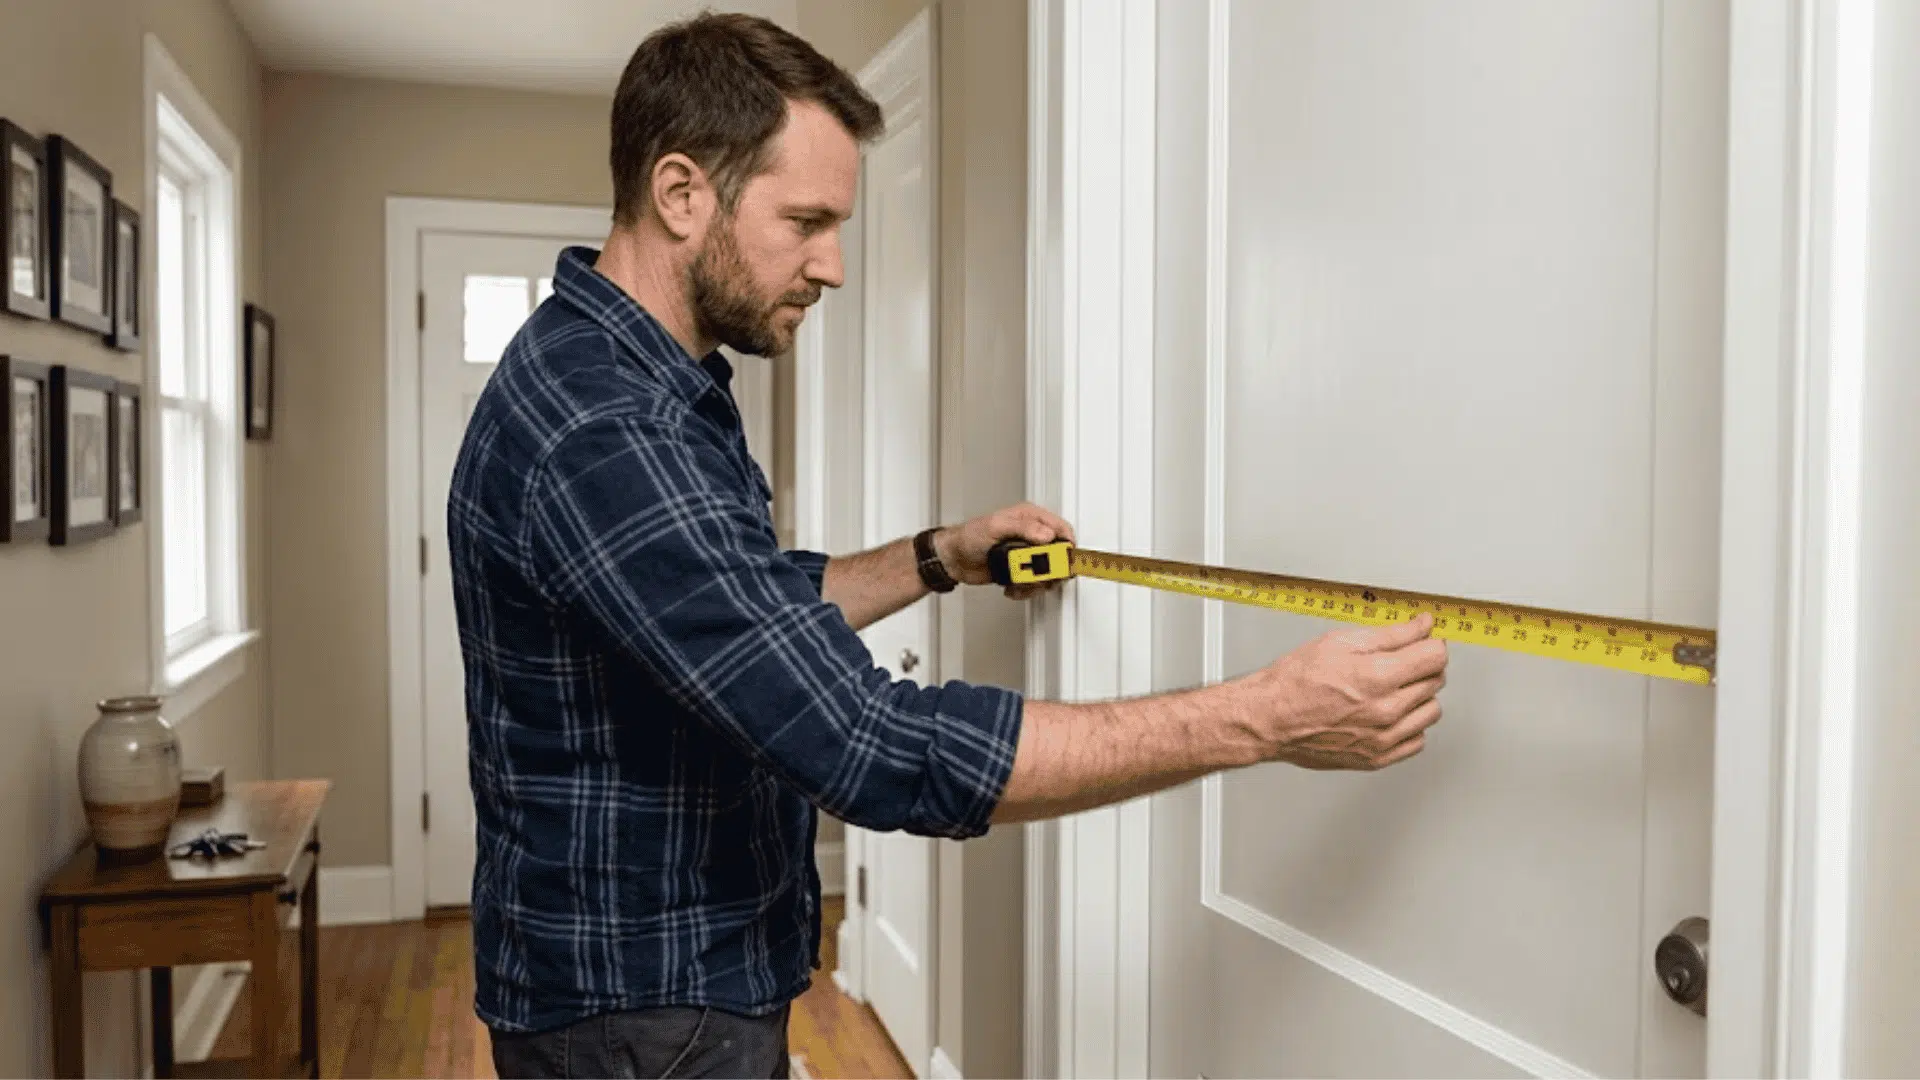
Measure the projection and note any vents, wiring, plumbing, or damaged wood that could affect the work. Repair rot or moisture damage first.
Check local permit and code requirements, and ask a structural professional to review the plan before construction if framing changes are extensive or unclear.
Step 2: Extend the Rafters or Install Lookout Framing
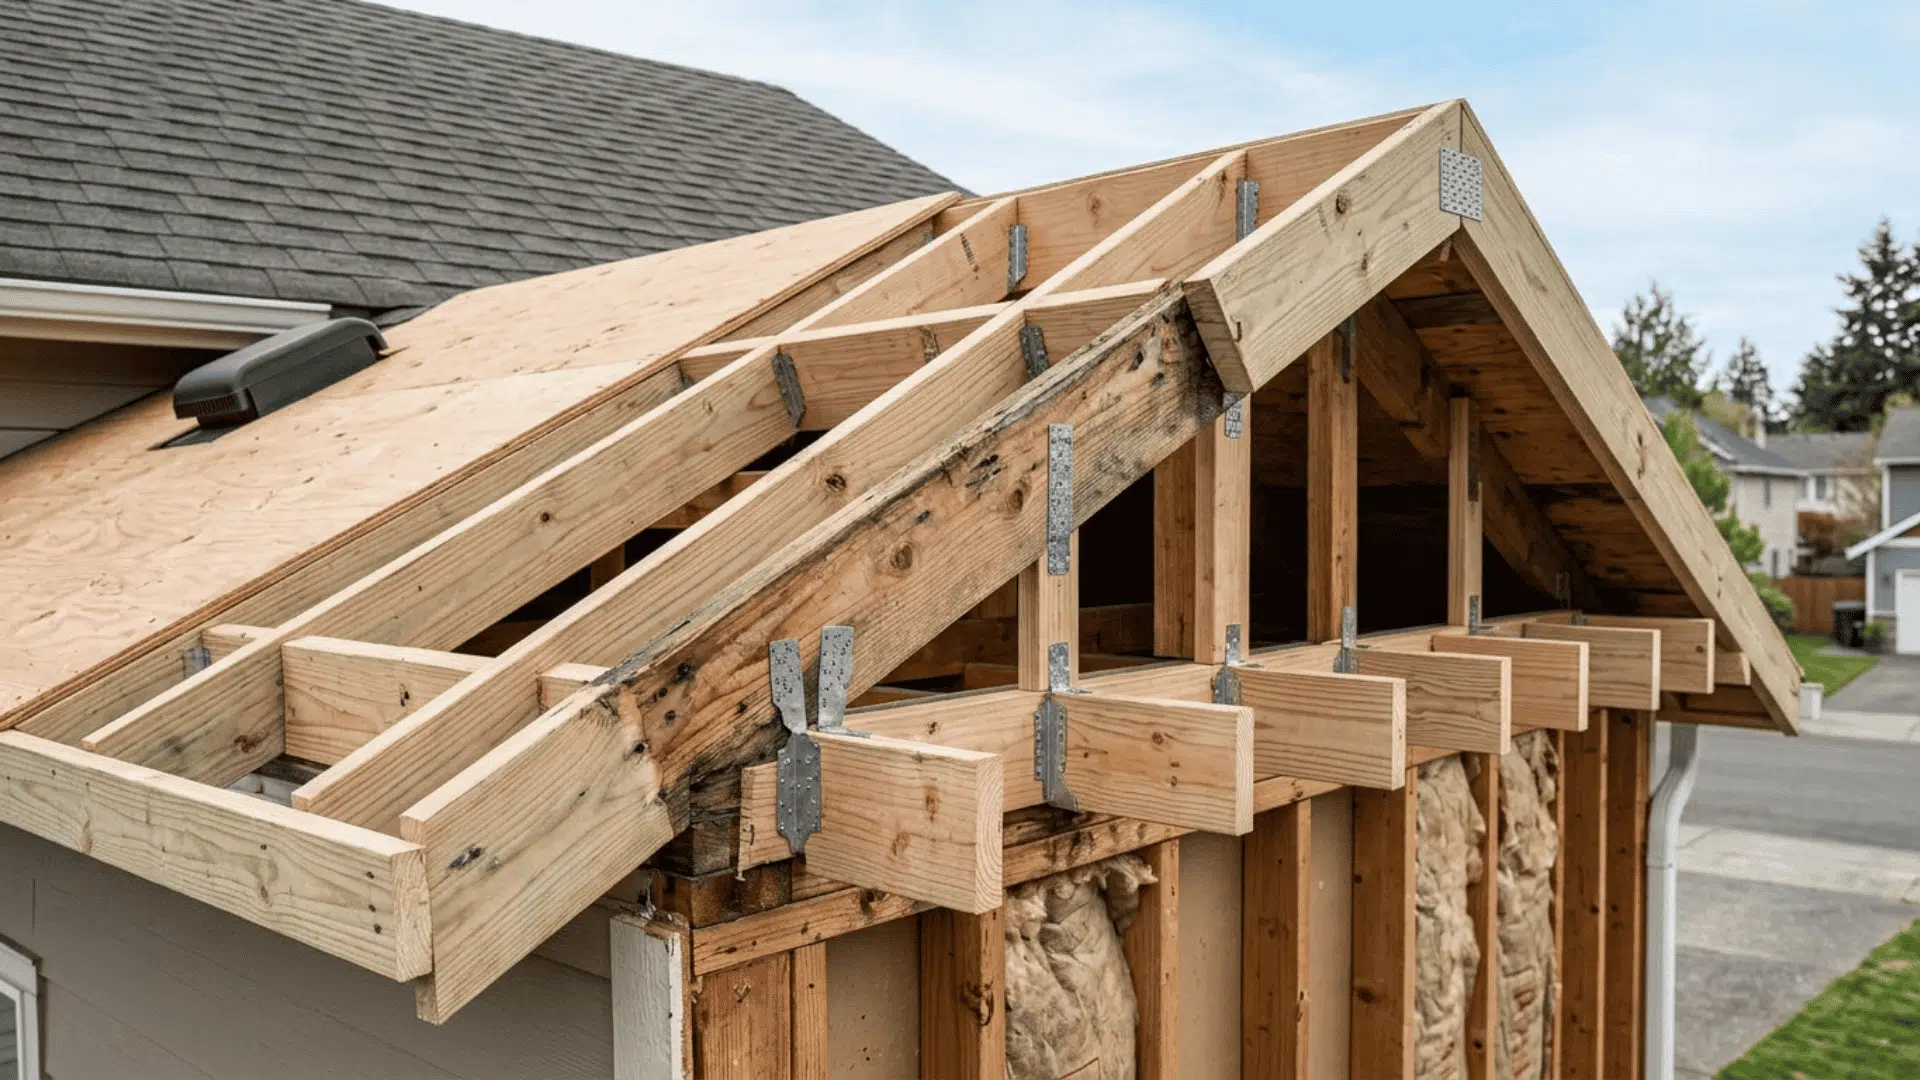
Choose the framing method that suits the roof design and existing structure. Builders may extend rafters, add sistered members, or install lookout framing to form the overhang.
Fasten each piece with approved connectors and keep the framing level, straight, and aligned with the roof pitch.
Theeaves of a house must have sufficient support for sheathing, soffit, fascia, roofing, and gutters to prevent sagging or shifting over time in changing weather conditions.
Step 3: Install Roof Sheathing and Weather Protection
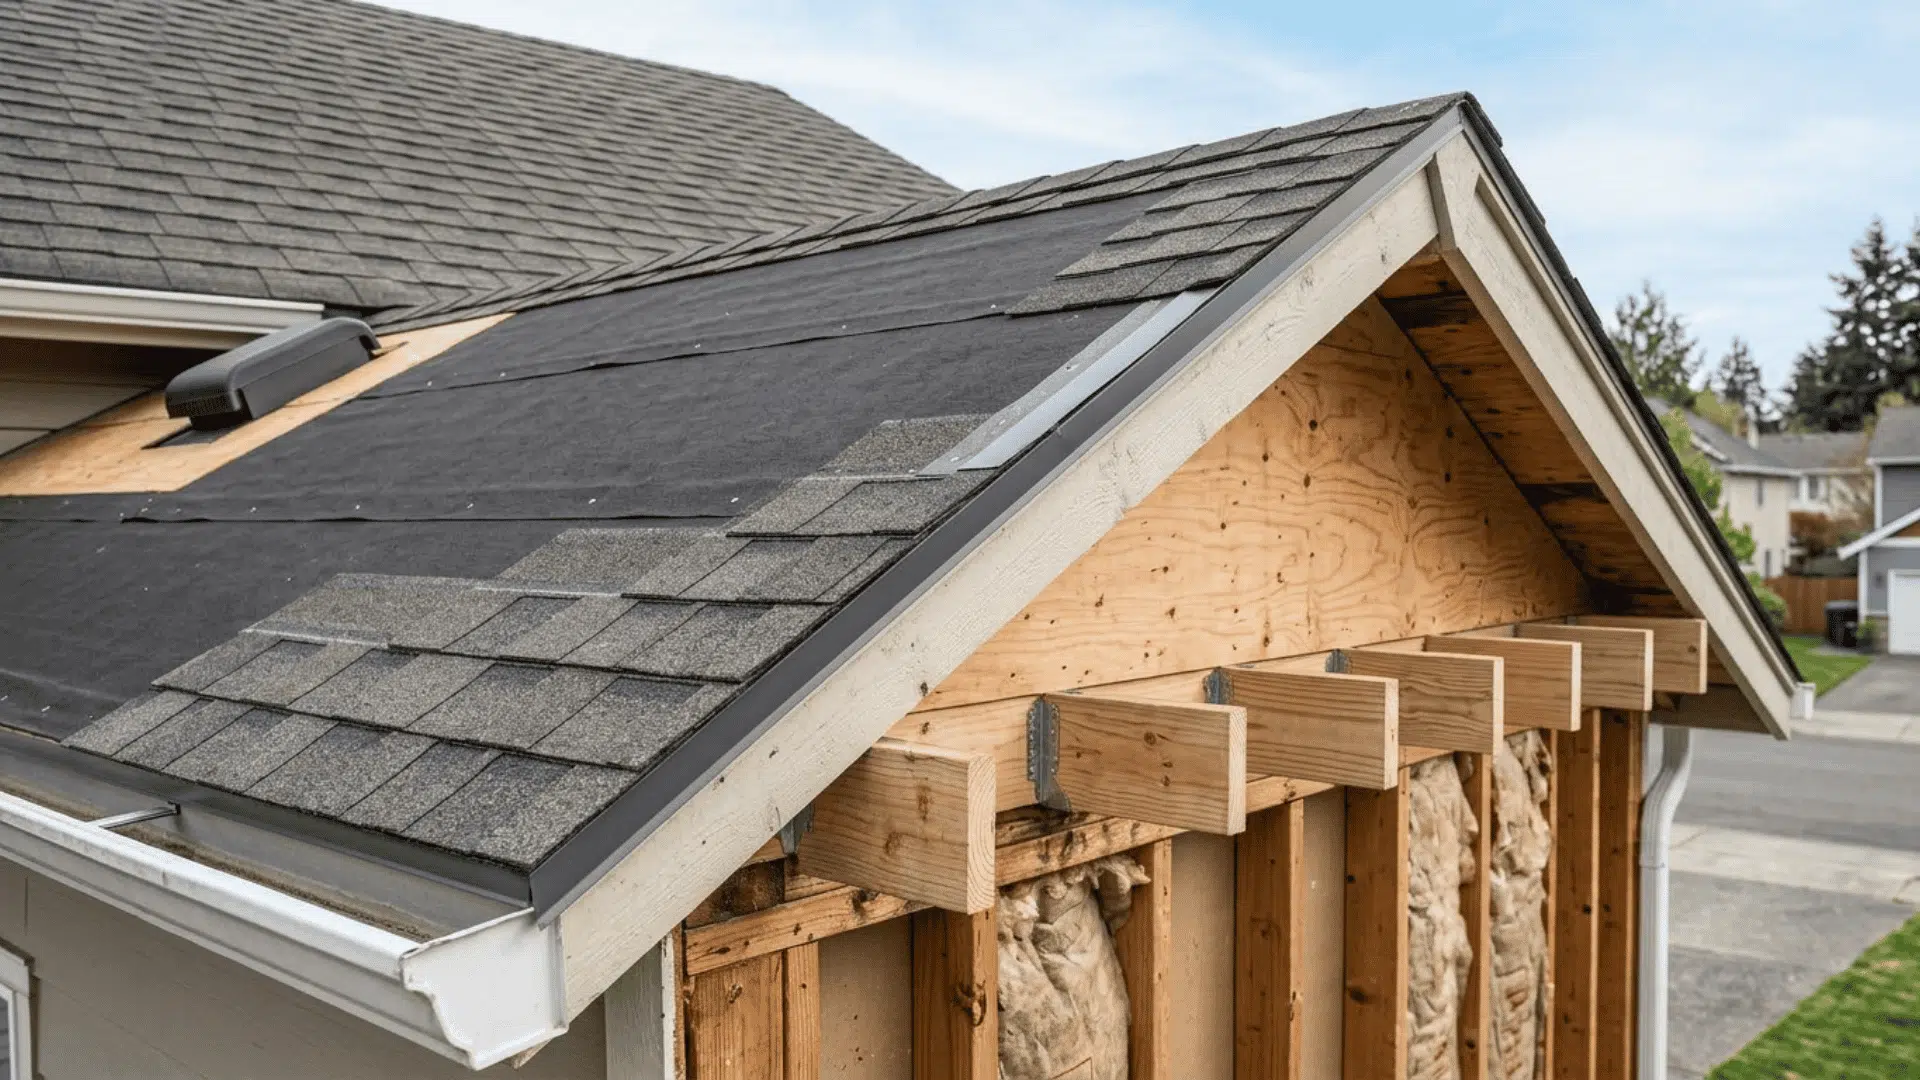
Cover the new framing with roof sheathing that matches the existing deck in type and thickness.
Extend the underlayment across the new section and overlap it correctly with the old roof layers. Install drip edge where required before fitting the roofing material.
Seal all transitions, fastener points, and flashing details carefully. Good water control at this stage helps keep the roof eave dry and reduces the risk of hidden leaks.
Step 4: Fit the Soffit and Fascia
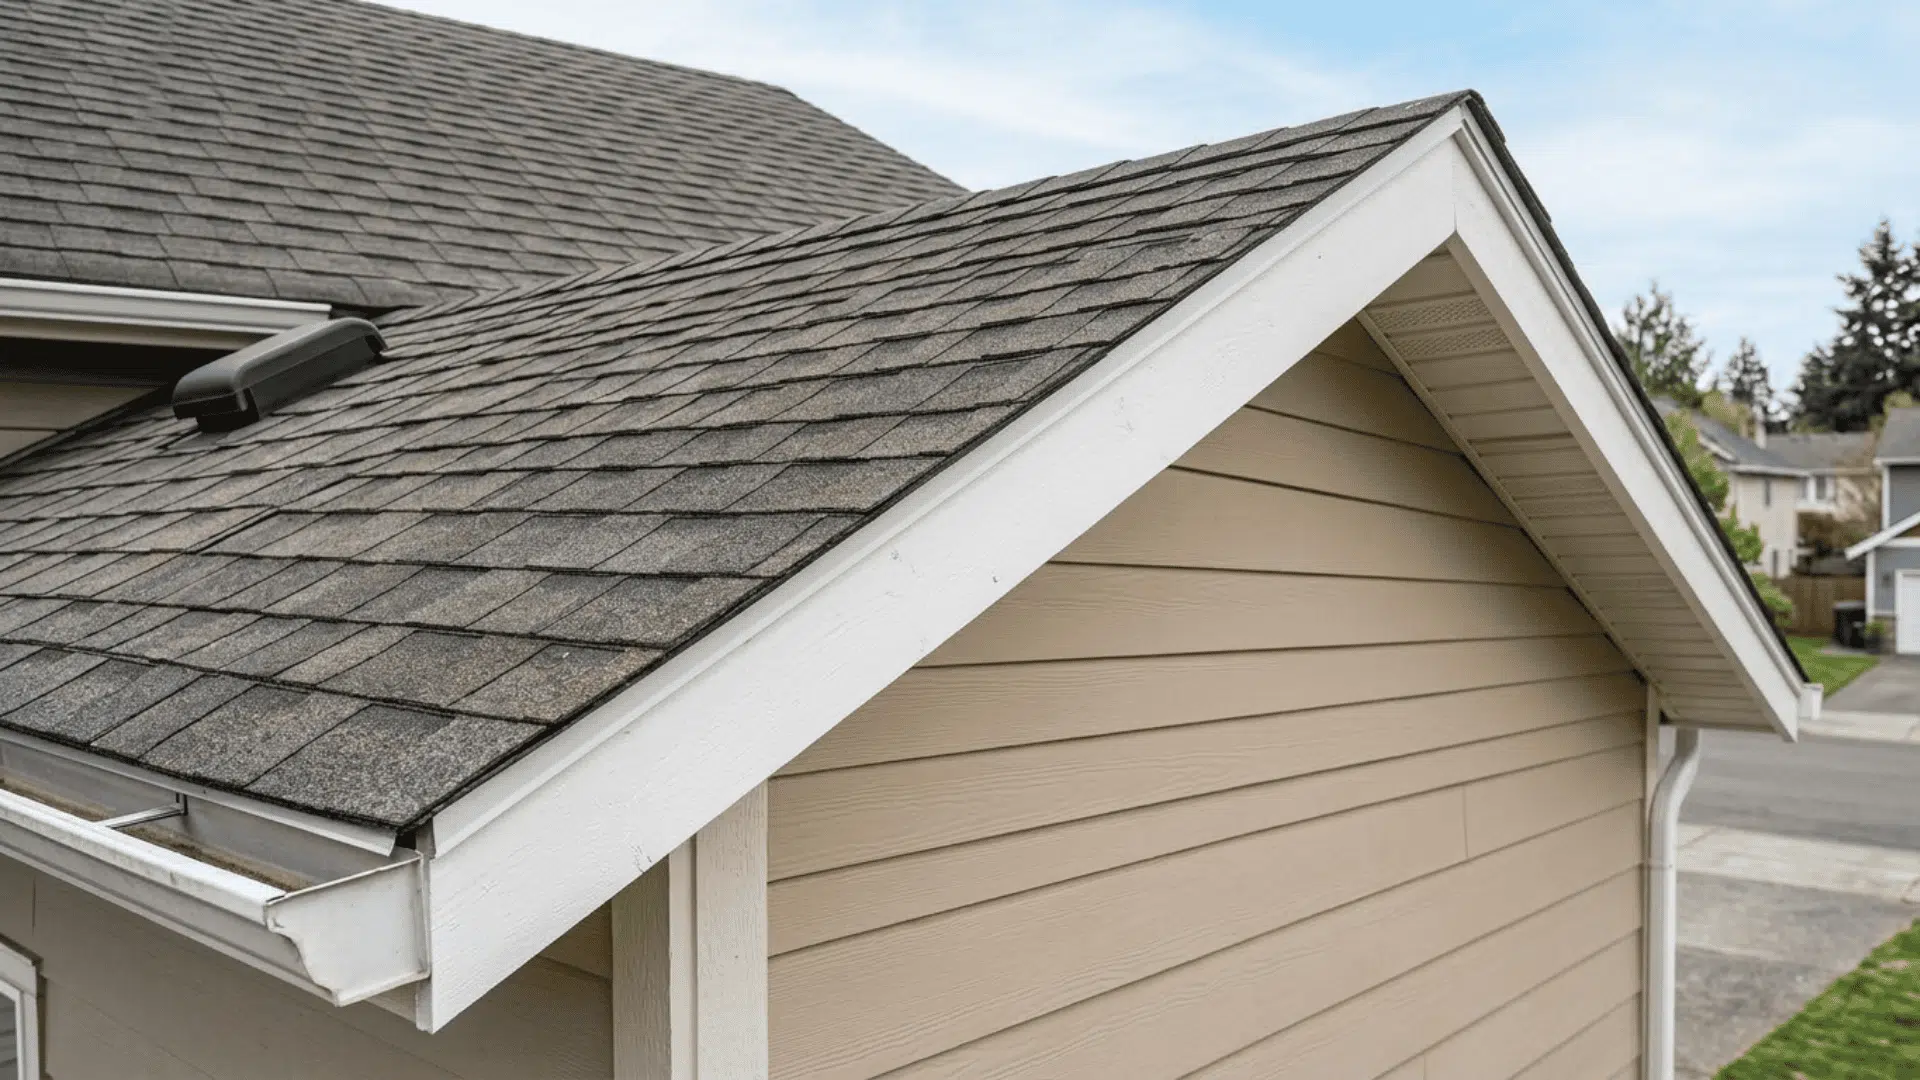
Attach the fascia board across the rafter ends, keeping it straight and firmly fixed. Install soffit framing or backing, then fit the soffit panels beneath the overhang.
Use vented panels only when they support the attic ventilation plan and are paired with suitable upper vents. Finish joints neatly and leave no gaps where pests or moisture may enter.
Properly fitted components givehouse eaves a clean, protected underside and edge.
Step 5: Add Gutters and Complete the Final Inspection
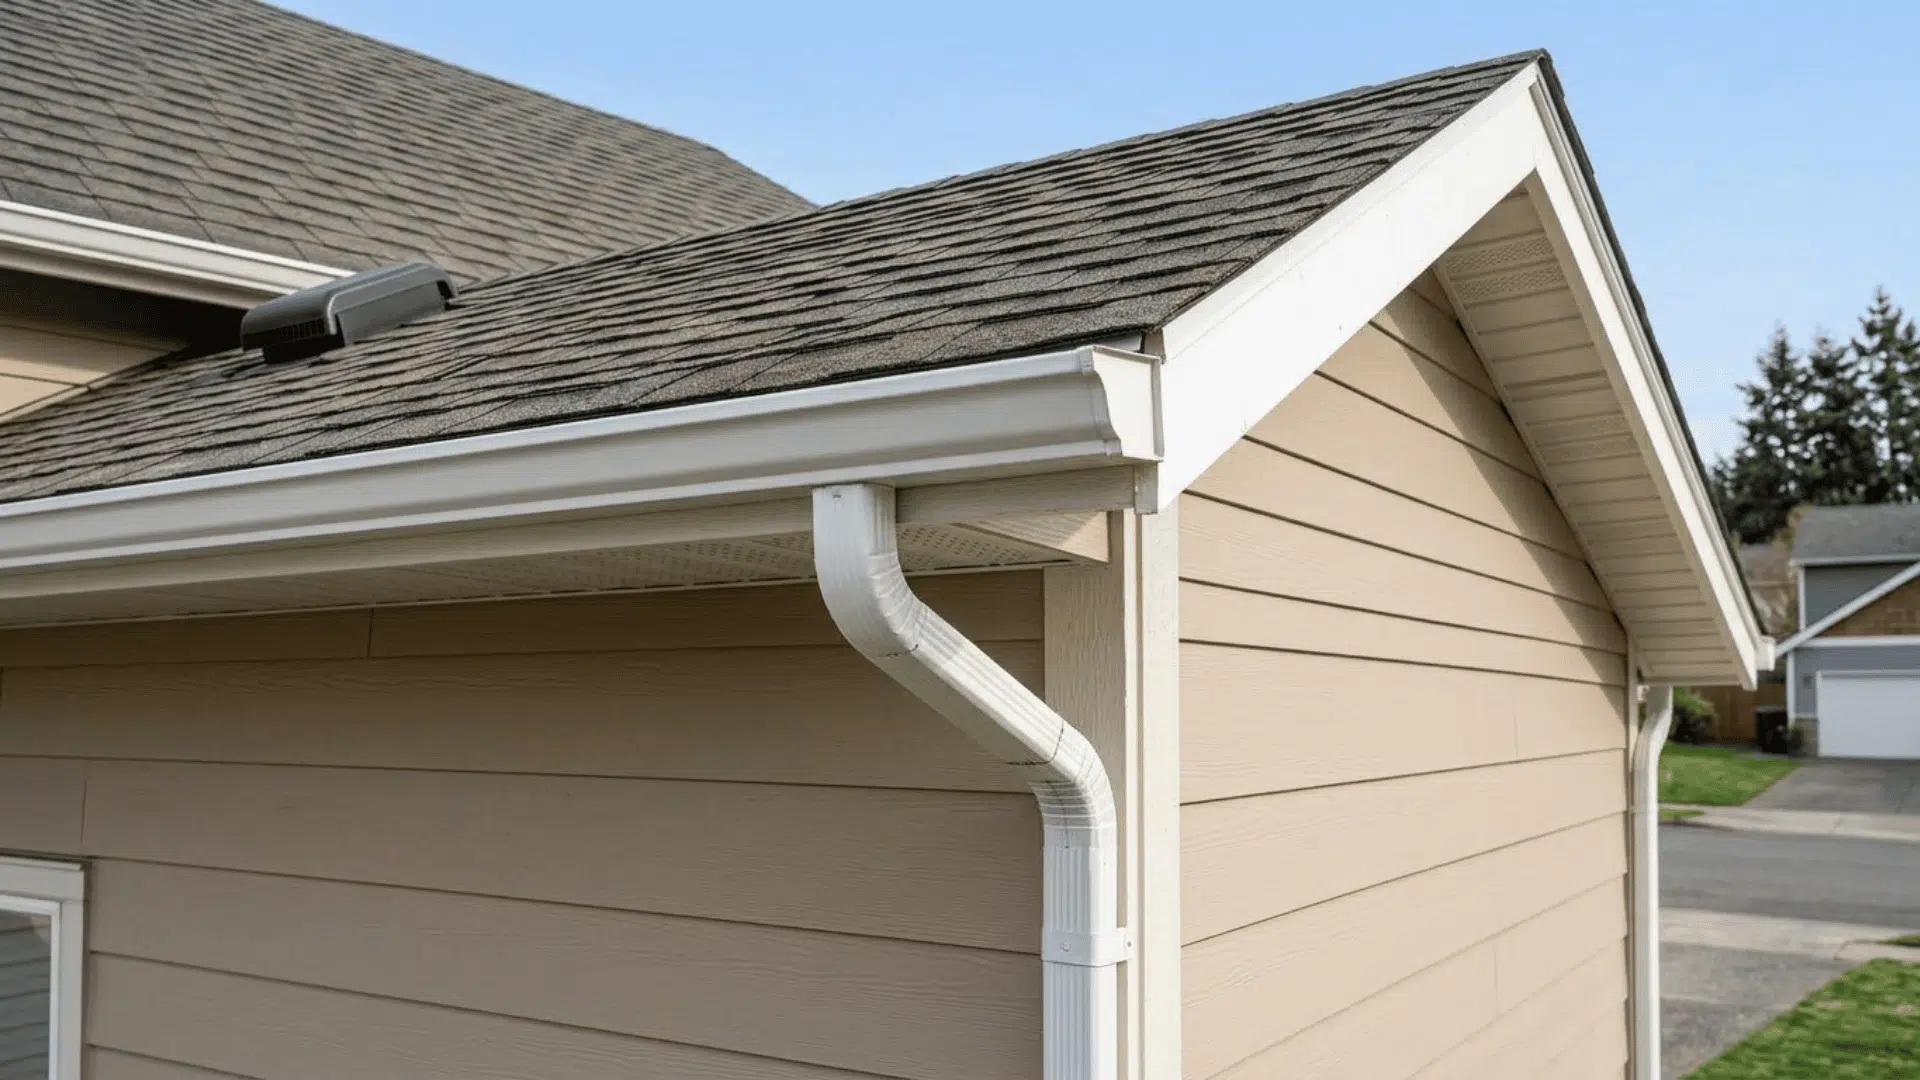
Fit the gutter system with a slight fall toward each downspout so rainwater drains without pooling.
Confirm that the drip edge directs runoff into the gutter rather than behind it. Inspect roofing laps, flashing, soffit panels, fascia joints, fasteners, and ventilation openings.
The finished roof eave should look even, remain securely attached, and move water away from the walls and foundation. Correct any loose or poorly sealed areas before completion.
Mistakes to Avoid When Building Roof Eaves
These common eave construction mistakes can weaken the roof edge, cause moisture damage, reduce ventilation, and create costly code or inspection problems for homeowners later.
1. Skipping a Structural Check: Weak or damaged framing may not safely support the added roof overhang, increasing the risk of movement, sagging, or failure.
2. Using the Wrong Lumber Size: Undersized rafters, lookouts, or blocking can bend under weight and may cause the eaves to sag over time.
3. Poor Rafter Alignment: Uneven rafters create a crooked roof edge, irregular fascia lines, and soffit panels that are difficult to install neatly.
4. Incorrect Flashing Installation: Gaps, loose sections, or poor overlaps can let rainwater enter the roof assembly and damage wood, insulation, or interior walls.
5. Missing or Damaged Drip Edge: Without proper drip edge flashing, water may reach the fascia board or roof deck and cause swelling, staining, or decay.
6. Blocking Soffit Ventilation: Covered or poorly spaced vents reduce attic airflow, which may trap heat and moisture and shorten the roof’s service life.
7. Incorrect Gutter Slope: Gutters without enough slope may hold standing water, overflow during rain, and damage walls, landscaping, or the foundation.
8. Ignoring Local Building Codes: Work that does not meet local rules may fail inspection, require repairs, or delay approval and future property work.
How Much Does It Cost to Add Roof Eaves?
Adding house eaves can cost several thousand dollars, depending on their length, depth, roof pitch, and current condition.
In the U.S., structural framing for extended rafters or lookout supports often costs about $6 to $15 per square foot. Roofing the new section with asphalt shingles may cost around $3 to $12 per square foot.
Soffit installation or replacement commonly ranges from $6 to $30 per linear foot, while fascia work may cost $5 to $12 per linear foot. Standard gutter installation usually adds another $5 to $13 per linear foot.
Complex repairs, premium materials, and difficult roof access can raise the final price.
Disclaimer: Costs are general U.S. estimates and may change based on location, roof condition, materials, labor rates, permits, and project size.
Final Thoughts
Roof eaves protect exterior walls, windows, doors, and foundations by moving rainwater away from the house.
They also support gutters, cover rafter ends, and may help attic ventilation when vented soffits are used.
Adding or extending eaves after construction requires careful framing, flashing, roofing, and water control. The work should match the existing roof pitch and comply with local building codes.
Costs can rise when damaged wood, steep slopes, or structural changes are involved.
Review the roof condition, compare contractor quotes, and confirm permit needs before work begins. Share your questions or roof-eave plans in the comments below today.
Frequently Asked Questions
Can Roof Eaves Reduce Indoor Heat?
Wider eaves can shade windows and walls during sunny periods. Their effect depends on orientation, overhang depth, season, and local climate.
How Long Do Roof Eaves Usually Last?
Their lifespan depends on materials, moisture exposure, installation quality, and upkeep. Regular checks for peeling paint, cracks, pests, and rot can prevent damage.
Can Birds or Insects Nest Inside Roof Eaves?
Yes, gaps in soffits, fascia, or joints may allow entry. Seal openings with suitable materials while keeping required ventilation paths clear.