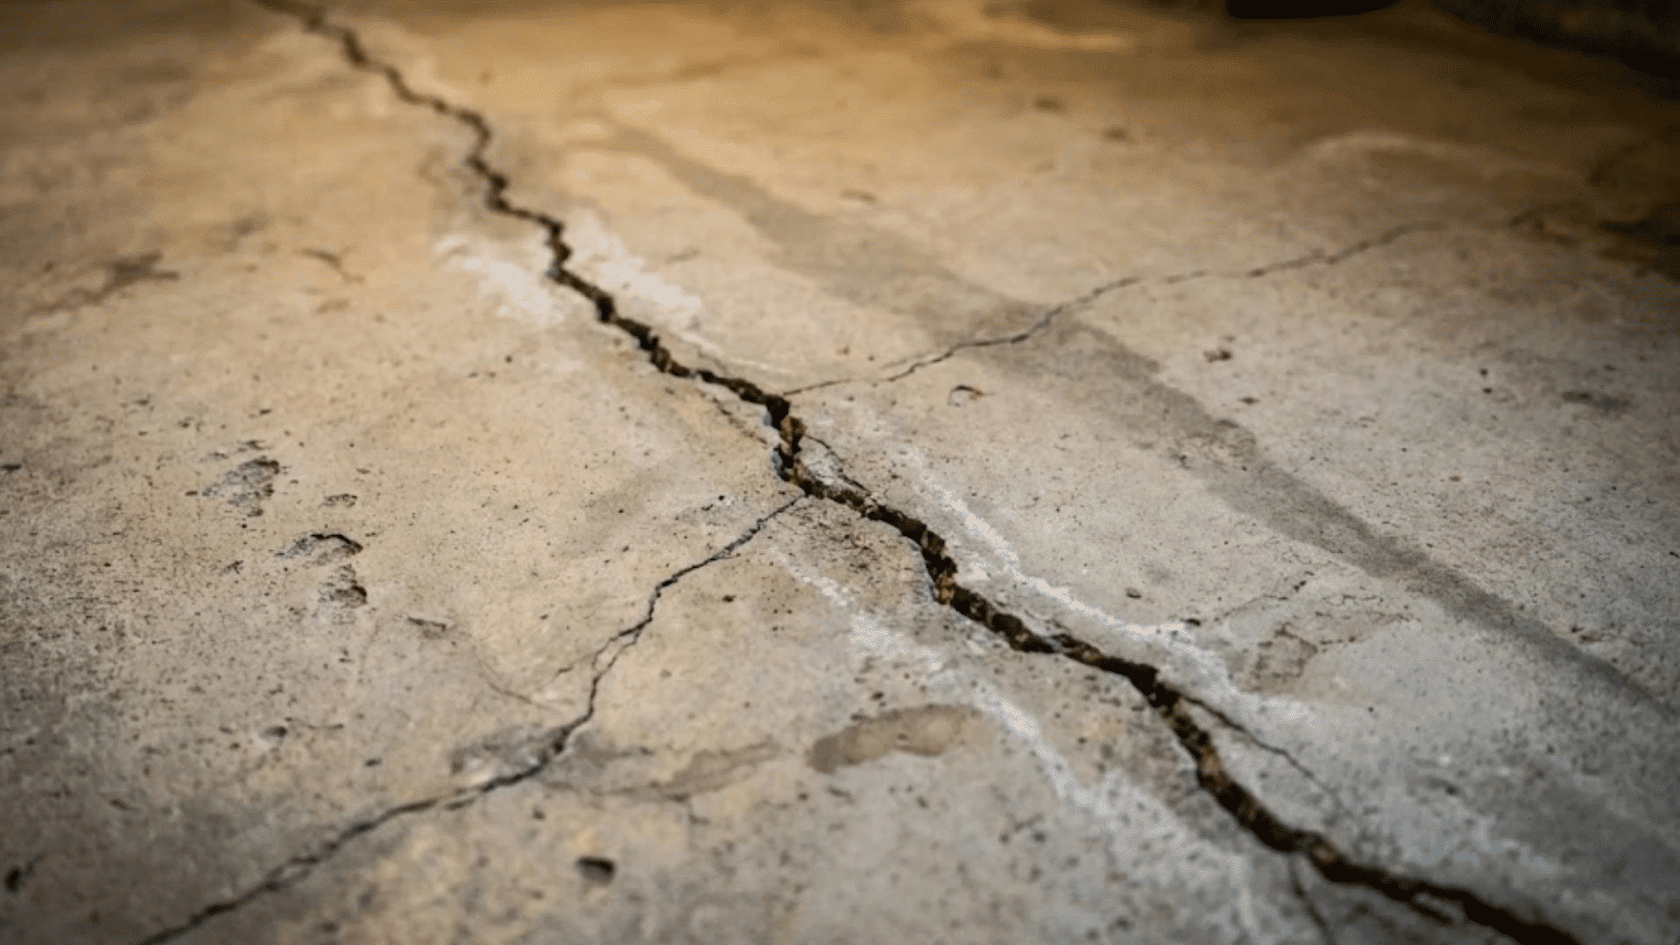
You notice cracks in the basement floor one day, and suddenly your mind jumps to foundation trouble and repair bills.
That small line in the concrete can look scary, even if it might be harmless shrinkage.
Many homeowners feel confused about cracks in the basement floor and wonder if they are normal or signs of real damage. I will tell you how to identify the causes and fix them safely.
You will learn which cracks need attention, which ones you can monitor, and what tools help with simple repairs.
But before getting into types and causes, take a close look at your basement floor and think about what you are seeing right now.
What Causes Cracks in Basement Floors?
Basement floor cracks usually happen because of soil pressure, moisture changes, or construction issues that slowly stress the concrete slab.
- Soil Settlement: When the soil under the slab compacts unevenly after construction, parts of the floor may sink slightly, causing visible cracks.
- Expansive Clay Soil: Clay-rich soil expands when wet and shrinks when dry, which causes repeated pressure changes that stress the concrete slab.
- Poor Drainage: Water pooling near the foundation due to clogged gutters or bad grading can weaken soil stability and increase crack formation.
- Heavy Loads: Storing heavy items in one basement area can exceed slab capacity and cause wider structural cracking.
- Rapid Drying During Curing: If concrete loses moisture too quickly after pouring, internal shrinkage stress can form surface cracks.
- Freeze-Thaw Cycles: In cold climates, trapped moisture beneath the slab can freeze, expand, and push upward against the concrete.
If you are weighing your options, reviewing concrete crack repair costs before calling anyone can help you set realistic expectations.
Are Basement Floor Cracks Normal or a Warning Sign?
The width, movement, moisture presence, and crack pattern together decide if your basement floor crack is harmless or a warning sign.
Cracks that are Usually Normal
Hairline shrinkage cracks under 1/8 inch wide that remain flat on both sides are usually caused by normal concrete curing.
- Shallow, non-deepening spider cracks are also cosmetic surface issues.
- Small settlement cracks that formed early and stopped widening after initial soil adjustment are often stable.
- If there is no vertical displacement, no water seepage, and no growth over several months, the crack is typically low risk.
Cracks that Need Attention
Structural cracks wider than 1/4 inch often indicate excessive slab stress or serious soil movement beneath the foundation.
- Heaving cracks with visible vertical offset suggest upward pressure from expanding soil or trapped moisture under the slab.
- Settlement cracks that continue to widen by more than 1/8 inch over time indicate ongoing ground instability.
- Cracks that leak water after rain or appear alongside sticking doors and wall shifts should be professionally evaluated.
Types of Cracks in Basement Floors
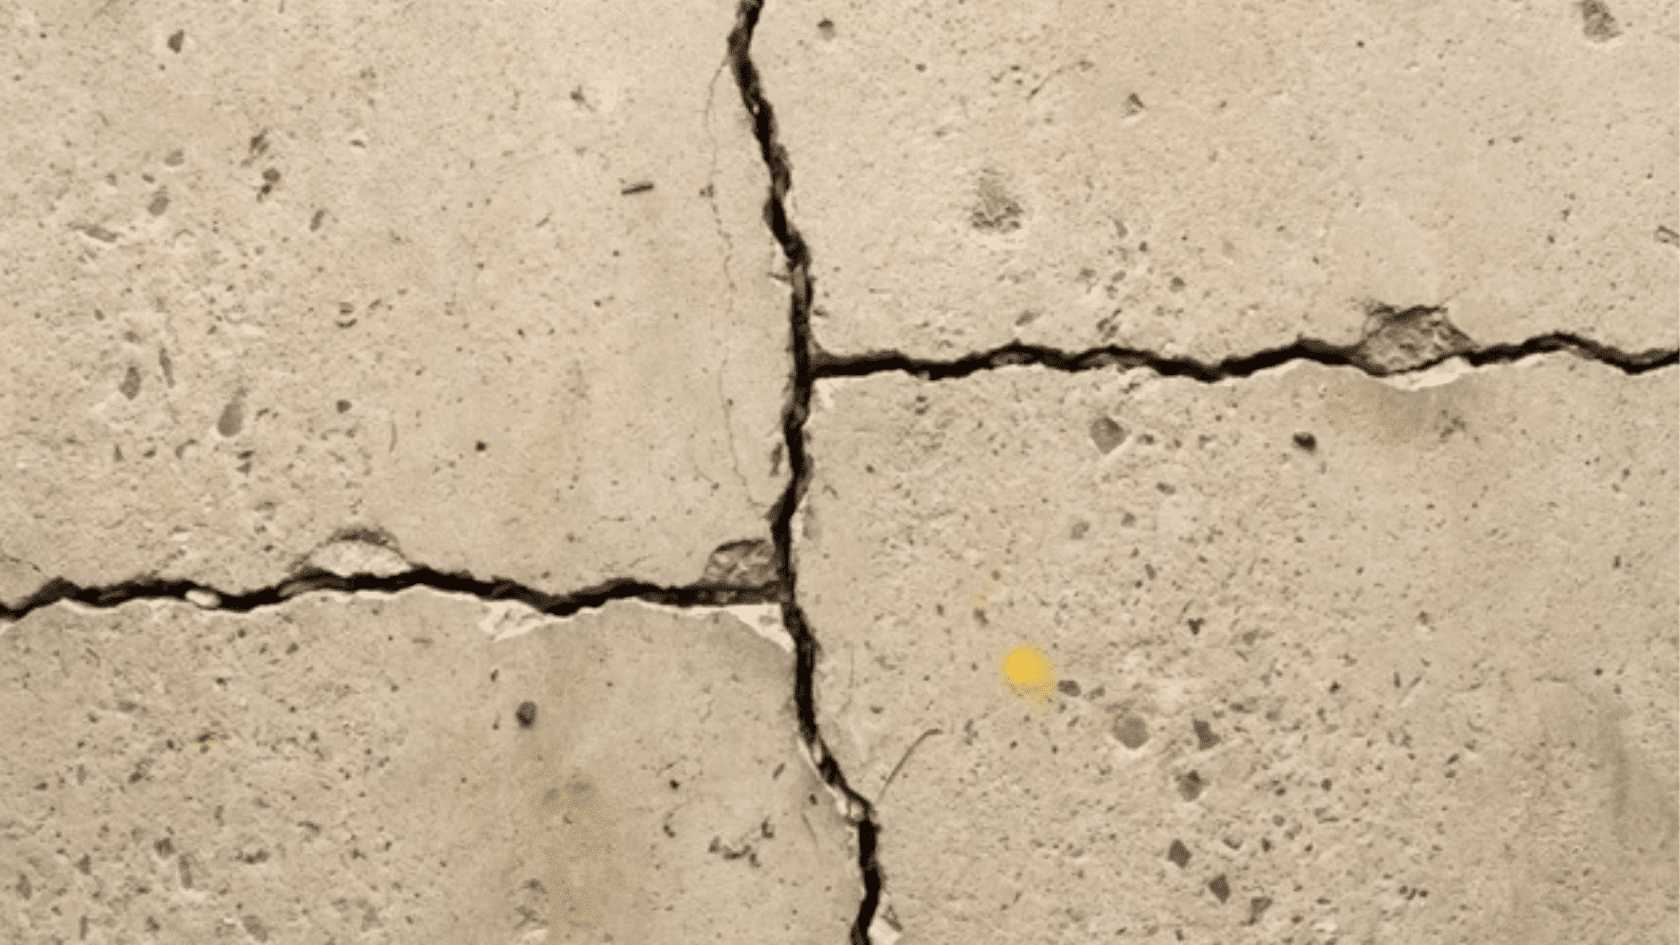
Basement floor cracks are not all the same, and the shape and size of each crack can tell you what is really happening under the slab.
1. Hairline Shrinkage Cracks
Hairline shrinkage cracks are thin surface lines that appear as concrete dries and loses moisture during the curing stage.
These cracks are usually less than 1/8 inch wide and often show up within the first year after the basement floor is poured. In most cases, they stay flat and dry and do not grow wider over time.
If the floor feels level and there is no water seepage, these cracks are usually cosmetic and not structural problems.
2. Settlement Cracks
Settlement cracks form when the soil beneath your basement floor shifts or compacts unevenly after the house has already been built.
As the ground settles, certain areas of the concrete slab may sink slightly, creating straight or diagonal cracks across the surface.
These cracks can start small but may widen if the soil continues moving under the slab. If you notice uneven flooring or gaps widening to more than 1/8 inch, it may signal ongoing foundation movement.
3. Heaving Cracks
Heaving cracks happen when pressure from below pushes part of the concrete slab upward, causing one side of the crack to sit higher than the other.
This movement often results from swelling clay soil, heavy moisture buildup, or freezing ground that expands beneath the floor.
You may feel a raised edge or slight bump when walking across the cracked area. If the surface becomes uneven or continues to lift, the soil pressure beneath may still be active.
4. Structural Cracks
Structural cracks are wider and more serious than surface cracks, and they may continue growing if the underlying issue is not addressed.
These cracks can be caused by heavy loads, poor concrete mix, or major soil movement under the foundation.
You might notice gaps wider than 1/4 inch or cracks that extend across large sections of the basement floor. If doors stick or walls show related damage, the crack could be caused by underlying foundation stress.
5. Surface Spider Cracks
Surface spider cracks create thin, web-like patterns across the top layer of the concrete and usually stay shallow.
These cracks often form when the surface dries too fast or when the finishing process is rushed during installation.
They rarely go deep into the slab and usually do not affect the strength of the floor. If the cracks stay small, flat, and dry, they are mostly cosmetic and not a structural threat.
6. Perimeter and Wall-Floor Joint Cracks
Cracks along the perimeter where the floor meets the basement wall are worth paying attention to.
This joint is a natural weak point where the wall footing and the floor slab meet, and water commonly enters here during heavy rain or when groundwater levels rise.
A widening gap along this joint can also indicate foundation sinking. Any crack at the wall-floor joint that lets in water, or that is growing wider over time, should be inspected by a professional.
Materials and Tools Needed for DIY Repair
Before starting any crack repair work on your basement floor, you will need a few basic materials and tools.
Epoxy fillers work best for dry cracks because they bond tightly and cure harder than the surrounding concrete. Polyurethane is the better choice for damp cracks or areas with occasional moisture, since it stays slightly flexible after curing.
| Materials | Tools |
|---|---|
| Silica sand | Wire brush |
| Crack repair product | Chisel & Hammer |
| Concrete patch compound | Grinder |
| Concrete bonding adhesive | Shop vacuum |
| Waterproof masonry sealer | Putty knife |
Step-by-Step Guide to Fixing Cracks in Your Basement Floor
You can repair small cracks in the basement floor by following a clear process that focuses on cleaning, filling, and properly sealing the damaged area.
Step 1: Prep and Clean The Crack
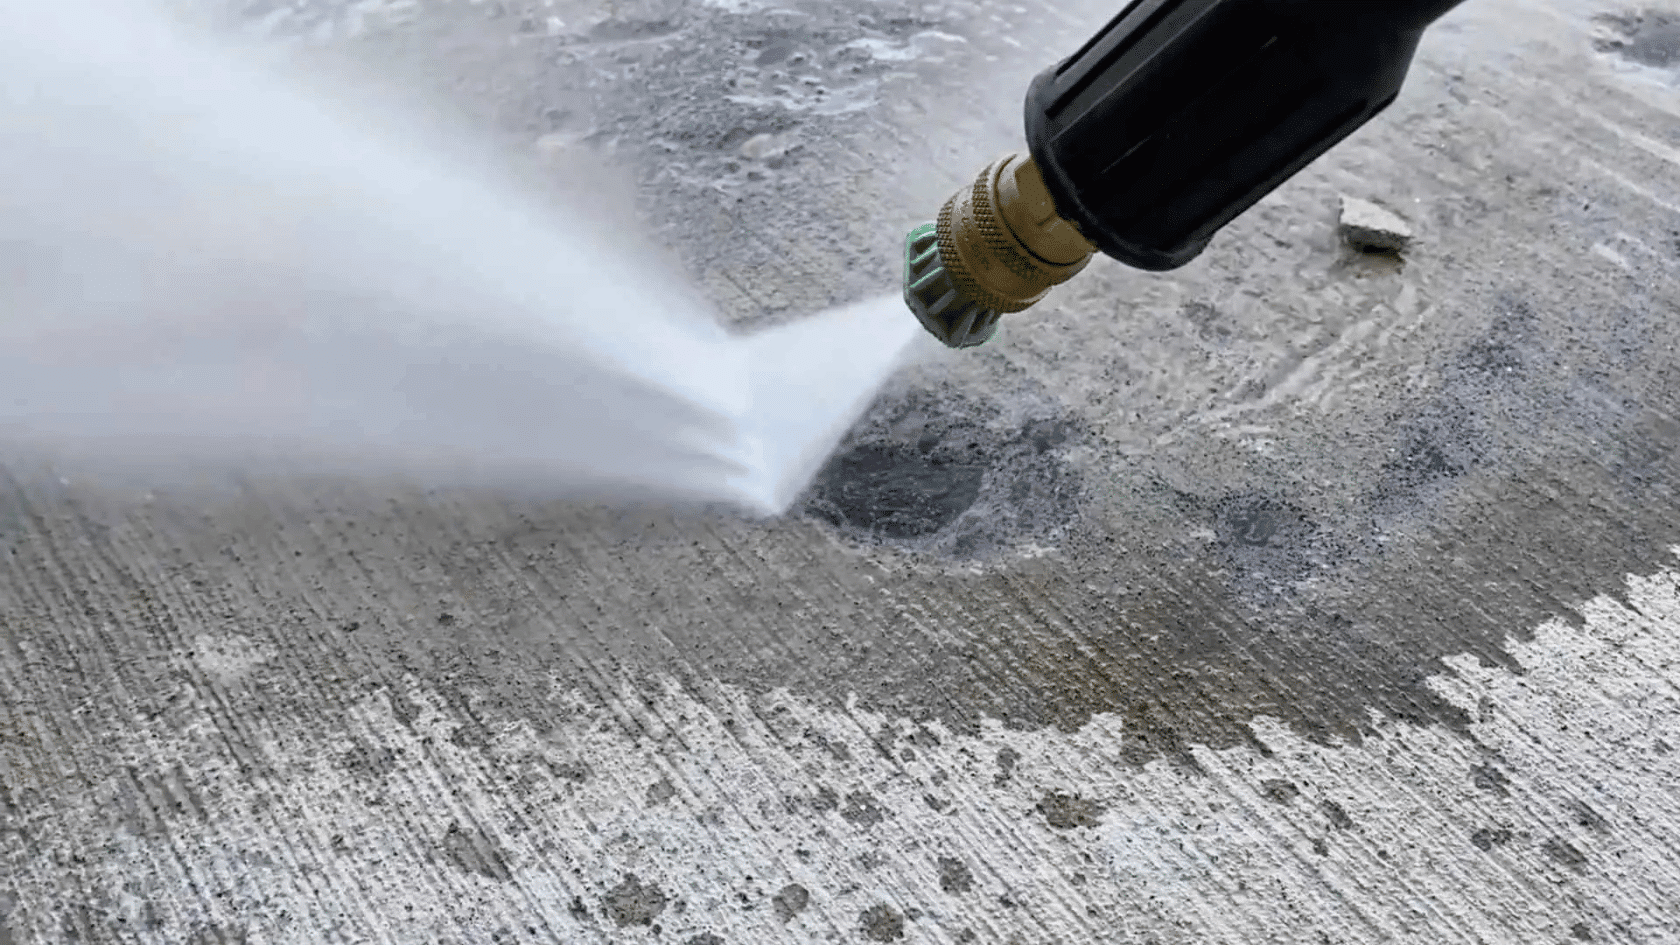
First, look closely at the crack and check for loose pieces or crumbling edges that need to be removed. Pull out any failed filler or weak concrete using a chisel, but do not damage the surrounding solid slab.
Next, scrub inside the crack with a wire brush so that packed dirt does not remain trapped at the base.
After that, vacuum the area slowly, since fine dust left behind can stop the repair product from bonding properly.
If the crack is extremely narrow, open it slightly so the filler can grip the sides rather than sit on top.
Step 2: Fill with Silica Sand

Take silica sand and pour it straight into the crack, especially if the gap looks deep.
Push the sand down using your finger or a putty knife so it reaches the bottom instead of sitting loose on top.
Add more sand if it keeps sinking, because deep cracks can eat up repair product fast. Stop filling when the sand sits slightly below the surface level of the slab.
Do not overfill it, since the repair compound needs room to seal the crack properly.
Step 3: Apply Crack Repair Product
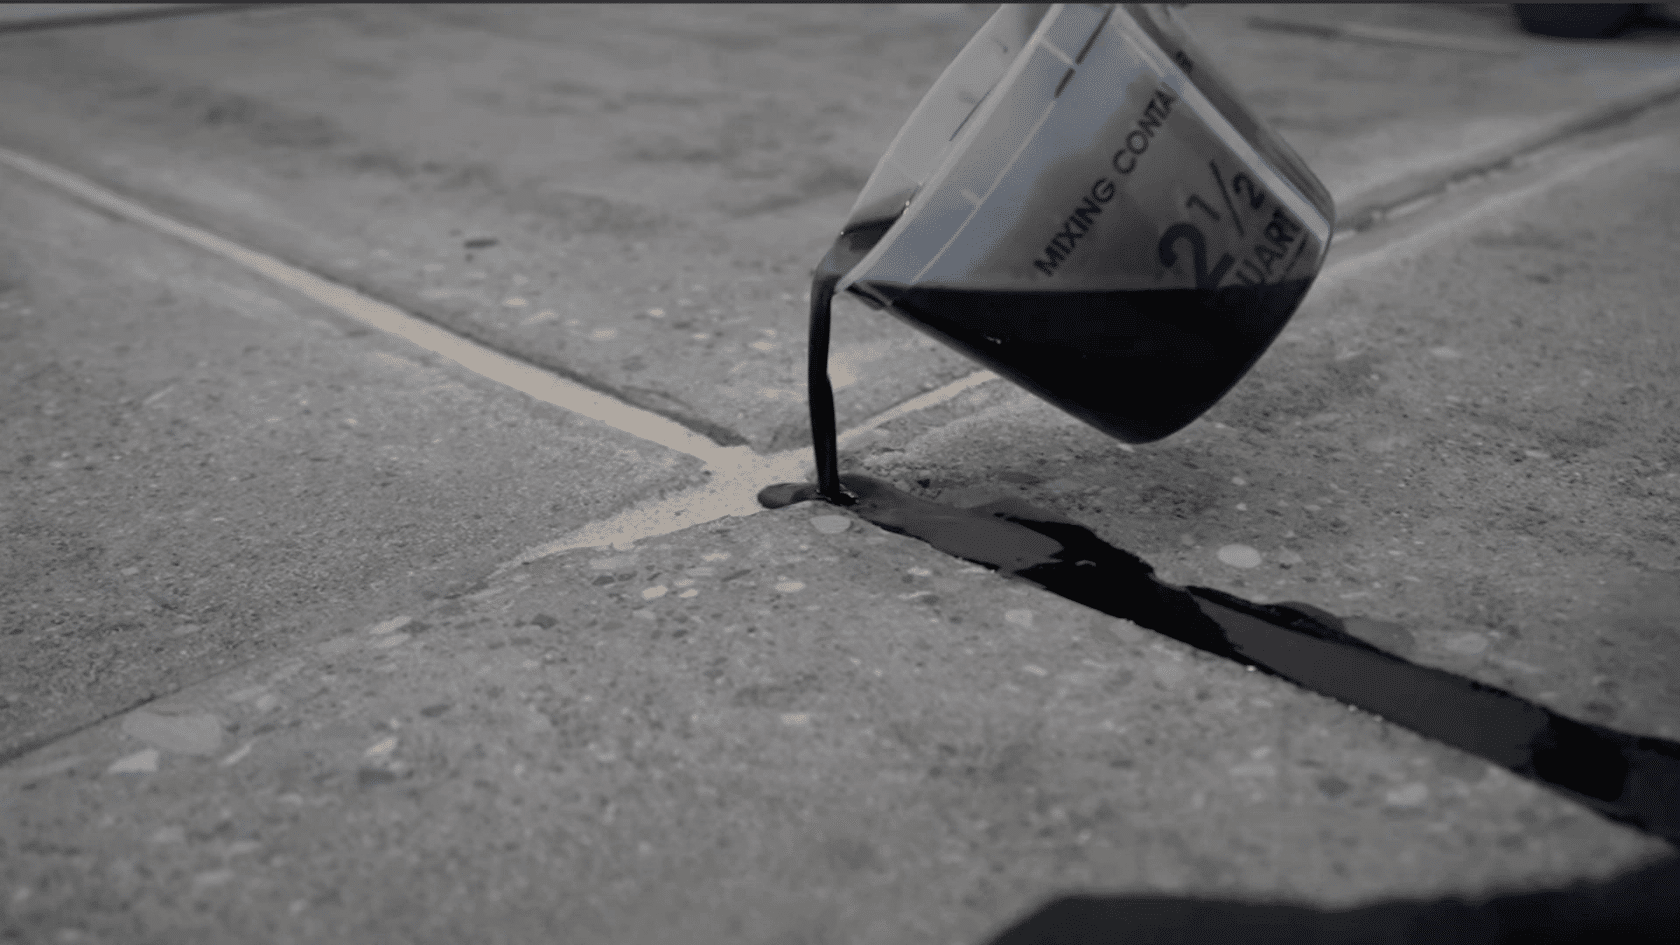
Pour the crack repair product directly over the prepared crack to fill the space and cover the silica sand.
Work the material into the crack so it fills chipping, flaking, and uneven edges inside the gap.
Make sure the crack is fully filled, because a well-packed repair lasts much longer than a shallow surface patch.
If you miss a spot or see an imperfection later, add more crack repair and smooth it out. The process is forgiving, so you can adjust the repair before it fully sets.
Step 4: Level and Inspect
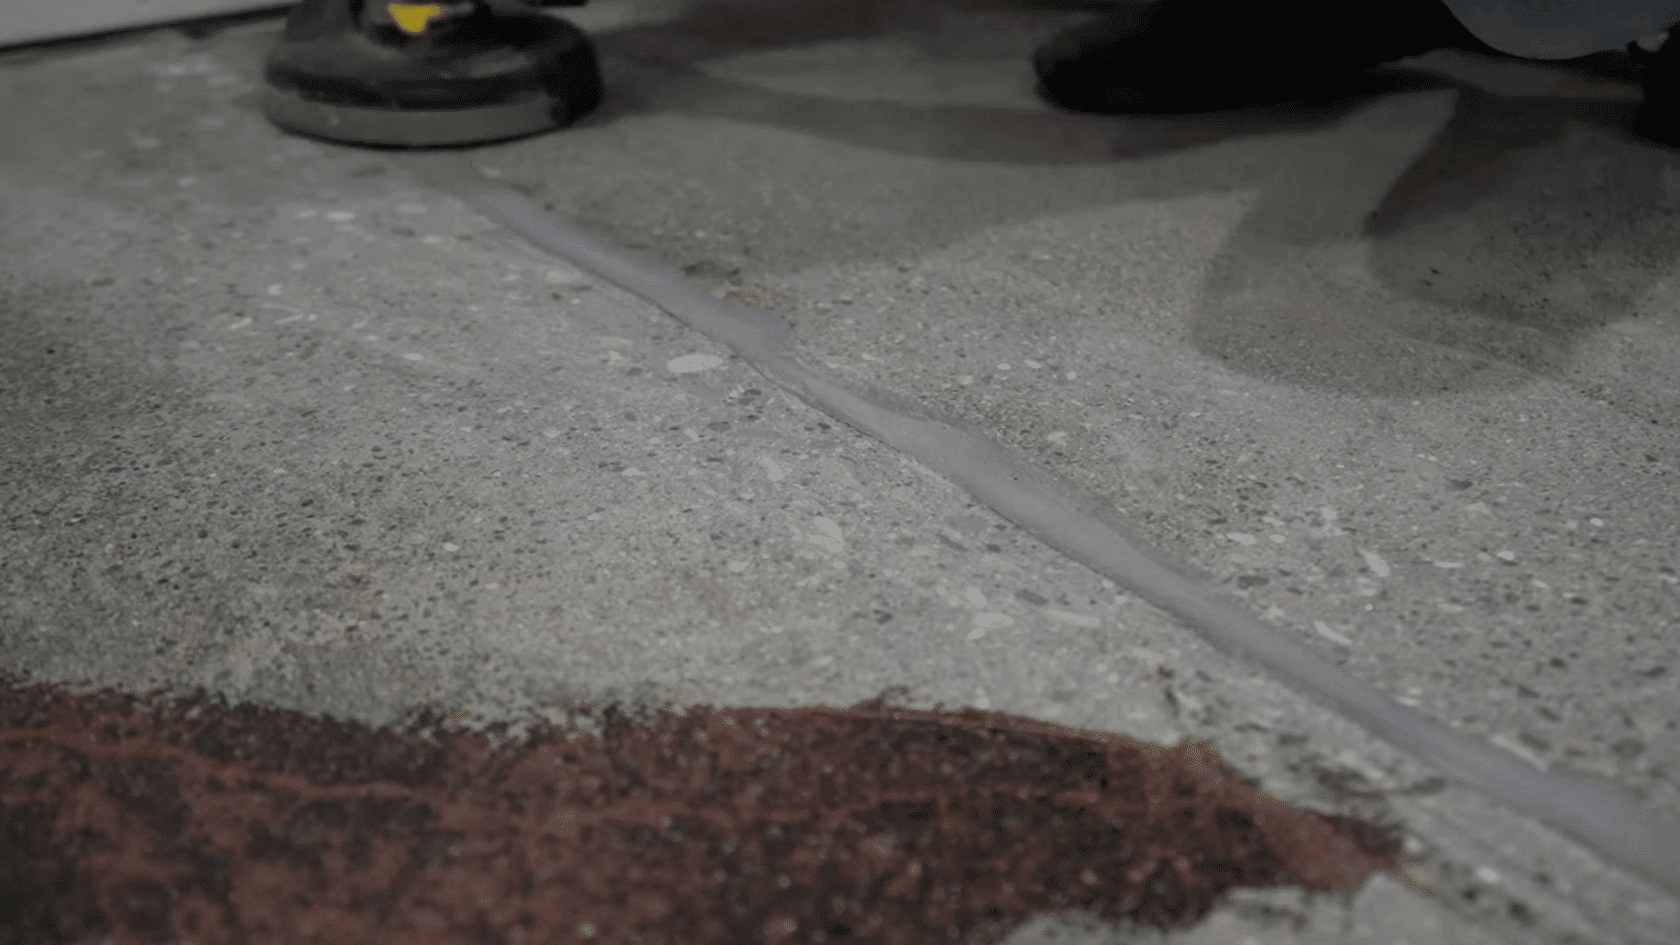
Wait until the crack repair material has hardened according to the product instructions before touching the surface again.
Run your hand lightly across the repaired area to check for raised spots or shallow dips.
If you notice a low section, apply a small amount of additional repair product and smooth it out using a hand grinder. Scrape off any hardened excess with a putty knife to keep the floor level.
Once the surface looks flat and solid, allow the repair to cure fully before placing weight on the area.
Need to see the process in action? Check out the crack repair walkthrough by Leggari Products for clear visual guidance.
When to Call a Professional?
Some cracks in your basement floor are beyond simple patchwork and need trained inspection before the damage spreads further.
A structural crack wider than 1/4 inch is one sign to watch for. Cracks that keep expanding over time often point to serious slab stress or foundation instability.
A heaving crack with a height difference is another warning sign. When one side of the crack sits higher than the other, it may signal strong upward soil pressure.
Water seepage through cracks also calls for attention. Steady moisture entering after rain can indicate drainage failure or hydrostatic pressure under the slab.
Related home movement signs round out the list. Sticking doors, wall gaps, or visible foundation shifts alongside floor cracks require immediate professional evaluation.
If the crack points to structural movement, reviewing foundation crack repair costs can help you understand possible expenses before arranging an inspection.
How to Prevent Future Cracks In Basement Floor?
Even though some cracks are hard to avoid, you can lower the risk of cracks in the basement floor by controlling water, soil, and slab stress.
- Proper Drainage: Install and maintain gutters and downspouts that move rainwater at least 5 to 10 feet away from the foundation.
- Soil Grading: Make sure the ground slopes away from your home at least 6 inches over 10 feet to stop water from pooling. If you are dealing with wall damage alongside floor cracks, the guide on repairing a crumbling basement wall covers the repair process step by step.
- Quality Concrete Practices: Use strong concrete mixes with proper proportions and add fiber mesh or rebars to improve slab durability.
- Interior Waterproofing: Install a sump pump system and interior drain tile to manage groundwater and reduce pressure under the slab.
- Avoid Overloading: Spread heavy storage and furniture evenly across the floor to prevent stress points that cause cracking.
- Regular Maintenance: Inspect your basement once a year and seal small cracks early to prevent moisture from entering and causing larger problems.
Conclusion
Cracks in the basement floor can look scary at first, but most of them start small and stay manageable when handled early.
You now know how size, movement, and moisture help decide if a crack is harmless or a warning sign.
I always suggest checking your basement floor every few months, so you catch changes before they grow worse.
Simple repairs can help, but serious movement or water seepage should never be ignored.
Taking action early protects your home, saves money, and keeps your foundation stable for years.
Have you noticed cracks in the basement floor recently, or tried fixing one yourself? Tell us, share with us in the comments below.
Frequently Asked Questions
Can Basement Floor Cracks Let in Radon Gas?
Yes, basement floor cracks can allow radon gas to enter through gaps in the concrete slab. Sealing cracks and improving basement ventilation can help reduce indoor radon exposure.
Do Basement Floor Cracks Get Worse over Time?
Some basement floor cracks stay stable for years, while others widen due to soil movement, moisture pressure, or foundation settlement. Monitoring crack growth helps identify developing structural problems early.
Should Basement Floor Cracks be Sealed Before Finishing a Basement?
Yes, sealing basement floor cracks before finishing prevents moisture intrusion, mold growth, and future flooring damage. Repairs also help create a more stable and waterproof finished basement surface.