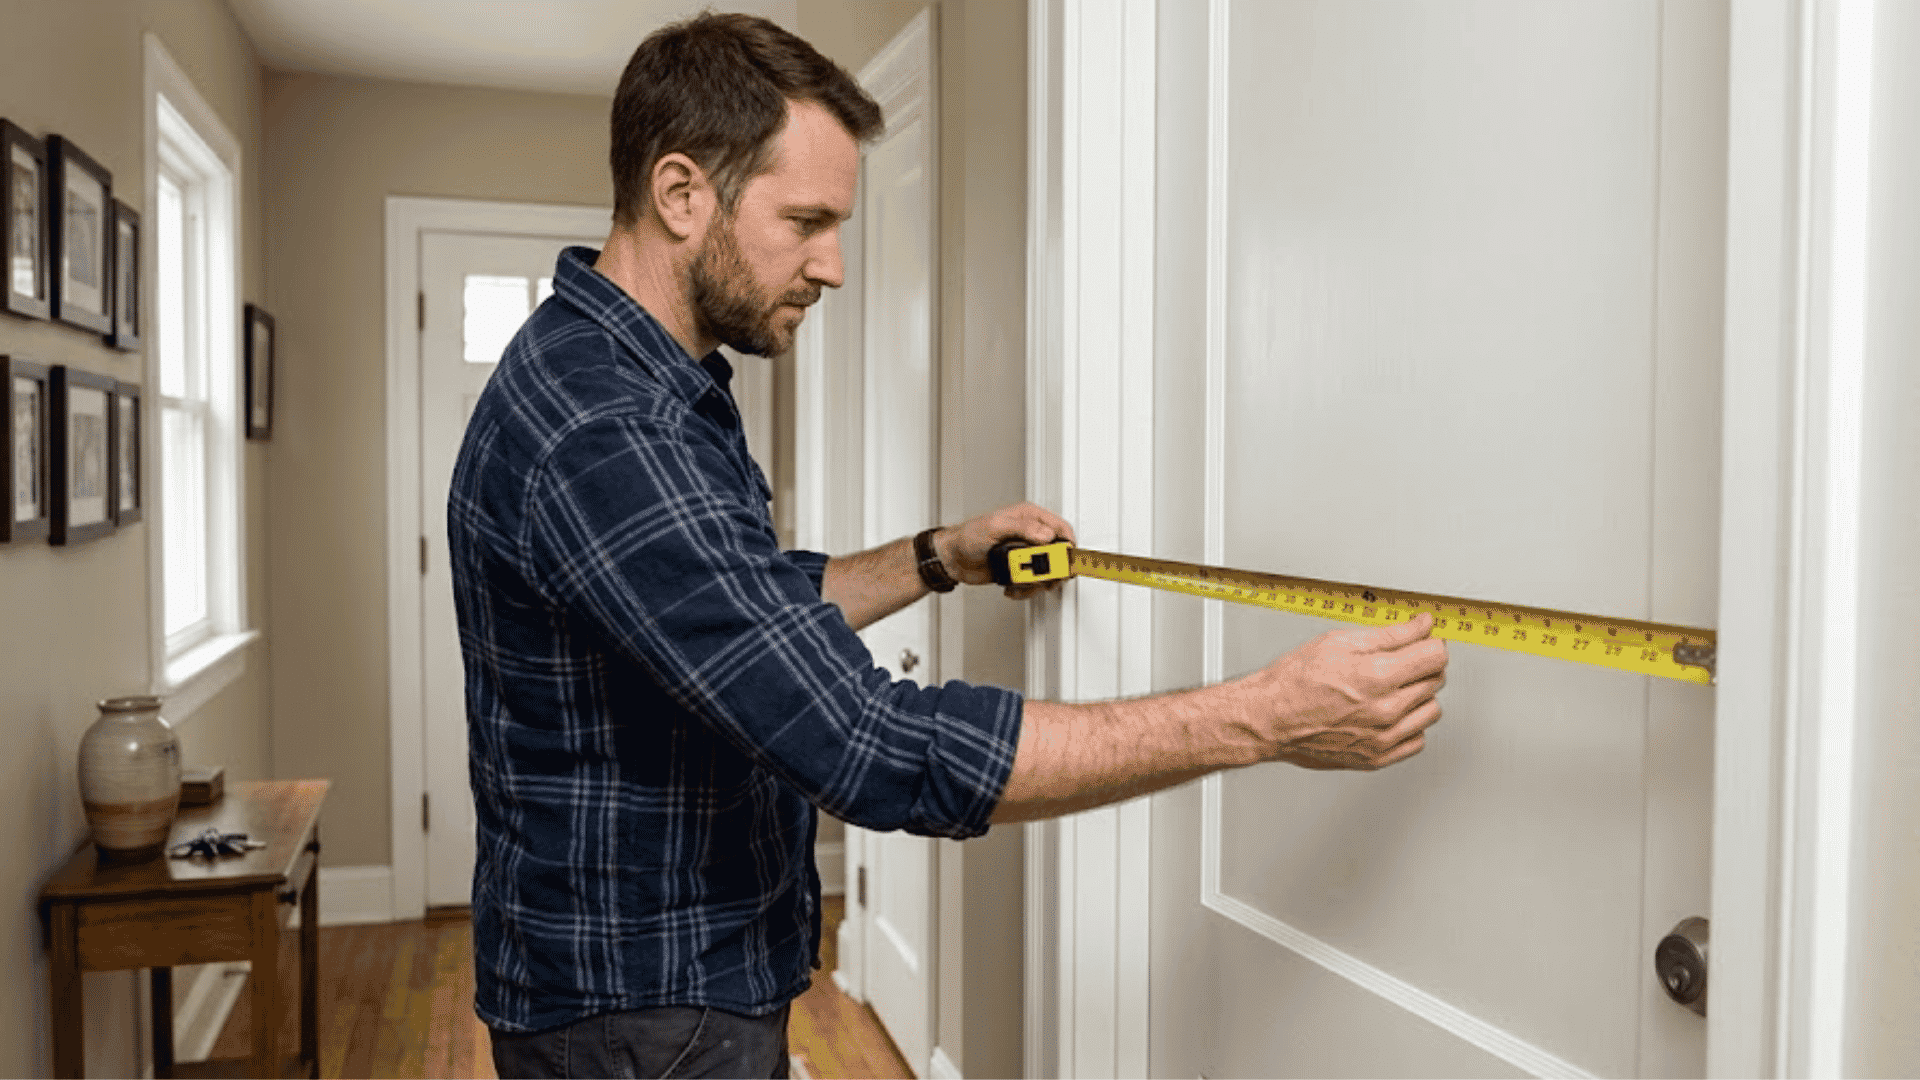
Installing a prehung door can save time because the door slab, hinges, and frame arrive as one unit.
Still, the frame must sit level, straight, and square for the door to close smoothly. Poor shimming or uneven fastening may cause rubbing, wide gaps, or a latch that will not line up.
This blog explains how to install a prehung door in six clear steps. It covers measuring, test fitting, shimming, fastening, insulating, trimming, and testing.
Read through every step before removing the old frame, then save the checklist so you can follow it during installation.
What is a Prehung Door?
A prehung door includes a door slab already attached to its jamb with hinges.
Exterior units may also include a threshold, weatherstripping, and drilled openings for locks. Since the main parts arrive connected, you skip cutting hinge recesses or hanging the slab separately.
Prehung units work well when the old jamb is damaged, uneven, or being removed during a renovation.
If you haven’t confirmed your rough opening size yet, measuring a door for replacement helps you determine exactly how to check it before you buy.
Tools and Materials Needed
Having the right tools and materials ready before you begin makes the installation process smoother and helps ensure a proper fit.
- Tape measure, level (4 or 6 feet), carpenter’s square
- Utility knife, pry bar, hammer, drill, and driver bits
- Wood shims and manufacturer-approved screws or finish nails
- Low-expansion door and window foam
- Exterior-grade caulk, sill pan, or flashing materials (exterior doors)
- Interior and exterior casing, safety glasses, work gloves
Checks to Make Before Installation
A few early checks can prevent problems after the old frame has been removed.
| Check | Why It Matters |
|---|---|
| Confirm the Door Size | The opening must leave enough room for the frame, shims, and minor adjustments. Package dimensions may show the slab size instead of the full unit size. |
| Check the Door Swing and Handing | The correct handling helps the door open safely without hitting walls, switches, furniture, or nearby fixtures. |
| Inspect the Rough Opening | A clean, square, and stable opening helps the new frame sit correctly. Repair major damage before installation. |
| Check the Floor for Level | An uneven base can create a sloped top gap, poor latch alignment, or scraping below the door. |
How to Install a Prehung Door
Read the door manufacturer’s instructions before beginning. Exterior units may require specific flashing, sill preparation, fasteners, and sealing methods.
Step 1: Remove the Old Door and Frame
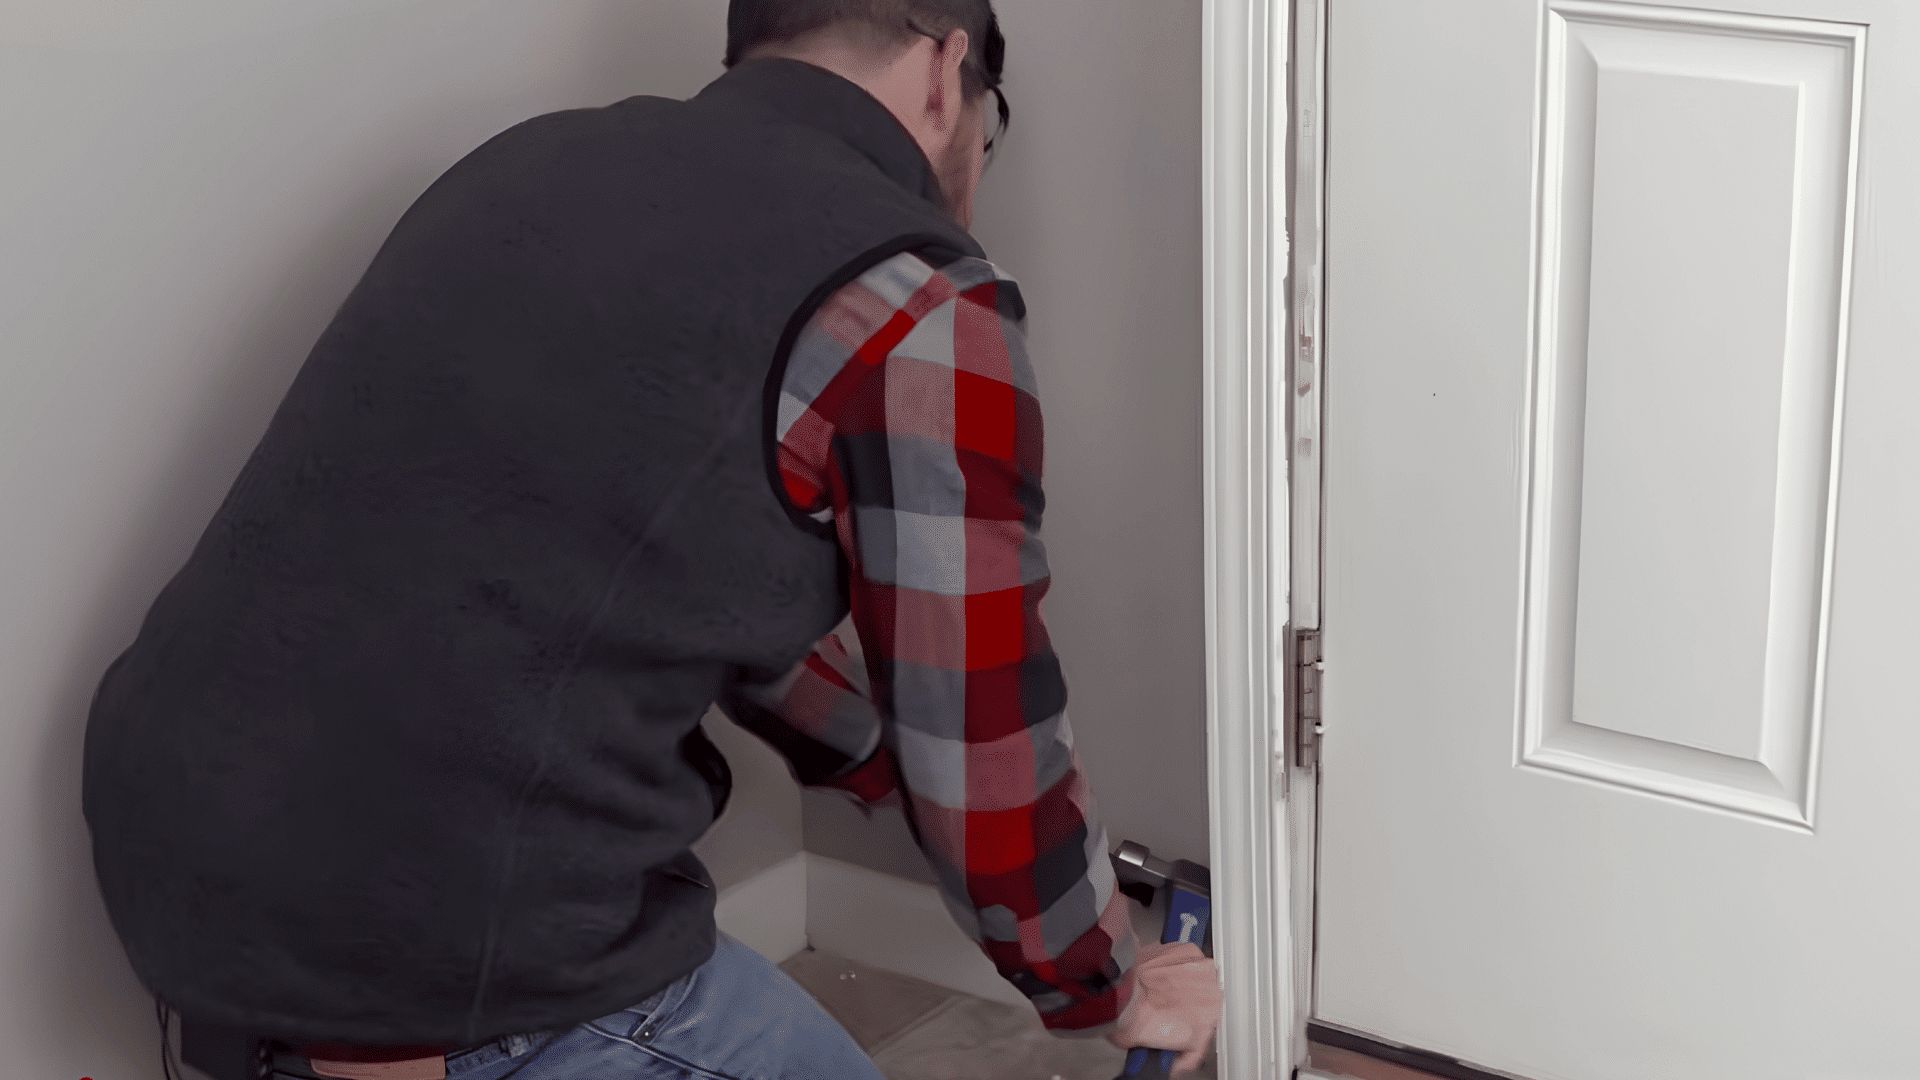
Open the old door and support its weight before removing the hinge pins or hinge screws. Lift the slab away and place it in a safe area.
Cut through the paint and caulk around the trim with a utility knife, then slowly remove the casing with a pry bar.
Cut or pull the fasteners holding the jamb to the framing. Clean the opening and pull out loose nails. Wear gloves and safety glasses because old trim, screws, and wood edges may be sharp.
Step 2: Clean, Inspect, and Measure the Rough Opening
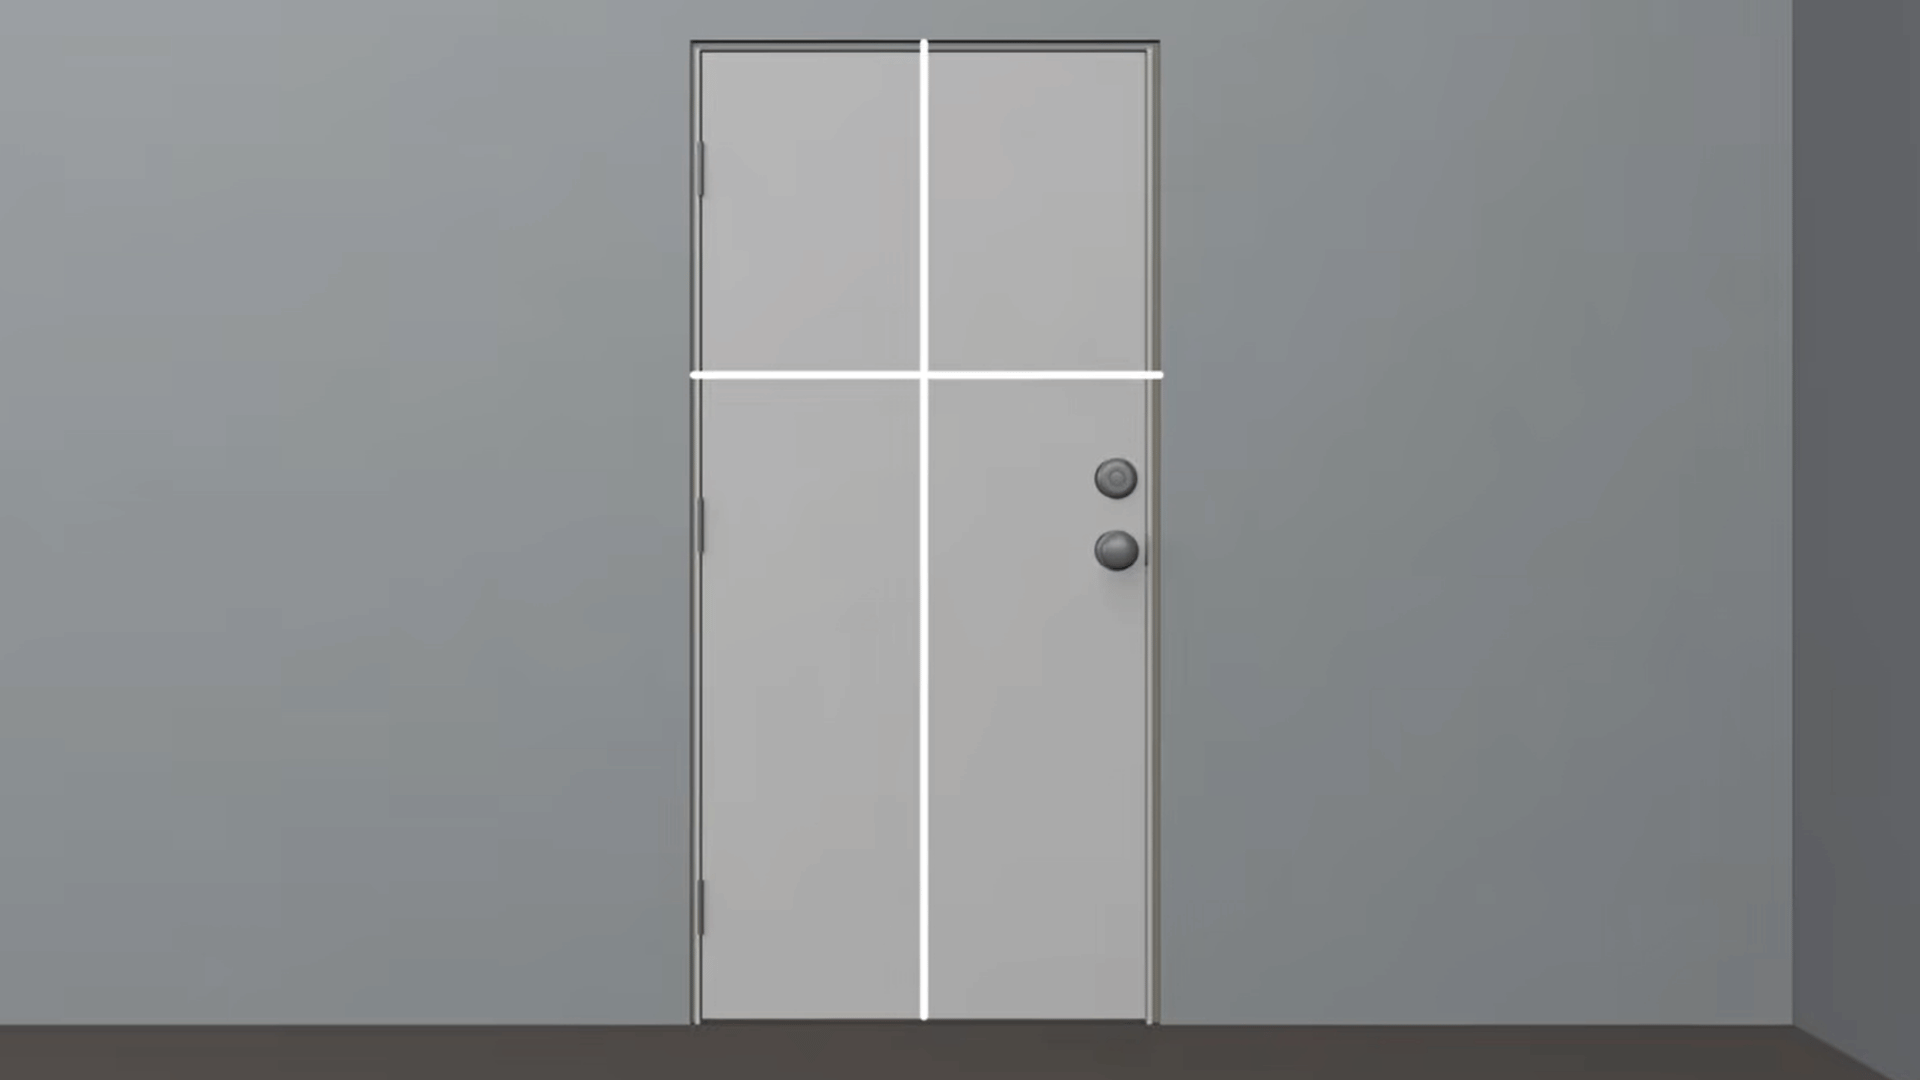
Remove old insulation, foam, caulk, and debris from the rough opening. Check the studs, header, and sill for cracks, soft wood, mold growth, rust, or water stains.
Measure the width and height at three points and record the smallest numbers. Check each side with a level and measure both diagonals.
Confirm that the jamb depth matches the wall. If the opening is too small, do not force the unit into place. The framing may need adjustment before installation can continue.
Step 3: Test-Fit the Door and Prepare the Sill
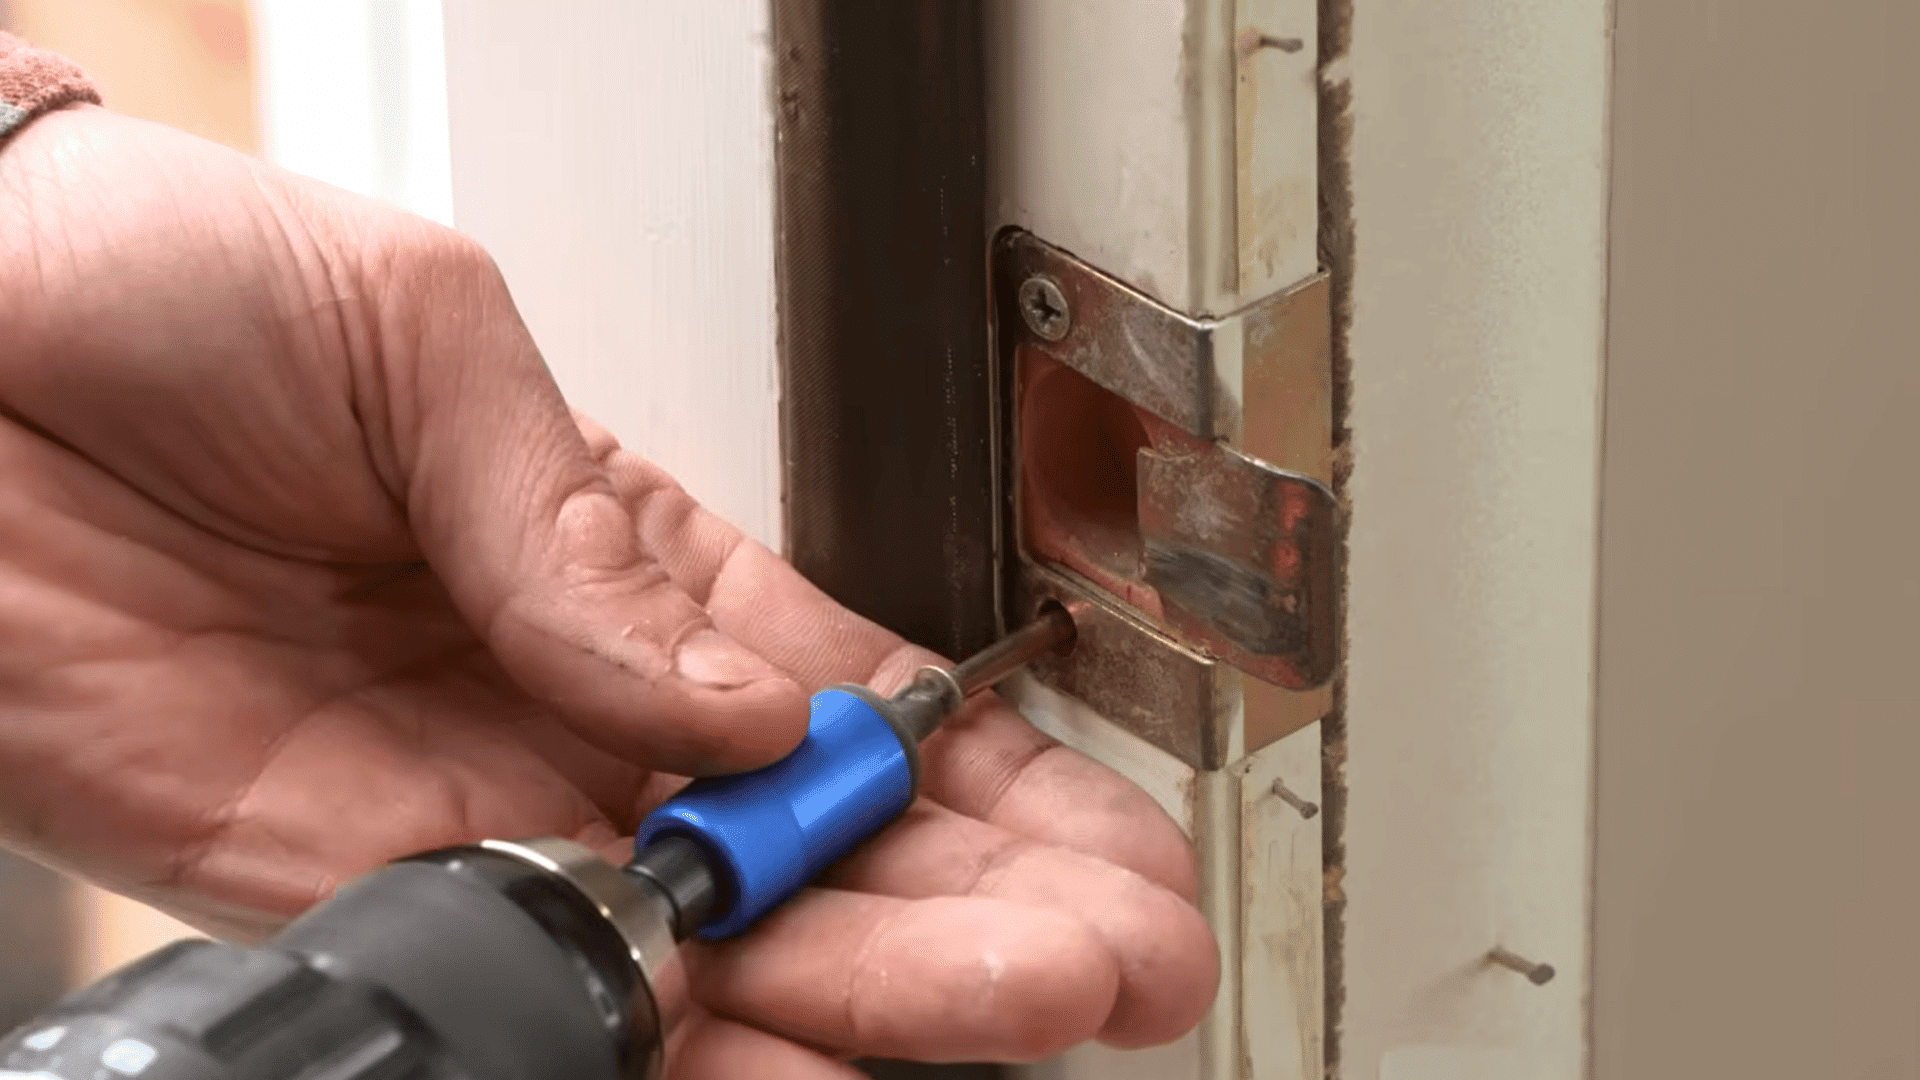
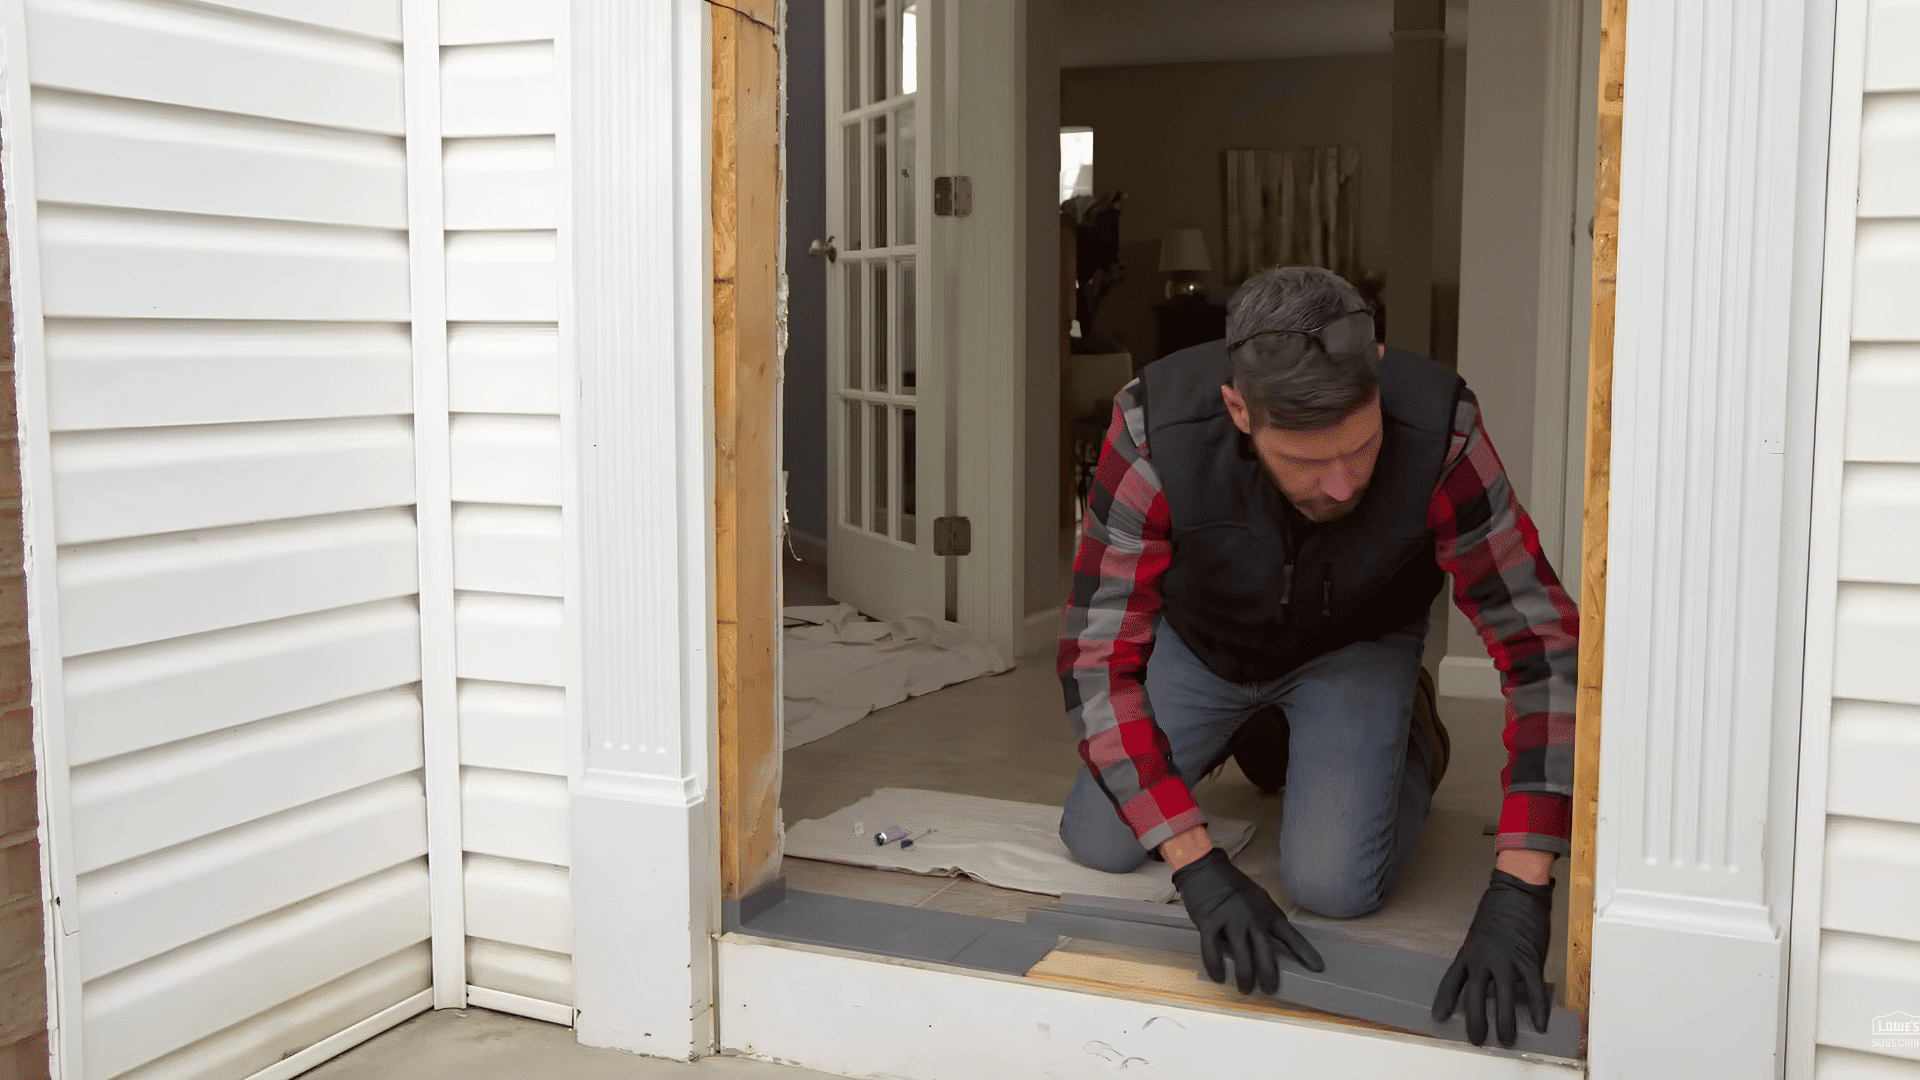
Ask another person to help lift the prehung unit into the rough opening. Center the frame and check the space around each jamb.
Confirm that the threshold sits firmly and that the unit does not bind against the framing. Apply exterior-grade caulk in the locations shown by the manufacturer.
Do not block drainage paths. Interior units typically do not require sill flashing, but the floor must still be clean and level.
Step 4: Position, Level, and Shim the Frame
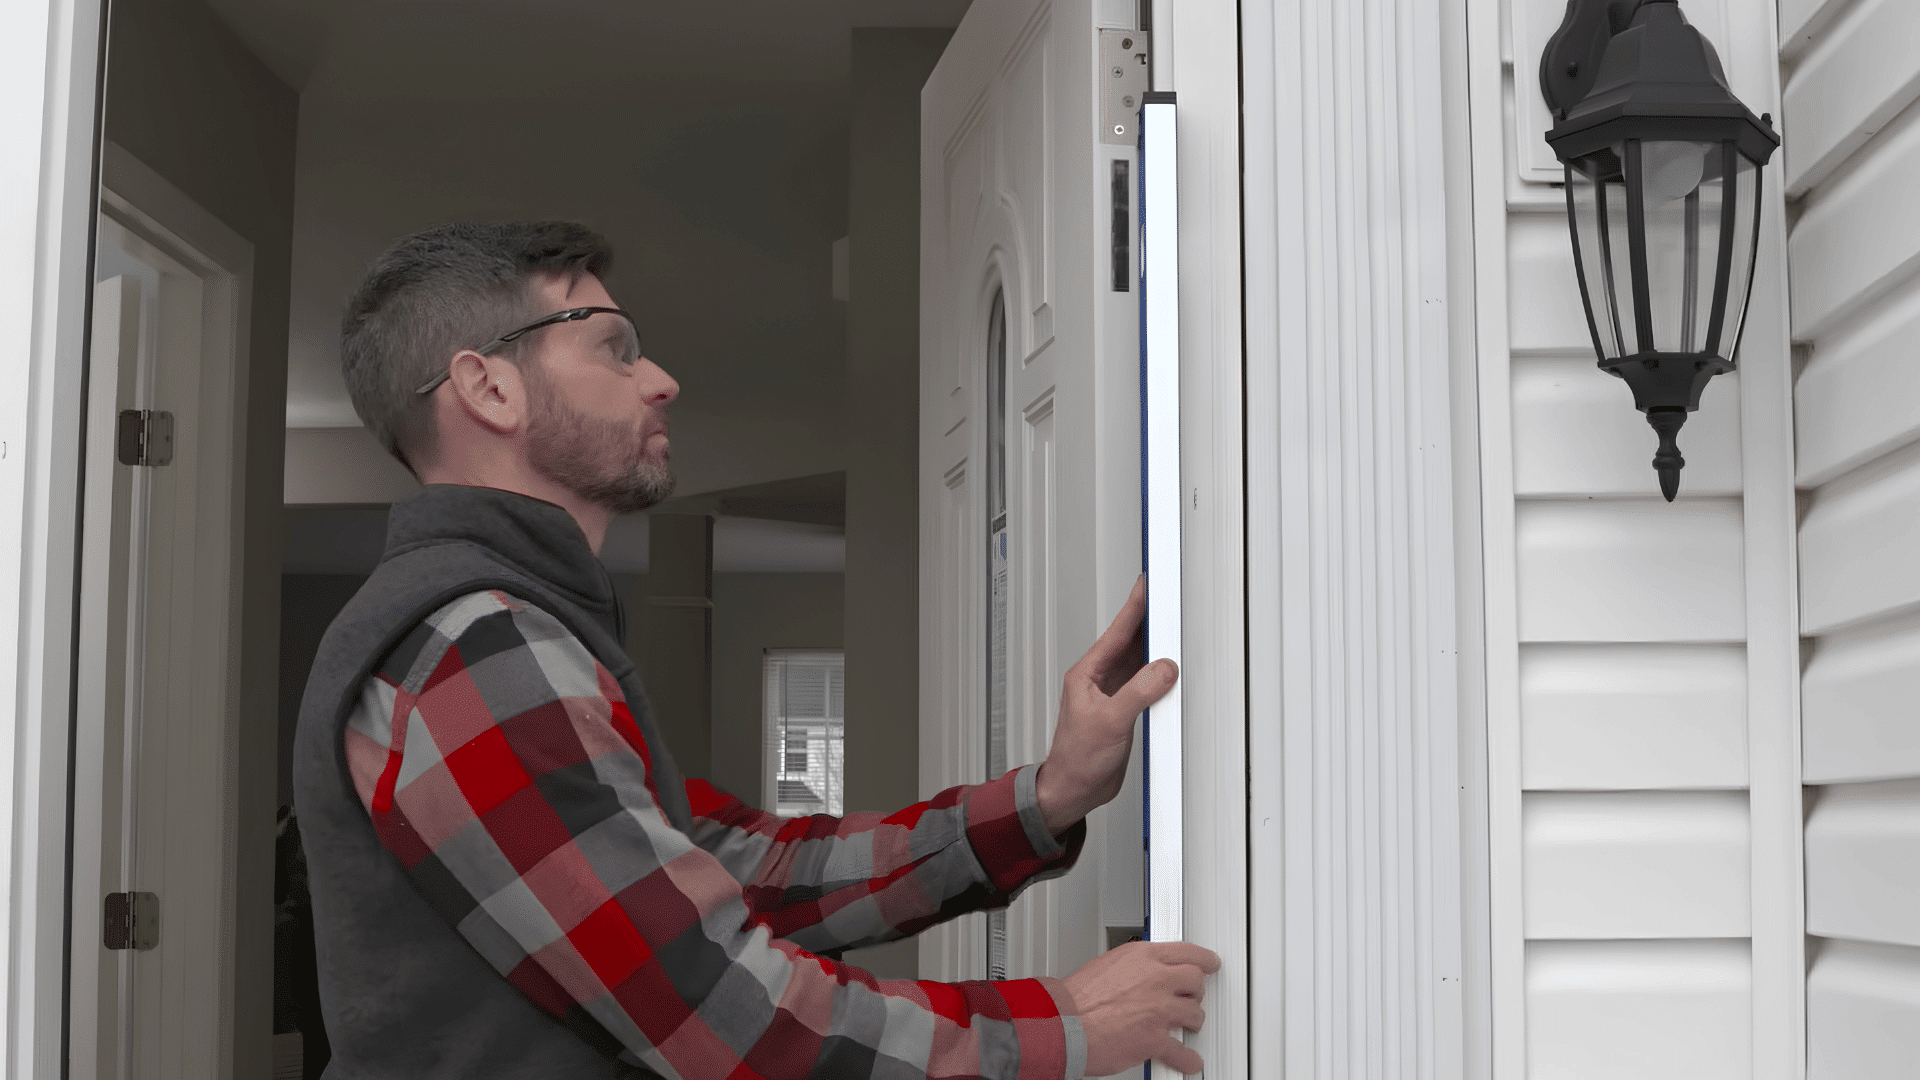
Place the unit back into the opening. Start with the hinge-side jamb because it supports the door’s weight.
Place paired shims behind the upper, middle, and lower hinge areas. Adjust them until the jamb is straight and level.
Add shims at the top and lock side, but do not force them tightly enough to bend the jamb. Open and close the door during this stage to check its movement.
Step 5: Insulate the Gaps and Install the Trim
After the door works properly, cut the shims flush with the jamb. Fill the gap between the jamb and framing with low-expansion foam made for doors and windows.
Apply small amounts because too much foam can press against the frame and cause it to bow.
Reinstall the old casing if it remains in suitable condition, or cut and fit new trim. Fasten the casing without pulling the jamb out of position.
Step 6: Seal the Edges, Install Hardware, and Test the Door
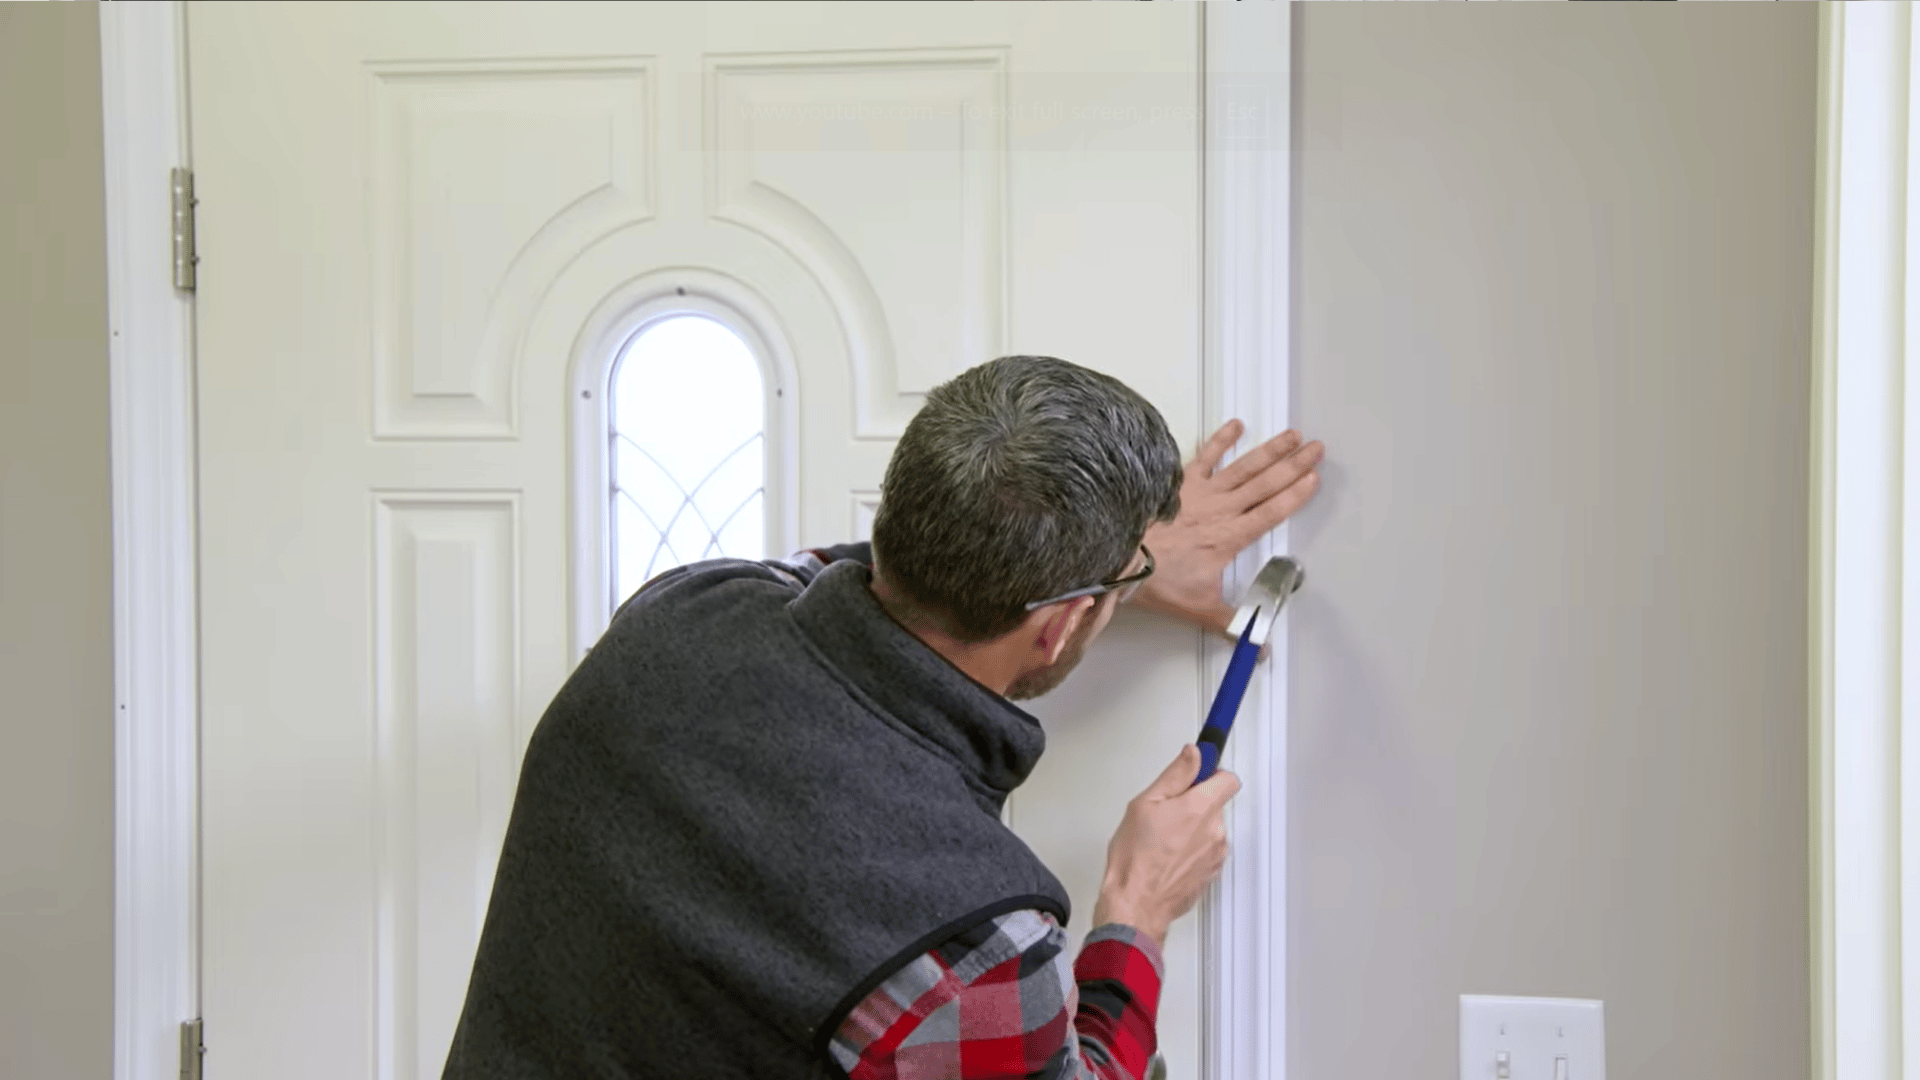
For an exterior door, apply caulk around the outside trim where it meets siding, brick, stucco, or another wall finish.
Follow the product instructions and keep drainage areas open. Seal small interior trim gaps as needed. Understanding the different parts of a door handle can also make hardware installation easier and help identify issues with the latch or strike plate.
Install the handle, latch, deadbolt, and strike plates. Close the door and check that the latch enters the strike plate without lifting, pushing, or pulling the slab.
For more detailed steps, watch the video on the Lowe’s Home Improvement YouTube channel.
Installing an Interior vs Exterior Prehung Door
Interior and exterior prehung doors follow similar steps, but exterior doors need added sealing, insulation, flashing, and weather protection.
| Installation Area | Interior Prehung Door | Exterior Prehung Door |
|---|---|---|
| Threshold | Often not included | Usually included |
| Sill pan | Normally not needed | May be required |
| Exterior caulk | Not needed | Needed around the exterior edges |
| Flashing | Normally not needed | May be required |
| Insulation | Helps reduce sound transfer | Helps control drafts |
| Weatherstripping | Usually limited | Needed for a tight seal |
| Lock hardware | Often, a simple latch | May include a deadbolt |
| Water control | Not a main concern | A major part of the installation |
Sizing works the same way for both, whether you’re matching an existing bedroom opening or a standard door elsewhere in the house. Knowing standard bedroom door size helps if you’re unsure what width and height to expect.
Prehung Door Installation Checklist
Before finishing the project, confirm each item:
- The door size matches the rough opening.
- The swing and hinge sides are correct.
- The floor or sill is level.
- The hinge-side jamb is straight.
- Shims support each hinge and the strike plate.
- The reveal is even around the slab.
- Fasteners reach the wall framing.
- The door opens without rubbing.
- The latch and lock work smoothly.
- Low-expansion foam fills the frame gaps.
- Interior trim covers the rough opening.
- Exterior flashing and caulk are complete.
- Weatherstripping touches the slab evenly.
- Drainage paths remain open.
When to Call a Professional
Consider professional installation when the opening has major rot, water damage, cracked framing, or a sagging header.
Professional help may also be useful for heavy entry doors, double doors, fire-rated units, or systems with sidelights and transoms.
Exterior openings with damaged flashing or masonry may need special tools and repair methods.
Stop work if removing the old frame reveals wiring, plumbing, insect damage, or structural problems inside the wall.
Before ordering a replacement unit, checking the standard interior door width and height can help compare the existing opening with common door sizes and avoid buying the wrong size.
Common Prehung Door Installation Mistakes
Avoiding common installation mistakes helps the door stay level, close smoothly, and seal correctly.
- Skipping the Test Fit: The unit may be too large or may not match the wall depth.
- Ignoring an Uneven Floor: One jamb may sit higher, creating a sloped top gap.
- Shimming only At the Corners: Hinges and the strike plate need firm support.
- Fastening Too Early: Secure the frame only after checking the level and reveal.
- Overtightening Screws: Strong pressure may pull the jamb out of line.
- Using Standard Expanding Foam: Heavy expansion can bow the frame.
- Forgetting Exterior Flashing: Poor sill preparation can allow water into the wall.
- Blocking Drainage Paths: Caulk should not trap water beneath an exterior unit.
- Testing only Once: Check the swing and latch throughout the installation.
Final Thoughts
Learning how to install a prehung door starts with a clean, correctly sized opening. Test-fit the unit, prepare the sill, and level the hinge-side jamb before securing the remaining frame.
Check the reveal often and place shims behind the hinges and strike plate. Once the door opens and latches smoothly, insulate the gaps, install the trim, and seal exterior edges.
Take your time during each adjustment, since small frame changes can affect the swing and lock.
Save the installation checklist before starting, and share your door type or installation issue in the comments below.
Frequently Asked Questions
Can One Person Install a Prehung Door?
A light interior door may be manageable alone, but a second person makes lifting, positioning, and leveling safer. Heavy exterior units often require two or more people.
What Fasteners Should You Use?
Use the screw or nail type stated in the product instructions. The fasteners must pass through the jamb and shims into solid wall framing.
Can Too Much Foam Damage the Frame?
Yes. Standard expanding foam may push the jamb inward. Use low-expansion foam made for door and window openings and apply it in small amounts.