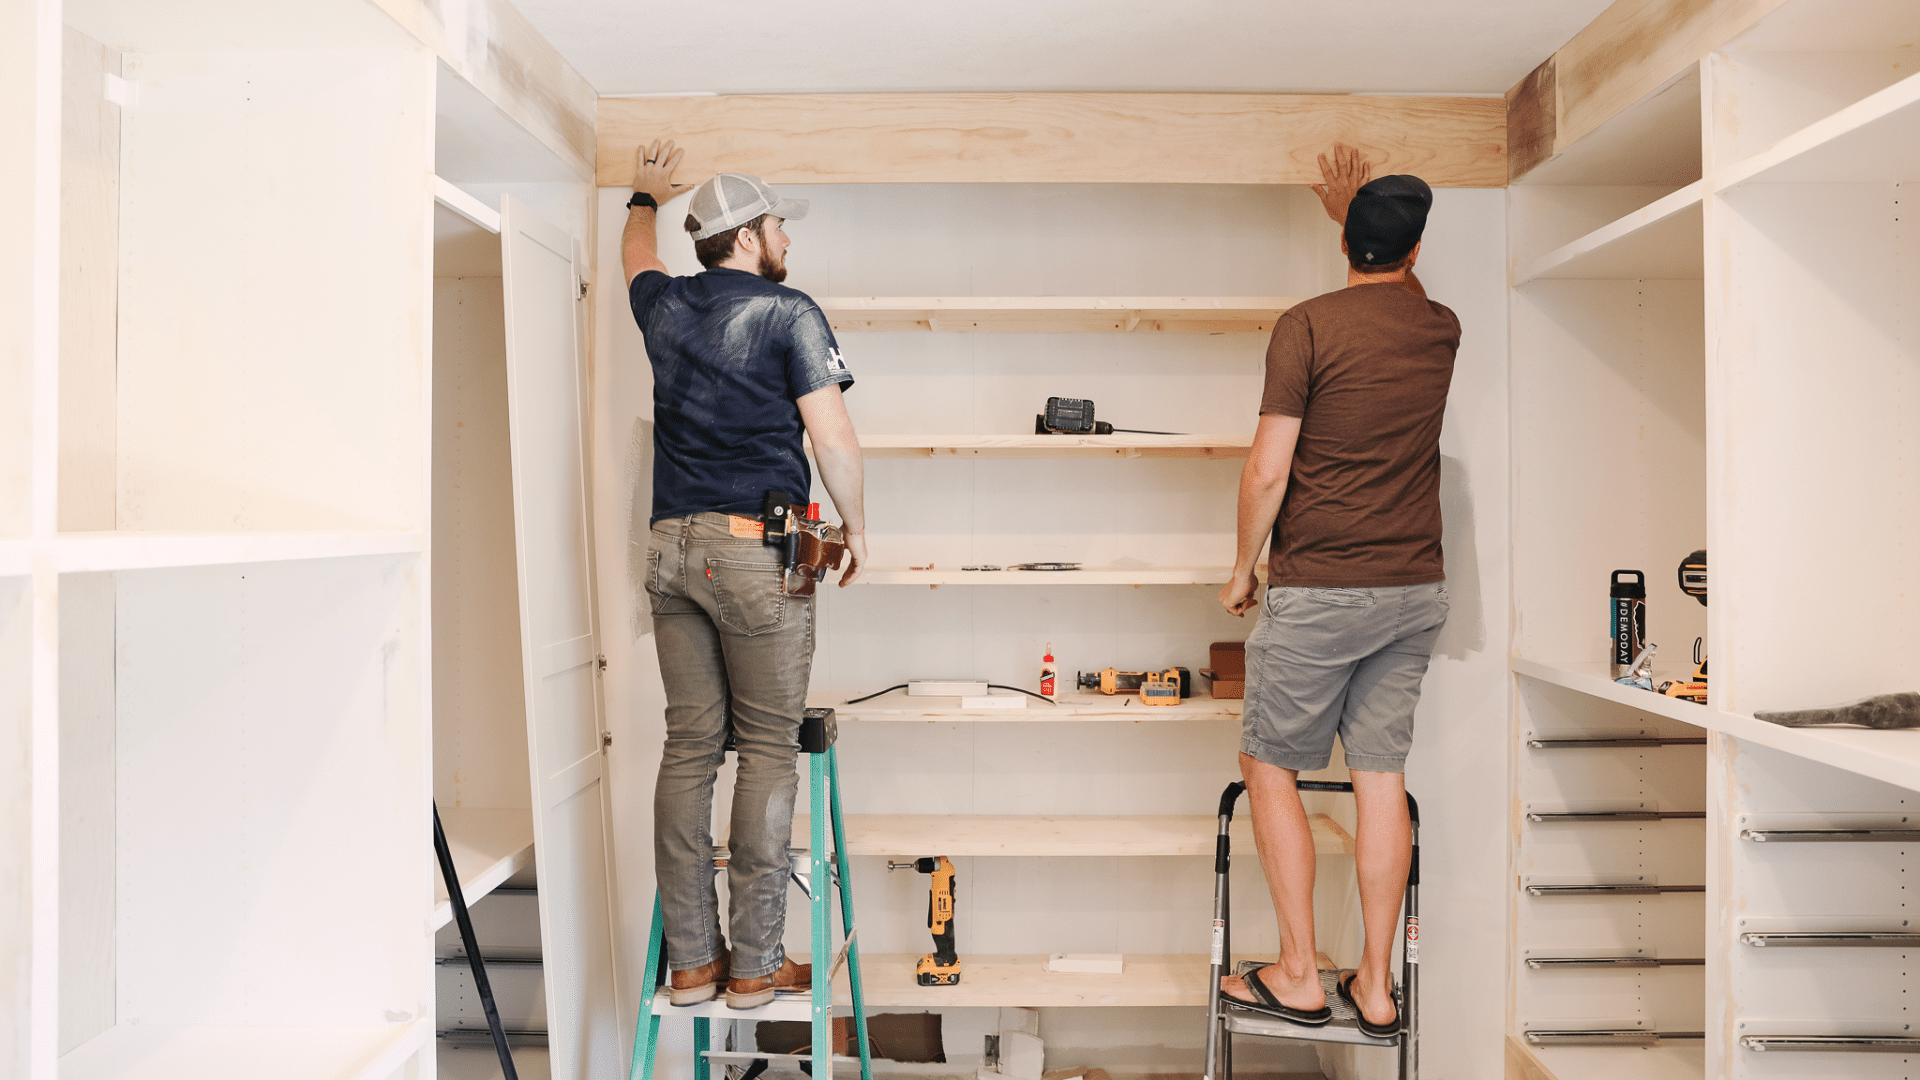
Creating your own closet shelves and organizer is a simple way to improve storage and make your space work better.
Many people want simple, clear guidance on how to measure their closet, choose materials, and build sturdy shelves that match their needs.
This guide walks you through each step using budget-friendly supplies and beginner-friendly tools.
You will learn how to prepare the space, cut boards, install supports, and assemble shelves that fit neatly inside your closet.
It helps you design a custom organizer for clothes, shoes, and accessories without wasting space.
Whether you want a basic layout or a more personalized setup, this guide gives you the confidence to build a closet system that stays strong and organized for daily use today.
Why DIY Closet Shelves are Worth Building?
Building your own closet shelves is worth the effort because it gives you a storage system that actually fits your space and your needs.
Ready-made organizers don’t always match the size of your closet, and hiring professionals can be expensive.
The same framework also works well if you’re after the best linen closet shelves, since a shelving-only layout without a hanging rod is one of the easiest versions of this build.
DIY shelves let you choose the height, width, and layout for your clothes, shoes, and accessories. They can be stronger, affordable, and easier to adjust later.
They also fit small or awkward spaces better than many store-bought options. Ready-made closet kits are worth comparing before starting a full build.
With a little planning and basic tools, DIY closet shelves give you a clean, organized space that makes everyday life easier.
What You’ll Need: Tools and Materials
Gathering everything up front keeps the build moving and avoids mid-project store runs. Based on the steps, plan for:
Materials:
- Plywood, cut to size for sides, shelves, supports, and the shoe shelf top
- Primer and paint for the plywood and closet interior
- Wood filler for nail holes and seams
- Front trim boards
- 1¾-inch 18-gauge nails
- Liquid Nails (useful if your closet wall is plastered over brick, as in this build)
- Closet rod and rod brackets
- Sandpaper (medium and fine grit)
Tools:
- Circular saw or table saw for cutting plywood
- Pocket hole jig for strong joints
- Drill and driver
- Level
- Tape measure
- Stud finder
- 18-gauge nail gun
- Paintbrush or roller
Closet Organizer Step-By-Step Guide
These steps break down the entire process of building the closet organizer from start to finish. Each stage follows the exact order shown in the video, so you can easily follow along.
Step 1: Remove the Existing Closet Section
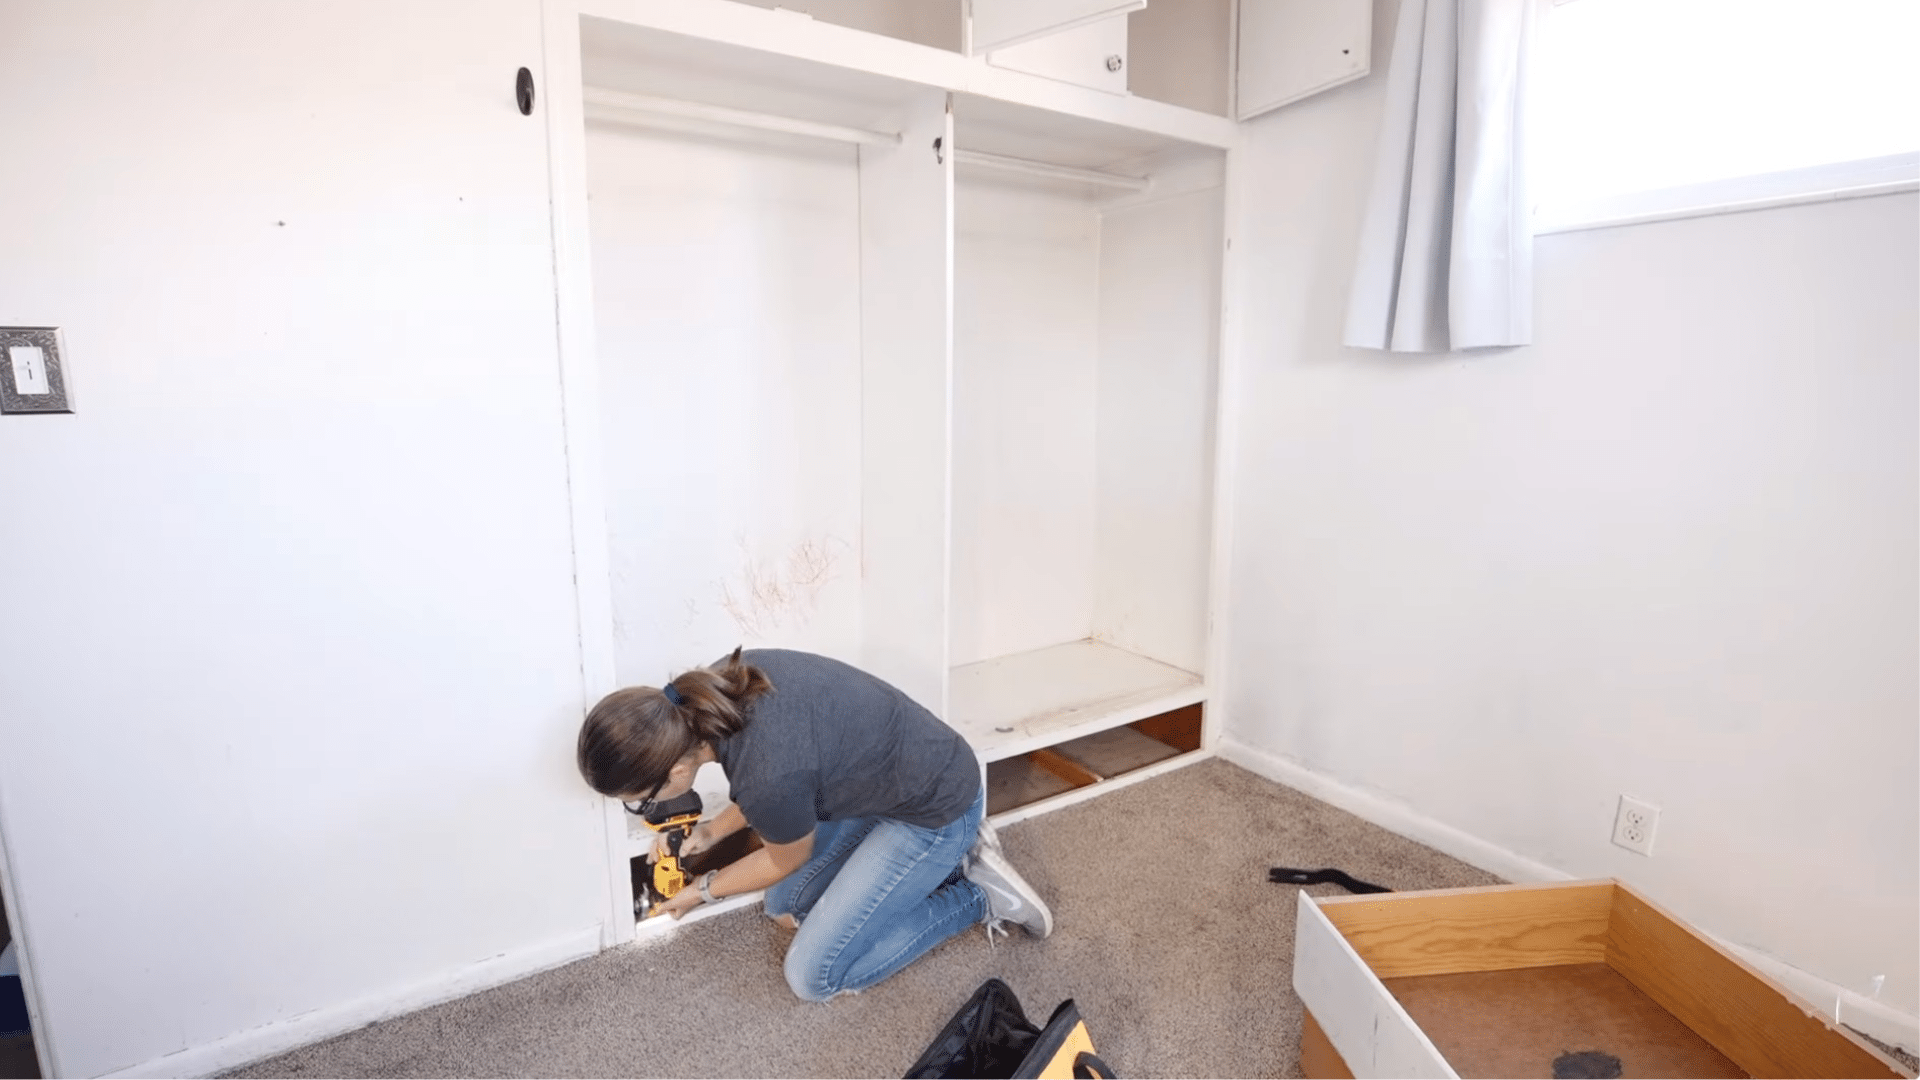
The project begins by removing the middle section of the closet to clear space for the new organizer.
The upper storage remains intact, but the center divider and the old doors are taken out because they will be replaced later.
This full demo creates a clean, open area to work with. Clearing out and decluttering the space first makes the demo and every step after it easier.
Once everything is removed, the closet becomes ready for measuring, planning, and preparing the custom organizer that will perfectly fit the updated layout and improve functionality.
Step 2: Measure the Closet and Plan Your Organizer
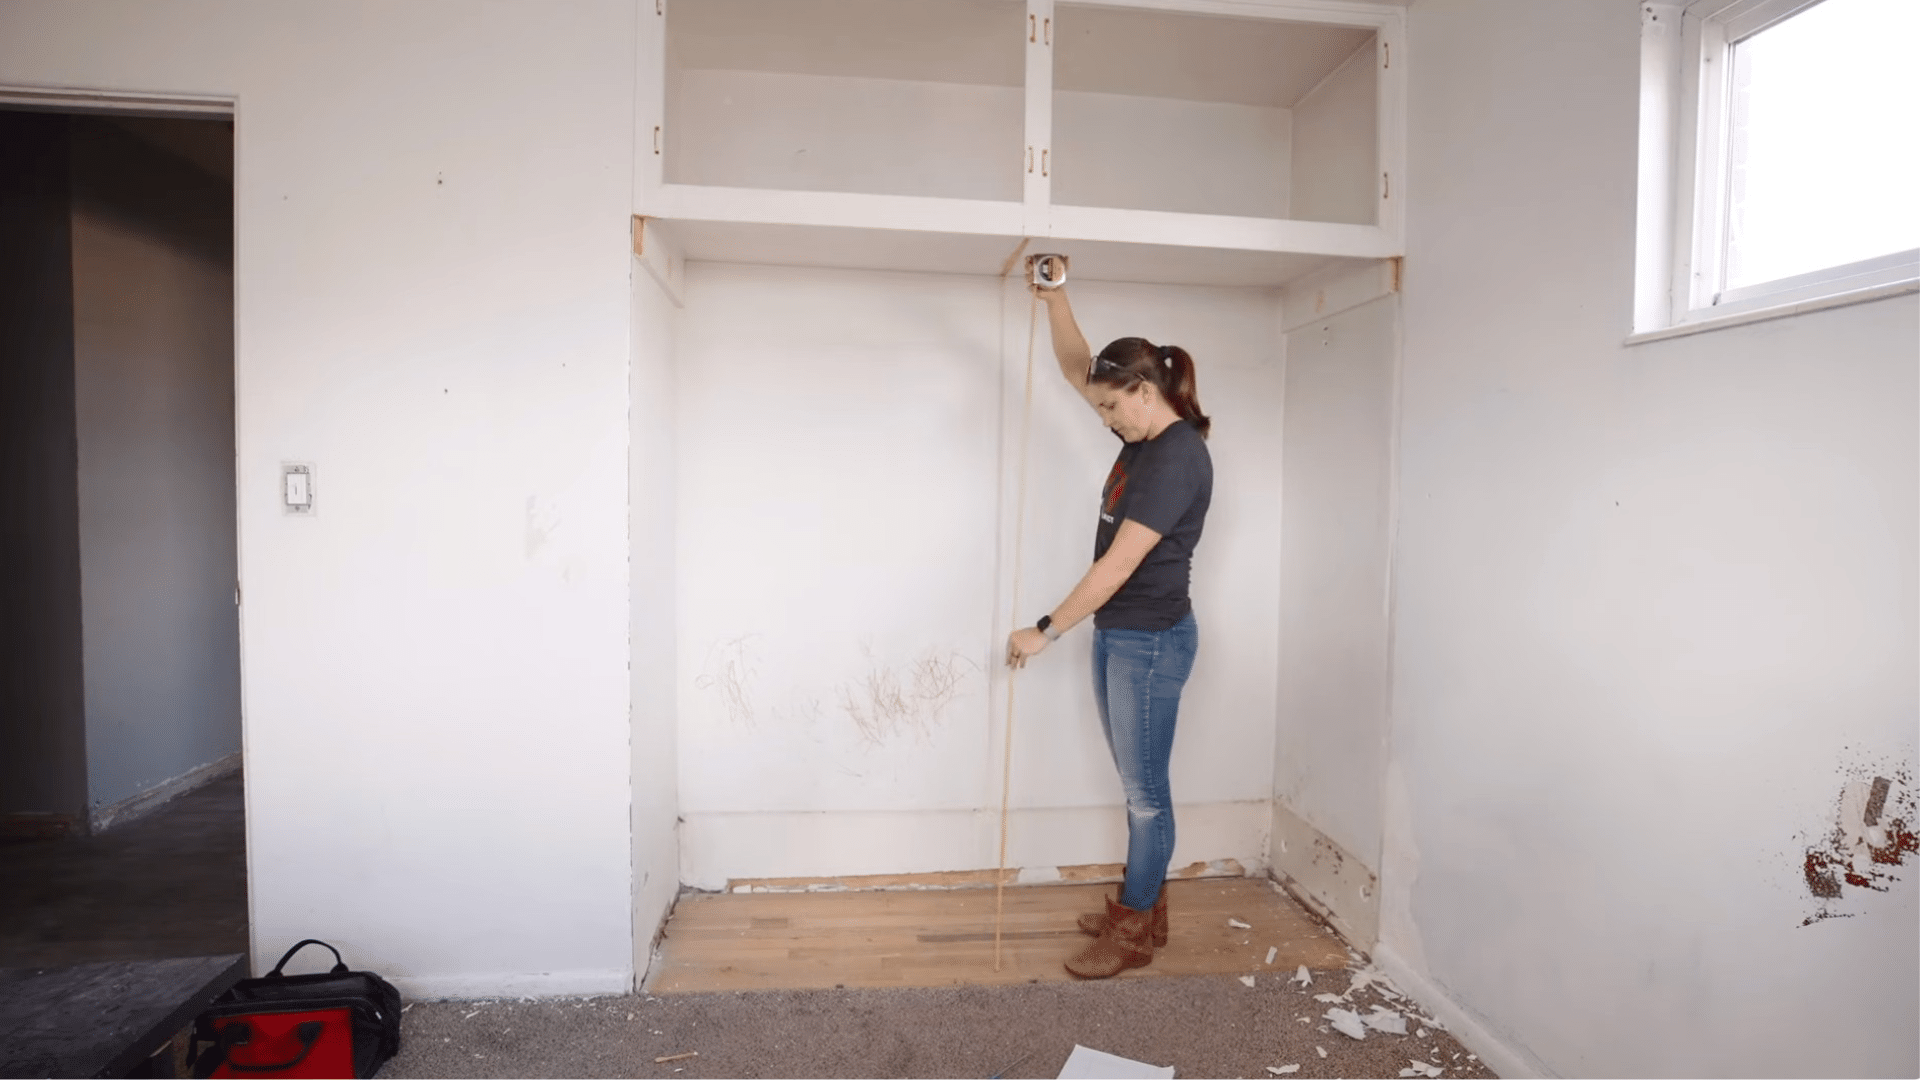
After the demo is complete, the closet is carefully measured to determine what kind of organizer can fit the space.
A custom design is created to match the exact dimensions, making sure shelves, divider sections, and storage areas line up correctly.
Proper planning helps avoid mistakes during installation.
With the measurements set, the design guides the next steps and ensures the organizer functions well, fits tightly, and matches the overall storage goals for the closet.
Step 3: Cut and Prepare the Plywood
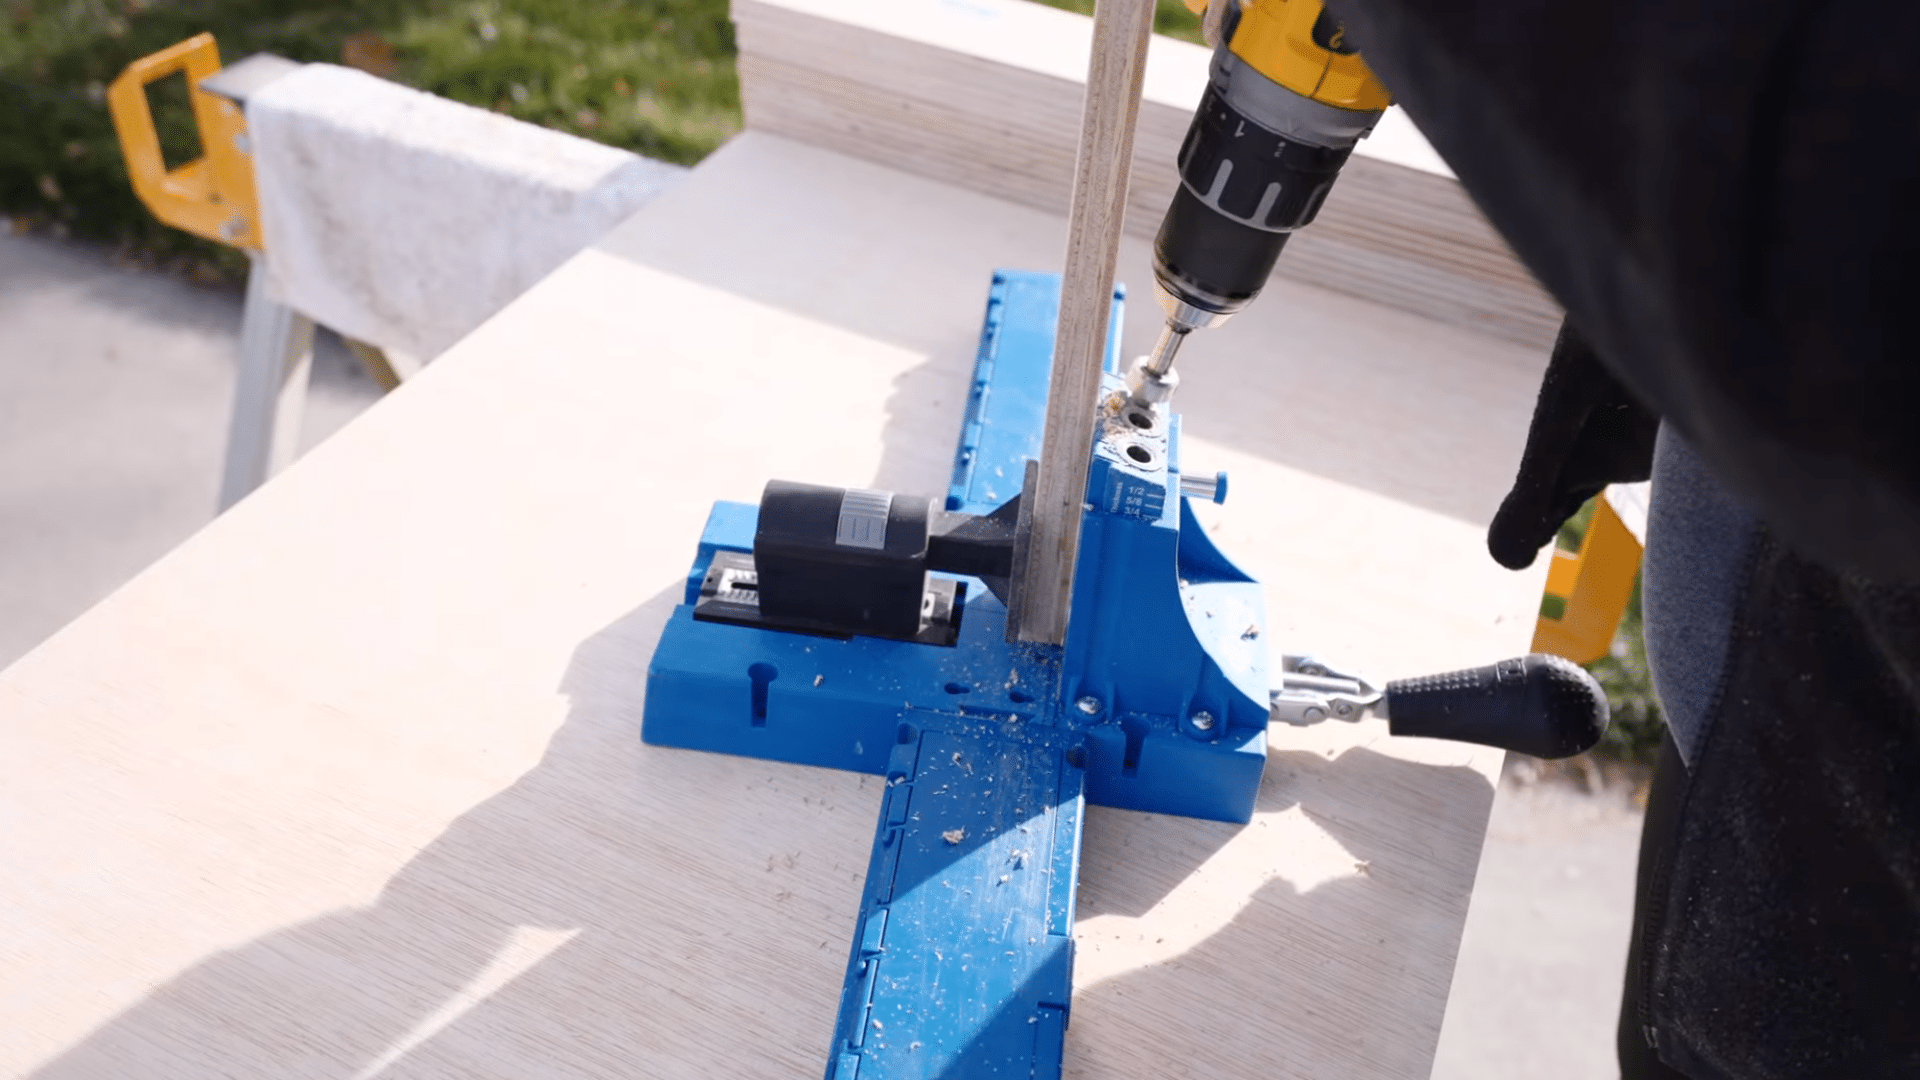
After finalizing the design, all plywood pieces are cut to the exact measurements for the sides, shelves, and supports.
Cutting everything first keeps the project organized and ensures each part fits correctly during assembly.
Once the pieces are cut, pocket holes are added to create strong joints. Each board is then sanded to smooth rough edges and help paint adhere better.
After sanding, the boards are cleaned and prepared for the next stage.
Step 4: Prime and Paint All Pieces Before Assembly
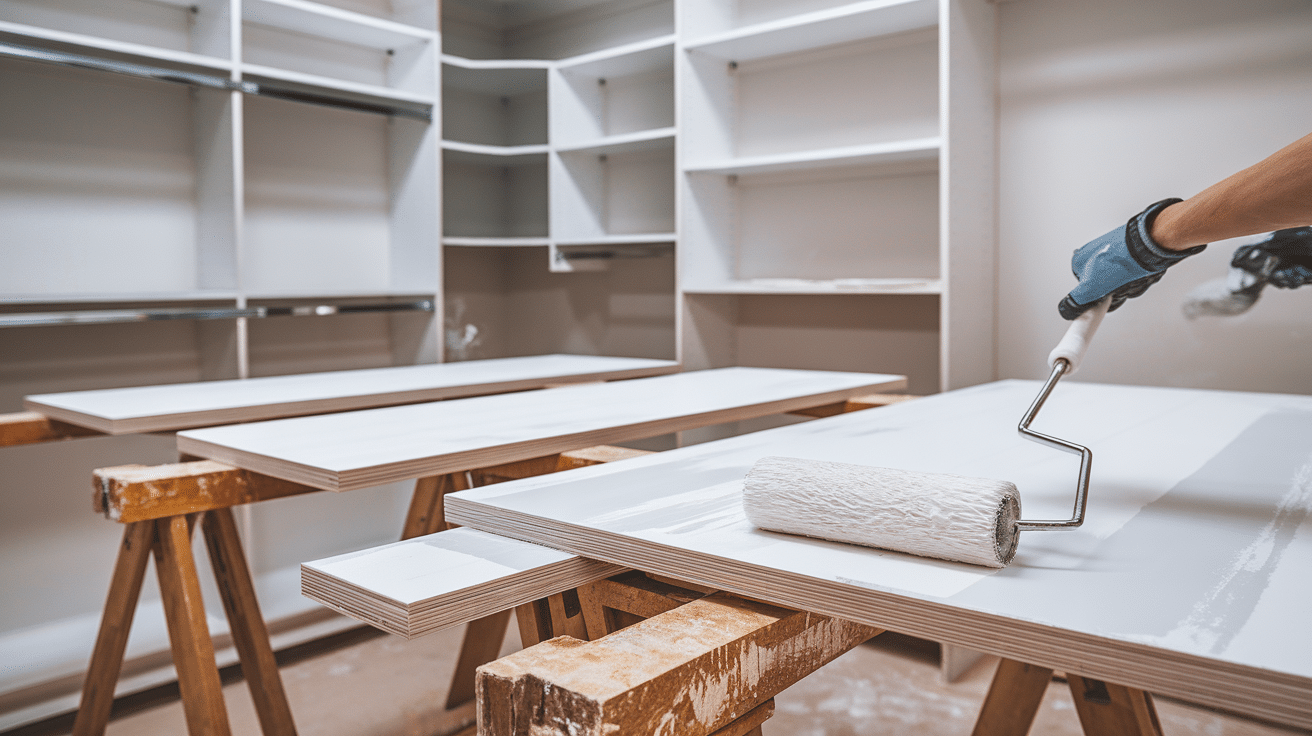
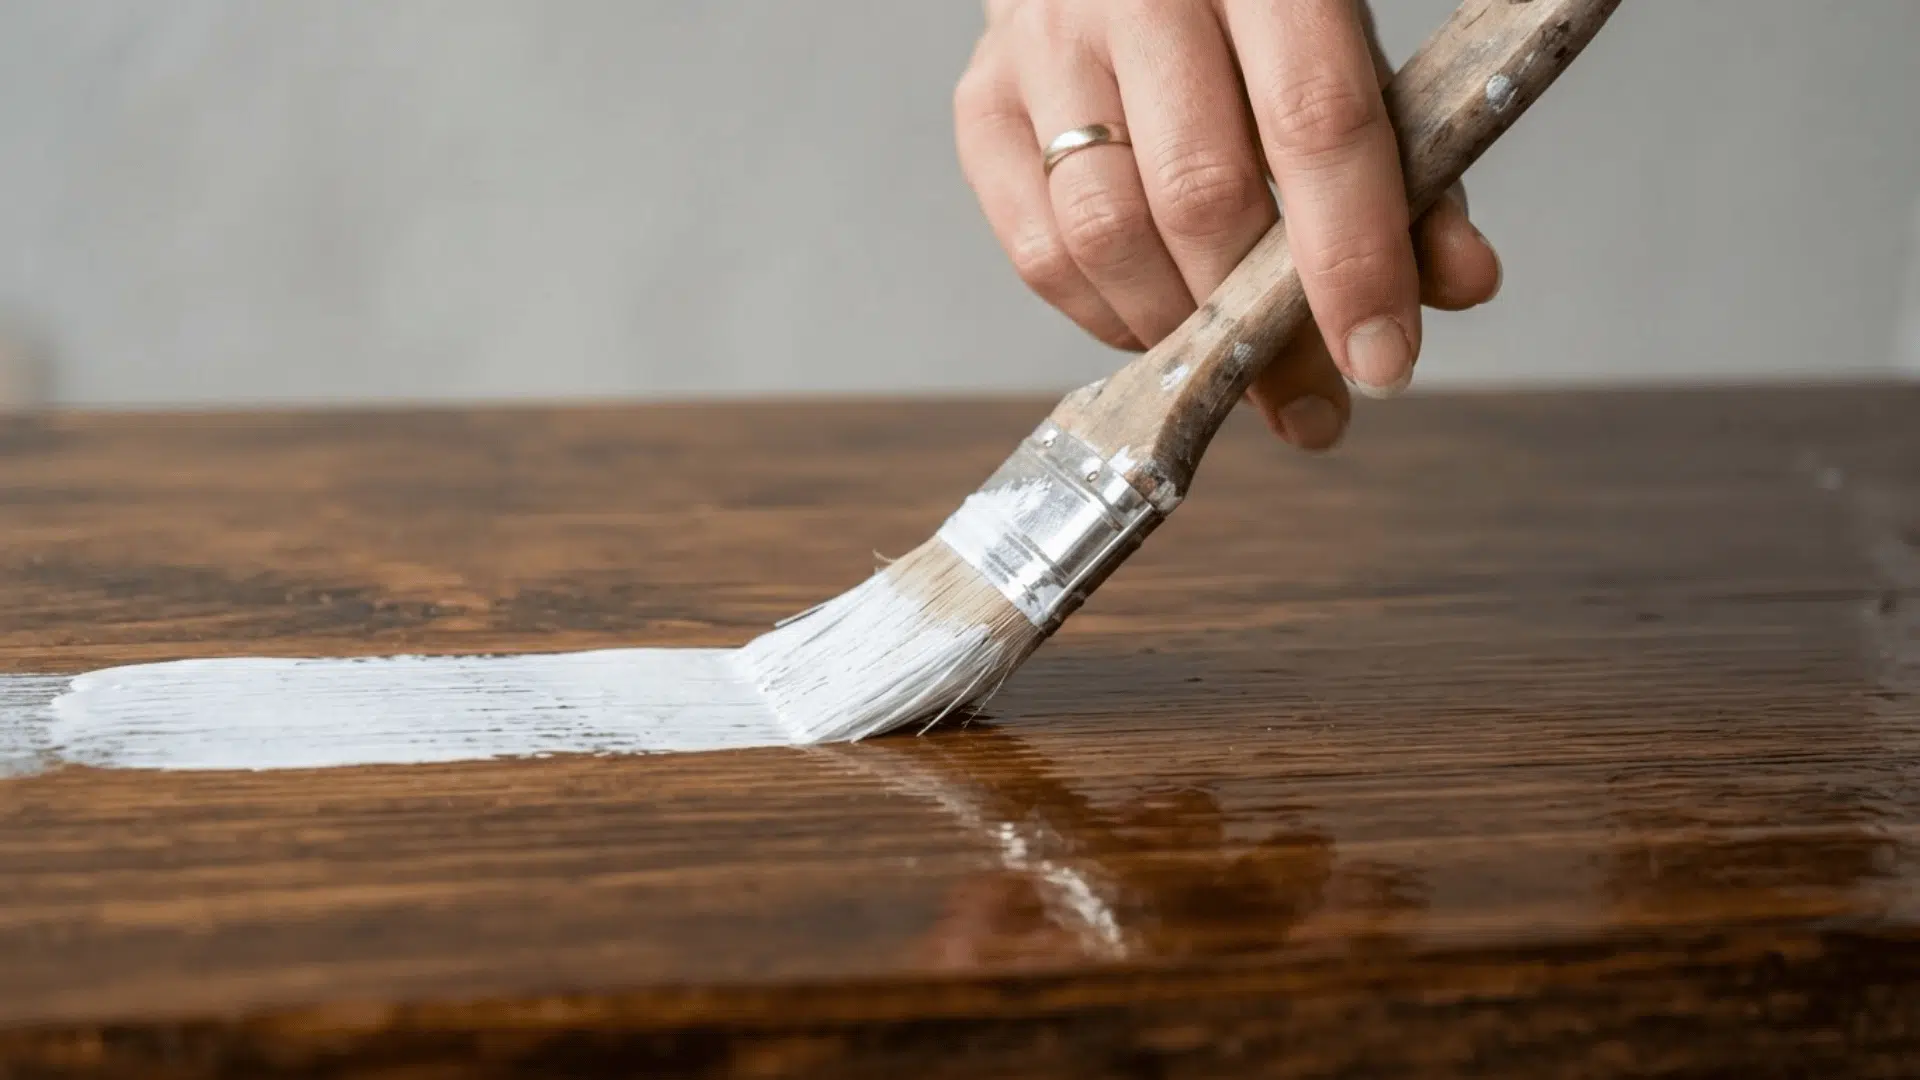
All plywood pieces are primed and painted before any assembly starts. Pre-painting makes the job easier because it’s harder to reach corners once the organizer is built and installed.
The closet interior is also primed and painted, so everything matches and looks clean.
Painting ahead of time reduces the need for touch-ups later and helps create an even, smooth finish.
This step prepares both the wood and the closet for installation, making the final result look more polished and put together.
Step 5: Mark the Layout and Position the Frame
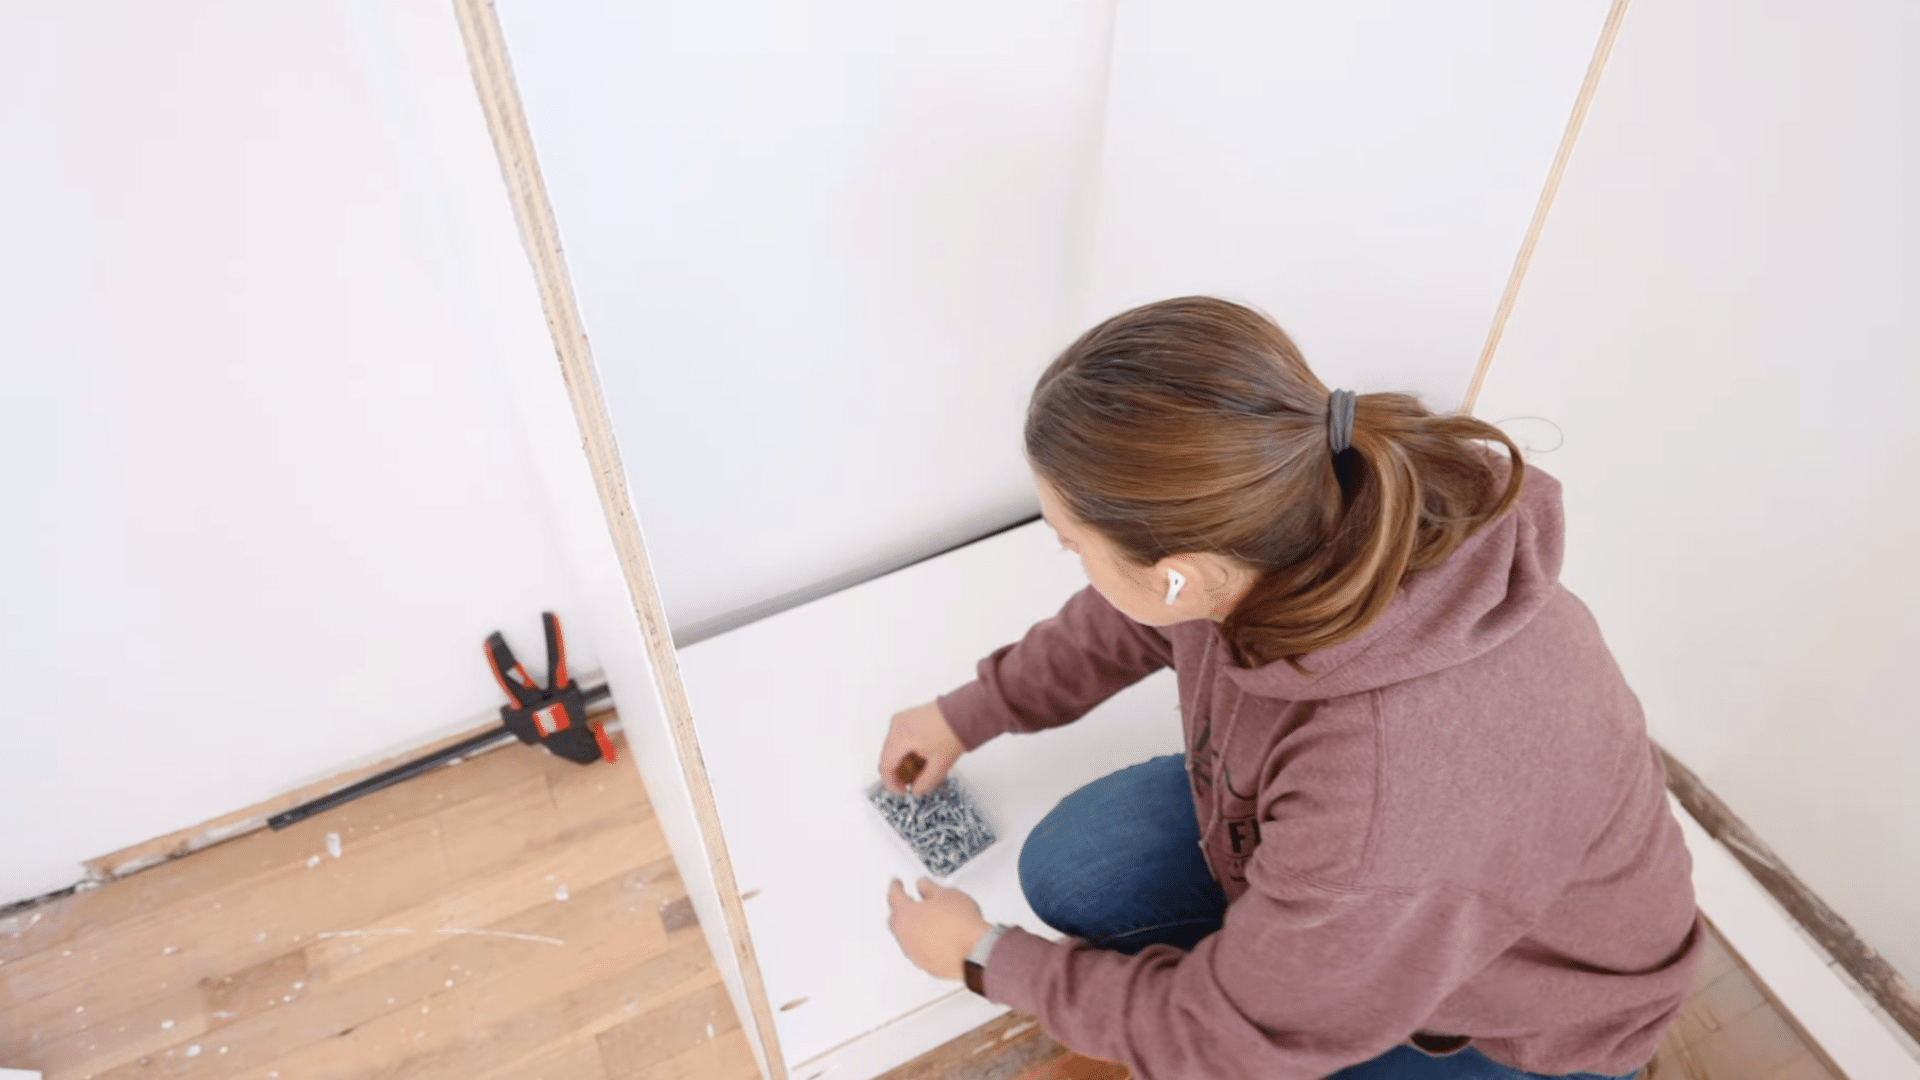
Once the pieces are painted, the closet walls are marked to show where each vertical column will sit, including the planned shoe shelf on the right side.
These reference lines follow the design and help ensure an accurate fit.
After marking the layout, the main frame is assembled outside the closet and lifted into place.
Because the fit is tight, a 2×4 is used as a buffer to tap the frame in without damaging the finished boards. A secure fit creates a strong base for the rest of the installation.
Step 6: Install Support Braces for Each Shelf
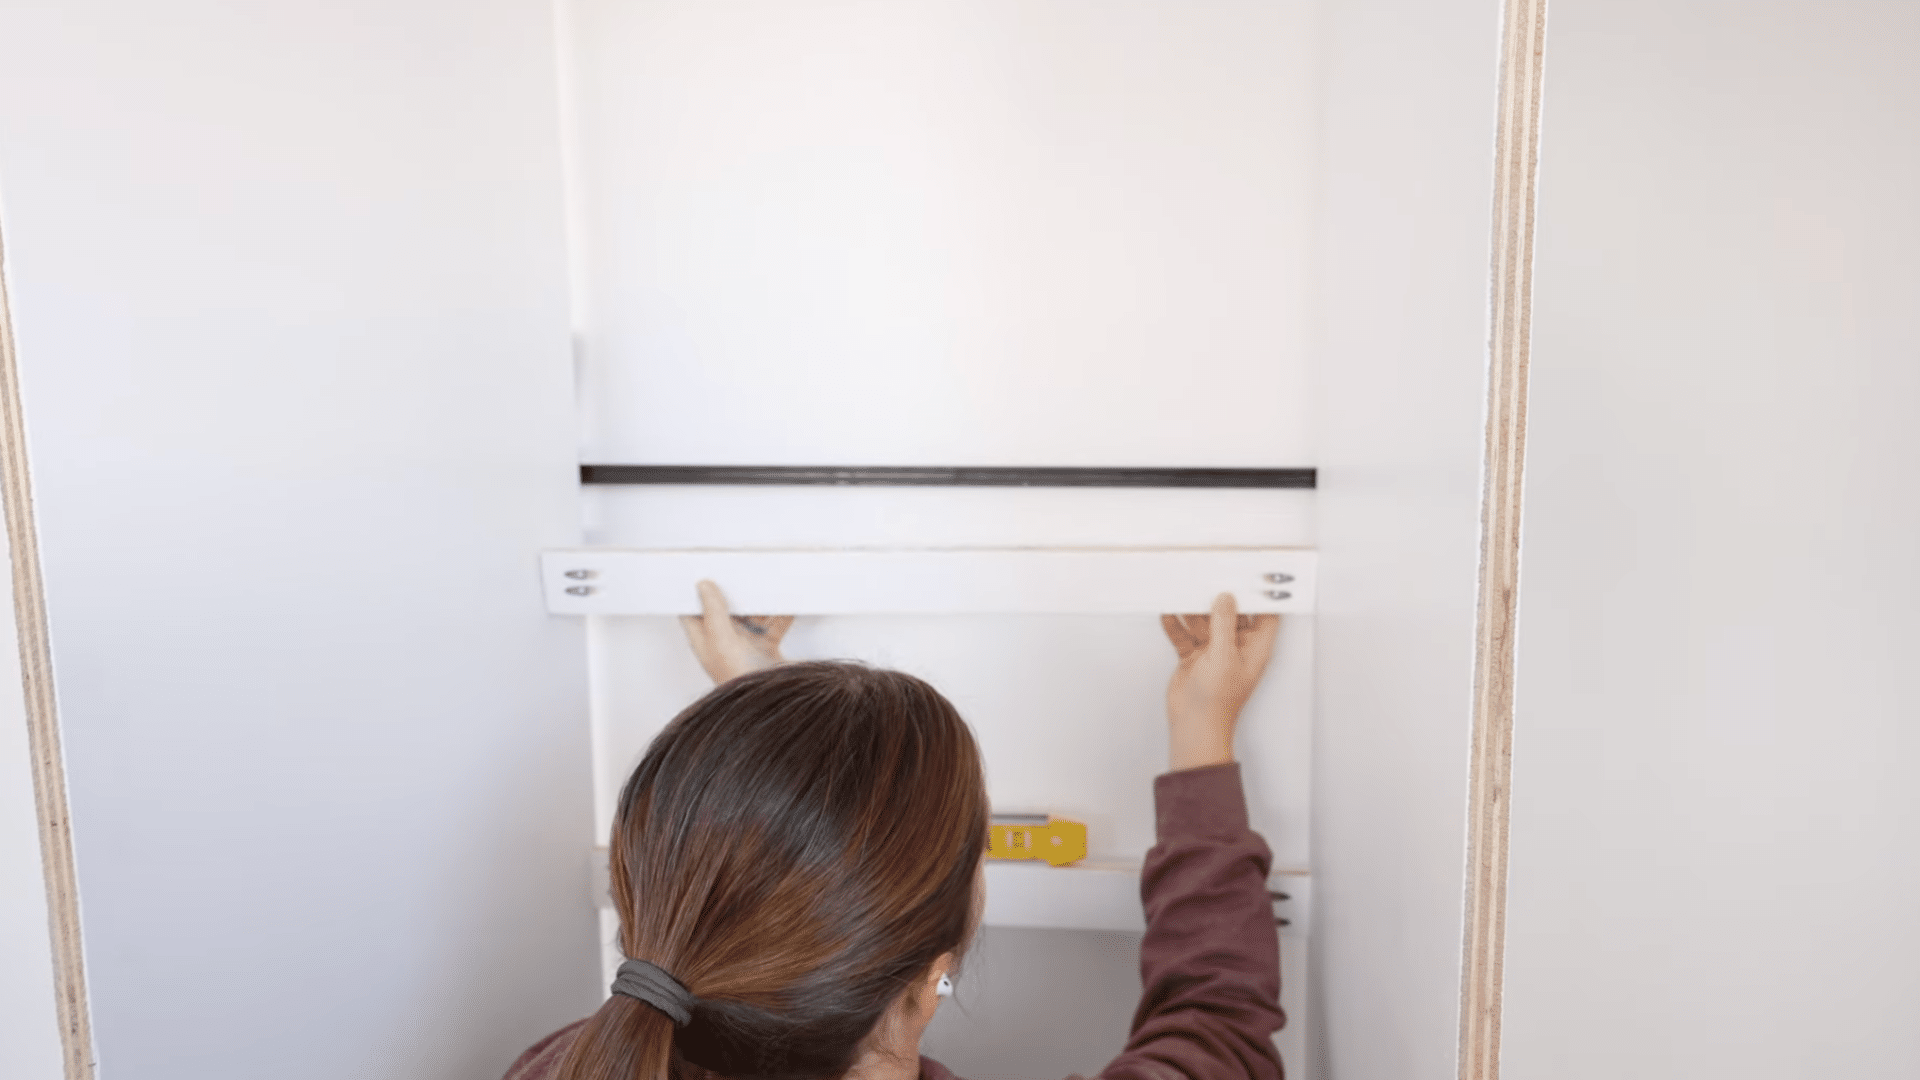
Support braces are installed at measured intervals to hold each shelf.
These braces help keep the organizer sides spaced correctly, support the shelf weight, and provide additional points to anchor the unit to the wall.
Installing braces ensures the shelves will sit level and remain sturdy once in place.
This step prepares the organizer for the shelving stage and strengthens the overall structure, helping everything stay aligned as the system continues to be built out.
Step 7: Position the Organizer and Install the Shelves
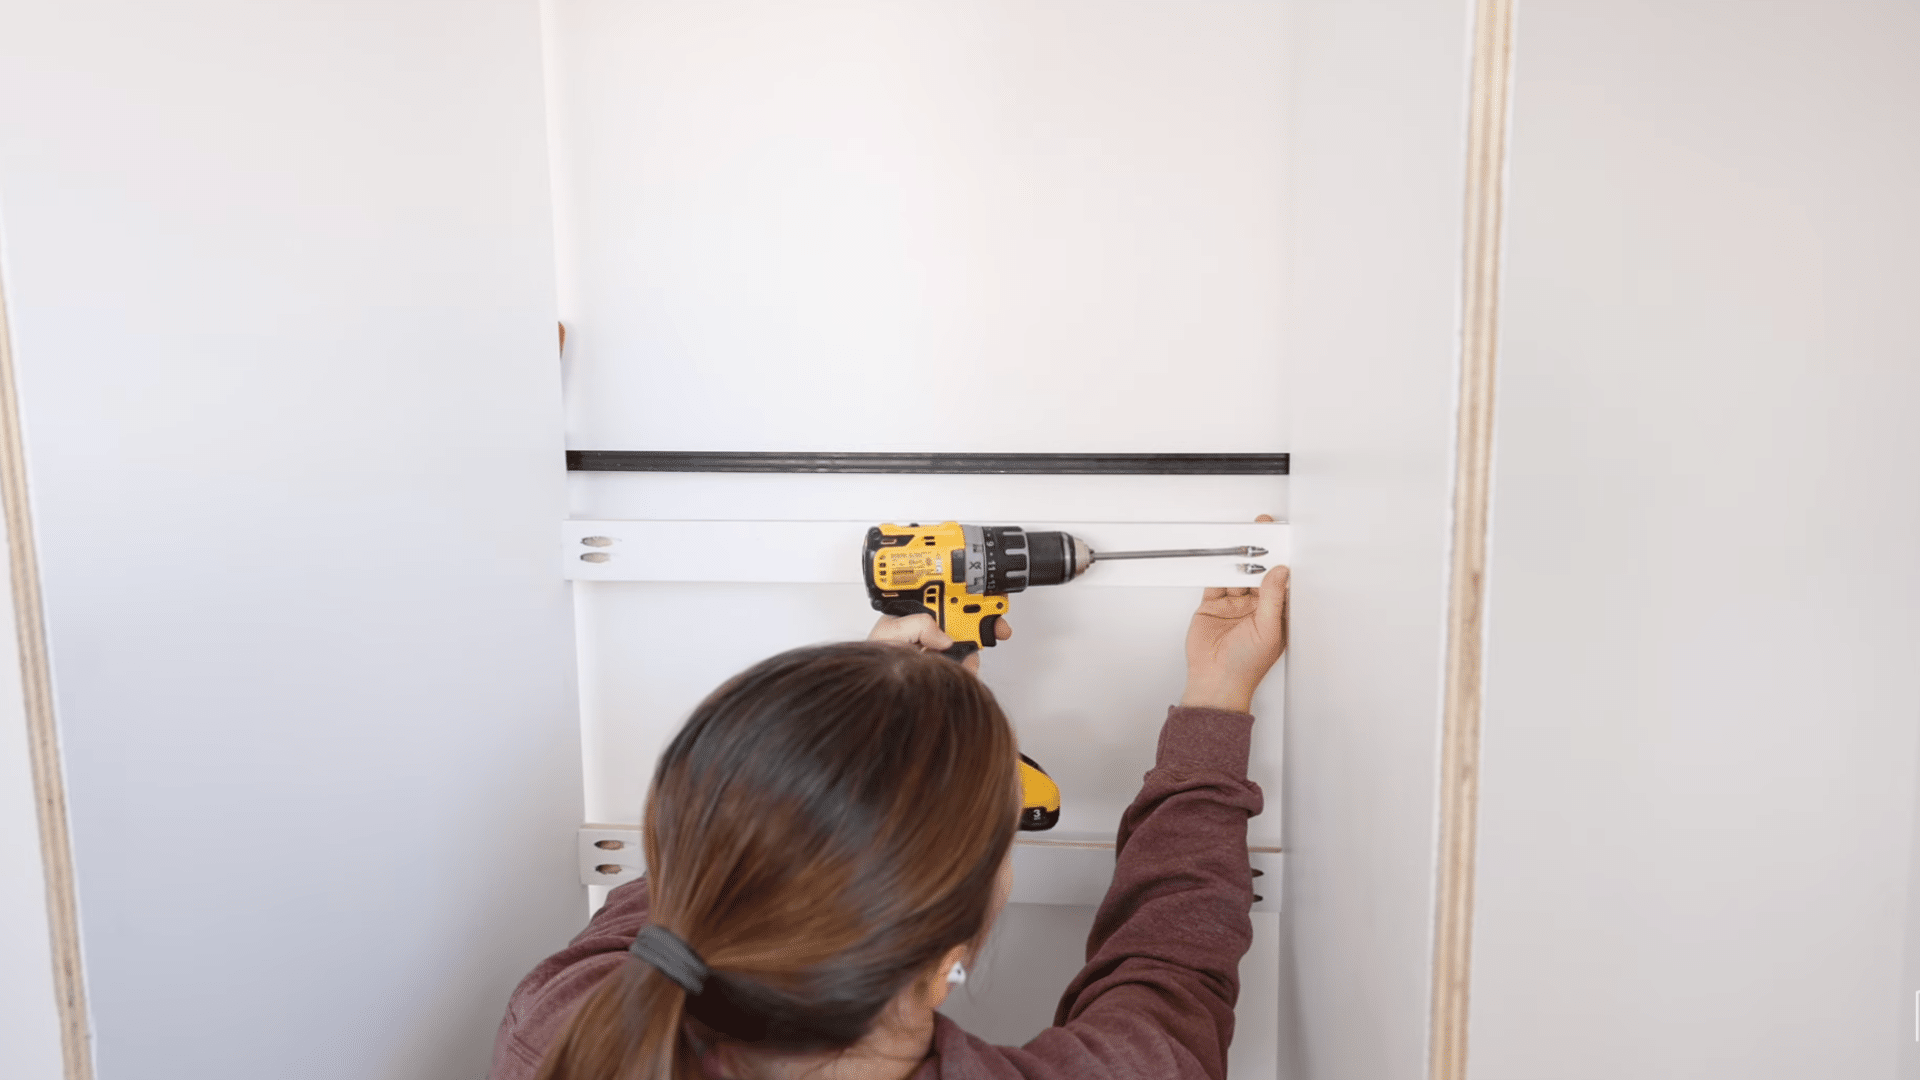
After the braces are in place, the organizer is pushed into its final position.
The shoe shelf is added on the right side, and since the wall is plastered over brick, Liquid Nails is used instead of screws to secure it.
A plywood top finishes the section. Then, all remaining shelves are installed one by one onto the braces, aligned carefully to create straight, even lines.
As each shelf is added, the organizer becomes fully functional and the closet begins to take shape.
Step 8: Measure, Cut, and Install the Front Trim
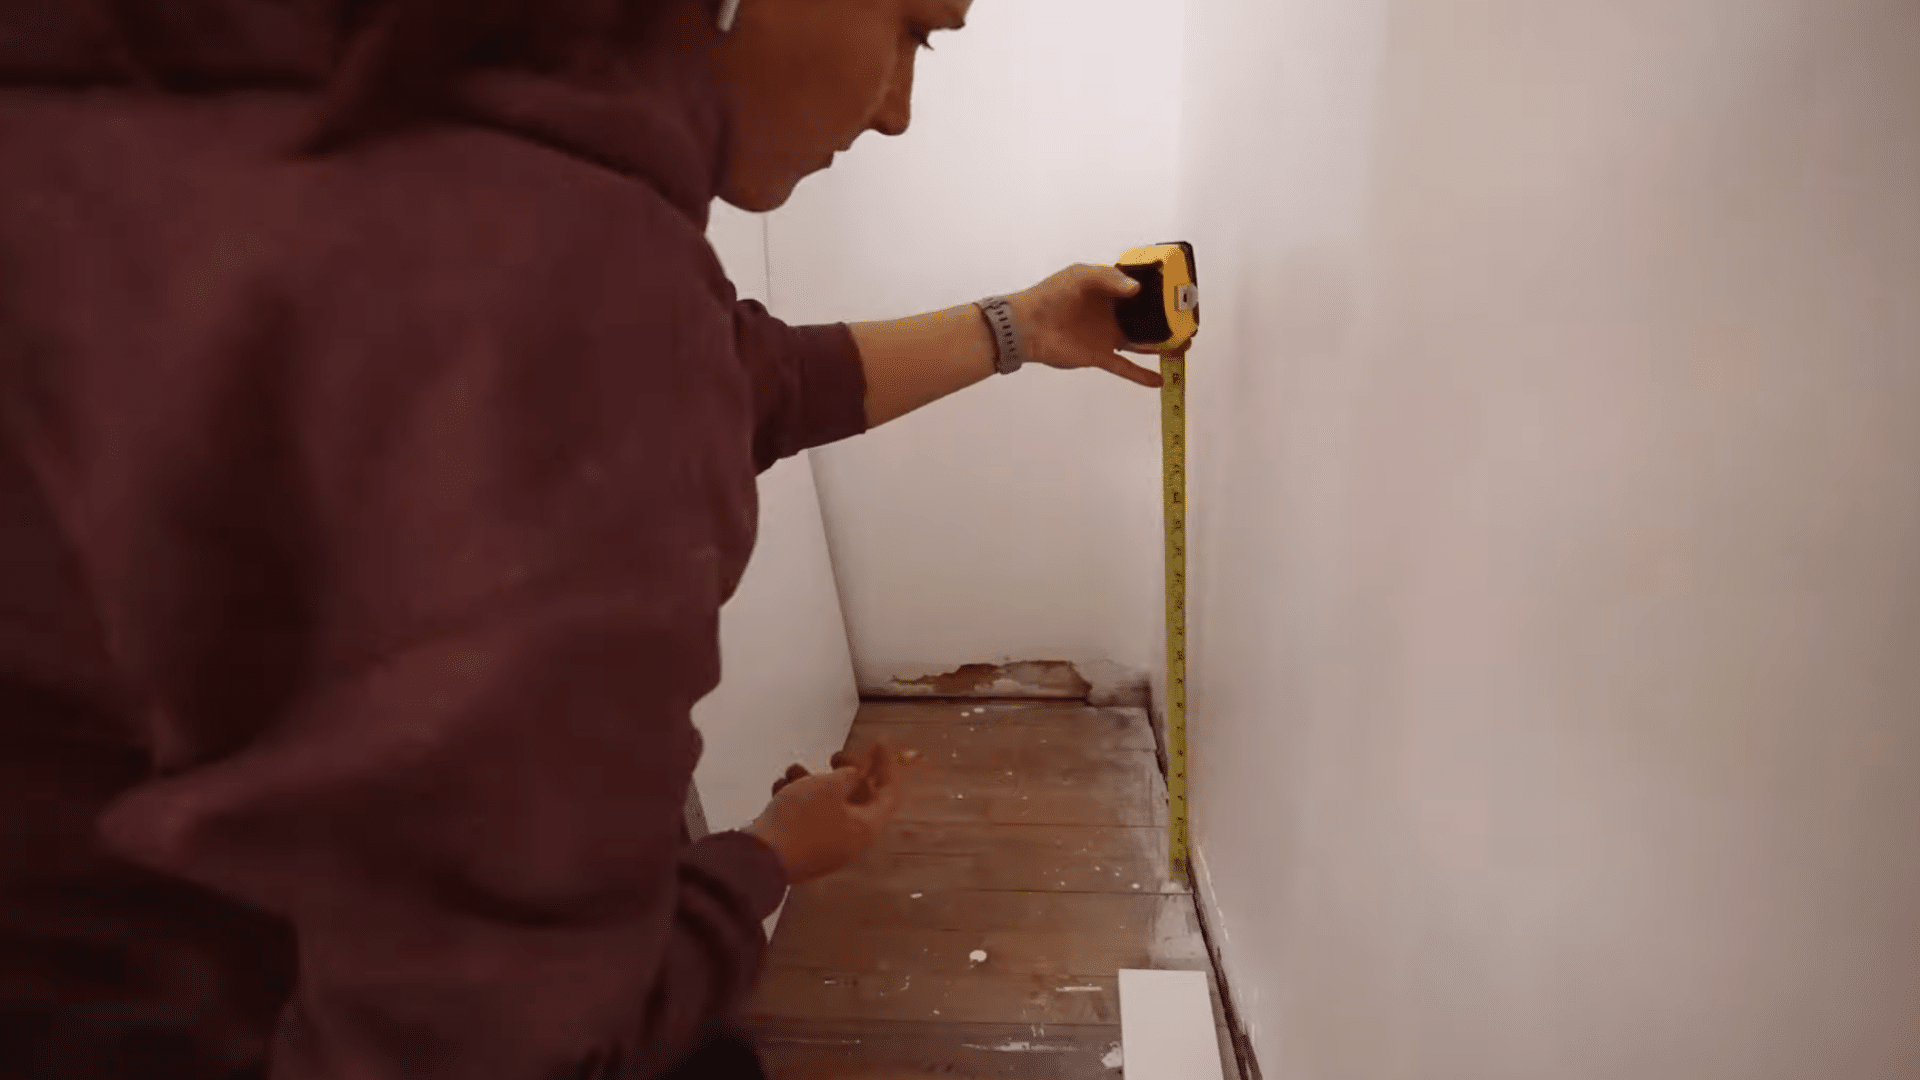
Once the organizer structure is complete, the front trim pieces are measured to ensure they fit perfectly. Measurements are taken after assembly to ensure accuracy.
Trim is cut and attached using 1¾-inch 18-gauge nails.
These pieces cover the raw plywood edges, giving the organizer a clean, finished appearance.
Once installed, all nail holes are filled so the trim can be painted smoothly, creating a professional look that enhances the entire closet project.
Step 9: Fill Nail Holes and Add Final Paint Touch-Ups
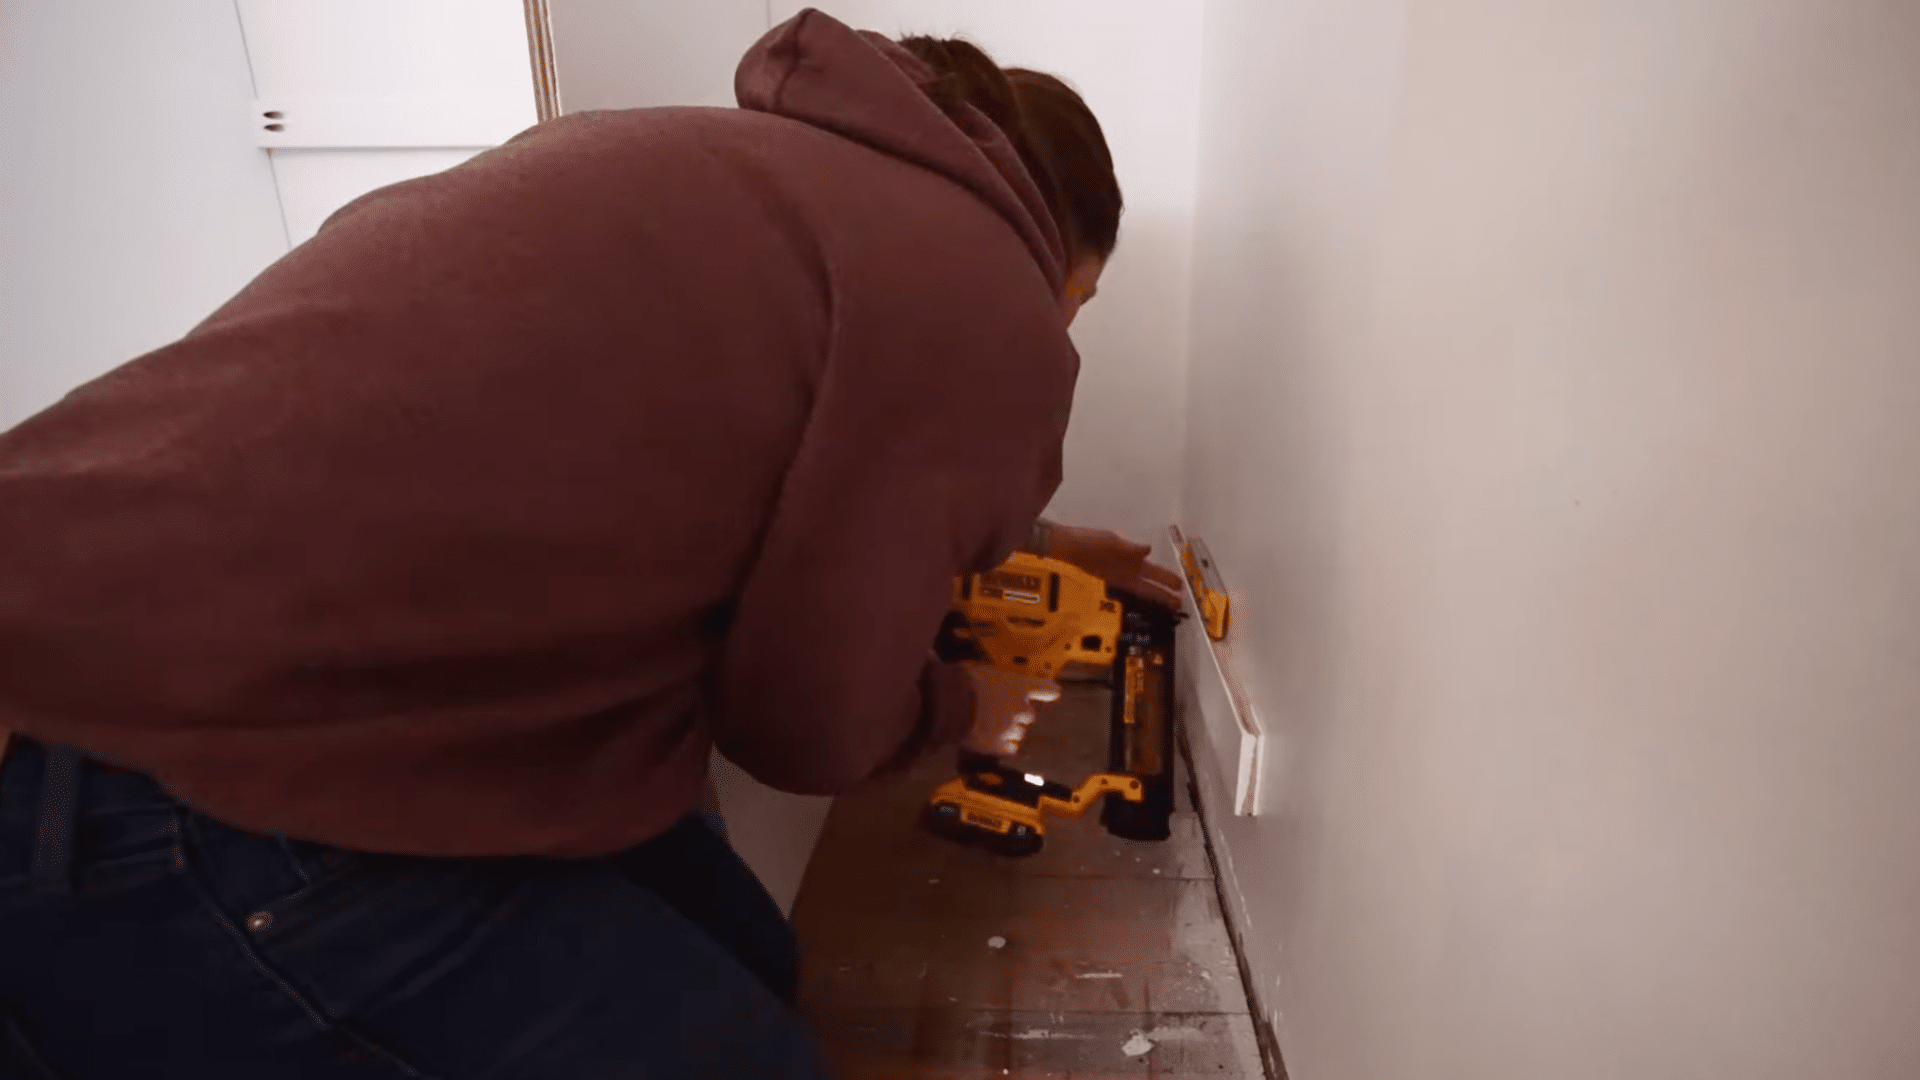
All nail holes, seams, and small gaps are filled with wood filler, and once it dries, the patched spots are lightly sanded to create a smooth surface.
A final coat of paint is applied to the organizer and the inside of the closet so everything blends together.
These touch-ups remove visible construction marks and give the entire system a clean, uniform look.
This last painting step prepares the closet for hardware, final adjustments, and everyday use, completing the project with a neat finish.
Step 10: Install the Closet Rod Brackets
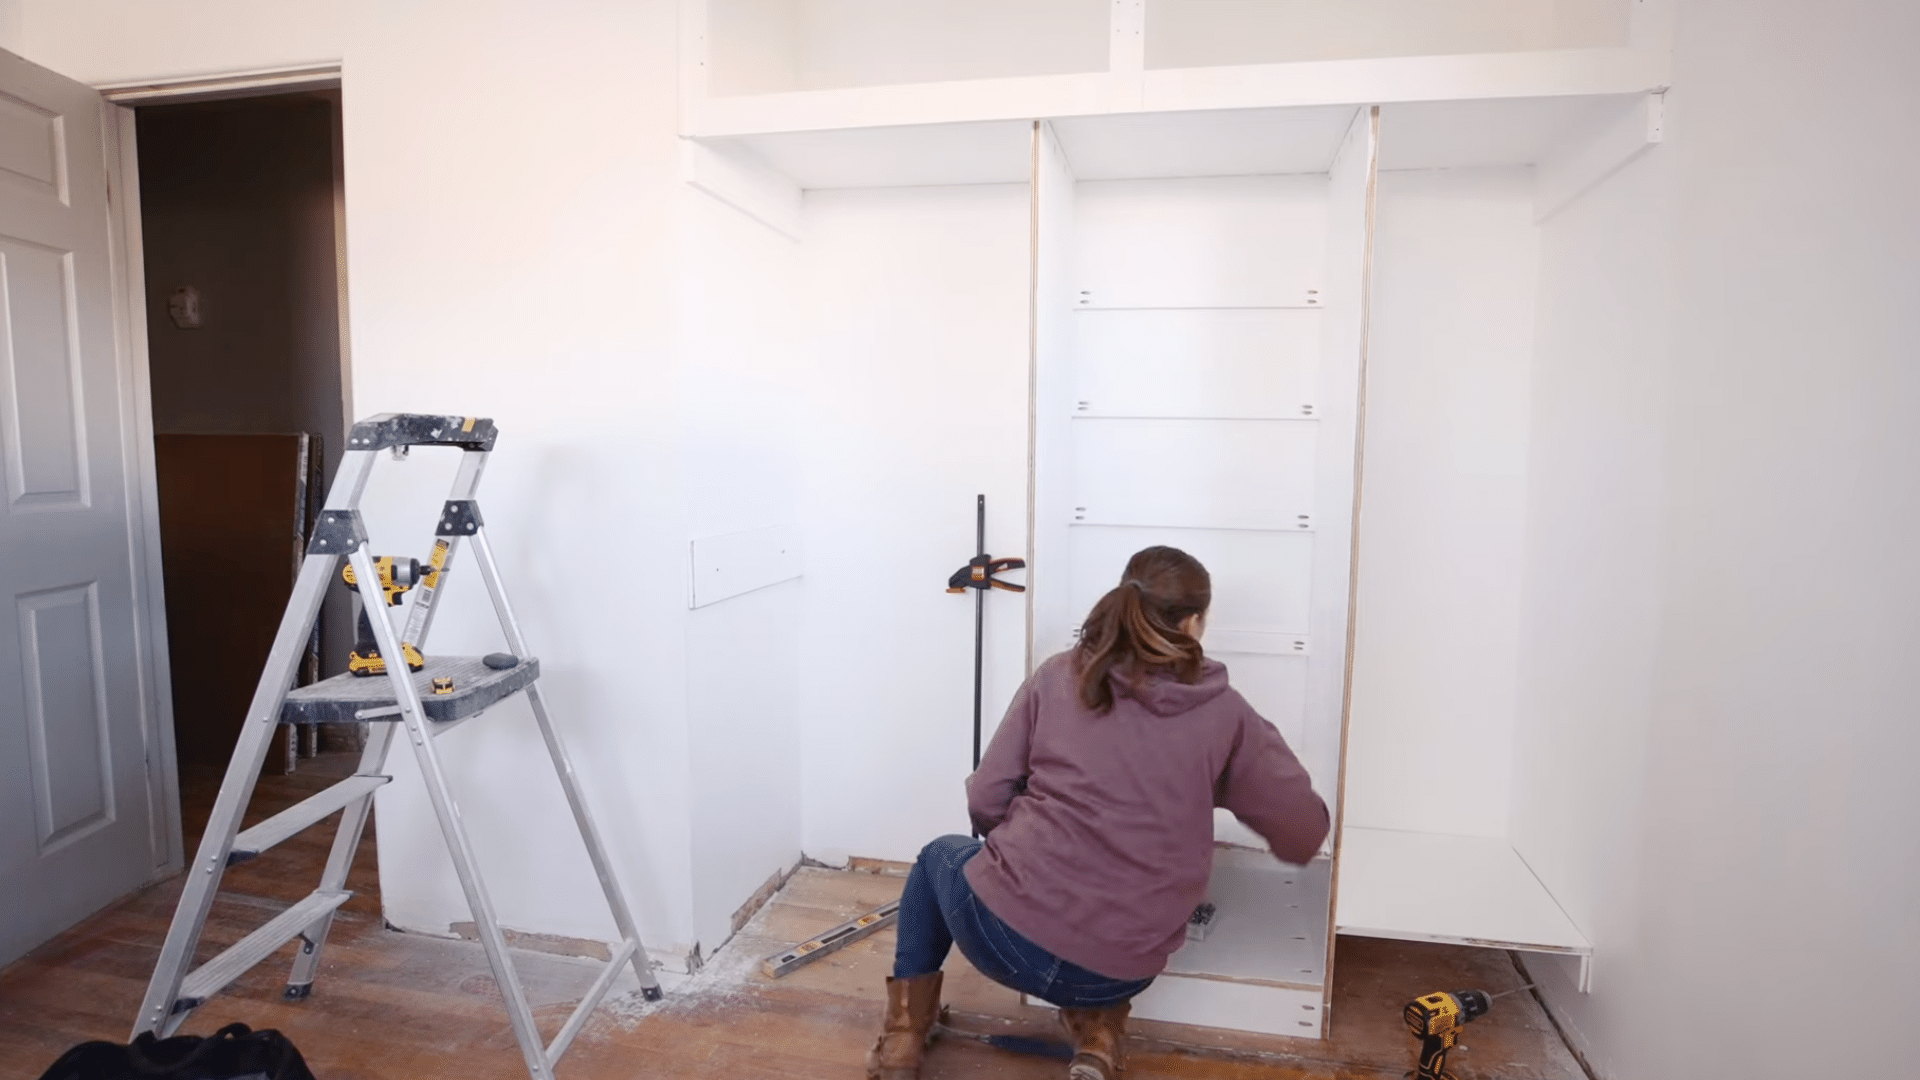
Closet rod brackets are installed on both sides of the organizer to create space for hanging clothes.
Each bracket is placed 16 inches from the back wall, which gives enough room for hangers to sit comfortably without hitting the back.
After the brackets are secured, the closet rod is set into place. This step completes the hanging section of the system and adds important everyday functionality.
With the rod installed, the closet can now hold shirts, jackets, and other clothes in an organized, easy-to-use way.
Closet depth varies by home, so measure your own space and confirm hanger clearance before drilling.
Step 11: Finishing Touches
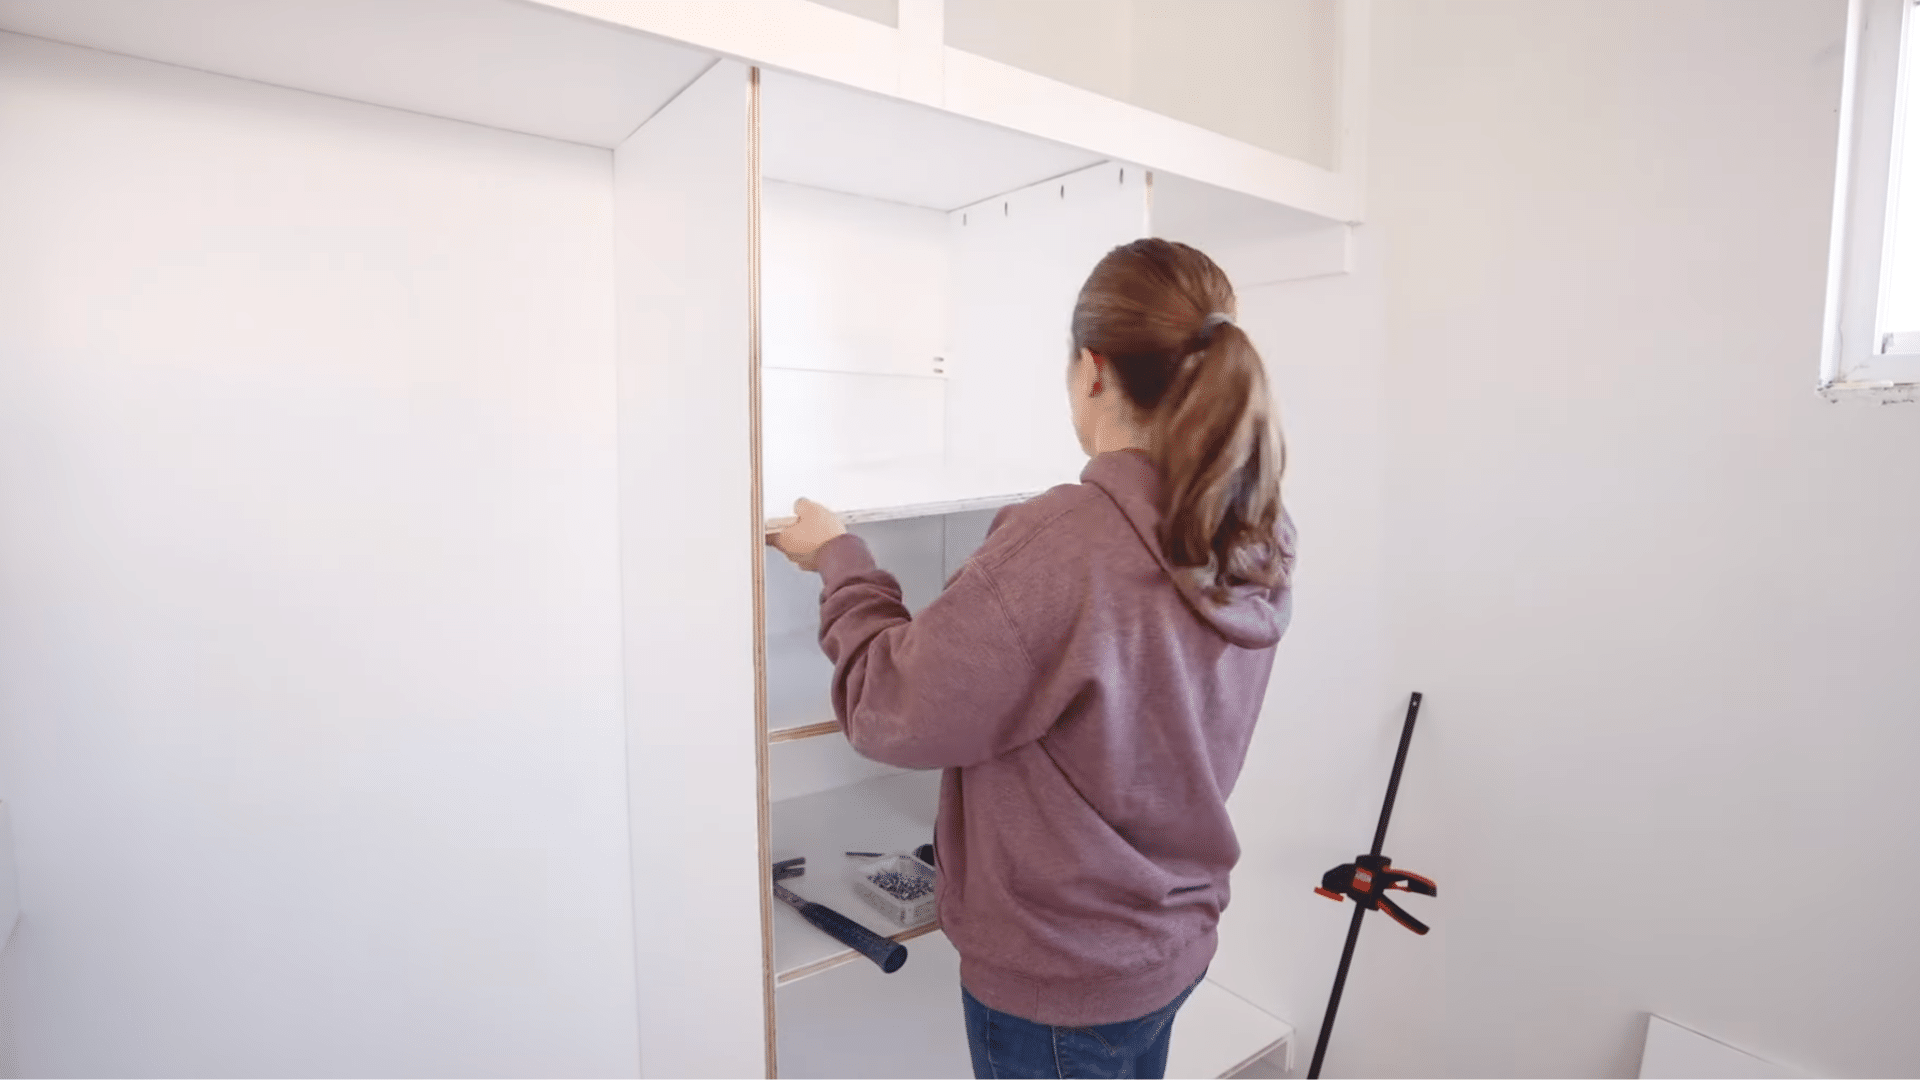
After painting, trimming, and hardware installation, the closet organizer is fully complete and ready for use.
Clothes, shoes, and accessories can now be added to the new shelves and hanging rod.
The finished system includes multiple shelf levels, a dedicated shoe section, and organized storage areas that make the closet far more functional than before.
With everything in place, the closet becomes a clean, efficient, and practical space for daily use.
This tutorial is based on a helpful video by TwoFeetFirst. You can check out the original video on their YouTube channel here or watch it below.
Helpful Tips and Mistakes to Avoid
A few simple habits can make your DIY closet project smoother and help you avoid common problems. These tips keep the build accurate and the final result looking clean.
- Plan your layout before cutting materials to avoid wasted time and prevent unnecessary adjustments later.
- Double-check all measurements since small errors can cause shelves to fit poorly, measuring furniture accurately is worth the extra few minutes.
- Pre-paint plywood pieces ahead of assembly so tight corners are easier to finish and touch up.
- Use a level throughout the build to keep the organizer straight and prevent crooked or slanted shelves.
- Install support braces under each shelf to increase strength and reduce sagging as the organizer ages.
- Secure the organizer to studs when possible because drywall alone cannot provide strong, long-term support.
- Measure trim pieces after assembling the organizer to ensure tight, accurate cuts without noticeable gaps.
- Take your time with sanding and paint touch-ups since careful finishing improves the overall final look of the project.
Conclusion
Building your own closet organizer gives you a layout that fits your space better than any store-bought system, at a lower cost.
With good planning, proper materials, and a step-by-step plan, you can turn a cluttered or unused space into something more useful and organized.
Each step, from demo to final touch-ups, helps create a clean and sturdy result.
Taking your time with measurements, painting, and installation is what makes the difference between a shelf that wobbles and one that lasts.
Whether you want more shelves, better shoe storage, or a dedicated hanging area, this project gives you full control over the final design.
Have you built your own closet organizer, or are you planning one now? Share your layout ideas or questions in the comments below.
Frequently Asked Questions
How Long Does It Take to Build a Diy Closet Organizer?
Most reach-in closets can be finished in a weekend, though the exact time depends on closet size and how long the primer and paint need to dry between coats.
How Much Does a Diy Closet Organizer Cost Compared to a Store-Bought One?
A DIY build is usually less expensive than a professionally installed system since labor is free. Store-bought closet kits can still be a faster option if you have less time for a full build.
What Size Plywood Works Best for Closet Shelves?
Thicker plywood supports more weight and reduces sagging. Choose the thickness based on shelf length, load, and plywood span ratings.