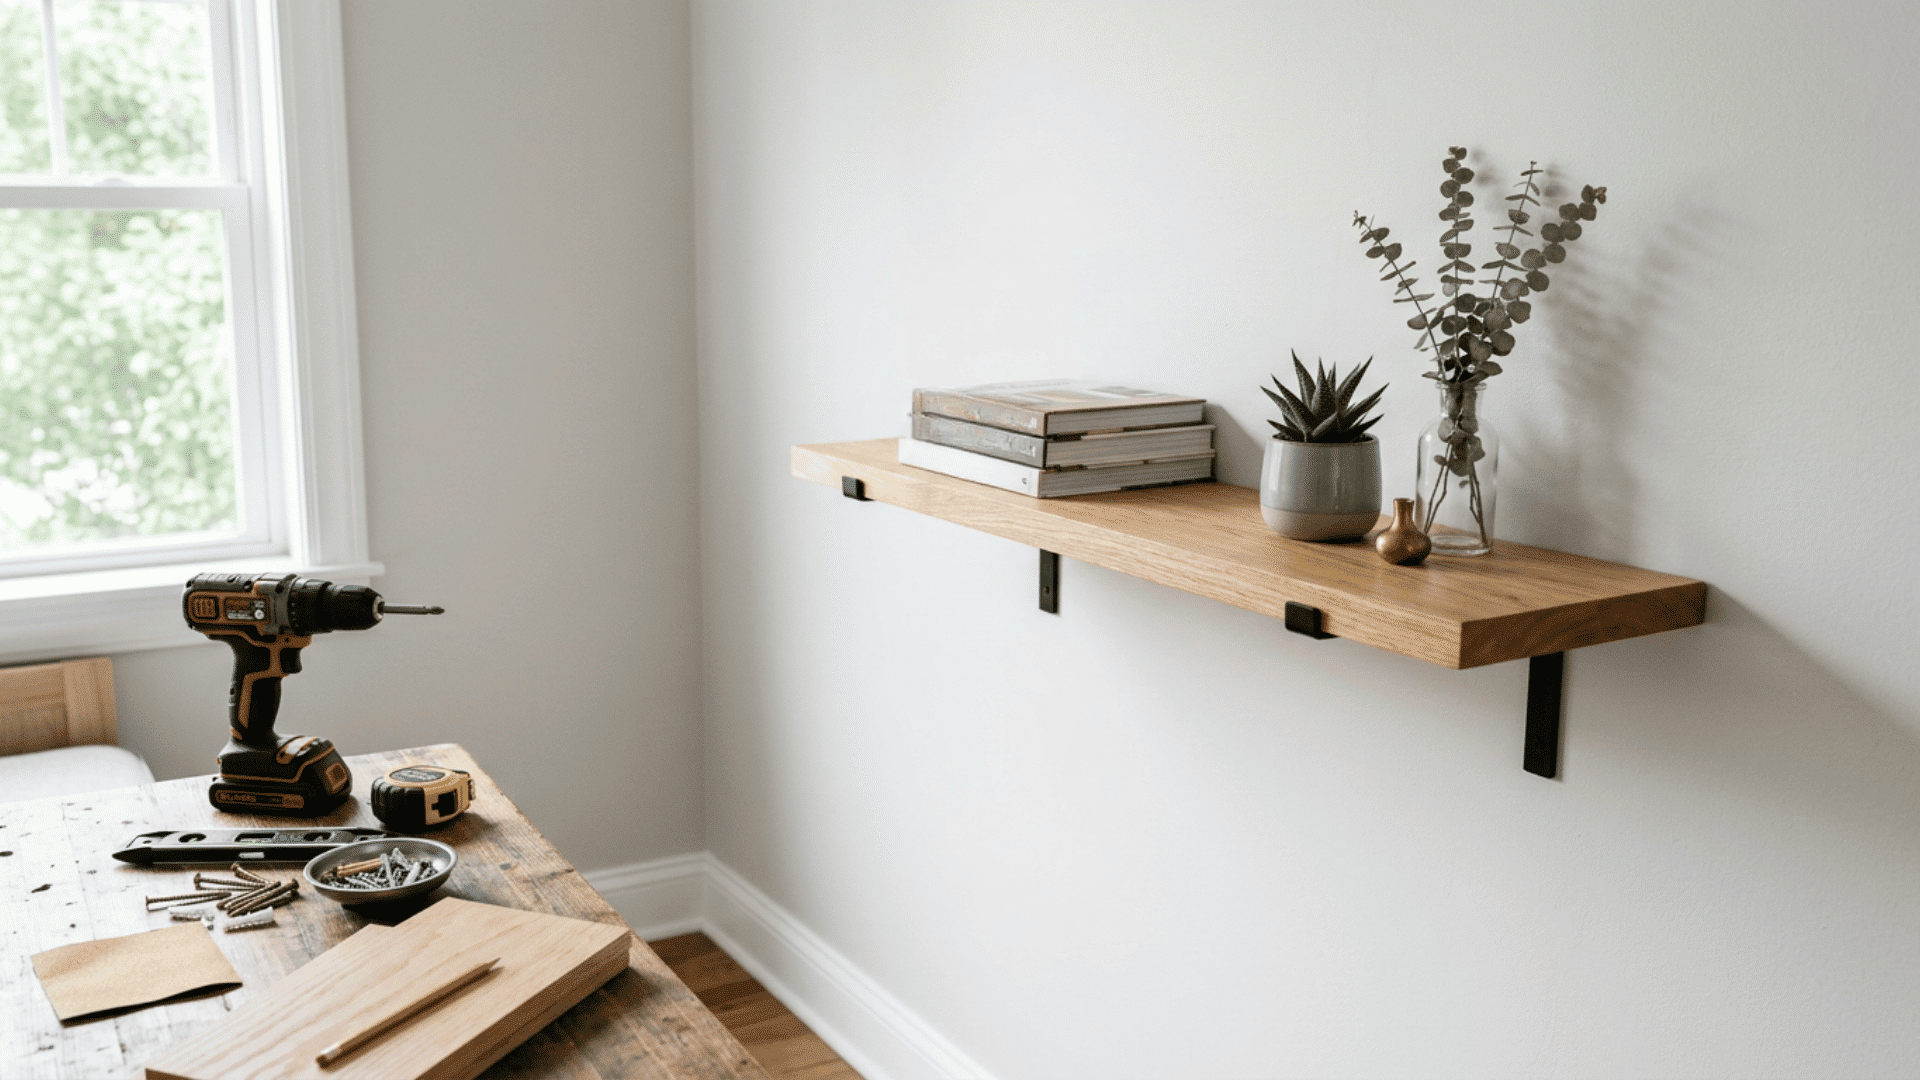
A blank wall can offer more than empty space. With a few basic tools, a simple board, and careful measurements, you can turn it into useful storage that feels like it was made for the room.
Building a DIY shelf also lets you choose the exact size, finish, and style without spending money on custom furniture.
The process is manageable, even for beginners. Keep reading to learn how to plan, build, mount, and finish a sturdy shelf, then start turning your unused wall space into storage you can use every day.
What to Know Before Building a Shelf
Before you pick up a drill, take a few minutes to plan your shelf. Start by deciding what you want to put on it.
Books, plants, and storage bins require stronger support than small decor items. Measure the wall space carefully. Also, check for nearby doors, windows, outlets, or vents.
Choose wood that is thick enough for the weight you expect it to hold. Decide if you want visible brackets or a clean floating design.
Locate the wall studs when possible. They will give your shelf better support. Have your tools, screws, anchors, and level ready before you start.
A simple plan now can help you avoid uneven shelves, weak fittings, and extra work later in the project.
Tools and Materials Needed for DIY Shelves
Having everything ready before you start makes the project run more smoothly. Choose tools and materials that match your shelf size, wall type, and planned use.
- Wood Boards: Pick straight, dry boards with enough thickness to support the items you plan to store without bending or sagging over time.
- Measuring Tools: Use a tape measure, pencil, and level to mark the shelf position, bracket points, and cutting lines more accurately.
- Drill and Fasteners: Keep a power drill, screws, and wall anchors nearby. Choose fasteners made for drywall, brick, concrete, or wooden studs.
- Cutting and Sanding Tools: A hand saw or circular saw cuts the boards, while sandpaper smooths rough edges and prepares the surface for finishing.
- Brackets and Finish: Select strong shelf brackets or hidden mounts, then apply paint, stain, or sealant to protect the wood and improve its appearance.
How to Build a DIY Shelf Step by Step
Building a basic wall shelf takes careful measuring and steady work. Follow these five steps to create a strong and level shelf.
1. Measure and Mark the Wall
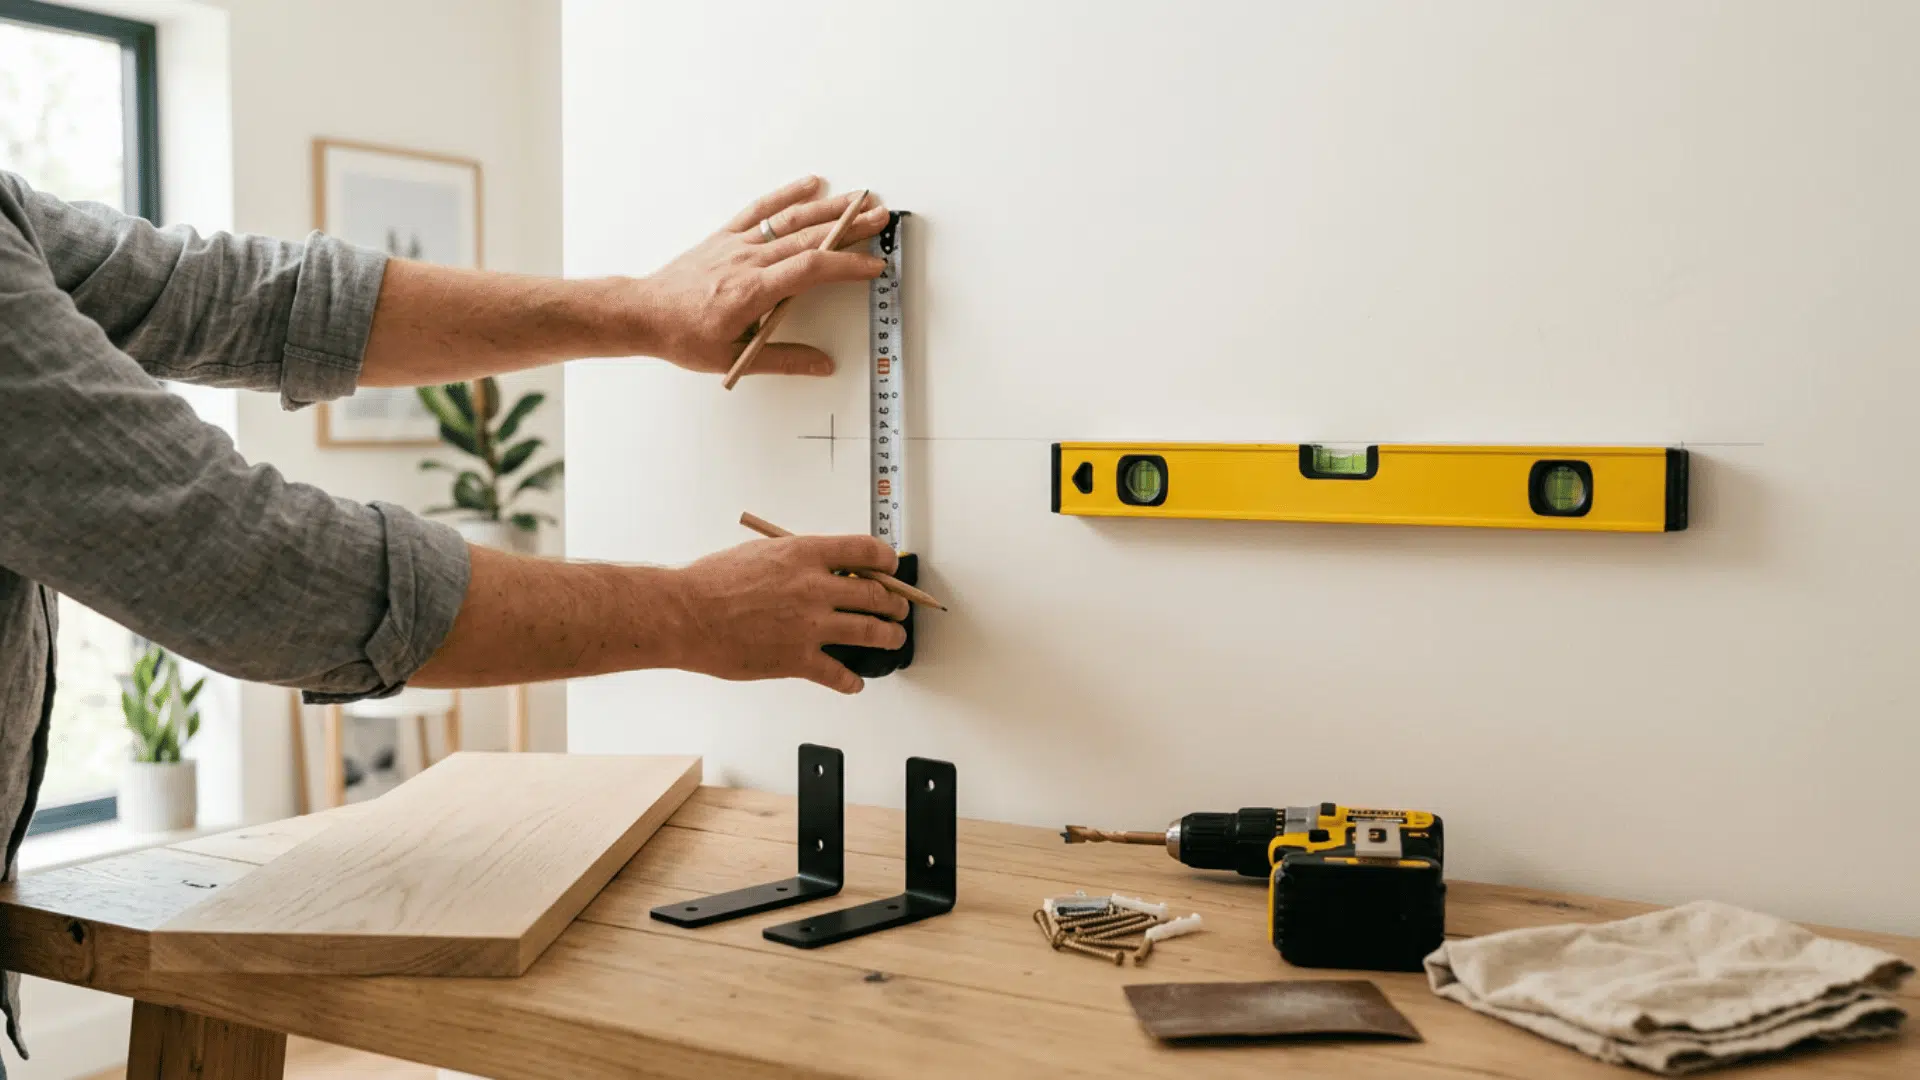
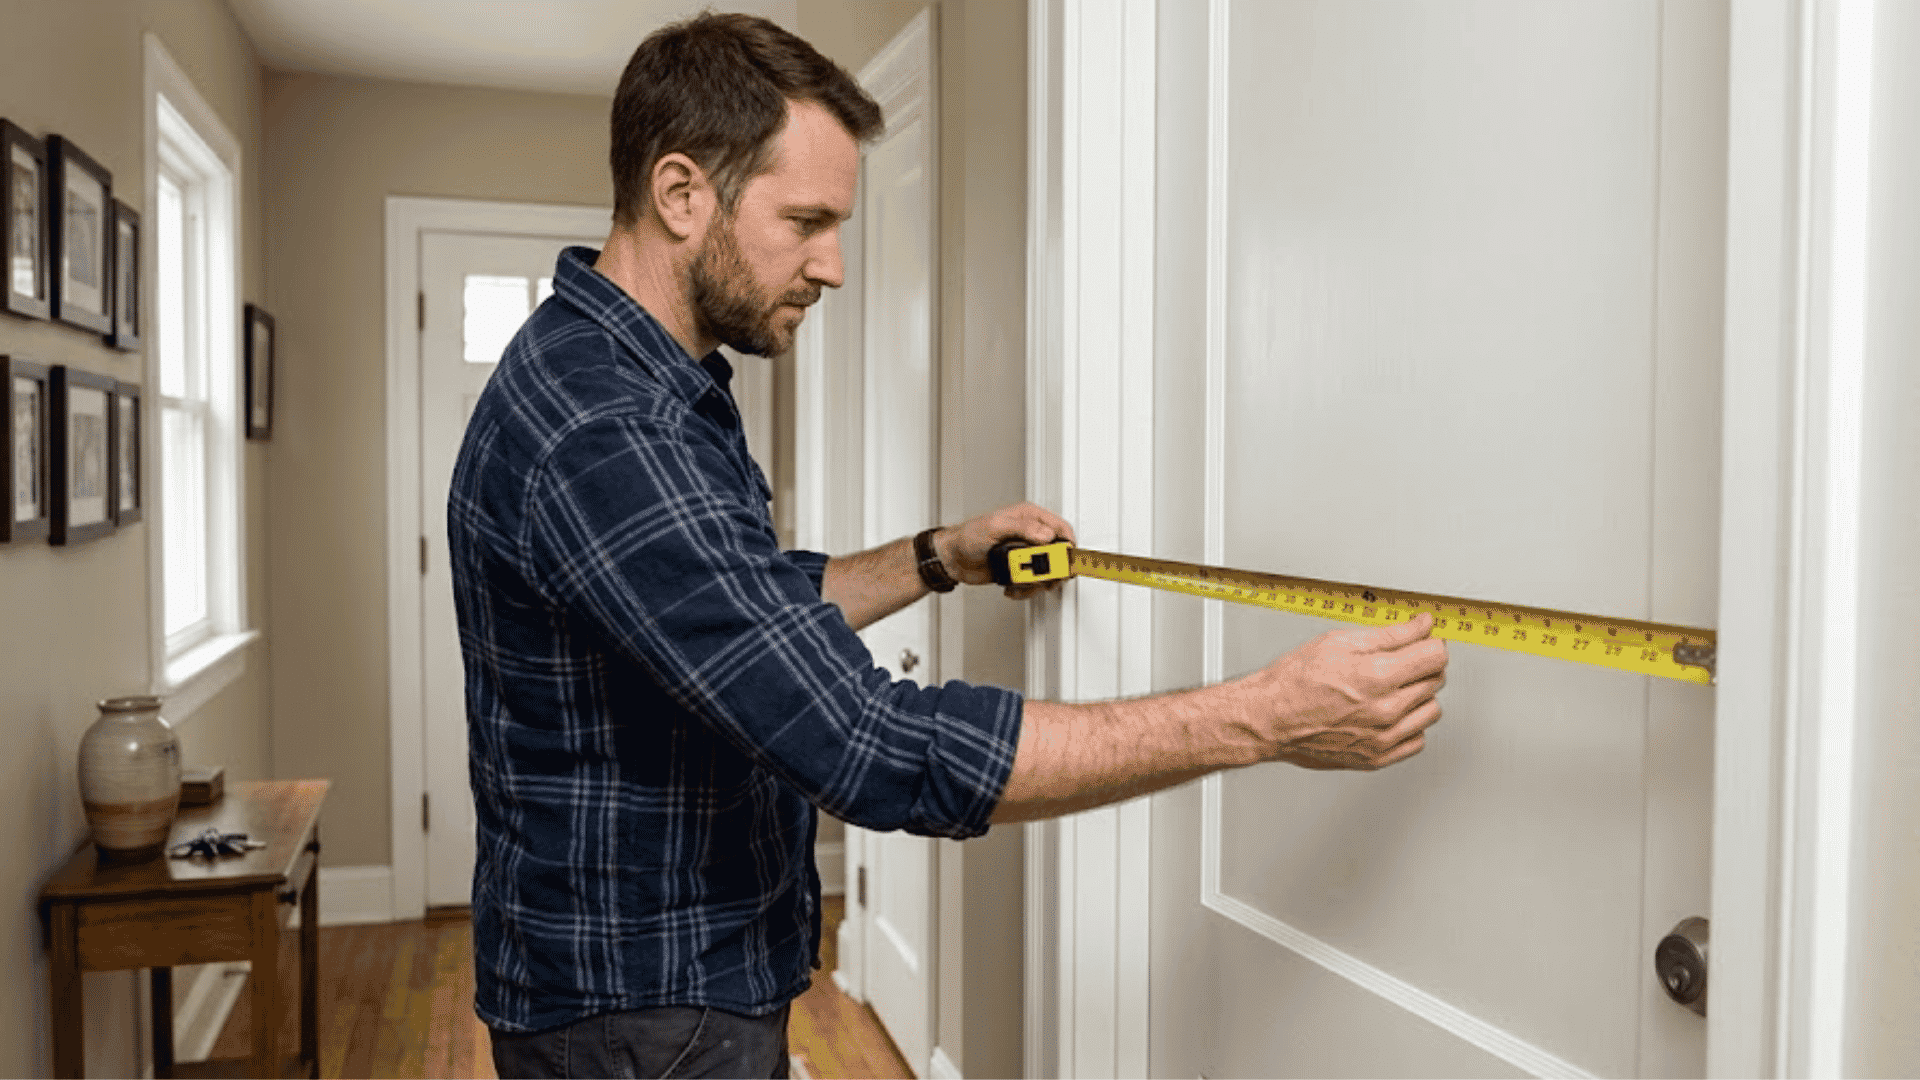
Choose the shelf location and measure the open wall space. Mark the planned height and both ends with a pencil.
Use a level to draw a straight line between the marks. Check for nearby switches, outlets, pipes, and vents before drilling.
Find the wall studs with a stud finder, since they provide better support. Mark each stud so you know where to place the shelf brackets.
2. Cut and Sand the Wood
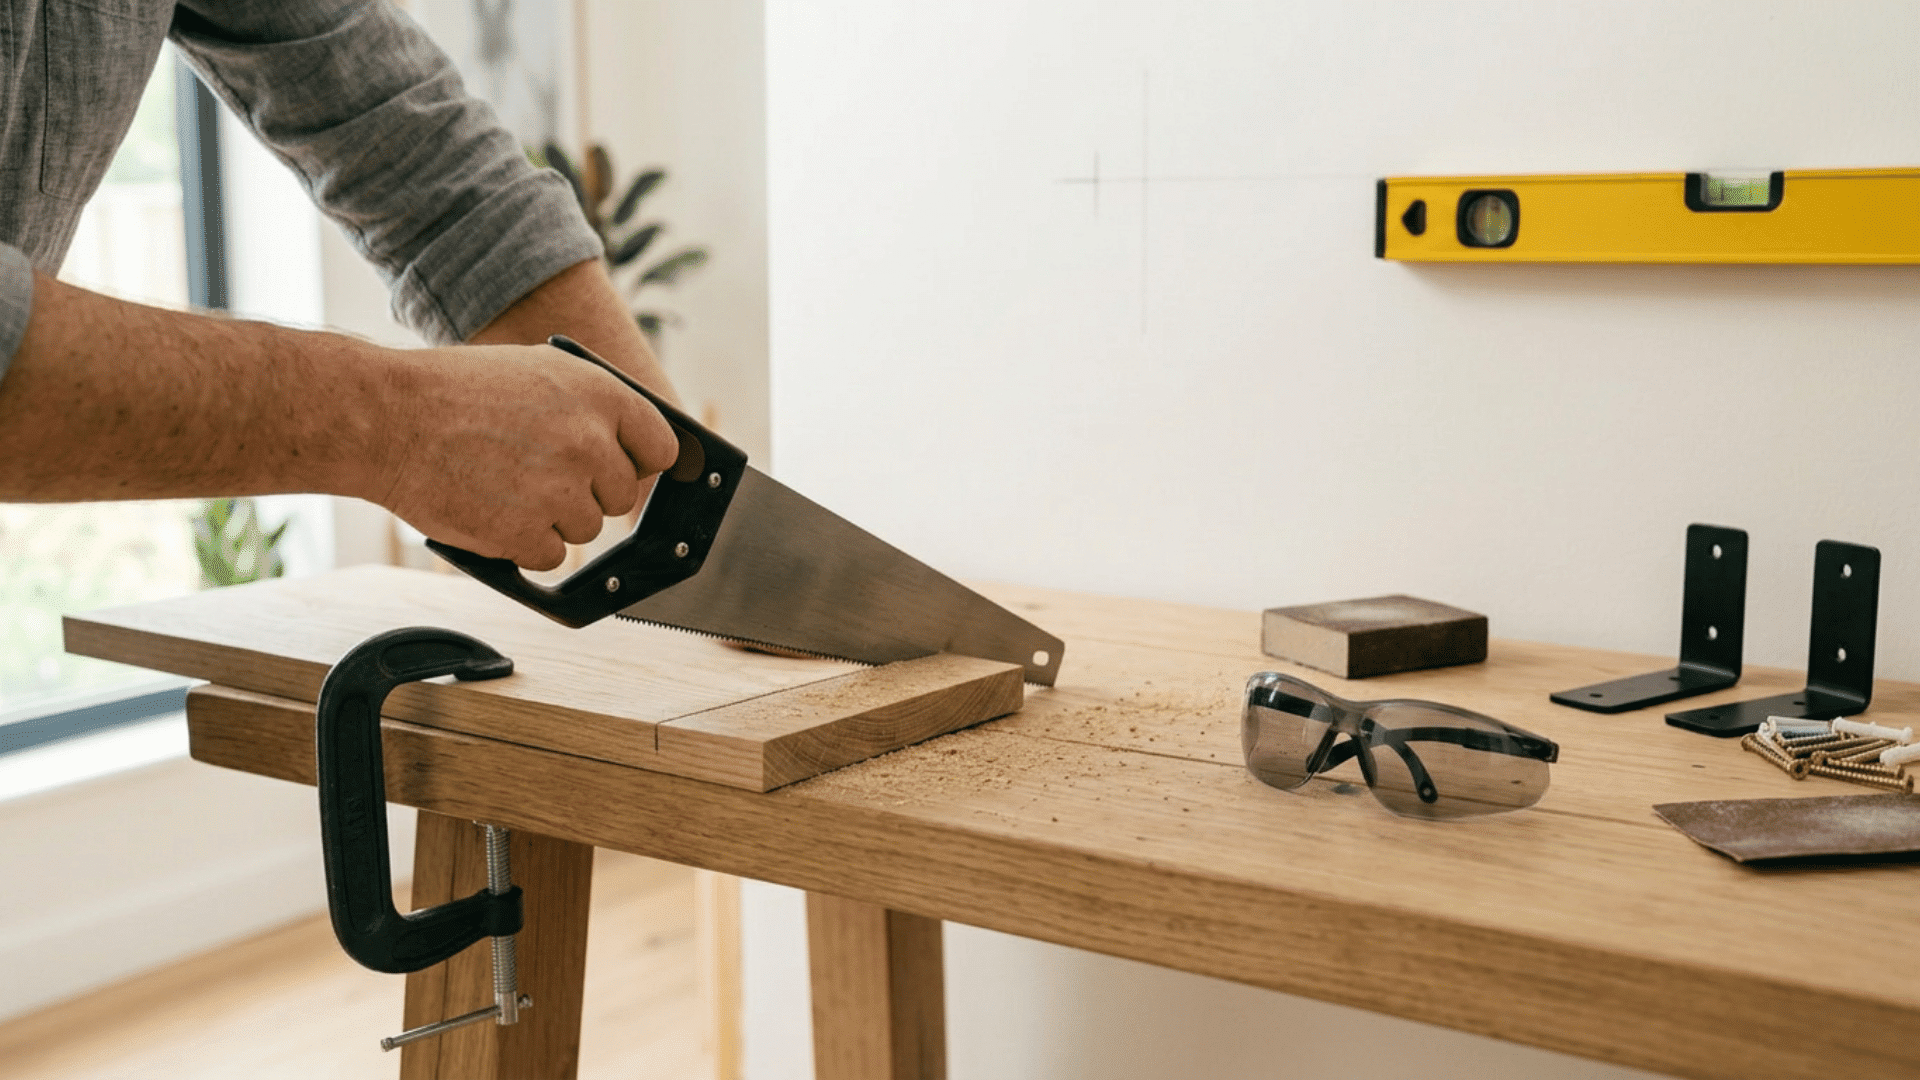
Measure the wooden board and mark the required length with a pencil. Check the measurement again before cutting.
Use a hand saw or circular saw to cut along the line. Wear safety glasses and place the board on a stable surface. Sand the top, bottom, edges, and corners until they feel smooth.
Remove the sanding dust with a clean cloth before applying paint, stain, or sealant.
3. Paint or Stain the Board
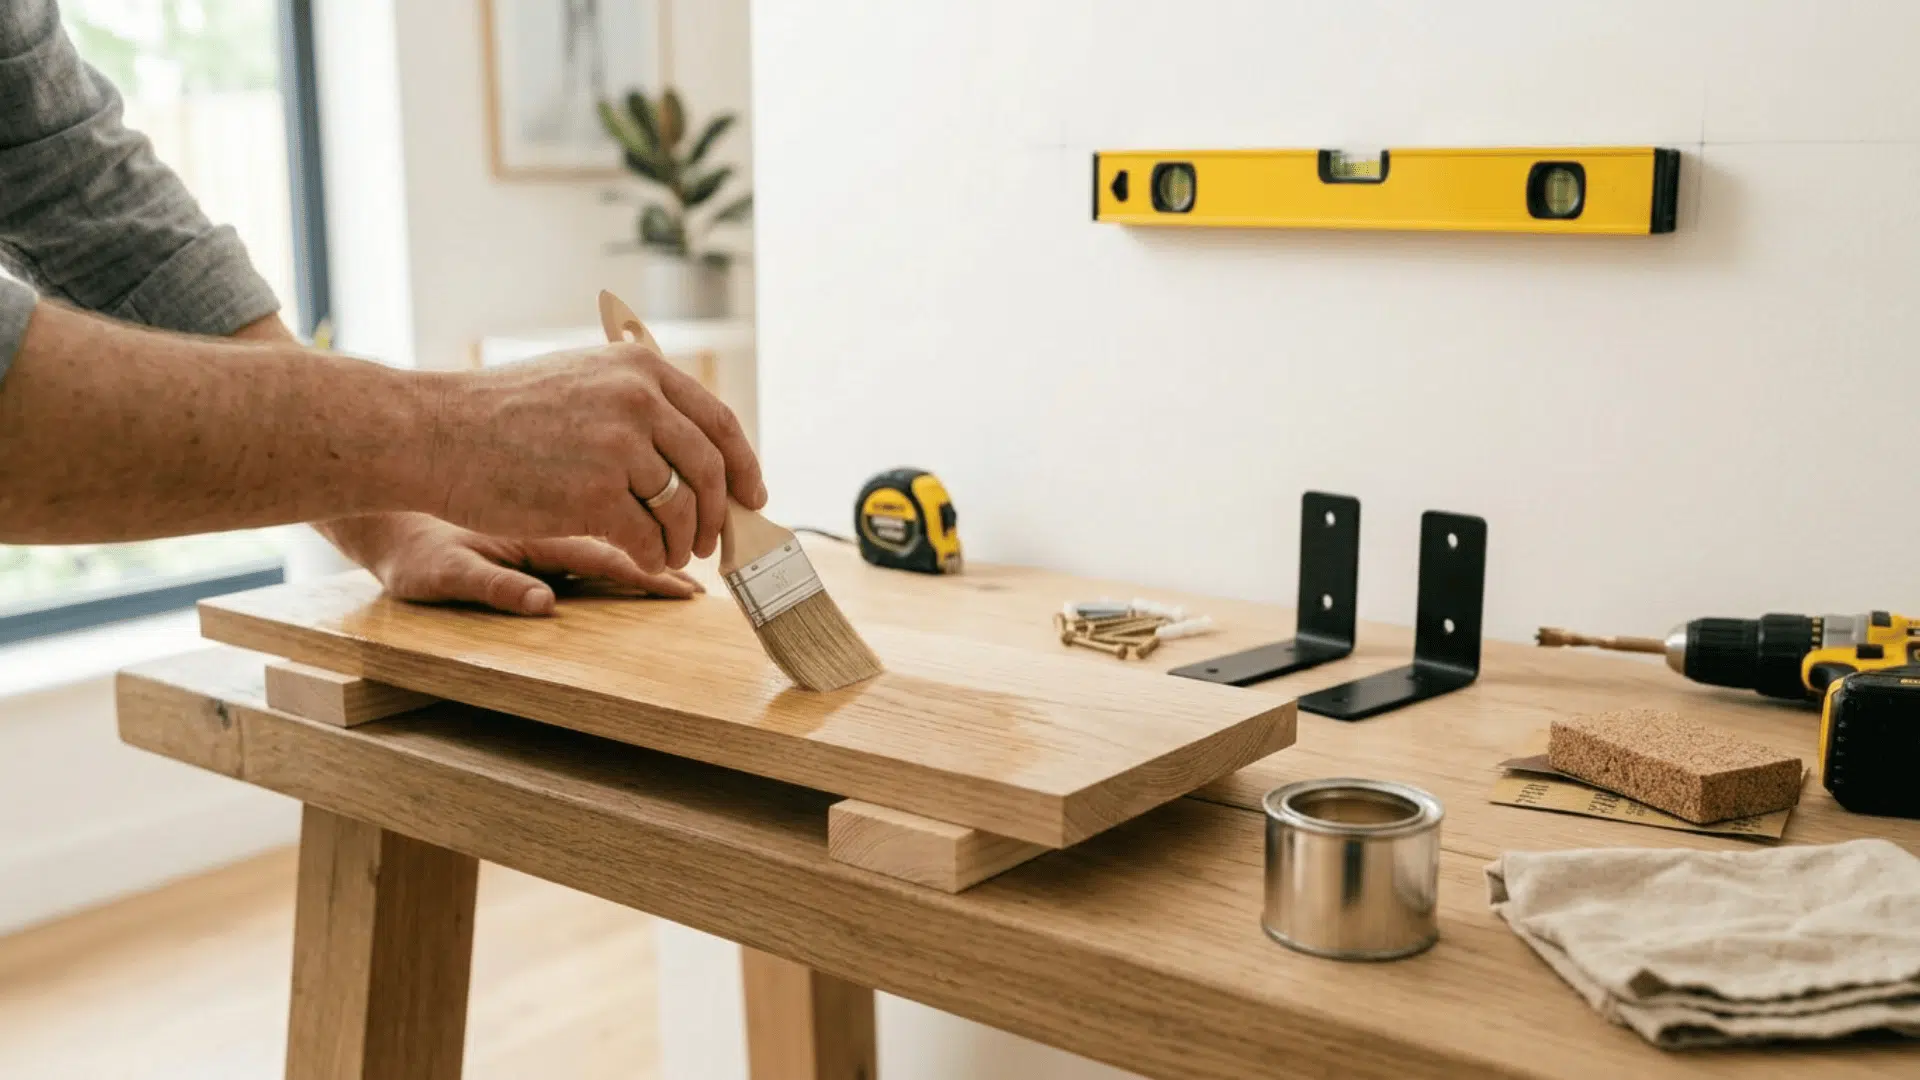
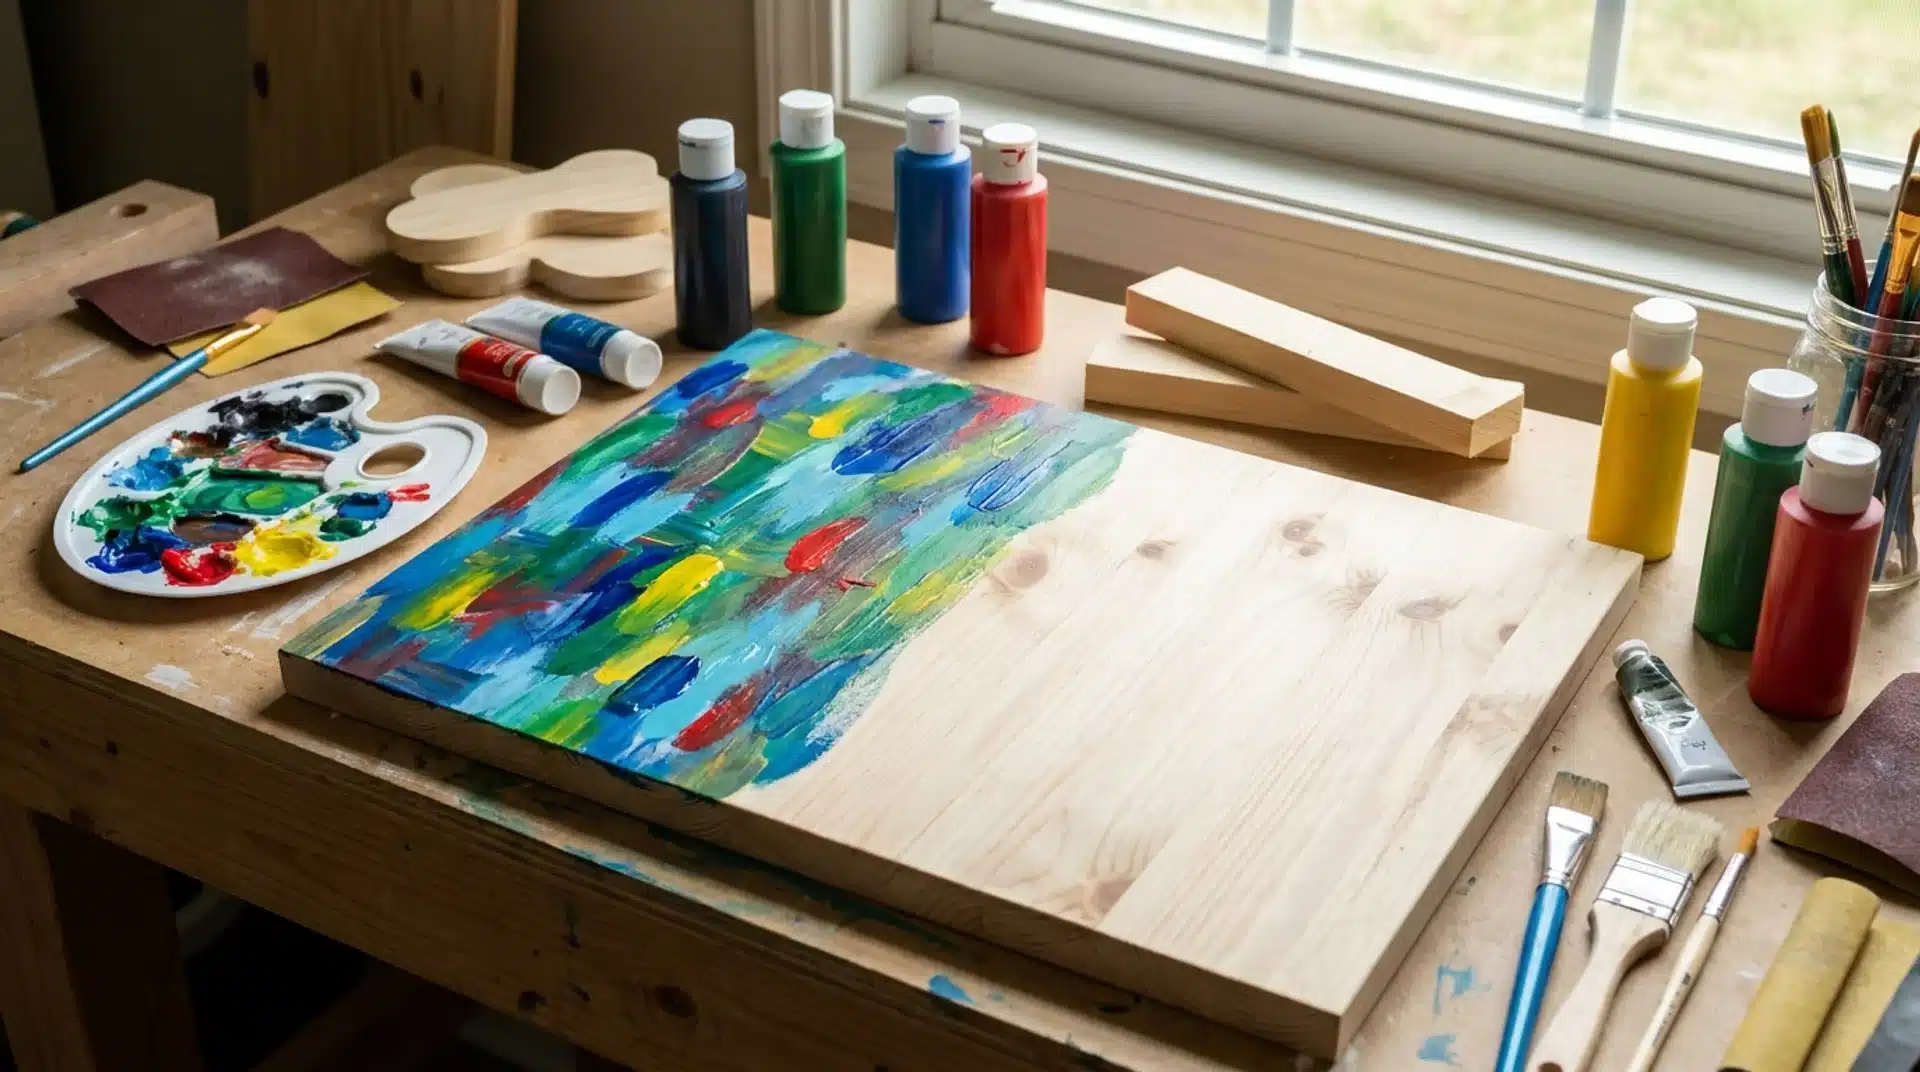
Choose a paint, stain, or sealant that suits the wood and the room’s style. Apply a thin, even coat with a brush, roller, or clean cloth.
Follow the drying time printed on the product label. Add a second coat when needed for better coverage and protection.
Let the board dry fully before installing it. Finishing the wood first helps you cover every side without marking the wall or brackets.
4. Install the Shelf Brackets
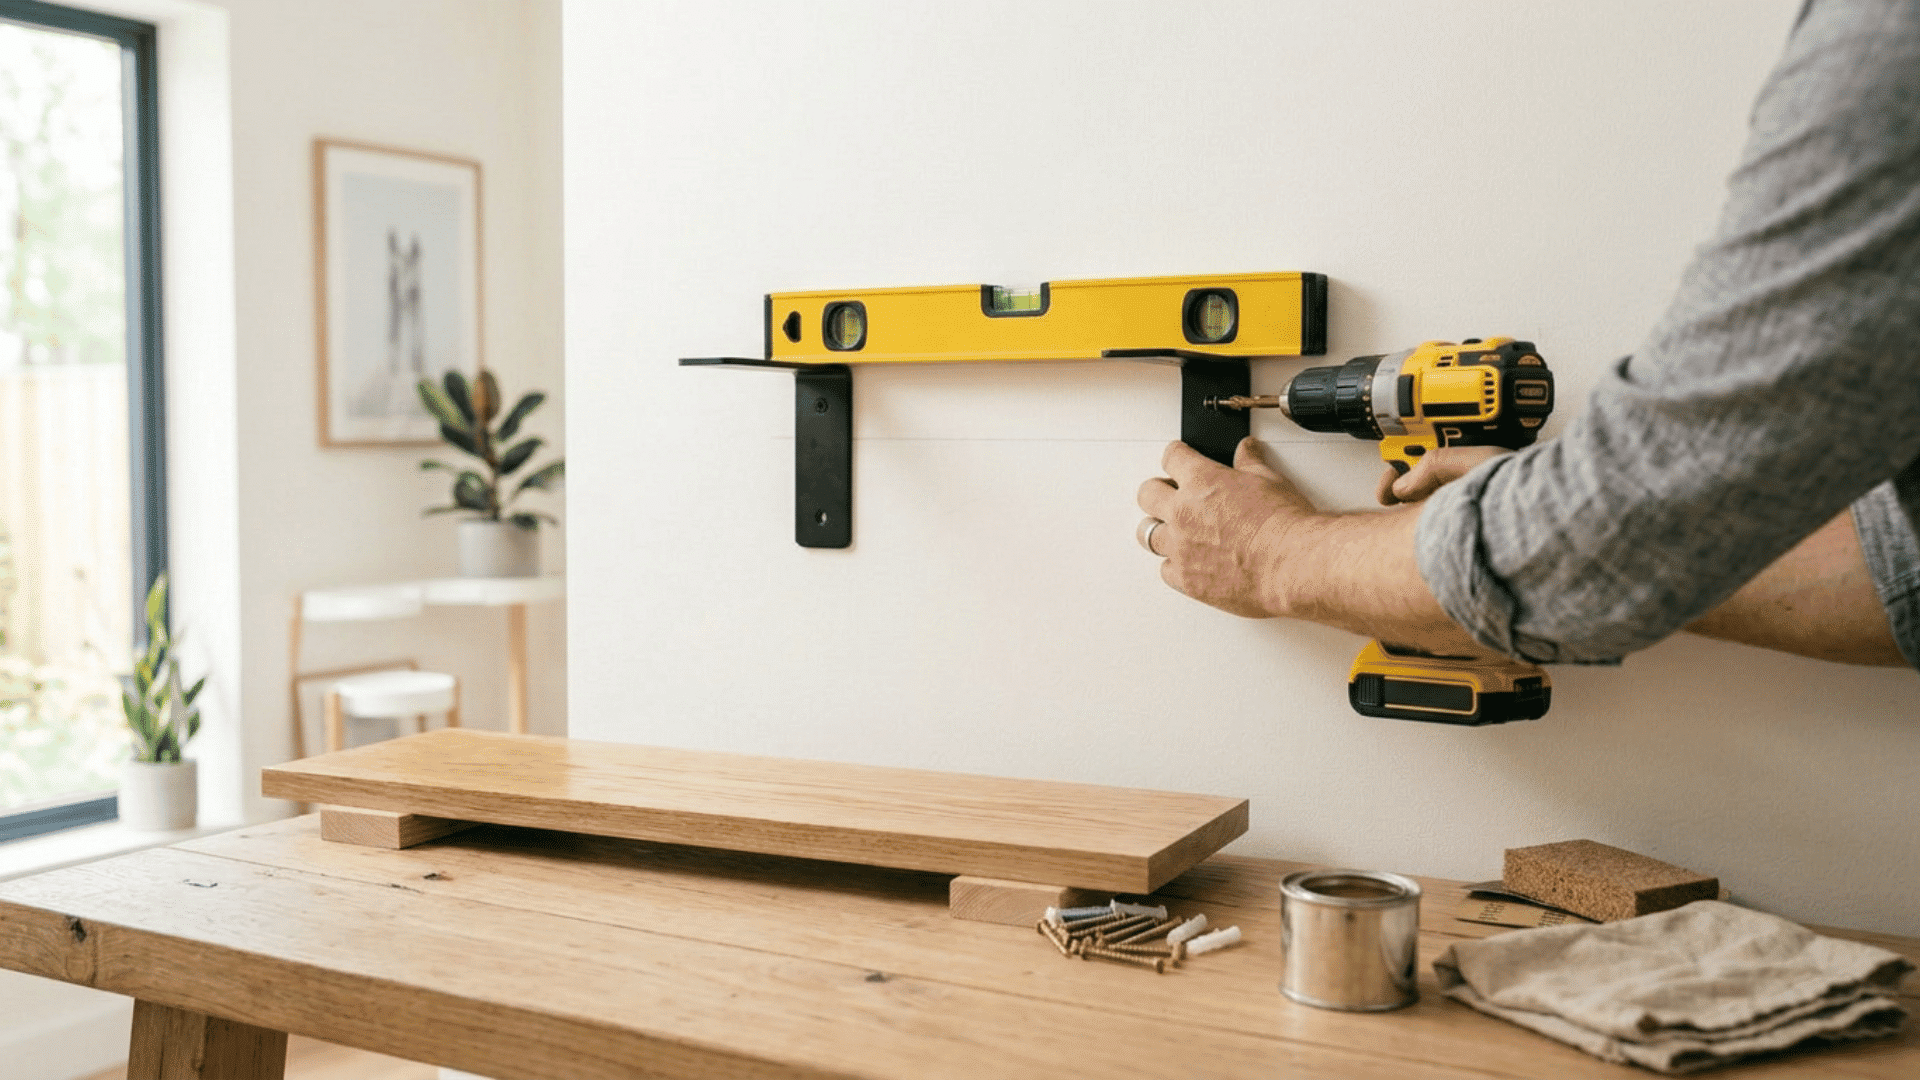
Hold the brackets against the marked wall line and mark each screw hole. Drill small pilot holes into the studs.
Use suitable wall anchors when a stud is not available. Secure each bracket with the correct screws, but do not tighten them too much.
Place a level across the brackets to check their position. Make any needed changes before setting the shelf board on top of the supports.
5. Attach and Test the Shelf
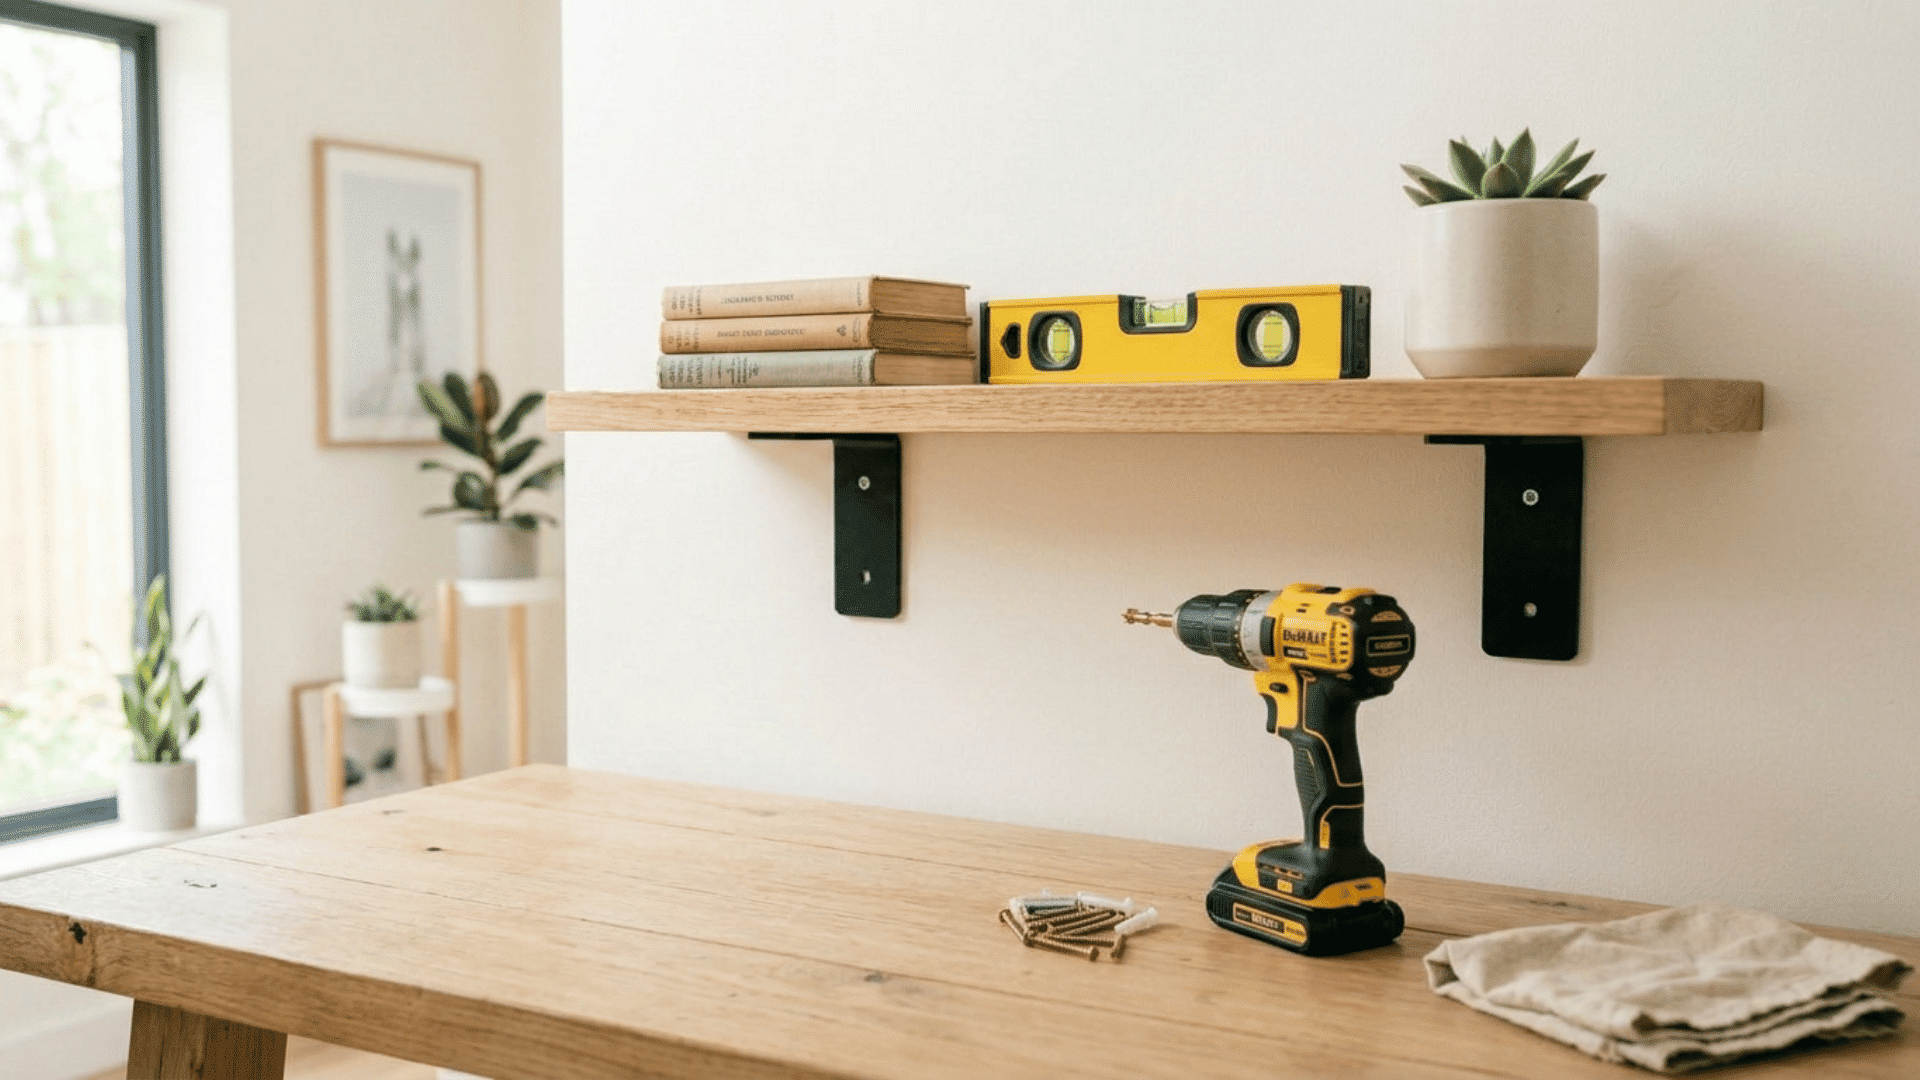
Place the dry wooden board on the brackets and center it carefully. Check that both ends have equal support and the board sits flat.
Secure it from underneath with short screws that will not break through the top surface. Check the shelf again with a level.
Press gently on several areas to test its strength. Place light items on it first, then add heavier objects once it feels stable.
What Makes DIY Floating Shelves Different
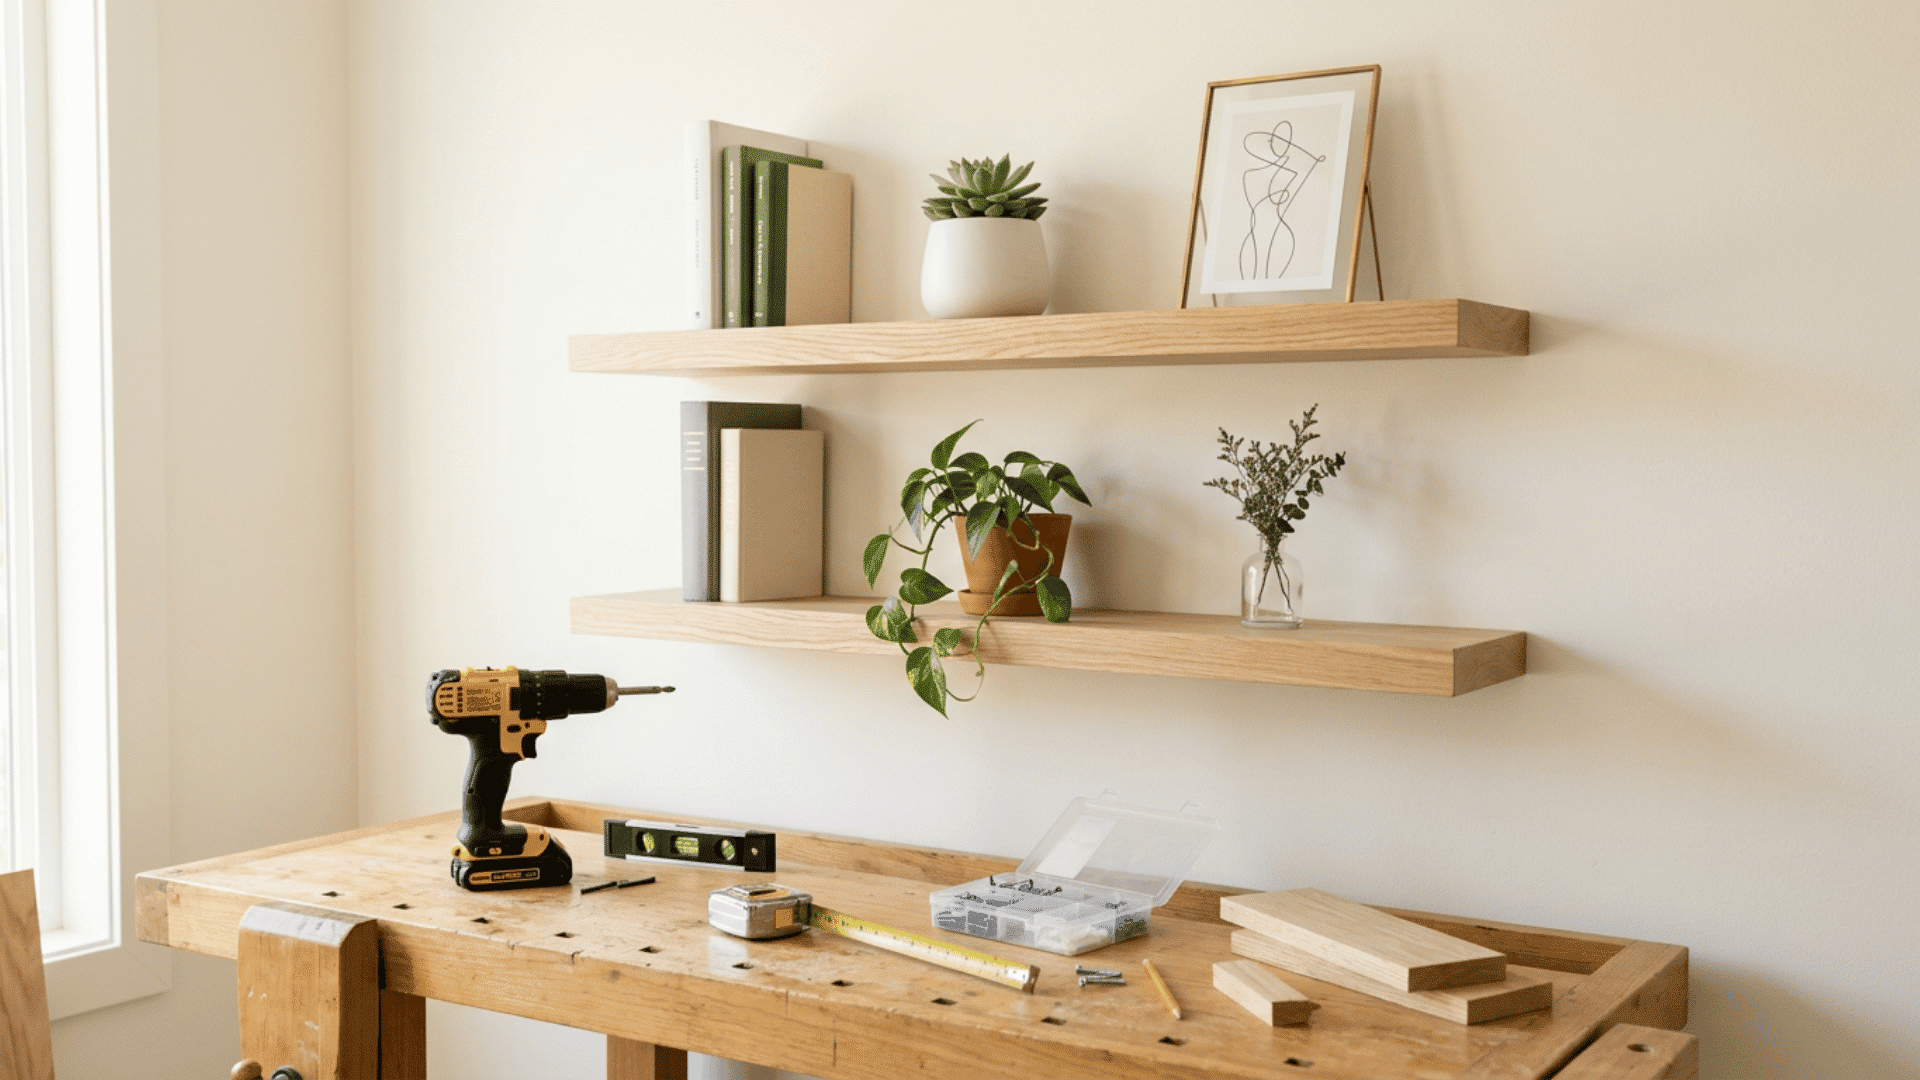
These shelves look like they come straight out of the wall because the support system stays hidden.
A regular diy shelf often uses visible brackets under the board. Floating shelves use metal rods, hidden brackets, or a wooden cleat fixed inside a hollow shelf box.
This changes the building process. Instead of placing one board on top of brackets, you may need to build a box that slides over the wall support.
Measurements must be very accurate so the shelf fits tightly and sits level. The hidden mount should also be fixed into wall studs when possible.
Floating shelves offer a clean look, but they usually take more time, careful cutting, and stronger mounting than basic bracket shelves.
Common DIY Shelf Mistakes to Avoid
Small errors can make a shelf uneven, weak, or unsafe. Check each step carefully before cutting, drilling, or adding weight.
- Skipping Wall Studs: Mounting heavy shelves only into drywall can weaken the support. Use studs when possible or choose anchors made for the wall type.
- Using the Wrong Screws: Screws that are too short may not hold the brackets firmly. Select fasteners that match the shelf weight and mounting surface.
- Ignoring the Level: A shelf may look straight at first, but still tilt. Check the board and brackets with a level before tightening every screw.
- Spacing Brackets Too Far Apart: Wide gaps between brackets can cause the wood to bend. Add enough support based on the shelf length, thickness, and expected load.
- Adding Too Much Weight: Placing heavy items on an untested shelf can damage the wall or hardware. Begin with light objects and check for movement.
Conclusion
A well-built shelf can turn an empty wall into useful storage while making the room feel more complete.
The goal is to create something that suits your storage needs, matches your style, and stays within your budget.
Once you finish your first DIY shelf, you may feel ready to try larger designs, corner shelves, or floating shelves.
Choose the right spot, gather your tools, double-check your measurements, and start building a shelf that adds both function and character to your home.
Frequently Asked Questions
How Much Space Should Be Left Between Shelves?
Leave about 10 to 16 inches between shelves, depending on the height of the items you plan to store.
Can DIY Shelves Be Added to a Rental Home?
Yes, but check your lease first. Removable shelves or freestanding units may help reduce wall damage.
How Long Should Wood Sit Before Building?
Let the wood rest indoors for at least a few days to a week so it can adjust to the room’s temperature and moisture.