A deck can turn a plain backyard into a real outdoor living space in no time at all. Building it yourself will also save homeowners a lot of money compared to hiring someone to do the work.
Picking the right materials matters and so does good framing. A proper finish helps the deck stand up to any weather it might face.
The whole process runs from the first sketch to the last coat of finish, and that takes a first-time DIYer all the way to a finished, working deck.
Follow the steps below to plan, frame, finish and protect a safe deck built for everyday outdoor use.
Gather The Right Tools and Materials
A basic deck build requires a circular saw, a drill, a level, a post-hole digger and a tape measure. Renting a power auger for many footings can save time.
For lumber, pressure-treated wood is the budget choice and holds up well outdoors. Composite decking costs more but needs less upkeep over time.
Builders should buy corrosion-resistant screws and joist hangers made for outdoor use. Regular screws rust quickly and weaken the frame.
Ordering about ten percent extra lumber is wise. Boards split, warp, or get cut wrong, so spares keep the project moving without an extra trip to the store.
Homeowners working with a compact yard can review these small deck ideas before buying materials, helping them avoid oversizing the structure or ordering more lumber than needed.
How to Build a Deck
Deck construction requires a stable framework to begin with. The posts, beams and joists should be solid and level as they will have to carry everything built on top of them.
1. Set The Posts and Footings
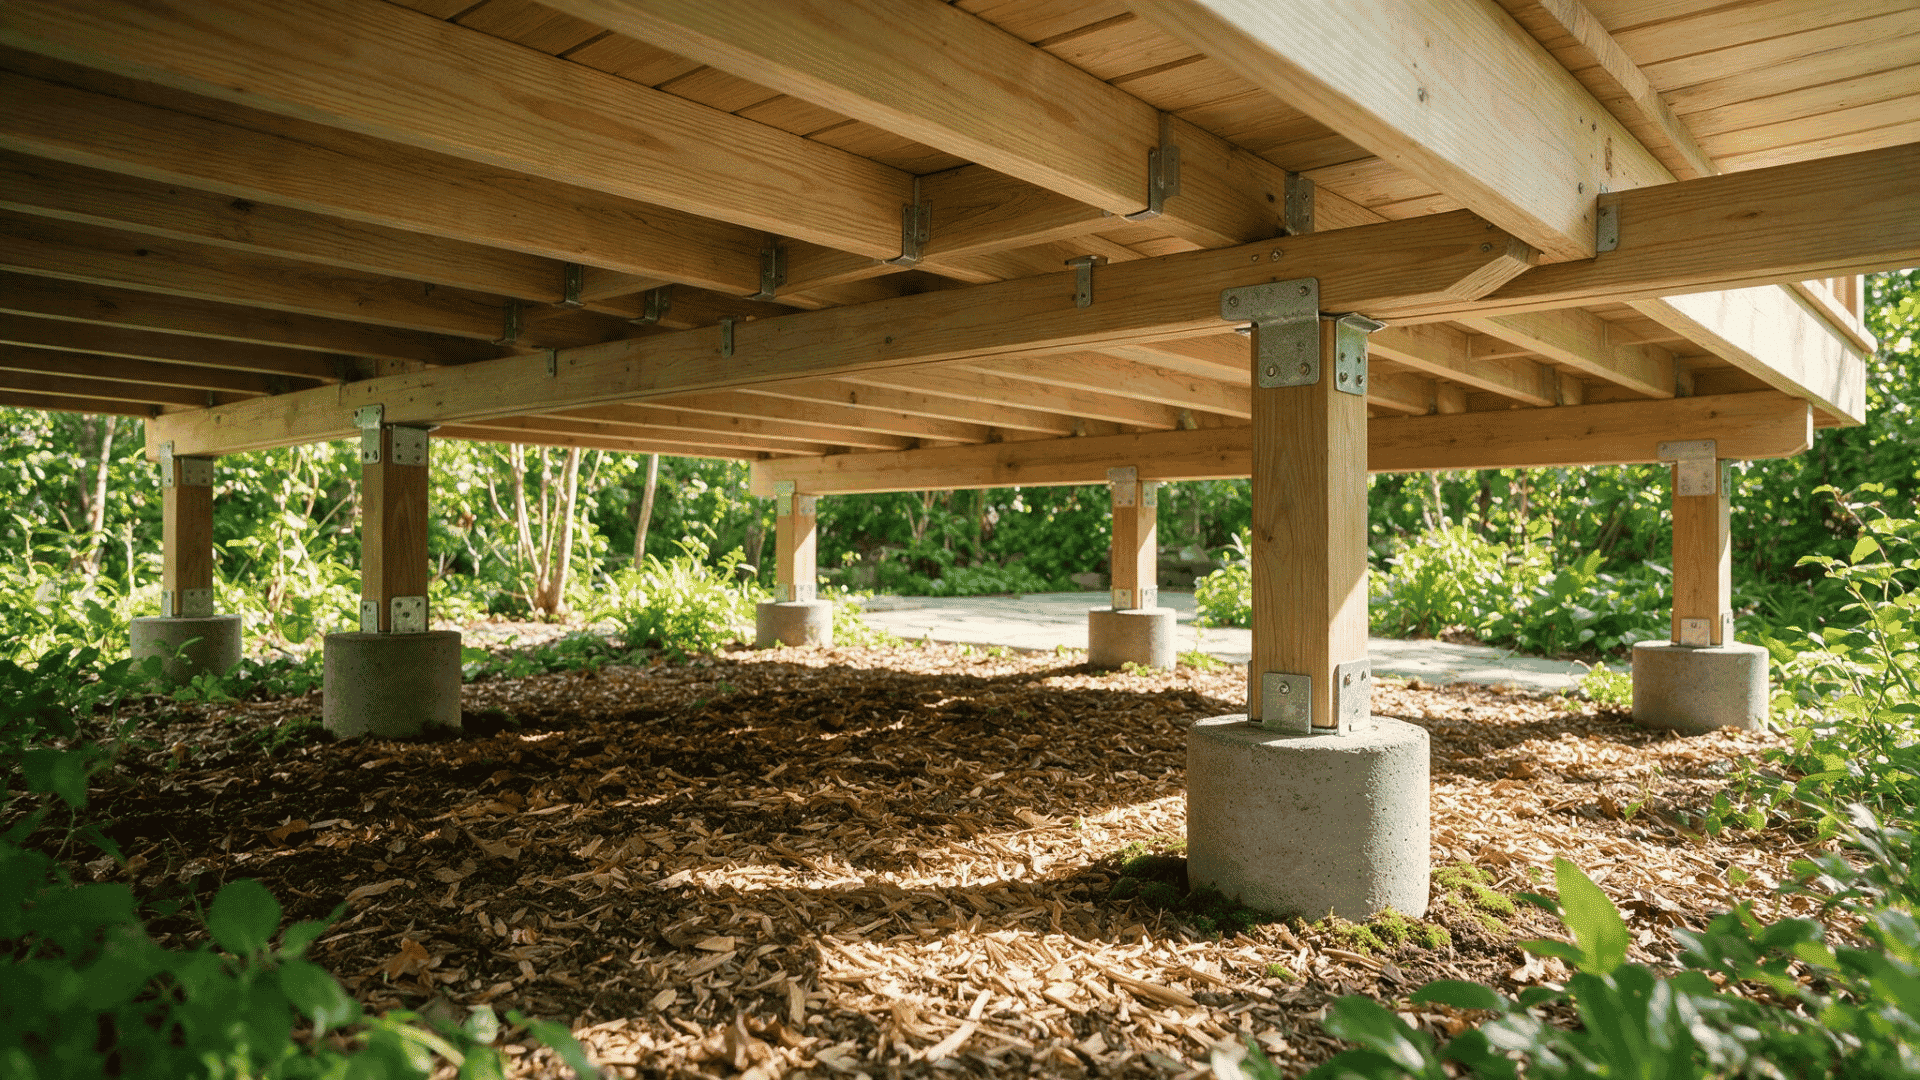
Footing holes are dug below the frost line so that the ground freezing does not shift them later, then filled with concrete and left to cure fully.
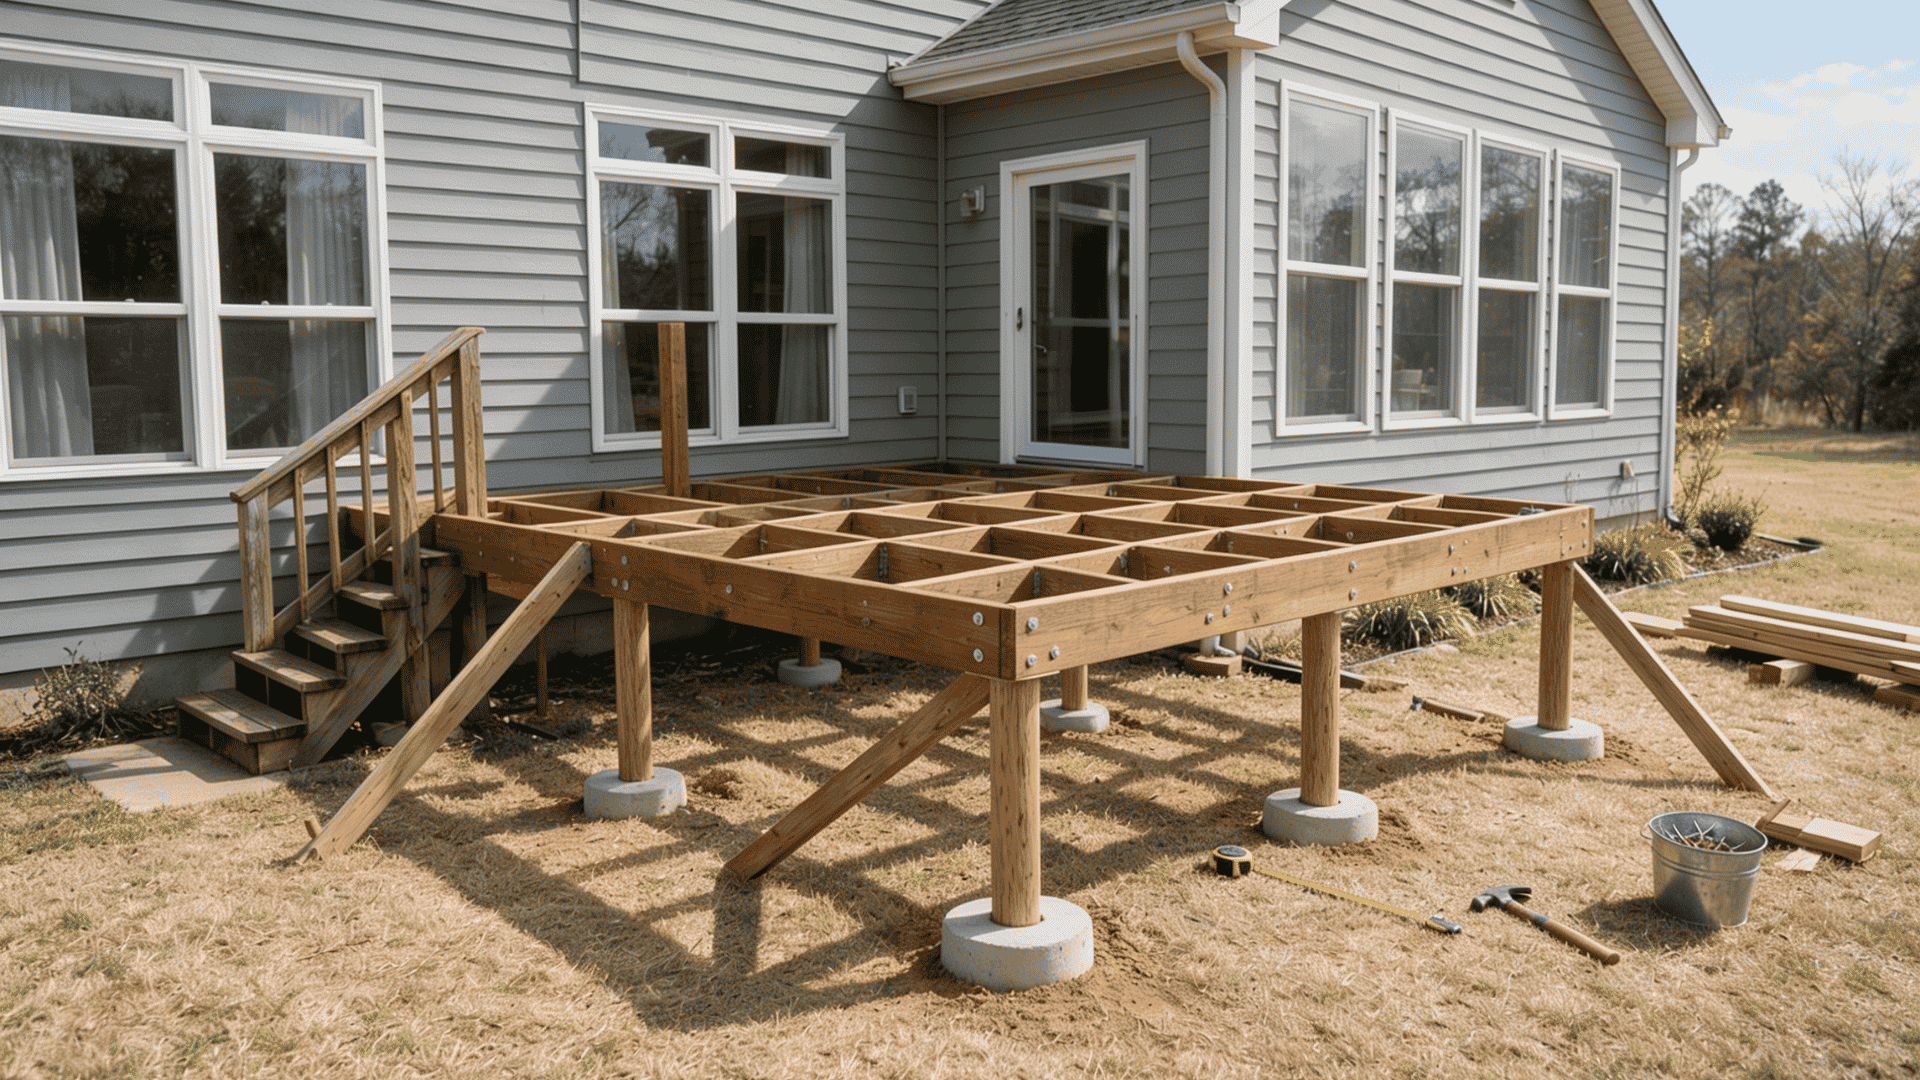
Posts are set on top and checked level from both sides, since even a slight lean throws off the whole frame.
Each post is braced with scrap wood until the beams are attached.
2. Attach Beams and Joists
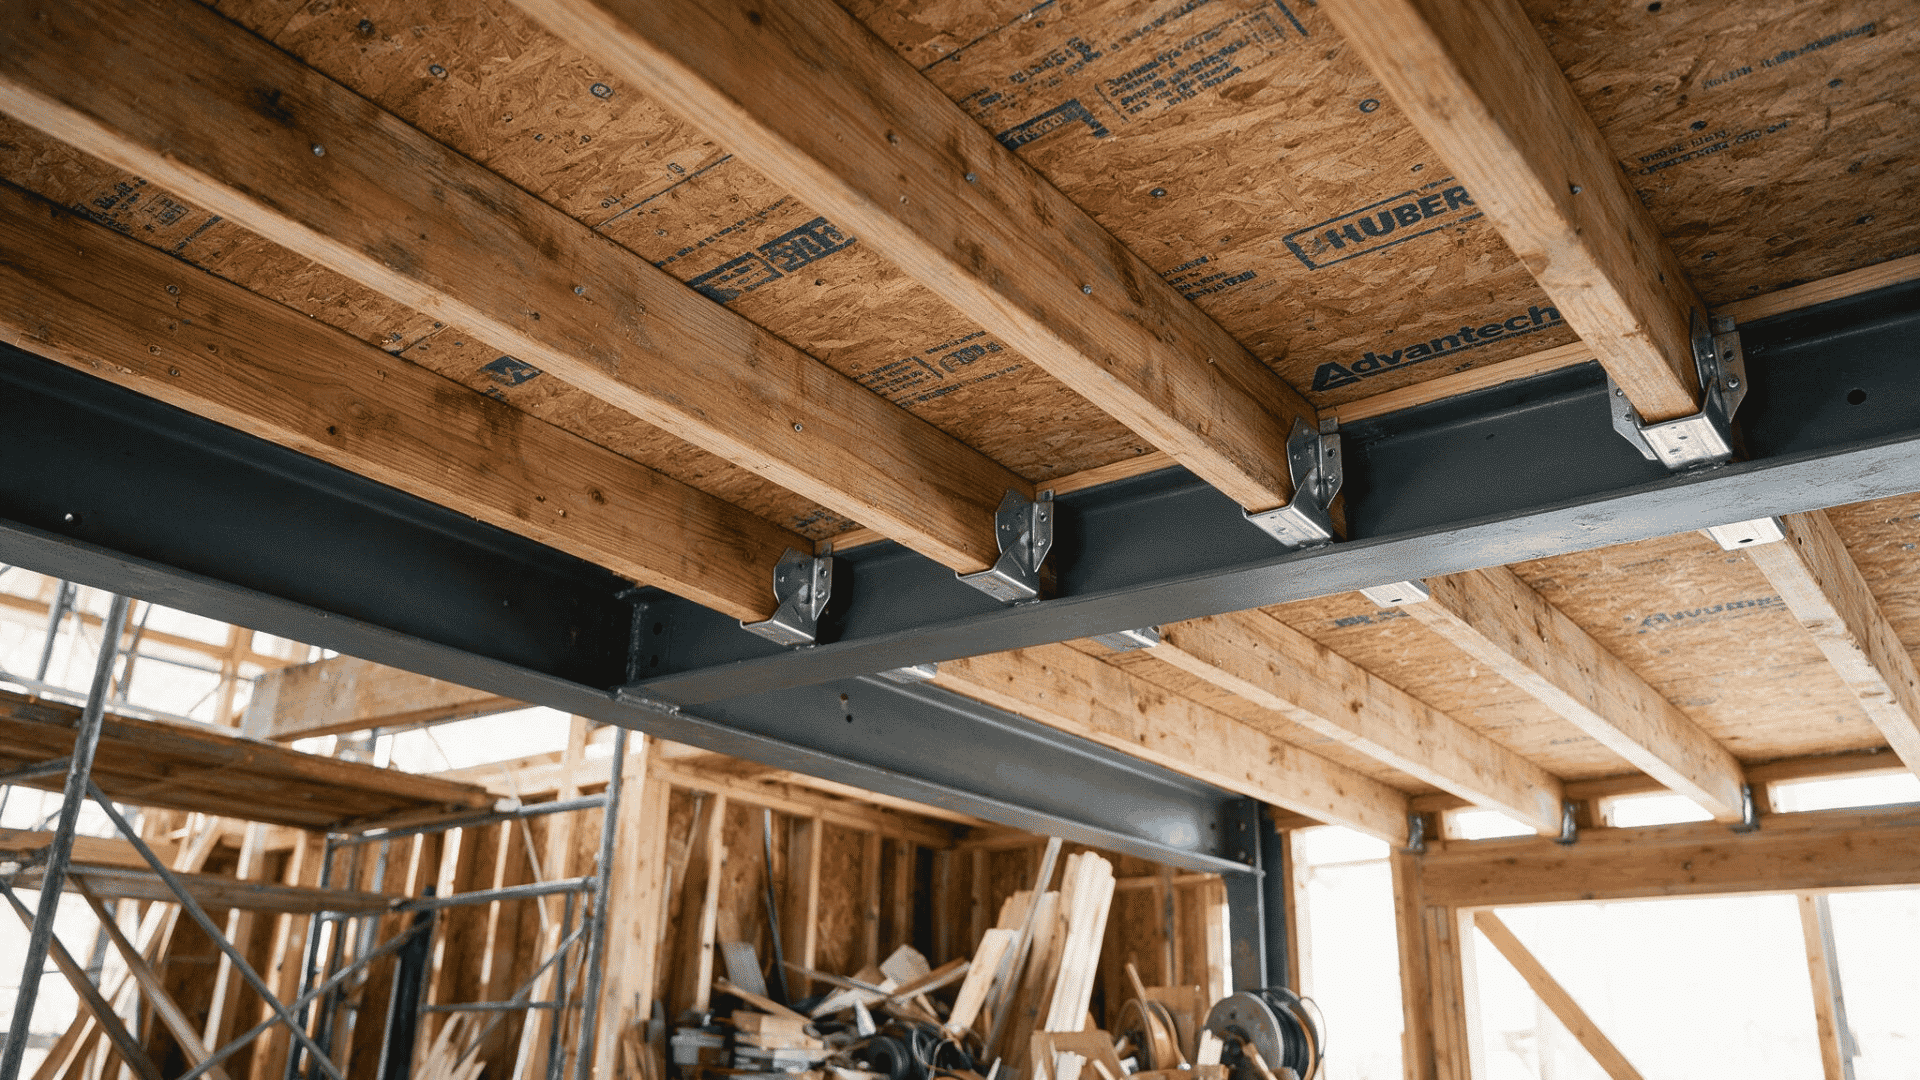
Beams are bolted across the tops of the posts with galvanized bolts, since they carry a significant load.
Joists are typically spaced 16 inches on-center, though composite decking sometimes requires tighter spacing per the manufacturer’s spec sheet.
Joists attach to the rim joist with metal hangers rather than nails, which spread the load evenly and hold up better over time.
3. Square and Brace The Frame
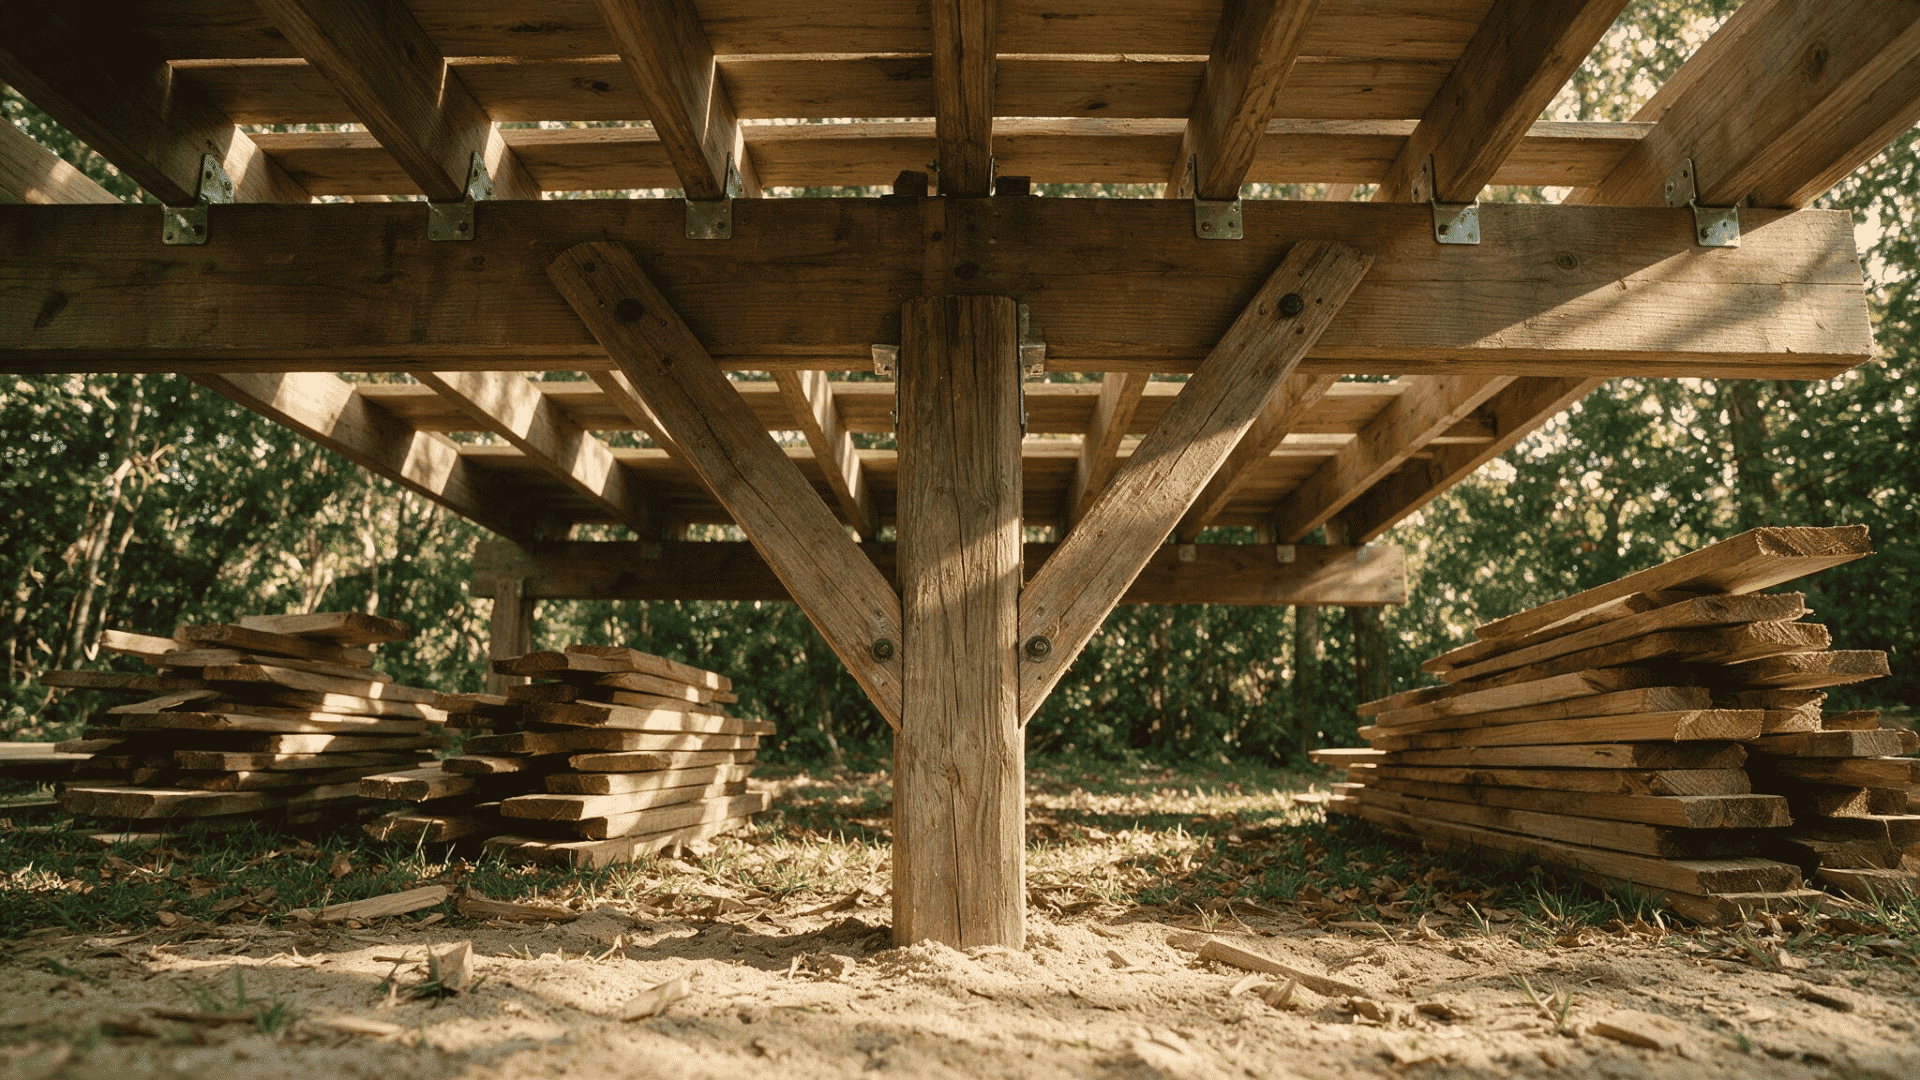
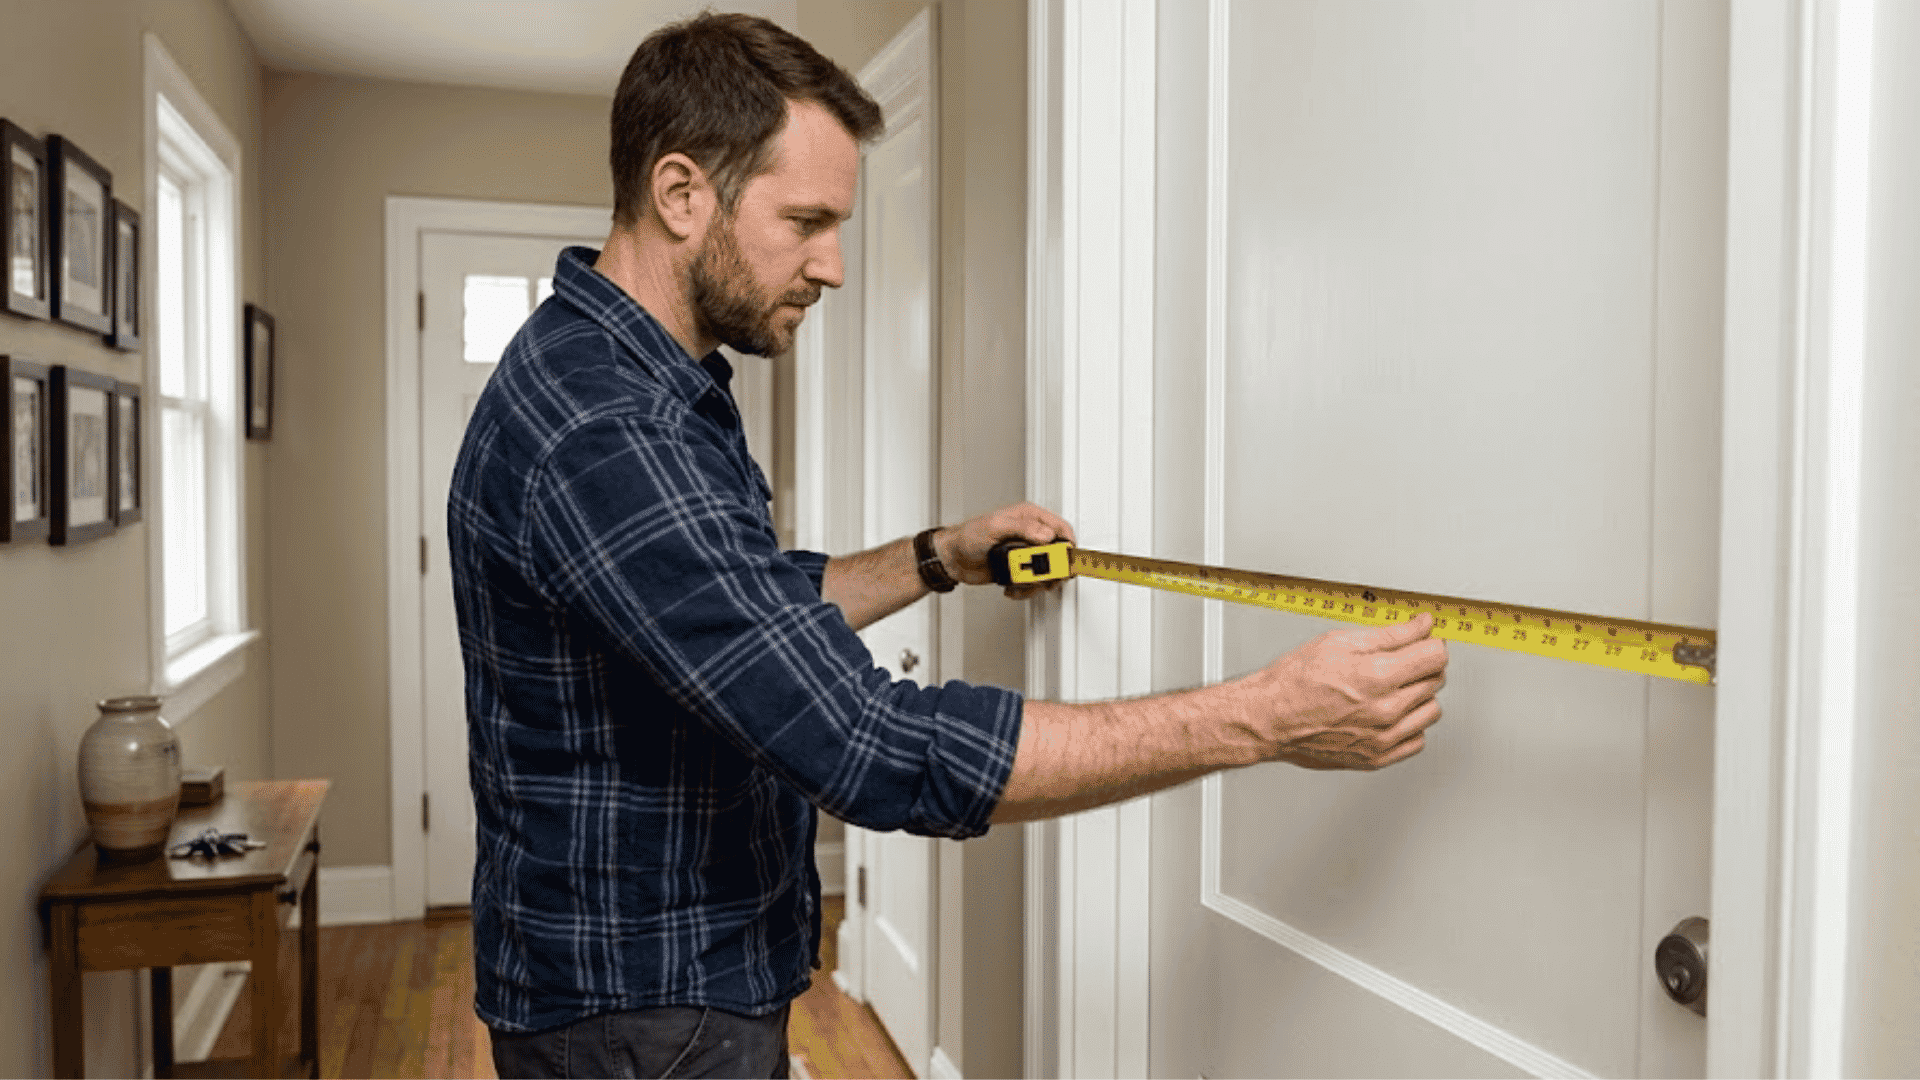
Before decking goes down, the frame is checked for square by measuring both diagonals corner to corner; equal measurements confirm it’s true.
Temporary diagonal braces hold the frame square while work continues, staying in place until enough decking locks it into position.
A final level check across several joists catches any low or high spots early.
4. Lay The Decking Boards
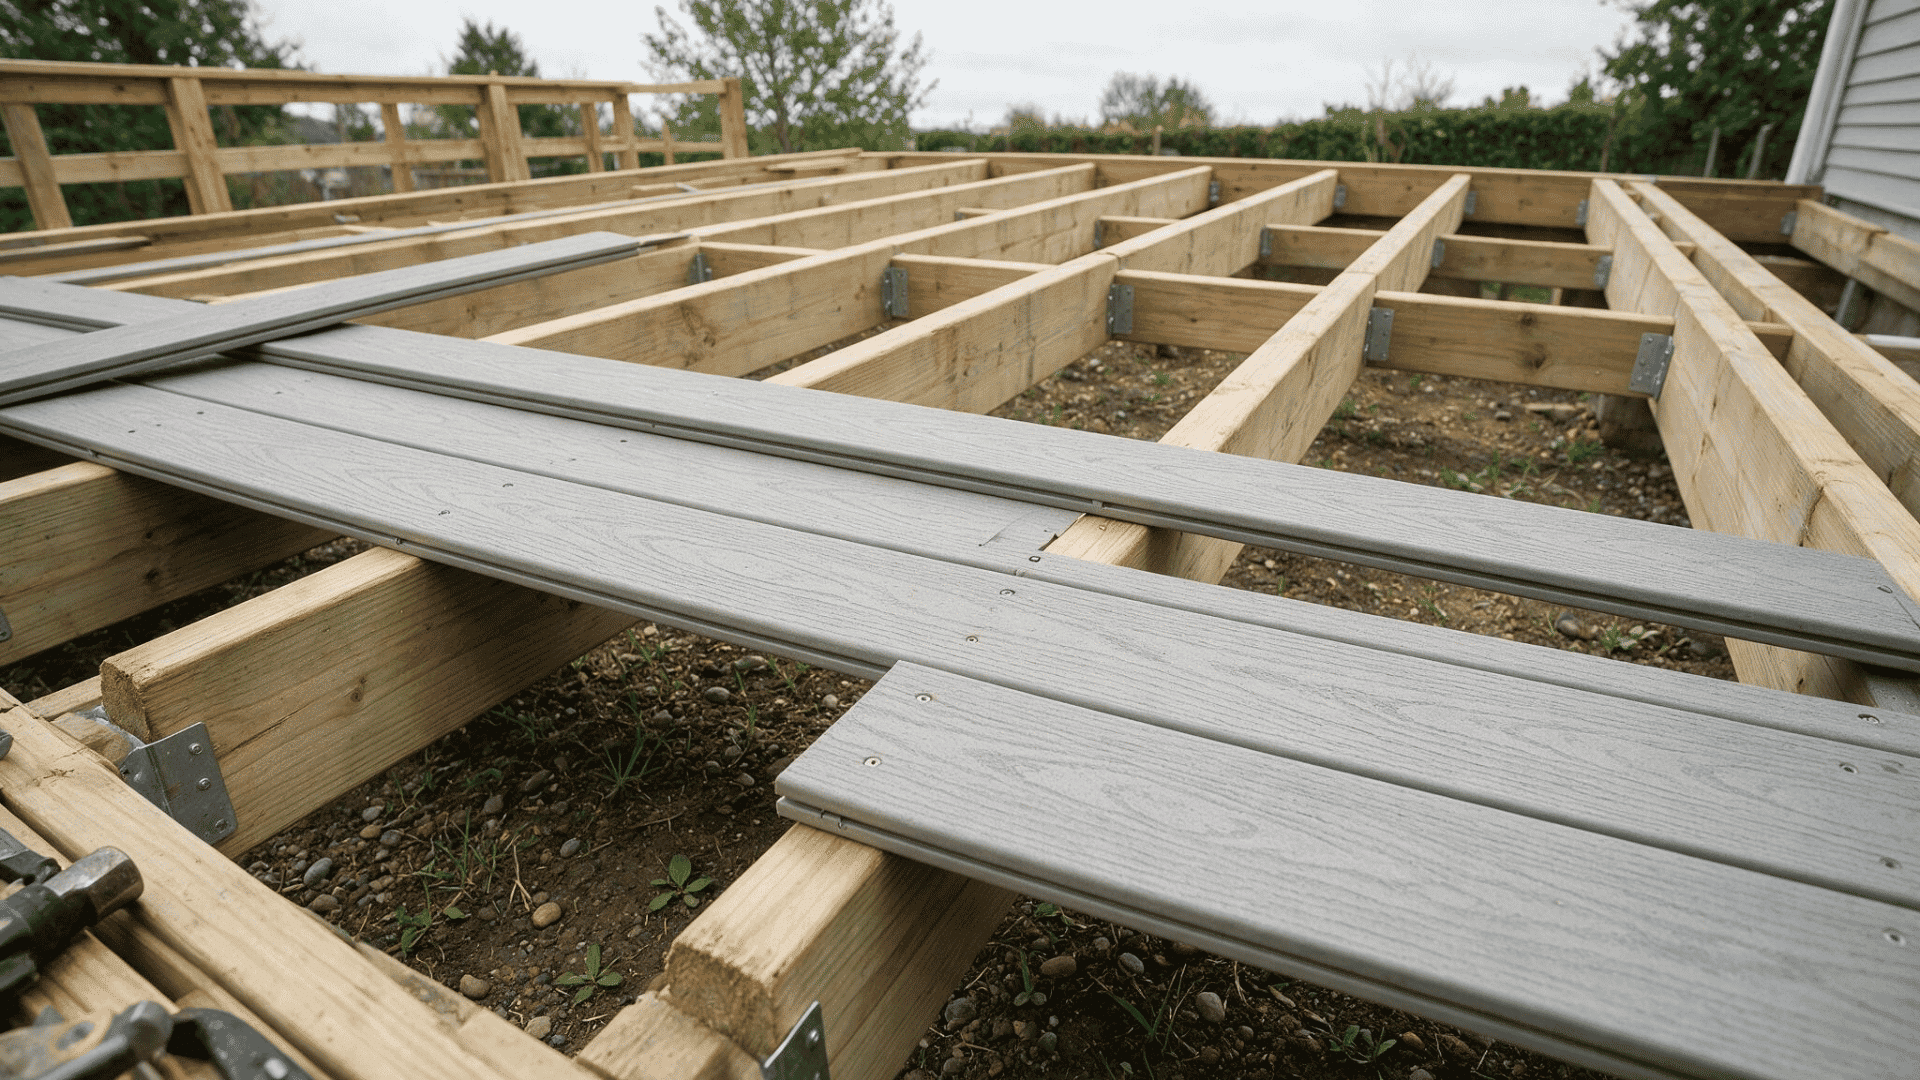
Decking starts at the house and works outward, with boards running perpendicular to the joists for strength.
Leave a small gap, about the width of a nail, between boards for drainage and expansion.
Boards are fastened with deck screws or hidden clip fasteners for a cleaner look and each one should sit flat before the next is attached.
5. Add Railings
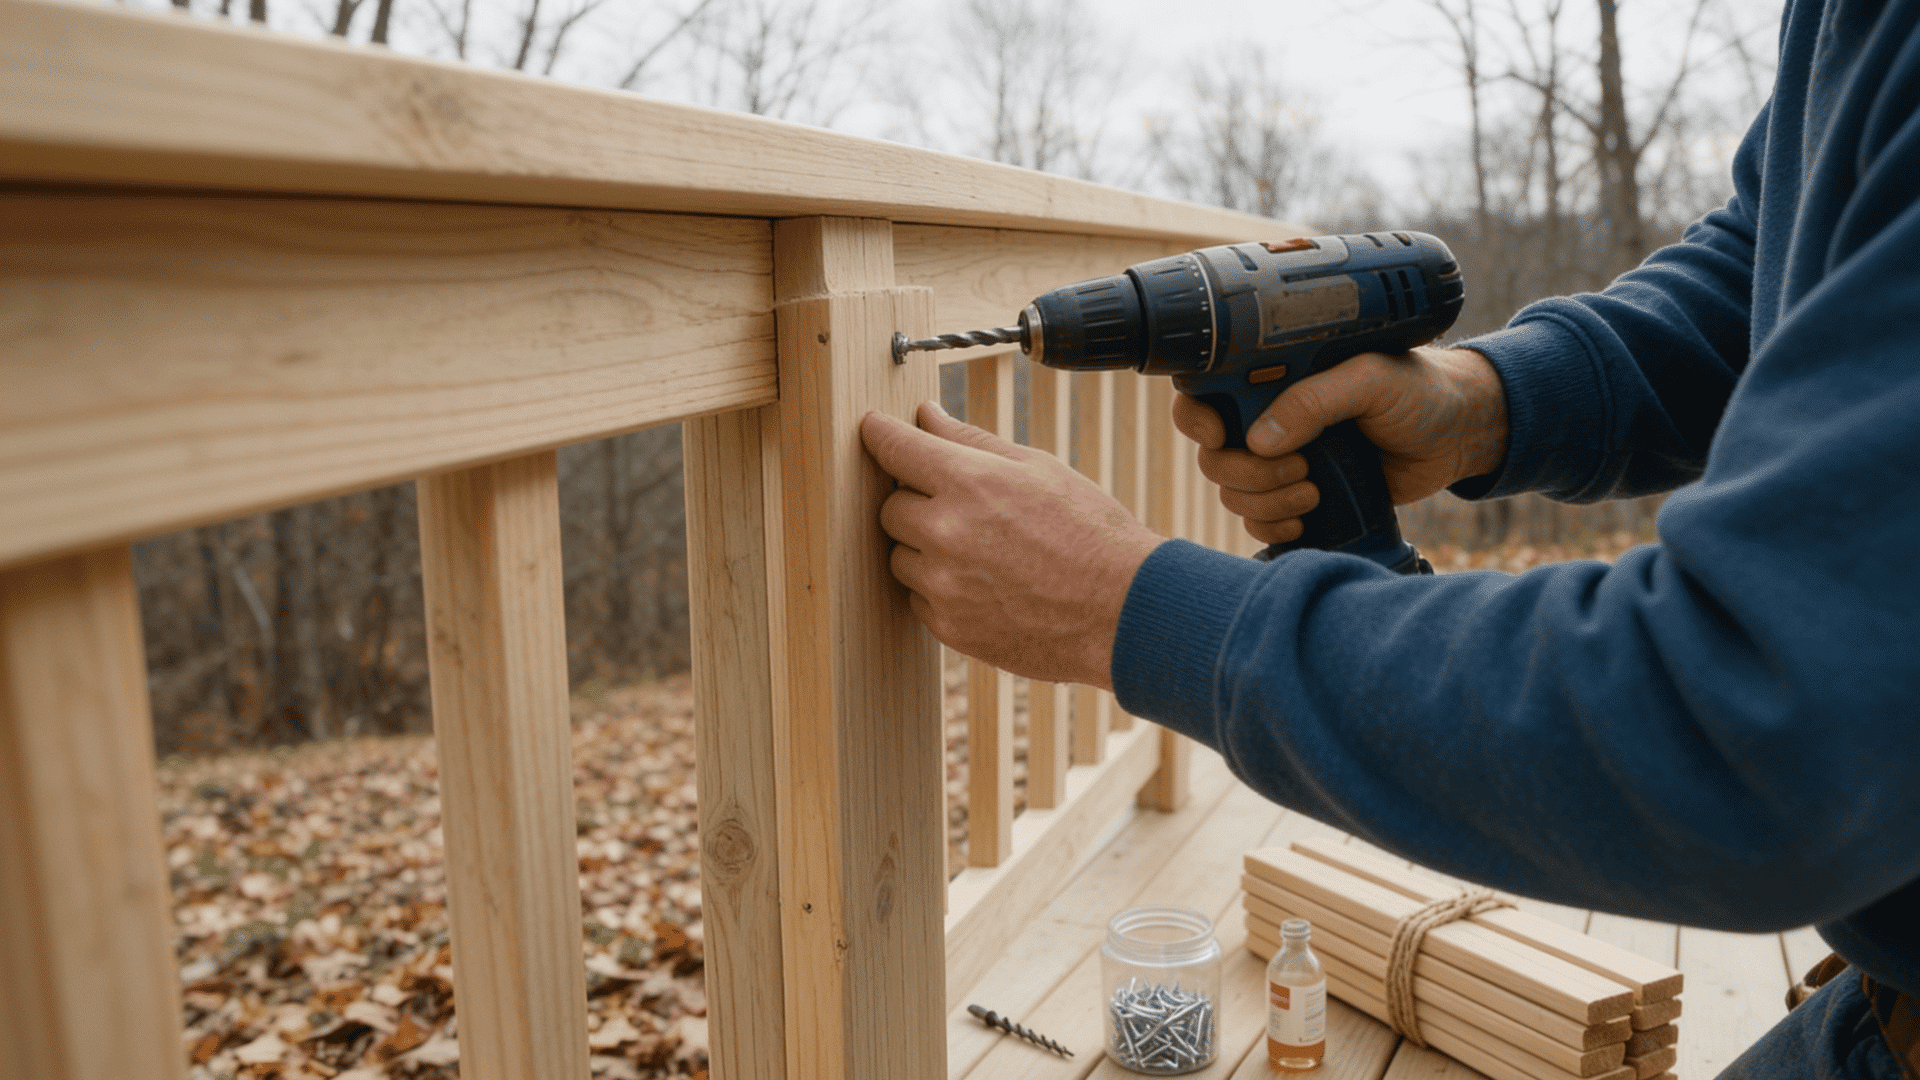
Railings are required when a deck sits 30 inches or more above the ground, in accordance with most local codes.
Posts go up first, followed by the top rail, bottom rail, and evenly spaced balusters.
Baluster gaps typically must stay under 4 inches to meet code and keep the railing child-safe and a reusable gauge block ensures every gap is identical.
6. Add Stairs
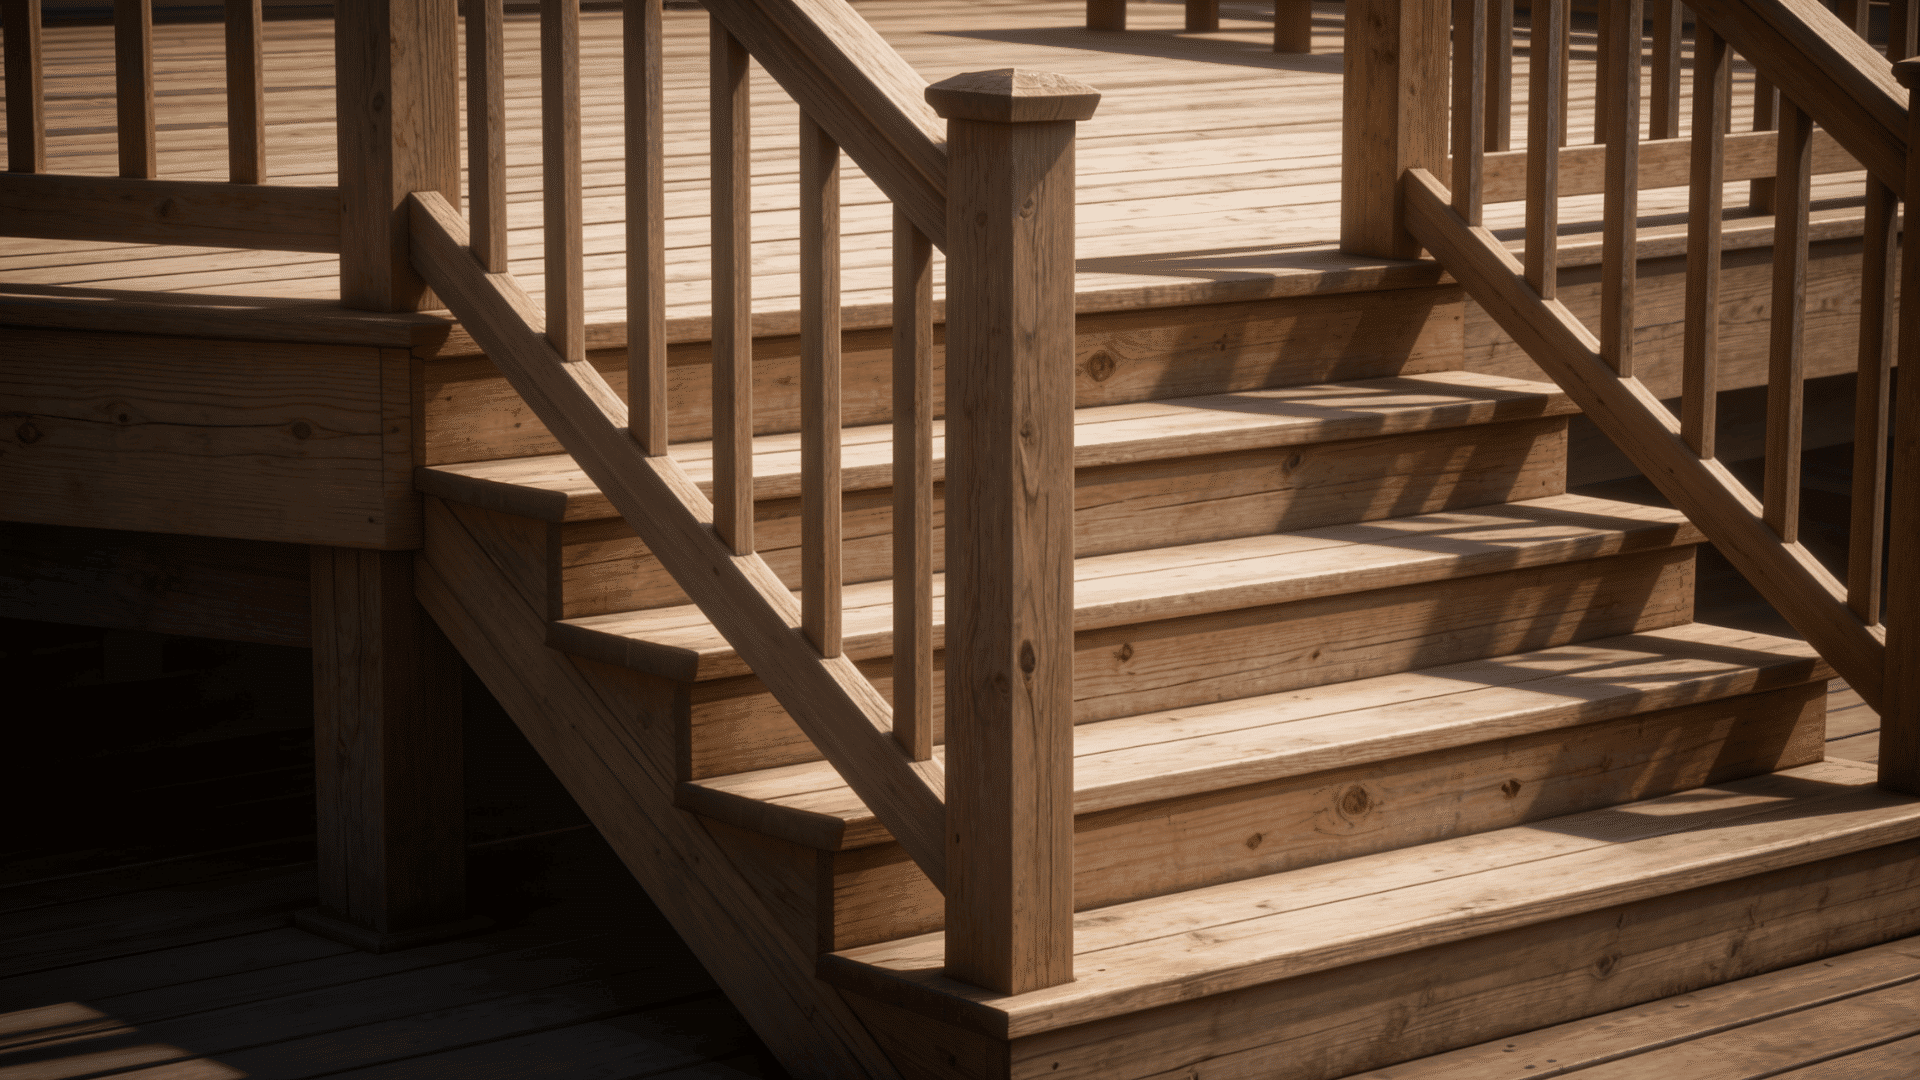
The total rise is measured and divided by 7 inches to determine the number of steps and stringers must be cut carefully, since a mistake means starting over.
Treads, risers and a sturdy handrail are attached last.
A handrail is typically required on any staircase with four or more steps, so it should be added even on shorter runs if local code calls for it.
Plan The Deck and Check Local Codes
Before buying any lumber, a builder should decide on the size, shape and height of the deck. A rectangle attached to the house works well for a first project.
Homeowners who need layout inspiration can review these outdoor deck ideas before choosing the deck’s size, features and intended use.
The layout should be sketched on paper, marking where the door is located, how far the deck extends and how high it is off the ground.
Builders should check with their local building department before digging. Most decks need a permit and inspectors check footings, framing and railings at different stages.
Skipping this step is the biggest mistake new builders make. A failed inspection means tearing out work, which always costs more than the permit ever would.
Finish and Protect The Deck
A finished deck still needs protection from sun, rain, and snow.
Builders should wait about a month after installing pressure-treated lumber before sealing it, so the wood can fully dry out.
A sealant or stain designed for outdoor wood should be applied and reapplied every 1 to 2 years, depending on the climate.
Composite decking needs far less work. A simple wash with soap and water once or twice a year keeps it looking new.
Homeowners should check their deck every spring for loose screws, cracked boards, or wobbly railings. Catching small problems early keeps the deck safe and saves a bigger repair bill later.
Conclusion
Building a deck is one of the most rewarding projects a homeowner can take on, and the full process is now laid out from start to finish.
A solid plan, the right materials, and careful attention to the frame give any build a strong foundation to work from.
Once the decking, stairs and railing are in place, a good seal helps protect the finished project for years to come.
The savings from building it can go back into the outdoor space.
Those with questions about their deck project are welcome to comment below and share where they are starting.
Frequently Asked Questions
How Long Does It Take to Build a Deck Yourself?
A simple ground-level deck may take several days, while raised decks with stairs and railings can require several weekends.
What is The Most Expensive Part of a Deck?
Labor and the substructure, including framing and footings, typically make up the largest share of total building costs.
What is The 3-4-5 Rule for Decks?
The 3-4-5 rule checks square corners by measuring 3 feet, 4 feet, and a 5-foot diagonal between them.