Every woodworking project comes down to one thing: how well your pieces hold together.
You can pick the best lumber, sand it smooth, and apply a flawless finish. But if your joints are weak or wrong for the job, the whole build fails.
That’s where most beginners get stuck. With so many joint types out there- dovetails, mortise-and-tenon, pocket holes, finger joints- it’s hard to know which one fits your project.
Use the wrong joint on a drawer, and it pulls apart in months. Use the wrong one on a shelf, and it sags under weight. This blog will help you match the right woodworking joint to the right project, every time.
What are Woodworking Joints?
Woodworking joints connect two or more pieces of wood without always relying on glue or metal fasteners.
Instead of bonding surfaces with adhesive, you cut matching profiles into each board so they lock together on their own.
Some joints need glue for extra hold, while others stay tight through their shape alone.
The type of joint you pick depends on three things: how strong the connection needs to be, whether the joint will be visible in the finished piece, and what tools you have in your shop.
Beginners can follow a step-by-step tutorial to make a simple DIY box joint and practice creating evenly spaced interlocking cuts.
Types of Woodworking Joints
Each joint has a job it does best. Your choice depends on the project, the stress the joint will face, and your skill level with cutting tools.
Beginner-Friendly Joints
These joints need minimal tools and practice. You can start making them with a saw, drill, and some wood glue.
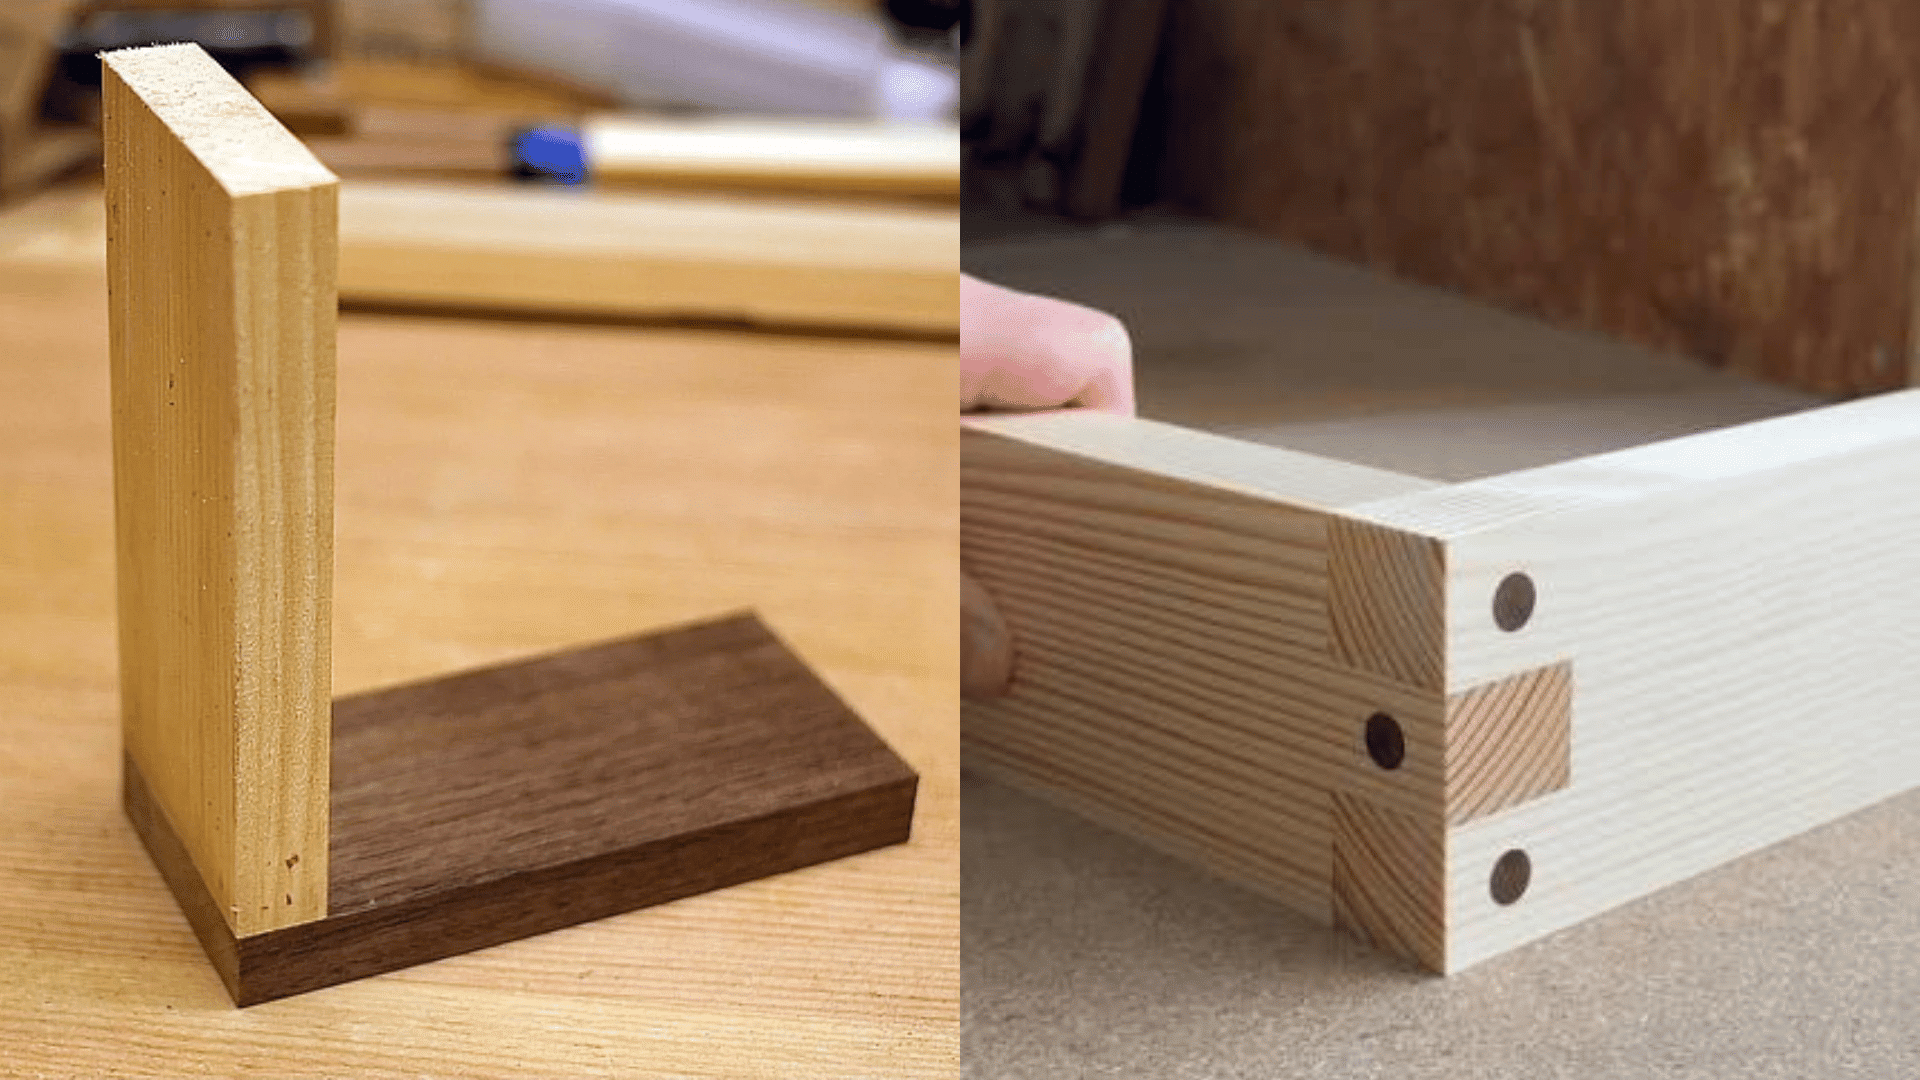
Butt Joint
You press two board ends together and secure them with glue, nails, or screws. It’s the simplest joint to make but also the weakest. Best for rough framing and quick fixes.
Dowel Joint
You drill matching holes into two boards, insert a wooden dowel, and then glue it in place. This gives you better alignment and more strength.
Dowels can also support certain DIY closet shelf and organizer projects when clean edges and hidden connections are preferred.
Intermediate Joints
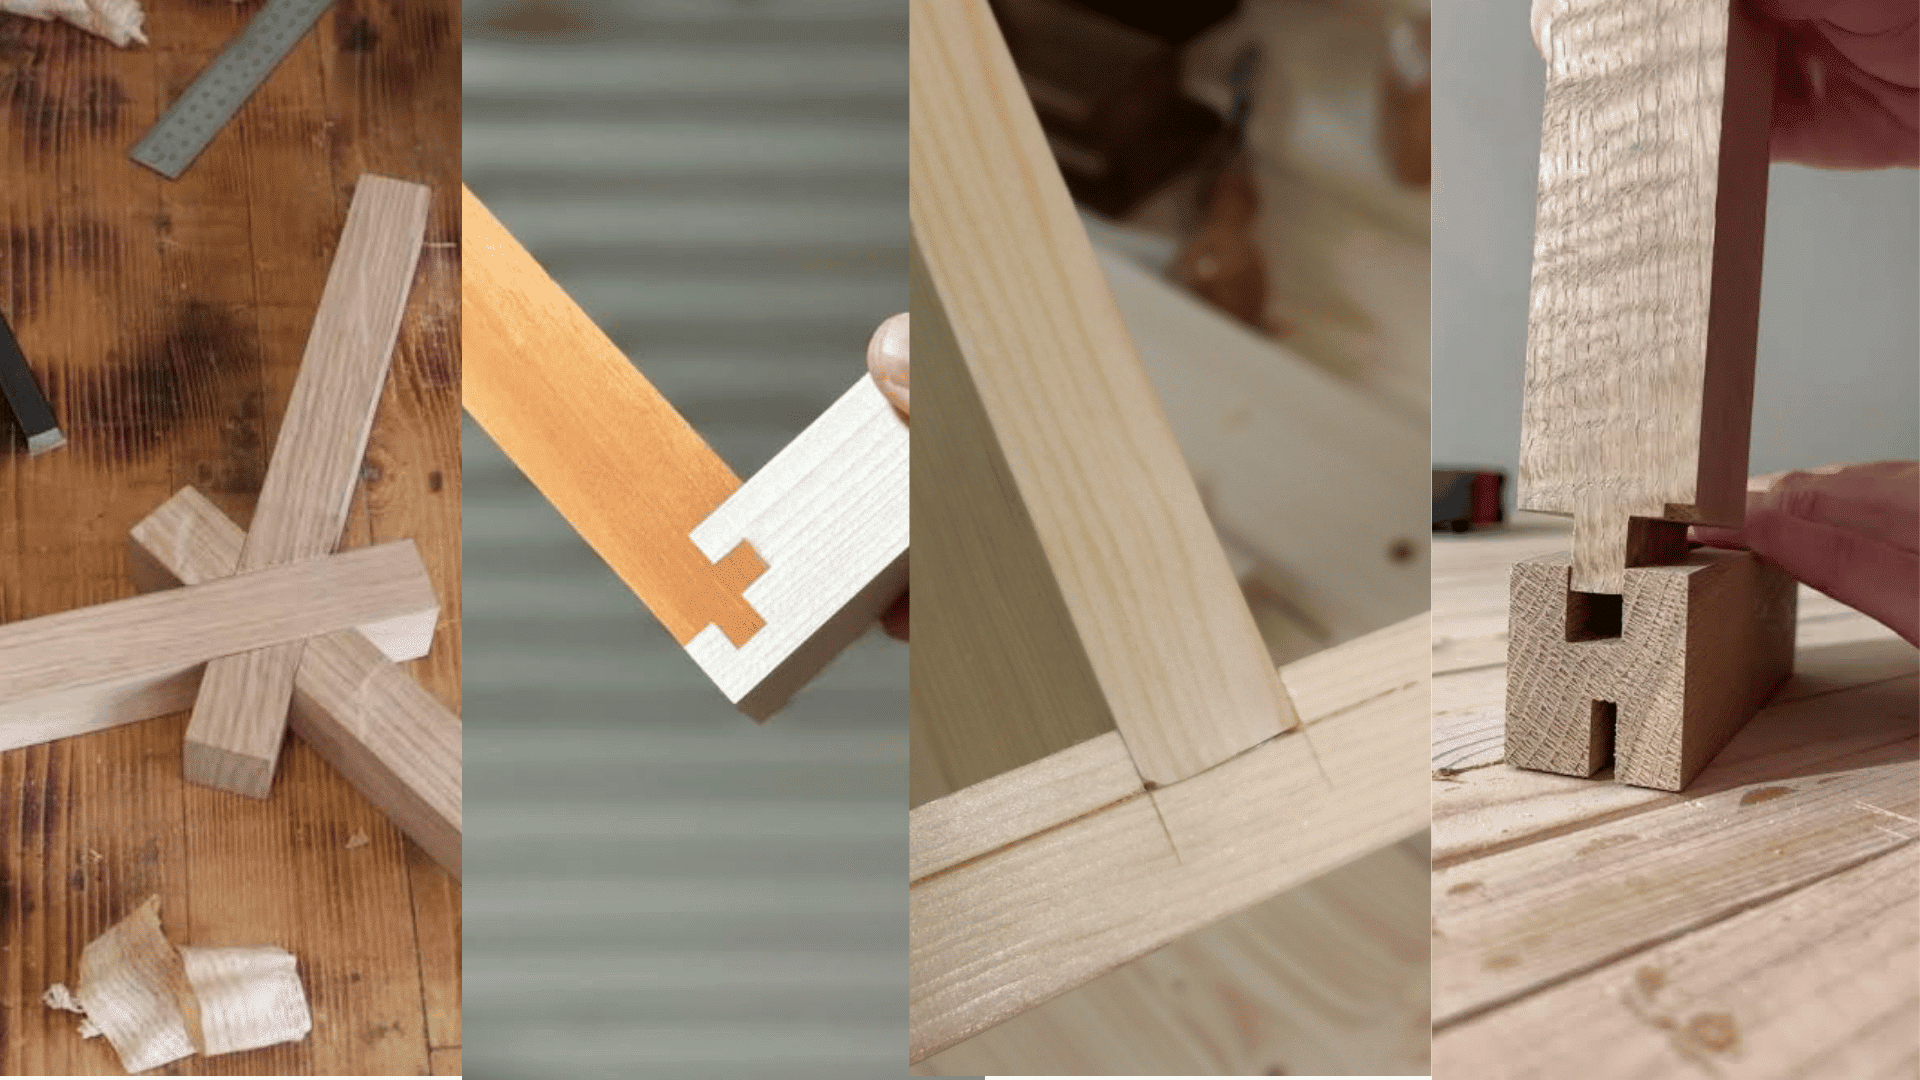
These take more setup and precision. You’ll need a table saw, router, or dado blade to cut most of them cleanly.
Lap Joint (Half-Lap, Cross-Lap)
You remove half the thickness from each board so they overlap and sit flush. This gives you a flat, strong connection; these joints can also be used when following a DIY workbench build that needs a stable supporting frame.
Rabbet Joint
You cut an L-shaped notch along the edge of one board and fit the second board into it. This works best for attaching cabinet backs and building box corners.
Dado Joint
You cut a square channel across one board and slide the second board into it. Bookshelves and cabinet interiors use this joint because it carries weight without sagging.
Tongue and Groove Joint
You cut a ridge on one board and a matching slot on the other, then slide them together. Hardwood flooring and wall paneling rely on this joint to stay flat and tight.
Finger Joint
A finger joint uses several evenly spaced rectangular tabs that fit together like interlocked fingers. Cutting each tab accurately is important because uneven spacing creates gaps and weakens the finished joint.
Advanced Joints
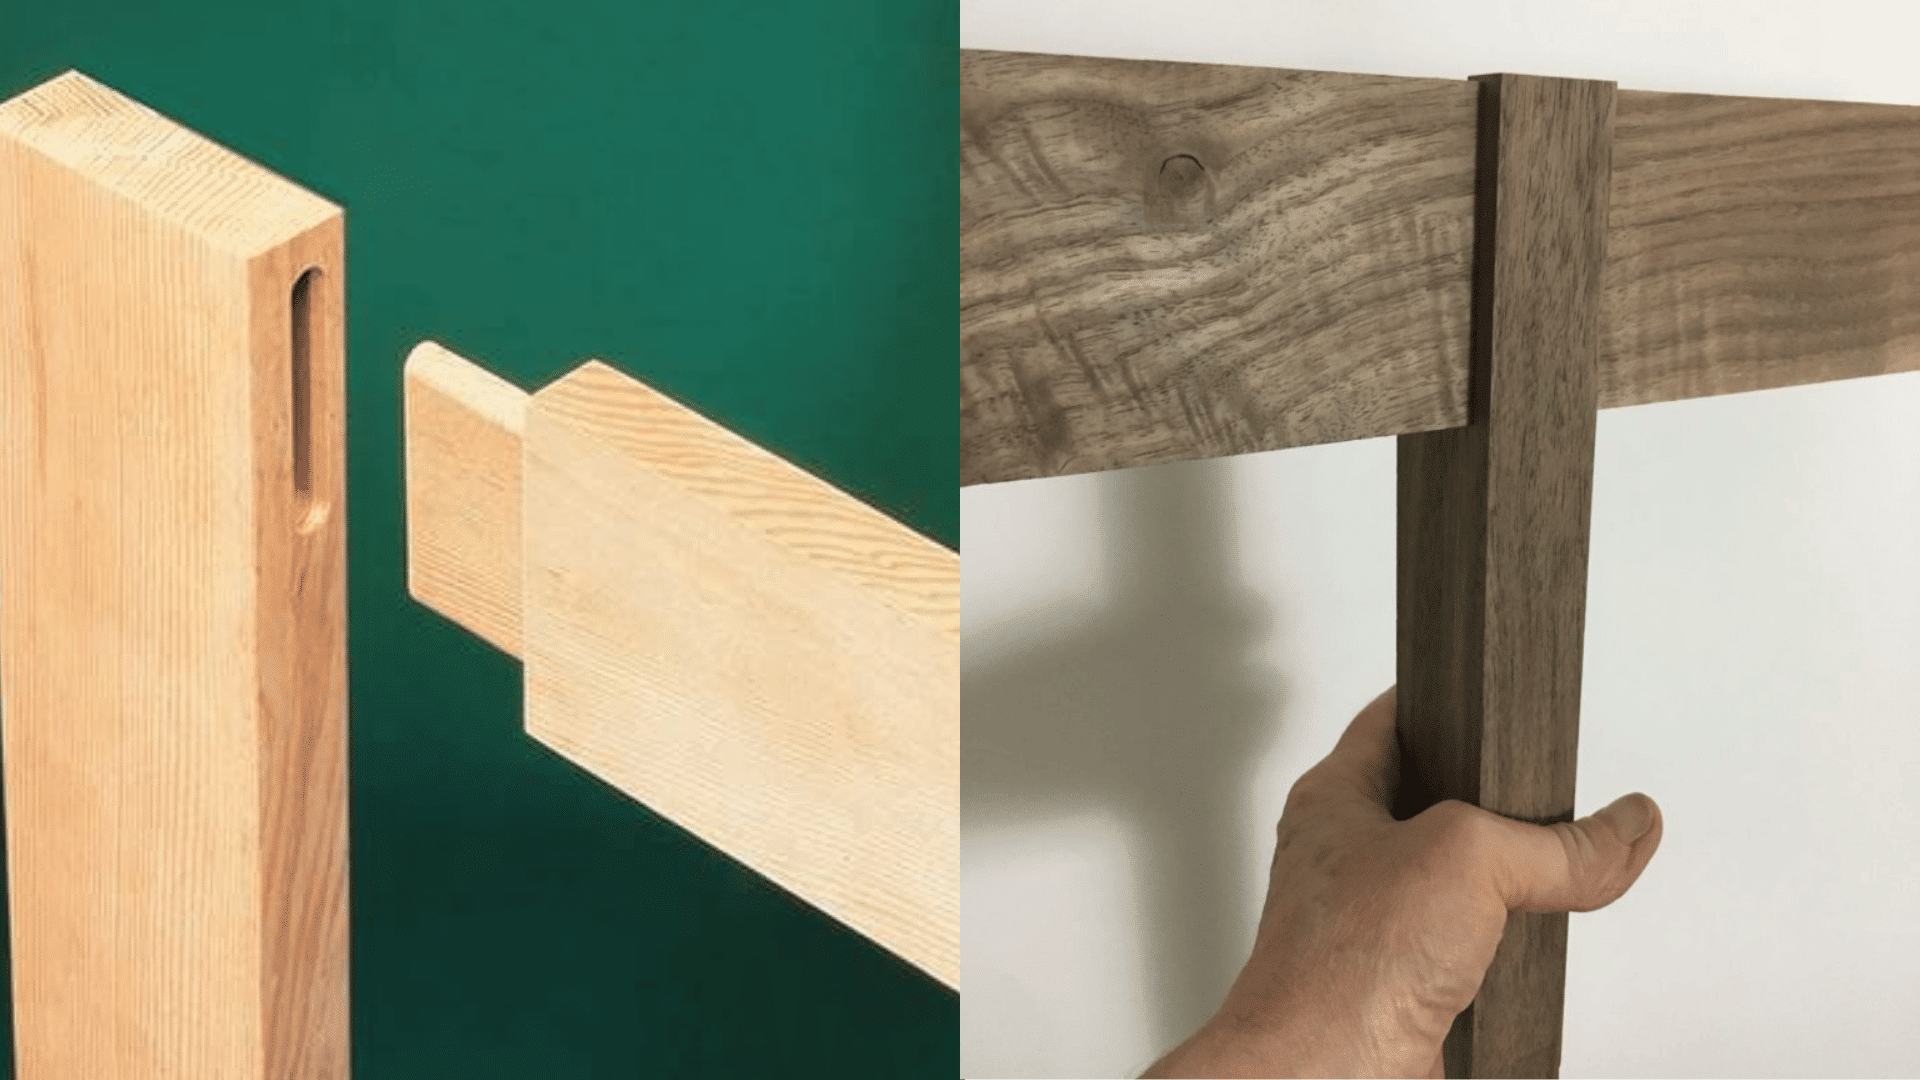
These demand sharp tools, careful layout, and patience. The results are stronger, longer-lasting, and more visually striking than anything above.
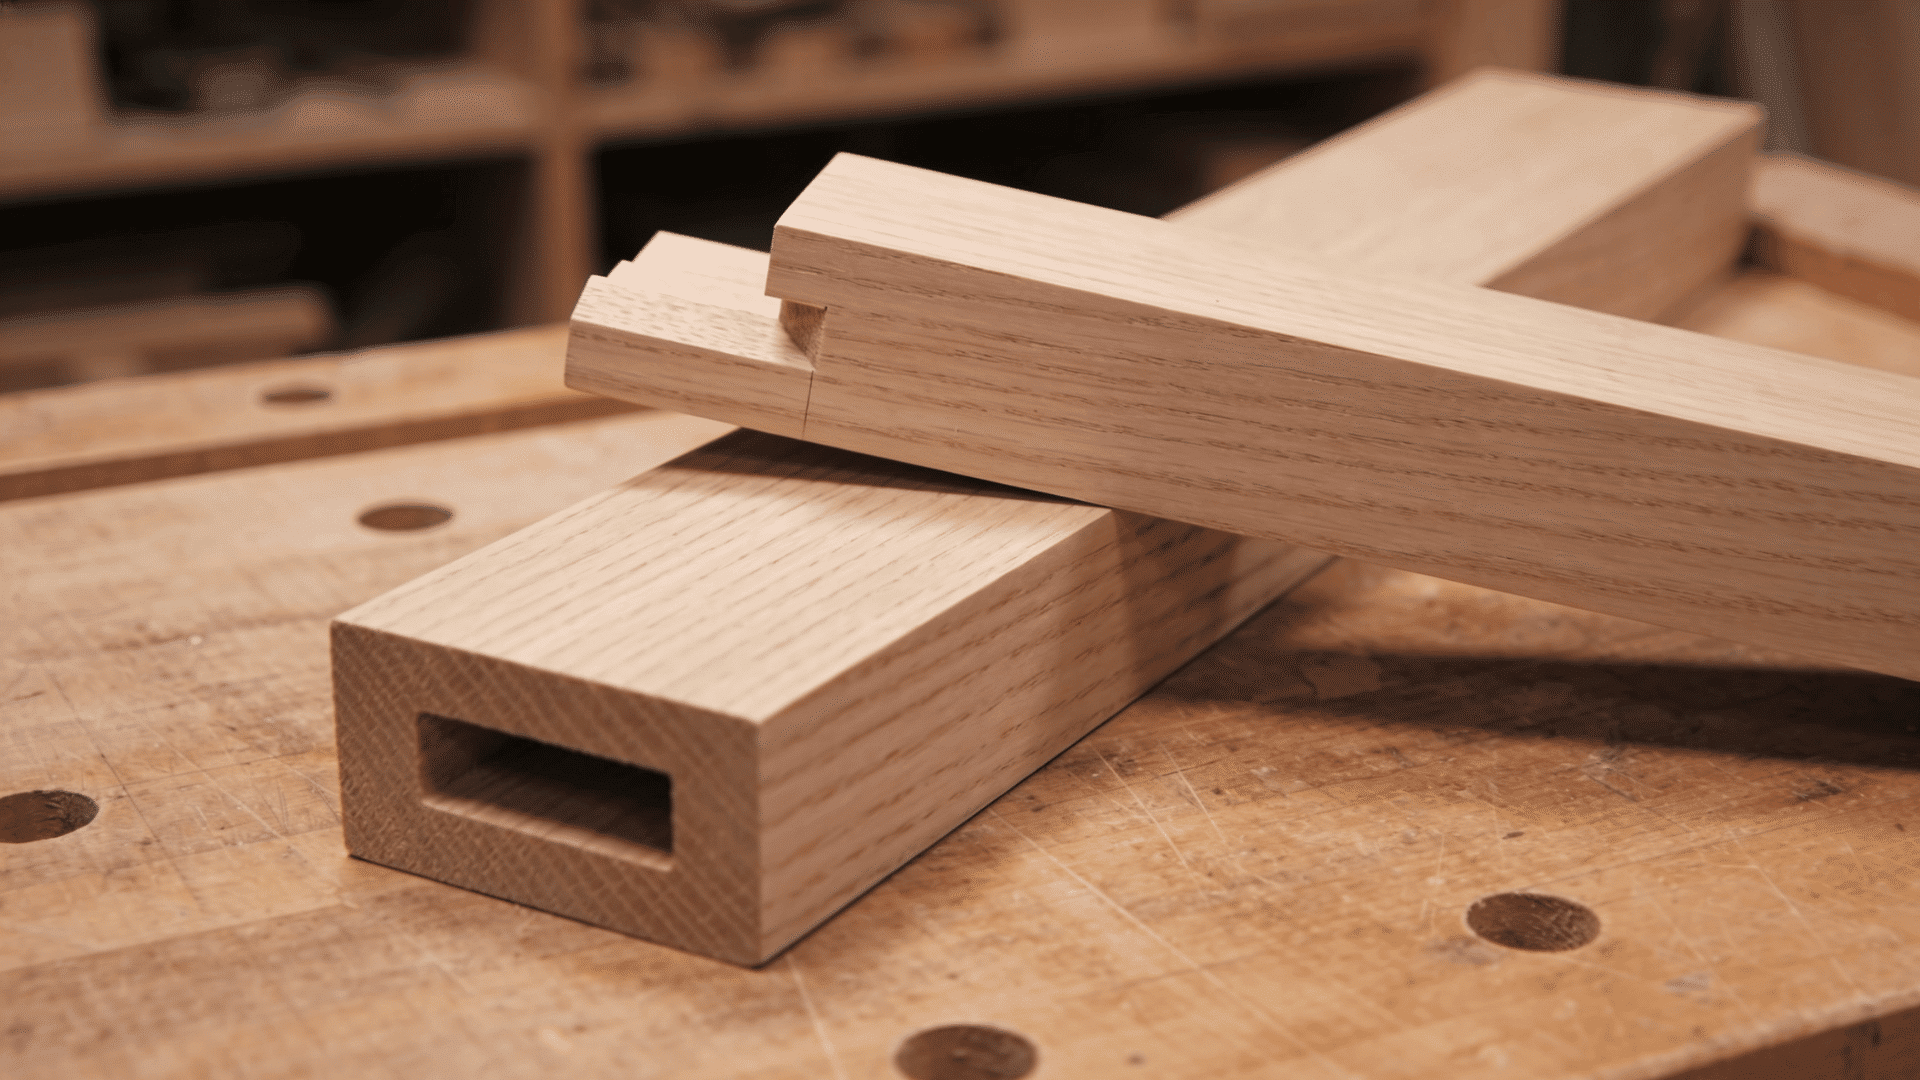
Mortise and Tenon Joint
You cut a rectangular hole (mortise) in one piece and a matching tab (tenon) on the other. This is the go-to joint for table frames, chairs, doors, and any build that faces heavy racking stress.
Bridle Joint
You cut an open slot in one piece and fit a matching tongue from the other piece into it. Think of it as an exposed mortise-and-tenon joint. It works well for frame corners and legs where you want the joint visible.
Japanese Woodworking Joints vs Western Joints
Japanese and Western joinery solve the same problem of connecting wood, but they take very different paths to get there. The table below breaks down how they compare across the areas that matter most
| Feature | Japanese Joints | Western Joints |
|---|---|---|
| Approach | Precision interlocking wood cuts | Glue, fasteners, or wood joints |
| Fasteners | Usually avoids metal fasteners | Often uses screws or nails |
| Tools | Pull saws, chisels, hand planes | Power saws, routers, drills |
| Precision | Tight friction-fit construction | Varies by joint type |
| Speed | Slower and mostly hand-cut | Faster with tools and jigs |
| Appearance | Clean and often hidden | Decorative or hidden |
| Best For | Timber frames and fine furniture | Furniture, cabinets, and construction |
Common Mistakes When Making Woodworking Joints
Most joint failures come from rushing the process or skipping a step that takes less than a minute. Watch for these five mistakes before they cost you wood and time.
- Skipping the Dry Fit: If you glue and clamp without test-fitting first, you won’t catch gaps or misalignment until it’s too late to fix.
- Wrong Grain Orientation: Whenever you can, aim for long-grain-to-long-grain contact; that’s where wood glue grips the hardest and holds the longest.
- Rushing The Glue Cure Time: Pulling clamps off too early is one of the fastest ways to ruin a perfectly cut joint.
- Forcing a Tight Joint with A Mallet: A joint that’s forced in can crack the wood internally, and you won’t see the damage until the piece fails under stress.
- Using Dull Blades and Bits: A dull table saw blade or router bit tears wood fibers instead of cutting them cleanly.
Conclusion
The joint you pick decides whether your project lasts years or falls apart in months.
Now you know which joints work for furniture frames, drawers, cabinets, shelves and quick weekend builds. You also know how they compare on strength, skill level, and speed.
Start simple. If you’re new, try a pocket hole or butt joint on your first project and work your way up to dovetails and mortise and tenon joints. Every joint you practice adds another tool to your skill set.
Grab some scrap wood, pick a project from the table above, and test your first joint before you cut into your good lumber. Your builds will thank you for it.
Frequently Asked Questions
What is The Strongest Woodworking Joint?
The mortise-and-tenon joint is the strongest. It handles heavy racking, pulling, and compression forces better than any other wood joint.
What is The Weakest Woodworking Joint?
The butt joint is the weakest. It has a minimal glue surface and depends almost entirely on fasteners such as nails or screws for strength.
What Joints Do Professional Furniture Makers Use?
Most pros rely on mortise-and-tenon joints for frames and dovetails for drawers. Pocket holes and dowels handle secondary connections.