I remember the moment box joints finally made sense, and I want to help you reach that point faster.
This joint looks tricky at first, but once you see how the small “fingers” lock together, it becomes a simple and reliable way to build strong corners.
In this guide, I show you how to set up your tools, mark your boards, and cut each piece so everything fits the right way. You’ll also learn the small checks and adjustments that keep the joint tight and smooth.
I keep the steps simple so you don’t have to second-guess anything along the way.
If you’re just getting into woodworking or trying box joints for the first time, you’ll see how each part builds on the last.
By the end, you’ll know exactly how to make a simple box joint from the first cut to the final fit.
What is a Box Joint?
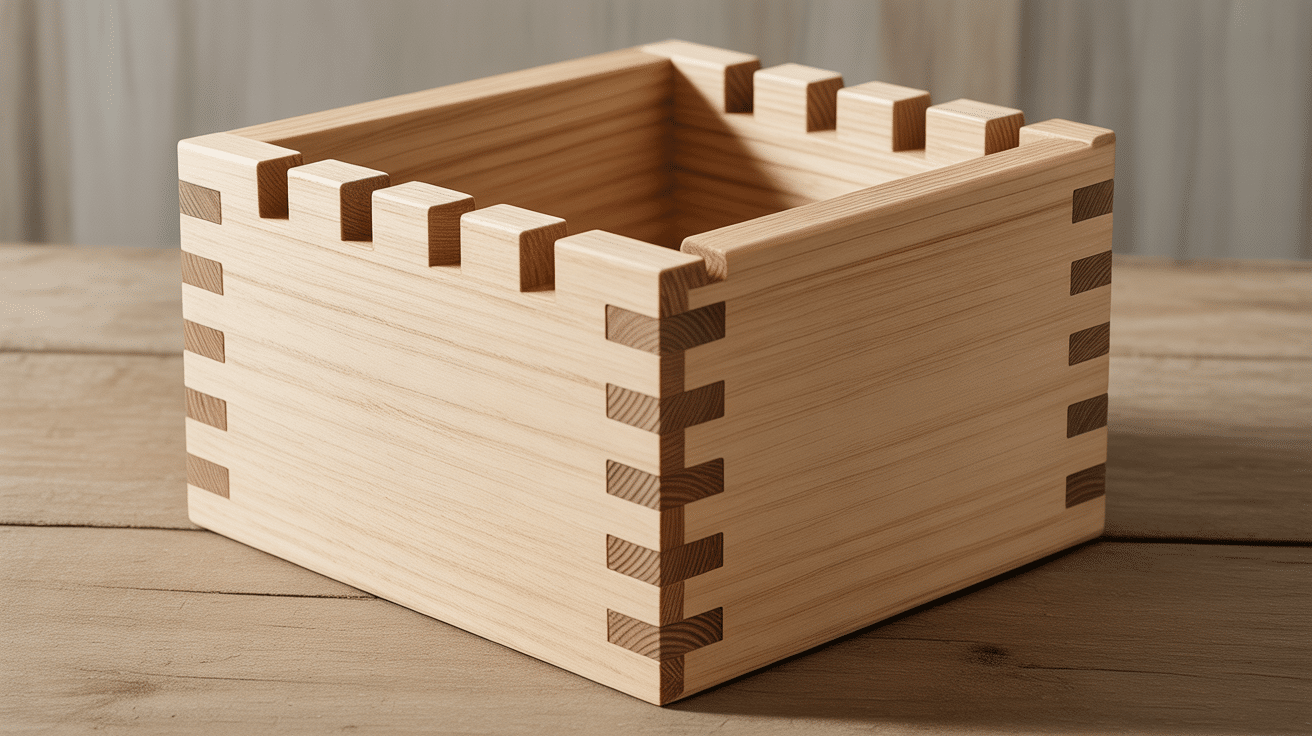
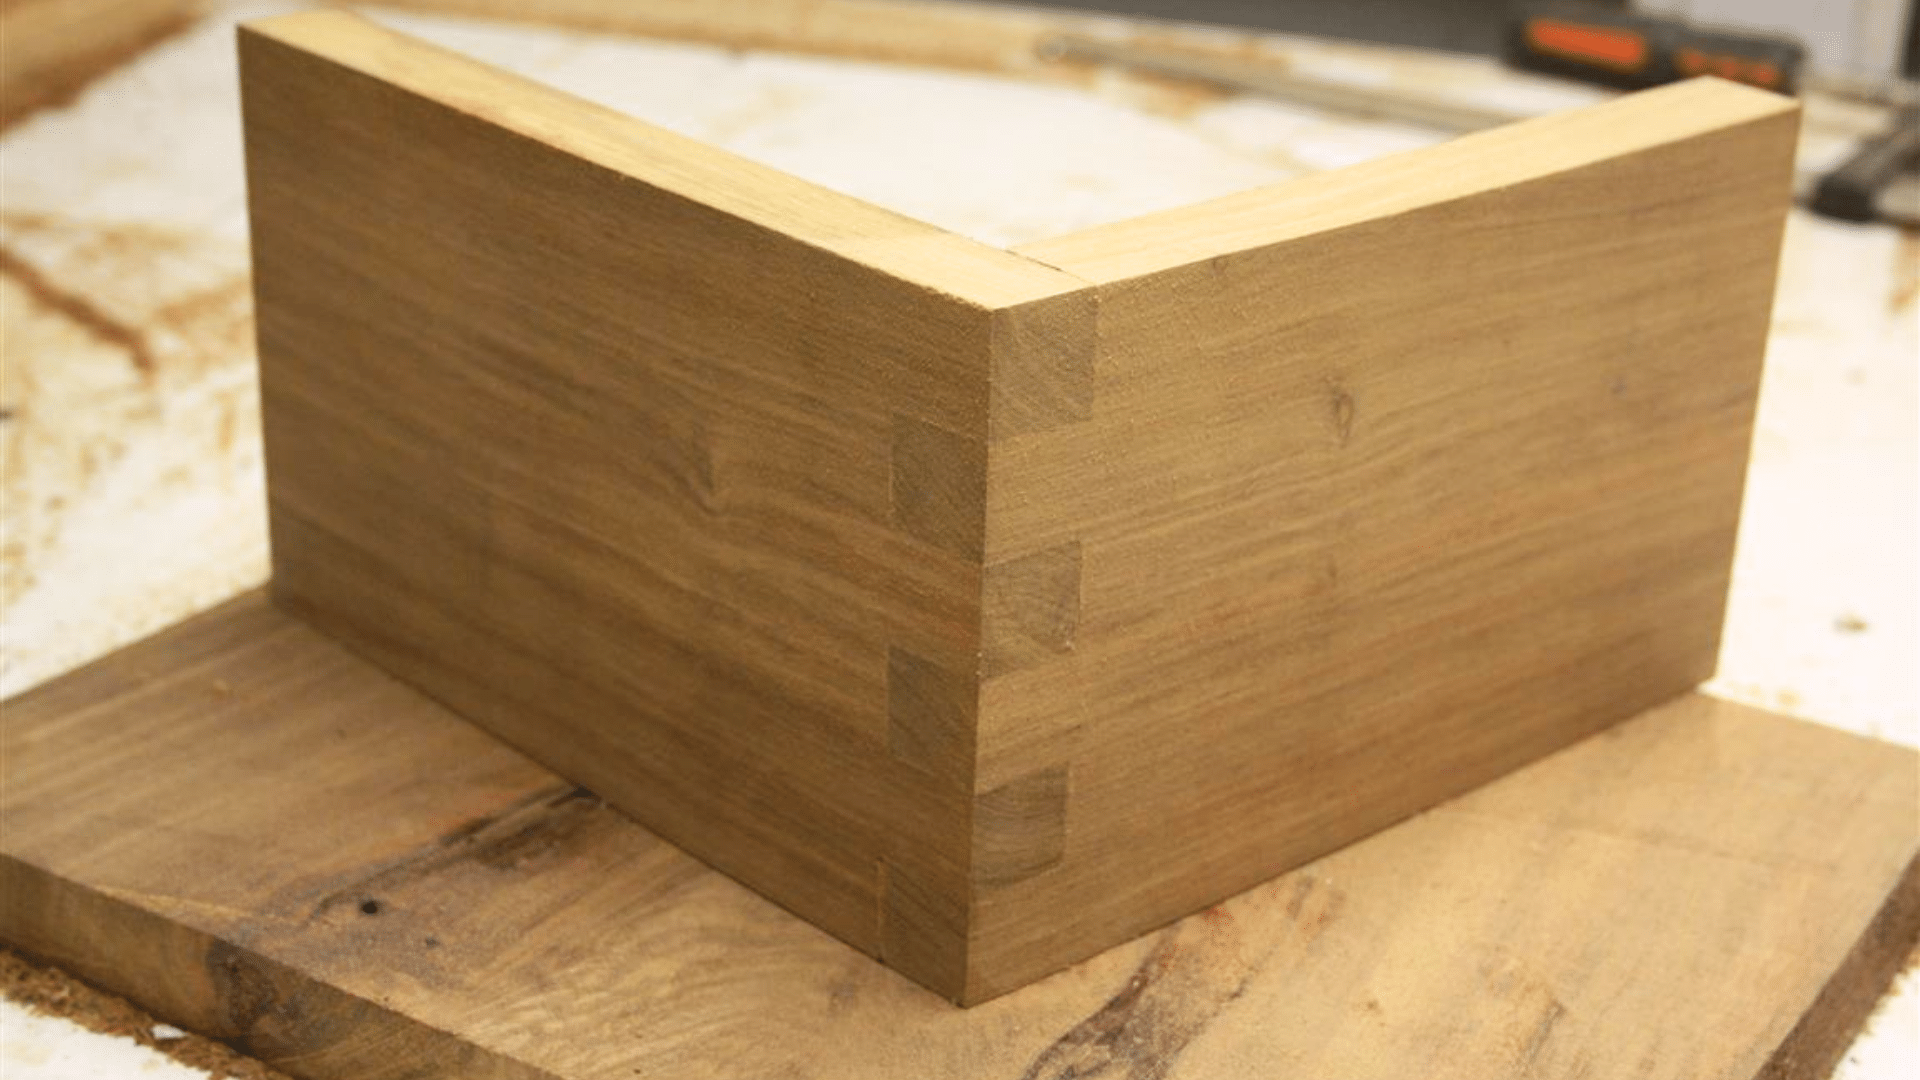
A box joint is a woodworking joint made by cutting a series of evenly spaced rectangular “fingers” on two pieces of wood so they interlock at a right angle.
The fingers and slots are the same width, allowing the pieces to fit together tightly when glued. This joint is part of a wider family of woodworking joints, and it goes by more than one name.
Box joints are commonly used in drawers, wooden boxes, cabinet frames, and small furniture projects where stable corners are needed.
The joint is typically cut using a table saw or router paired with a box joint jig, which keeps the spacing consistent.
When fitted correctly, the joint forms a clean geometric pattern that adds both strength and a decorative look.
The fingers can be made wide for a bold appearance or narrow for more intricate detail.
Key Characteristics of Box Joints
Box joints are known for their strength, clean appearance, and simple construction.
They rely on evenly spaced fingers that interlock to form a solid corner. These features make them a dependable choice for boxes, drawers, and small furniture.
- Strength: The large gluing surface creates a durable, long-lasting bond.
- Alignment: Evenly cut fingers help the joint stay straight and stable.
- Appearance: The interlocking pattern gives a neat, geometric look.
- Versatility: Works well with many wood types and project sizes.
- Simplicity: Easier to make than more complex joints like dovetails.
These traits make box joints both practical and beginner-friendly. You’ll see this same joint show up in real builds too, like a DIY gun cabinet.
Making a Box Joint: Step-By-Step
Before you start cutting, it helps to get familiar with the setup. A clean, steady foundation makes every step that follows much easier.
Step 1: Prepare the Saw and Set up the Grooving Blade
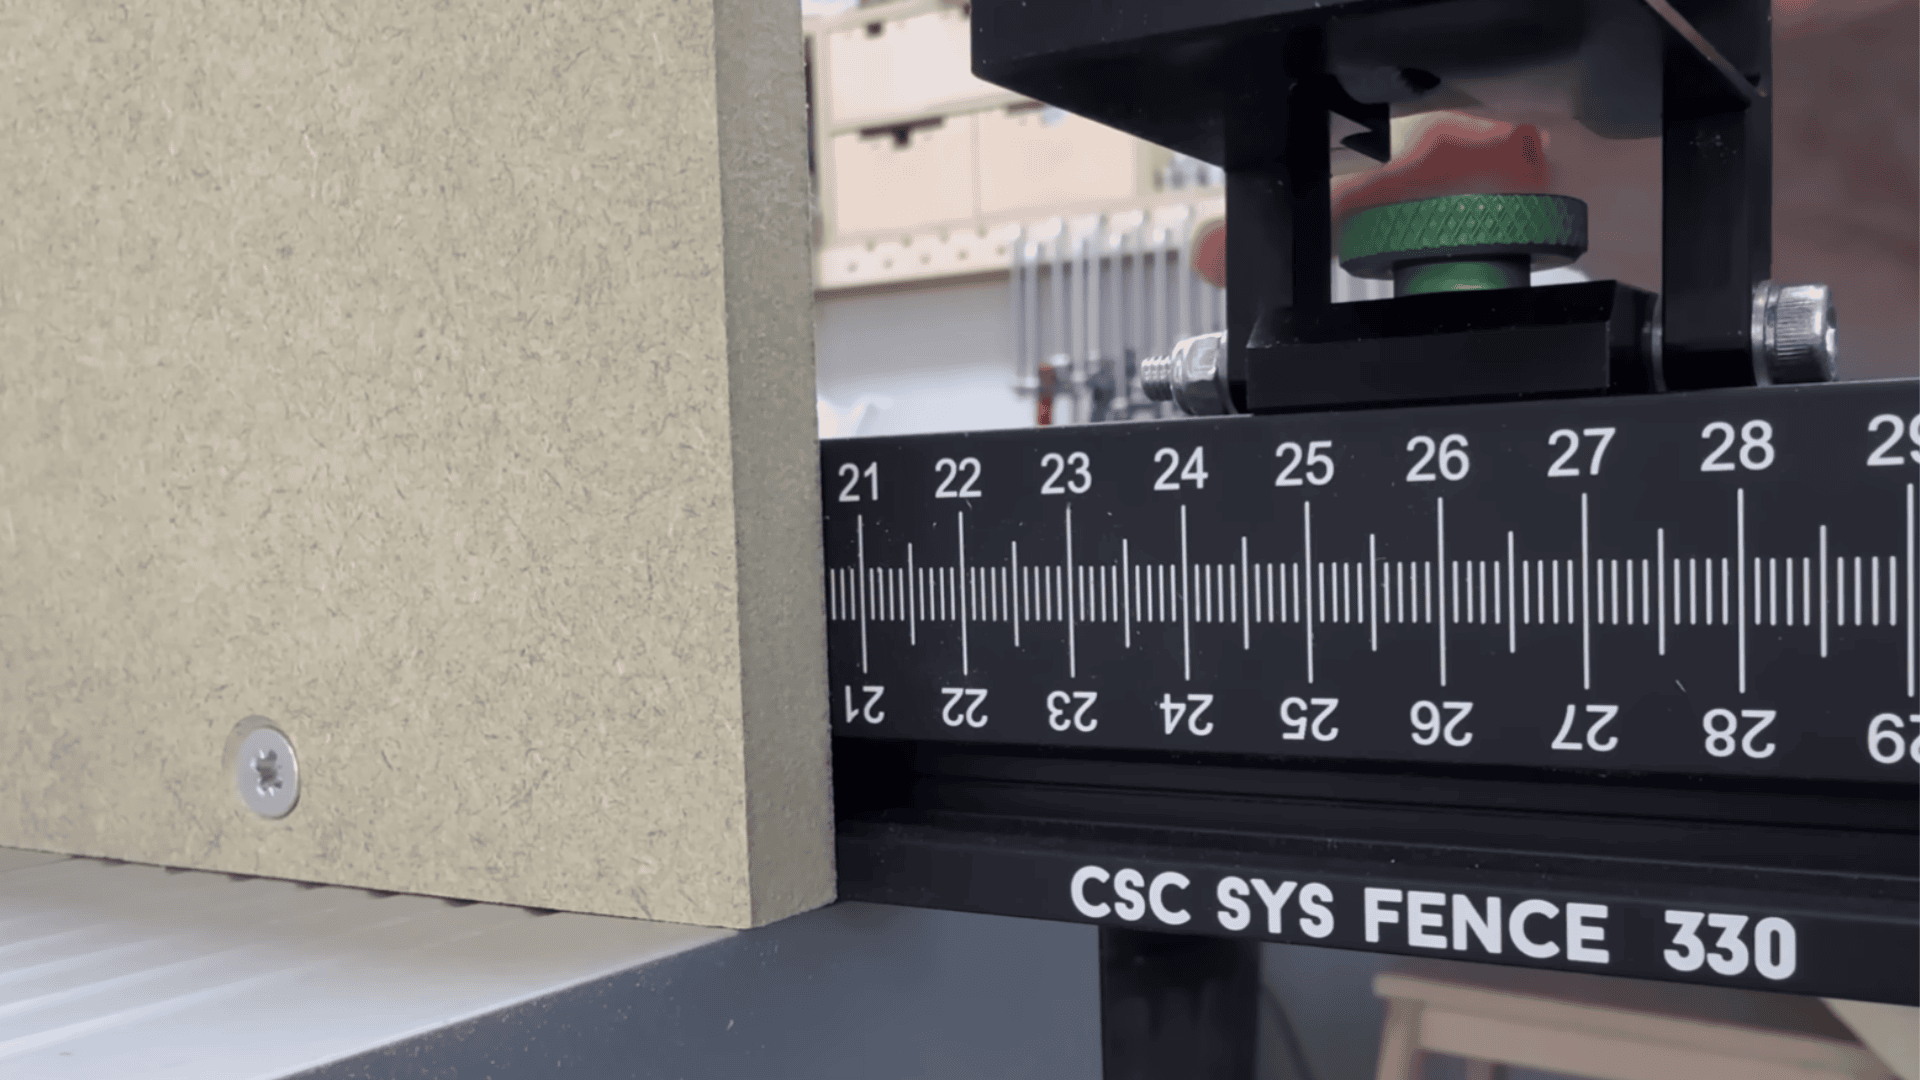
The process begins by fitting a grooving blade to the table saw and ensuring the saw, sliding table, and fence system are aligned.
The blade height is set to match the material thickness so the fingers form cleanly without cutting too deep.
Proper setup prevents inaccuracies later in the build. Test cuts help verify that the grooving blade performs well with the material.
This preparation ensures the saw is stable, precise, and ready for box joint cutting.
Step 2: Build and Align the Sacrificial Fence with the Peg Guide
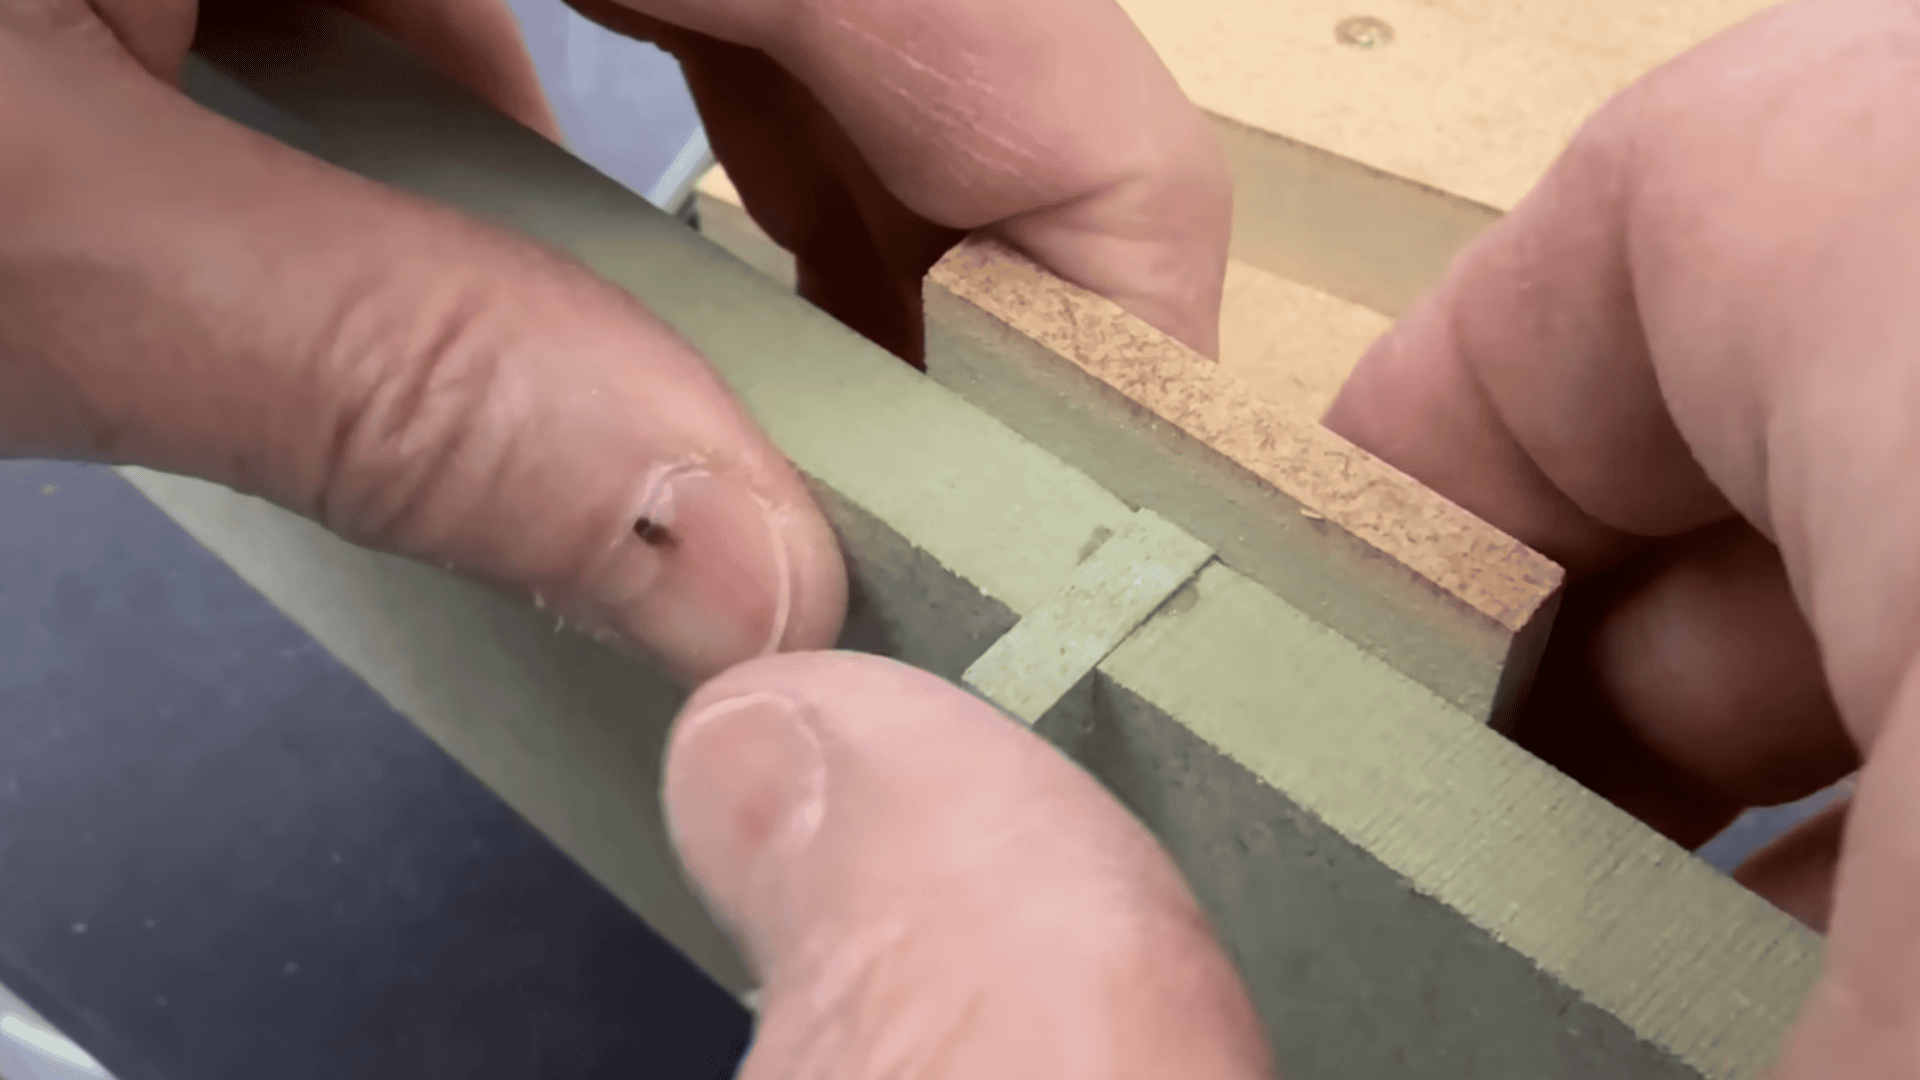
A sacrificial fence is fastened to the saw with countersunk screws so it sits flat, stable, and won’t shift during cuts.
After it’s secured, a groove is made through the fence with the grooving blade, creating the slot needed for the setup. A matching piece of MDF is glued into that groove to act as the peg that guides each finger cut.
Small micro-adjustments help line up the peg with accuracy.
Once the fence is dialed in, you get consistent, repeatable finger spacing every time.
Step 3: Make Test Cuts and Adjust Finger Spacing
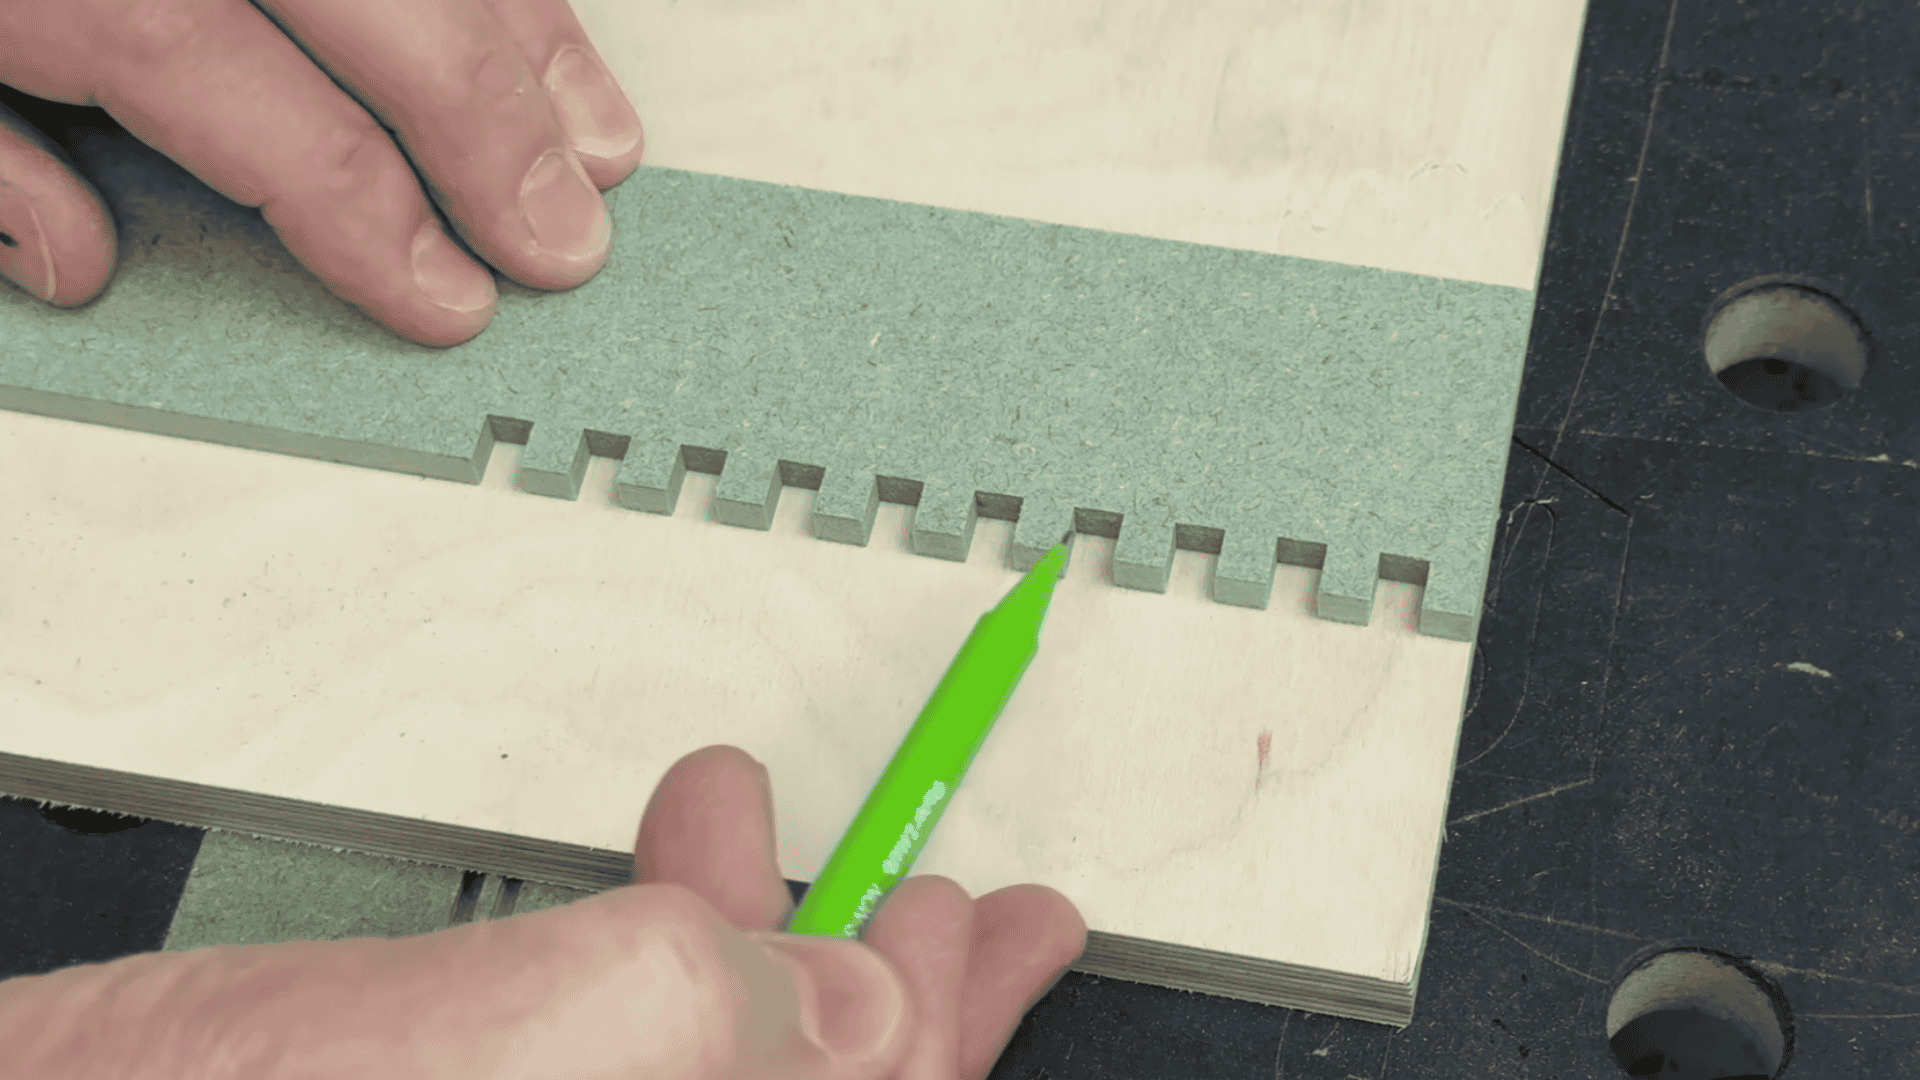
Test cuts help confirm that the peg spacing and blade alignment are set correctly for a clean, accurate fit.
After cutting a small row of fingers, the pieces are checked to make sure they slide together without gaps or areas that feel too tight.
Any slight issues can be fixed by adjusting the micro-adjust stop, letting you make very small corrections.
These early cuts also create a short “test comb,” which becomes a guide you can use later to quickly recalibrate the setup whenever needed.
Step 4: Prepare the Box Panels to Match Full Finger Heights
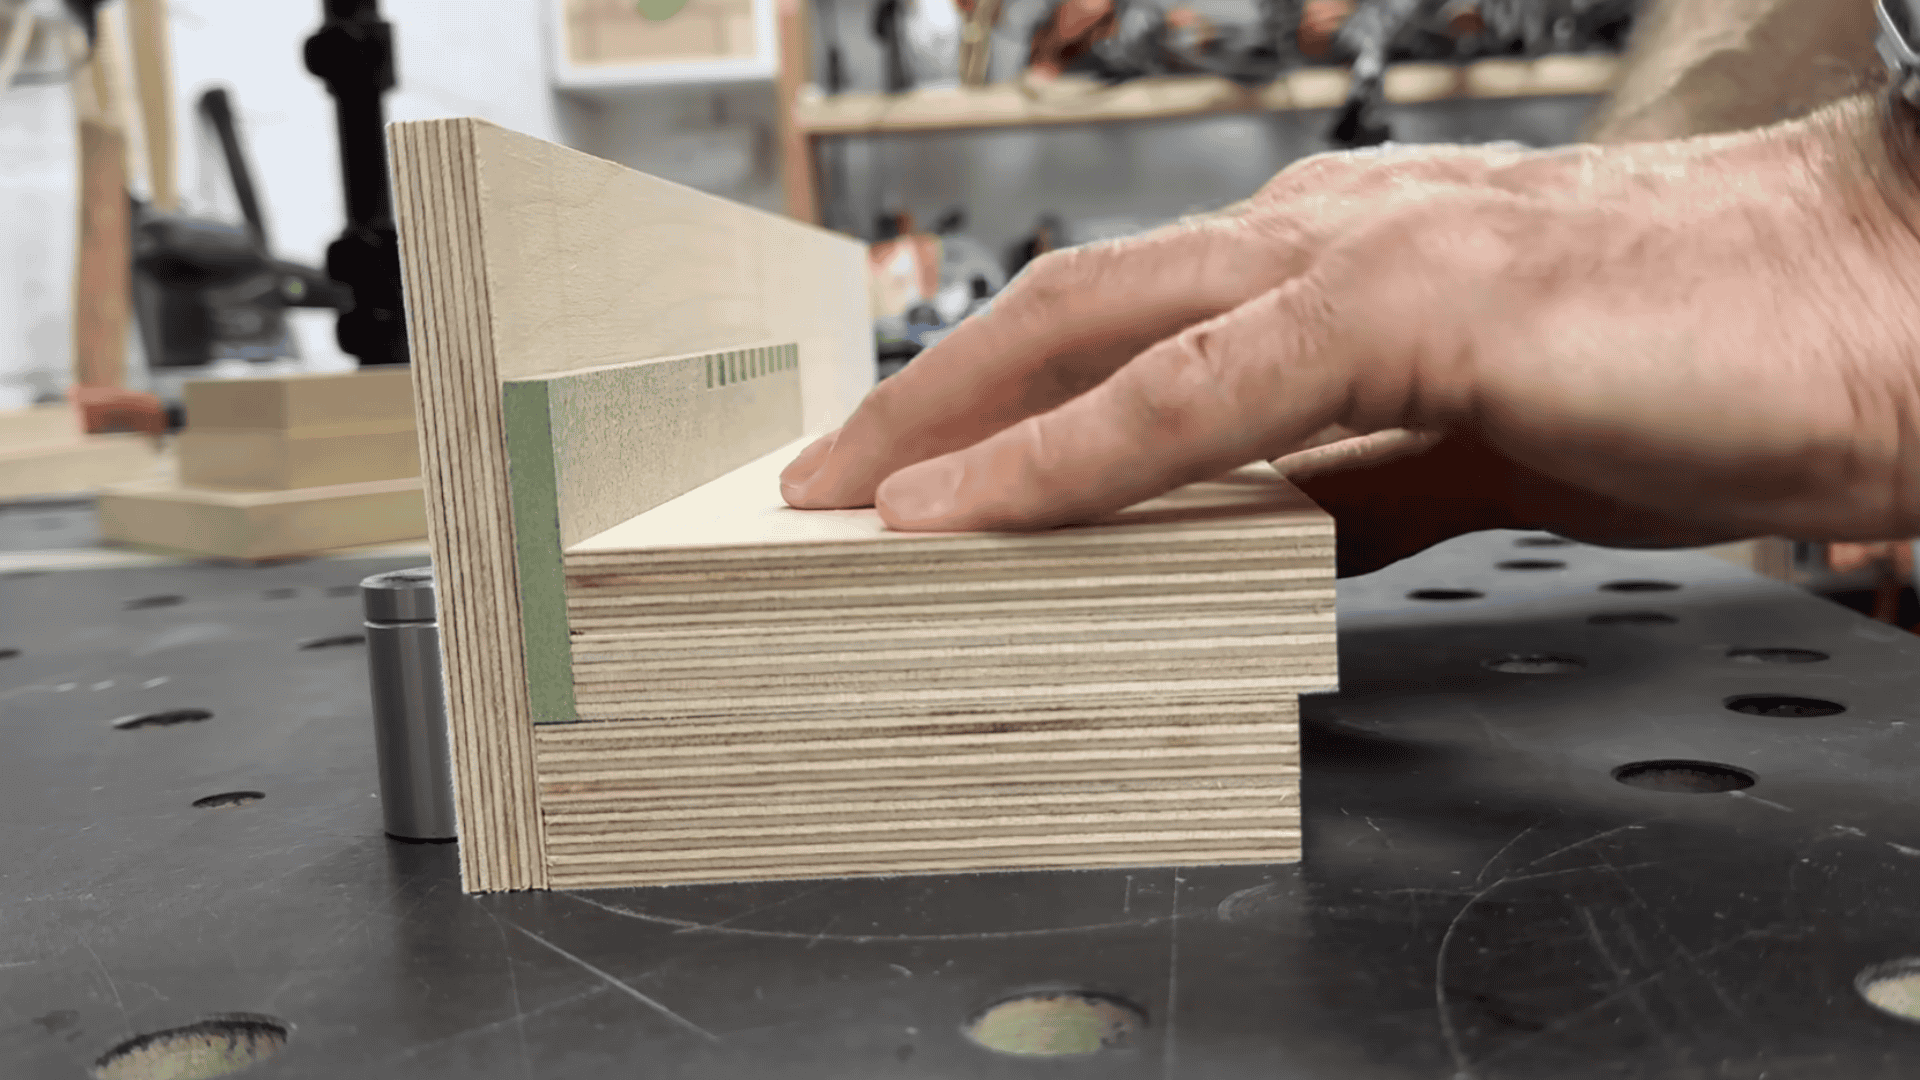
The box panels are trimmed so their heights match full finger increments, which prevents ending up with half-fingers at the top or bottom.
Using the test comb makes it easy to mark the exact height you need before cutting.
Once the marks are set, the panels can be cut on a table saw or a track saw to keep the lengths accurate and the edges clean.
Getting the sizing right at this stage helps the joints line up better and makes assembly much easier later on.
Step 5: Stack and Secure Panels for Batch Cutting
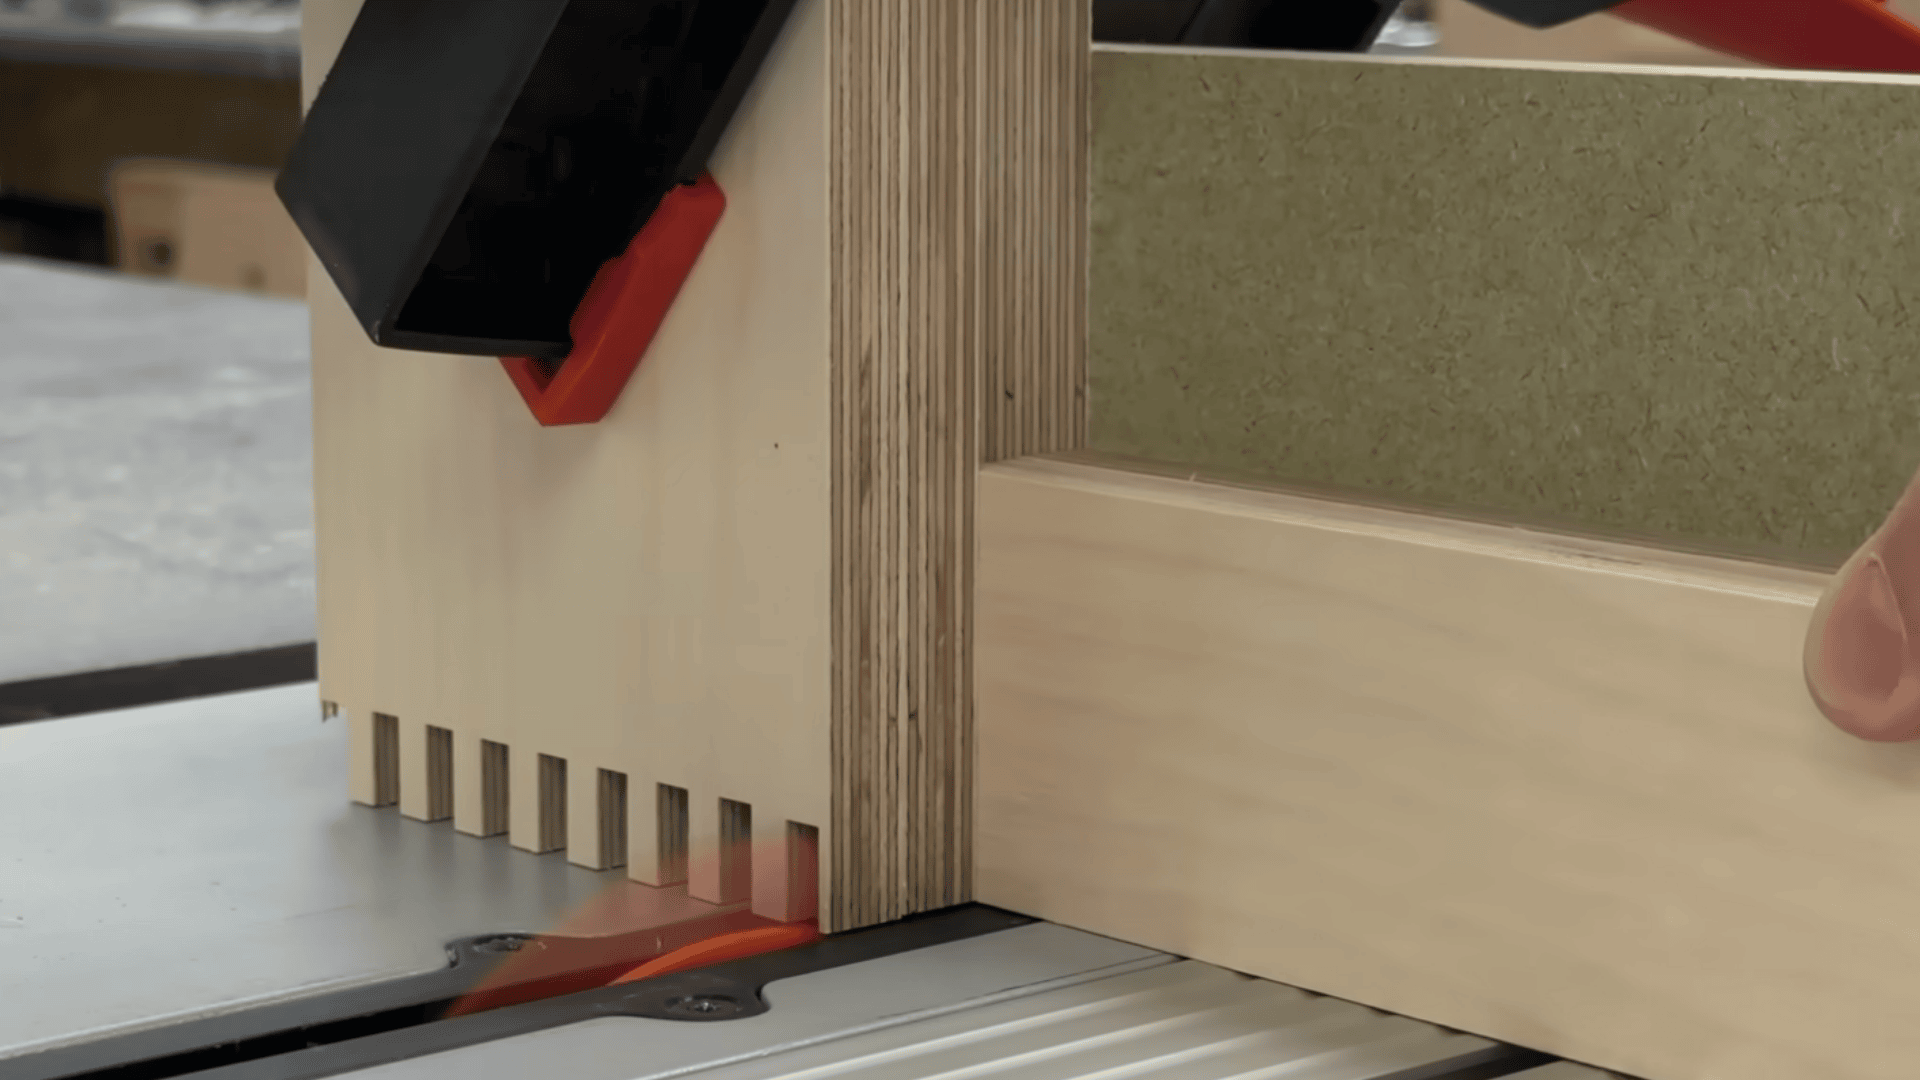
Panels are paired using double-sided tape so that multiple ends can be cut at the same time.
The long sides are taped together, and the short sides are taped together.
The width of the blade offsets the panels, so the first cut aligns the finger pattern correctly. Clamping the taped pieces keeps them stable during cutting.
Batch cutting keeps the pattern consistent across all sides of the box.
Step 6: Cut the Finger Joints Using the Peg Indexing System
Panels are clamped to the sliding table or miter gauge, then advanced slowly into the blade.
After each cut, the new notch is placed over the peg to index the next finger.
Scrap wood is added for the final cut to prevent tear-out. When one pair of ends is complete, the panels are separated, reassembled in the opposite sequence, and cut again.
This step forms the interlocking fingers that define the box joint, ensuring a tight and consistent fit. Some woodworkers call this a finger joint, since the interlocking pieces look like fingers, though a true finger joint is usually used to splice boards end to end rather than form a corner.
Step 7: Fit, Trim, and Cut the Rebate for the Box Bottom
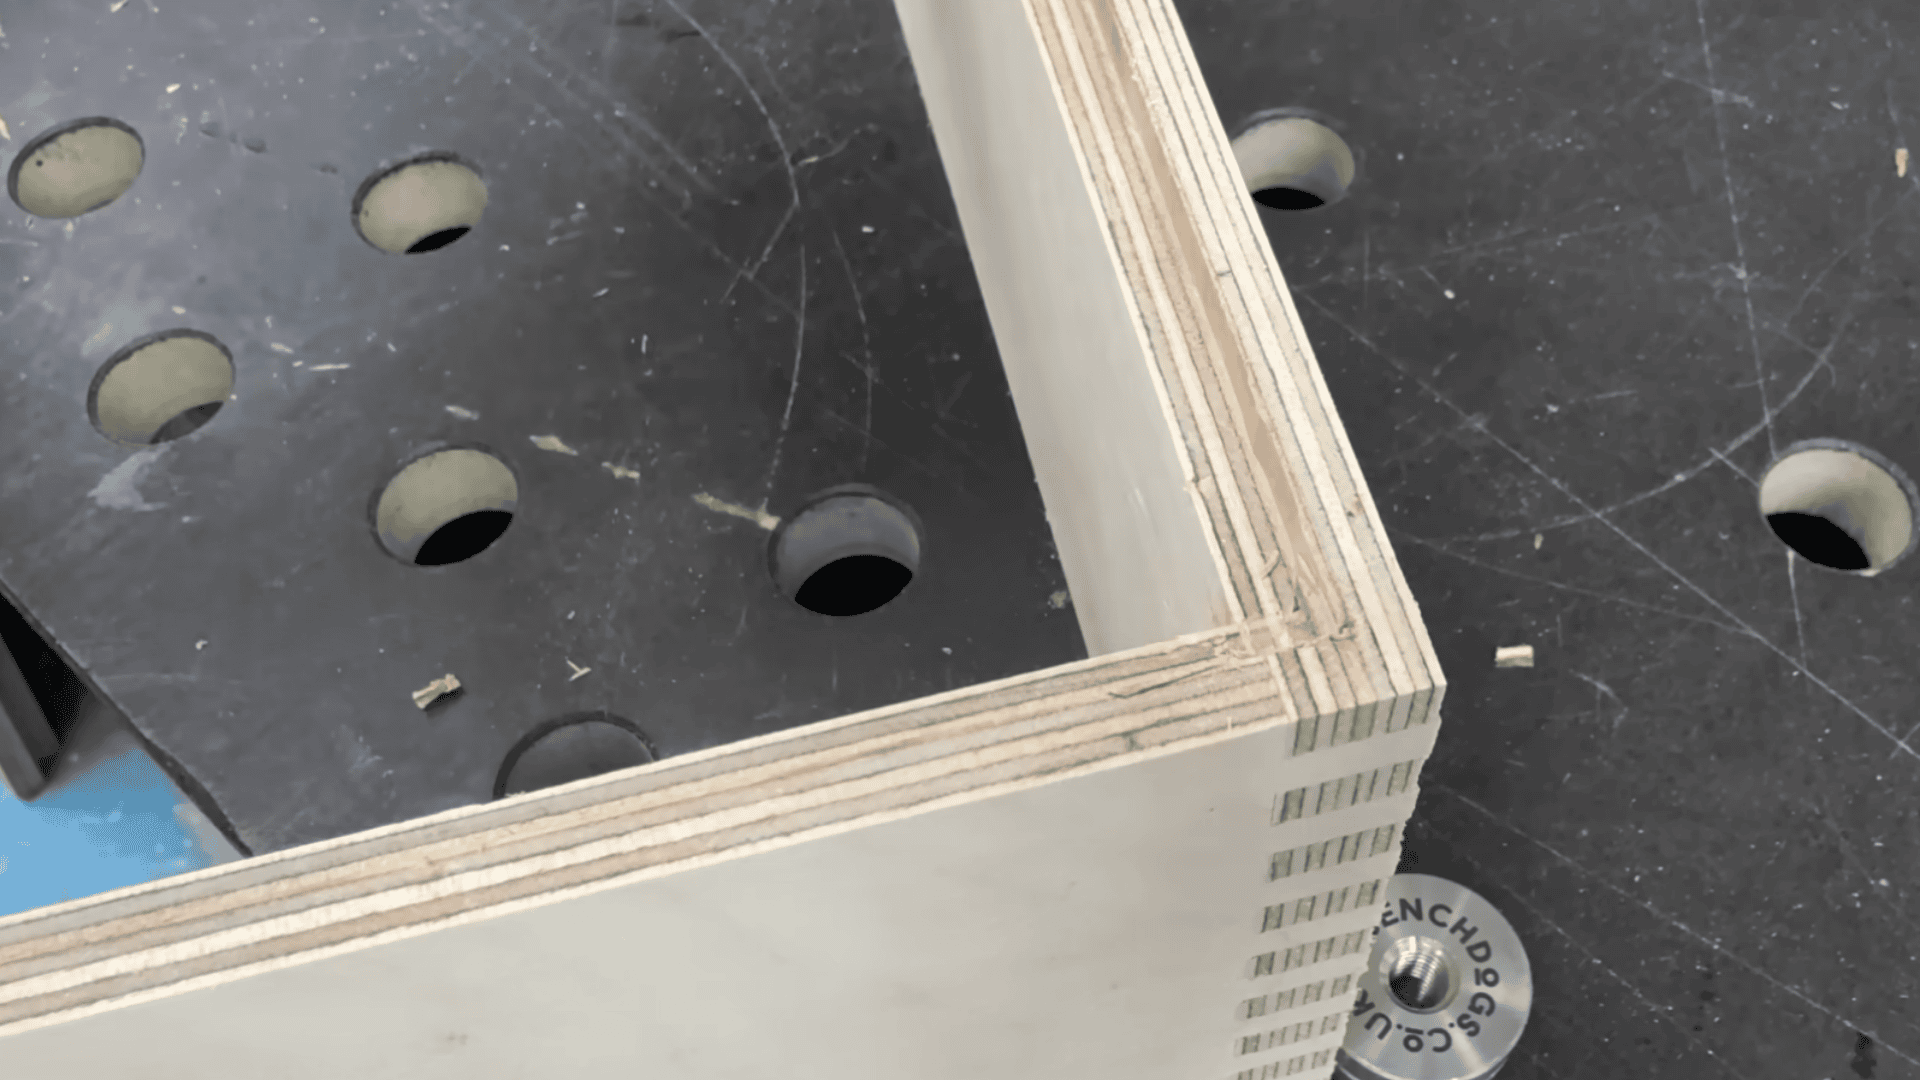
The cut joints are dry-fitted to check alignment. Excess finger length is trimmed using the table saw so the knuckles sit flush.
A rebate bit is used to cut a groove inside each panel to hold the base. The base panel is then trimmed and rebated to match the grooves.
Light sanding removes tear-out before assembly.
These adjustments ensure the box fits together cleanly and the base sits securely without forcing the sides outward.
Step 8: Glue, Clamp, Sand, and Apply Finish
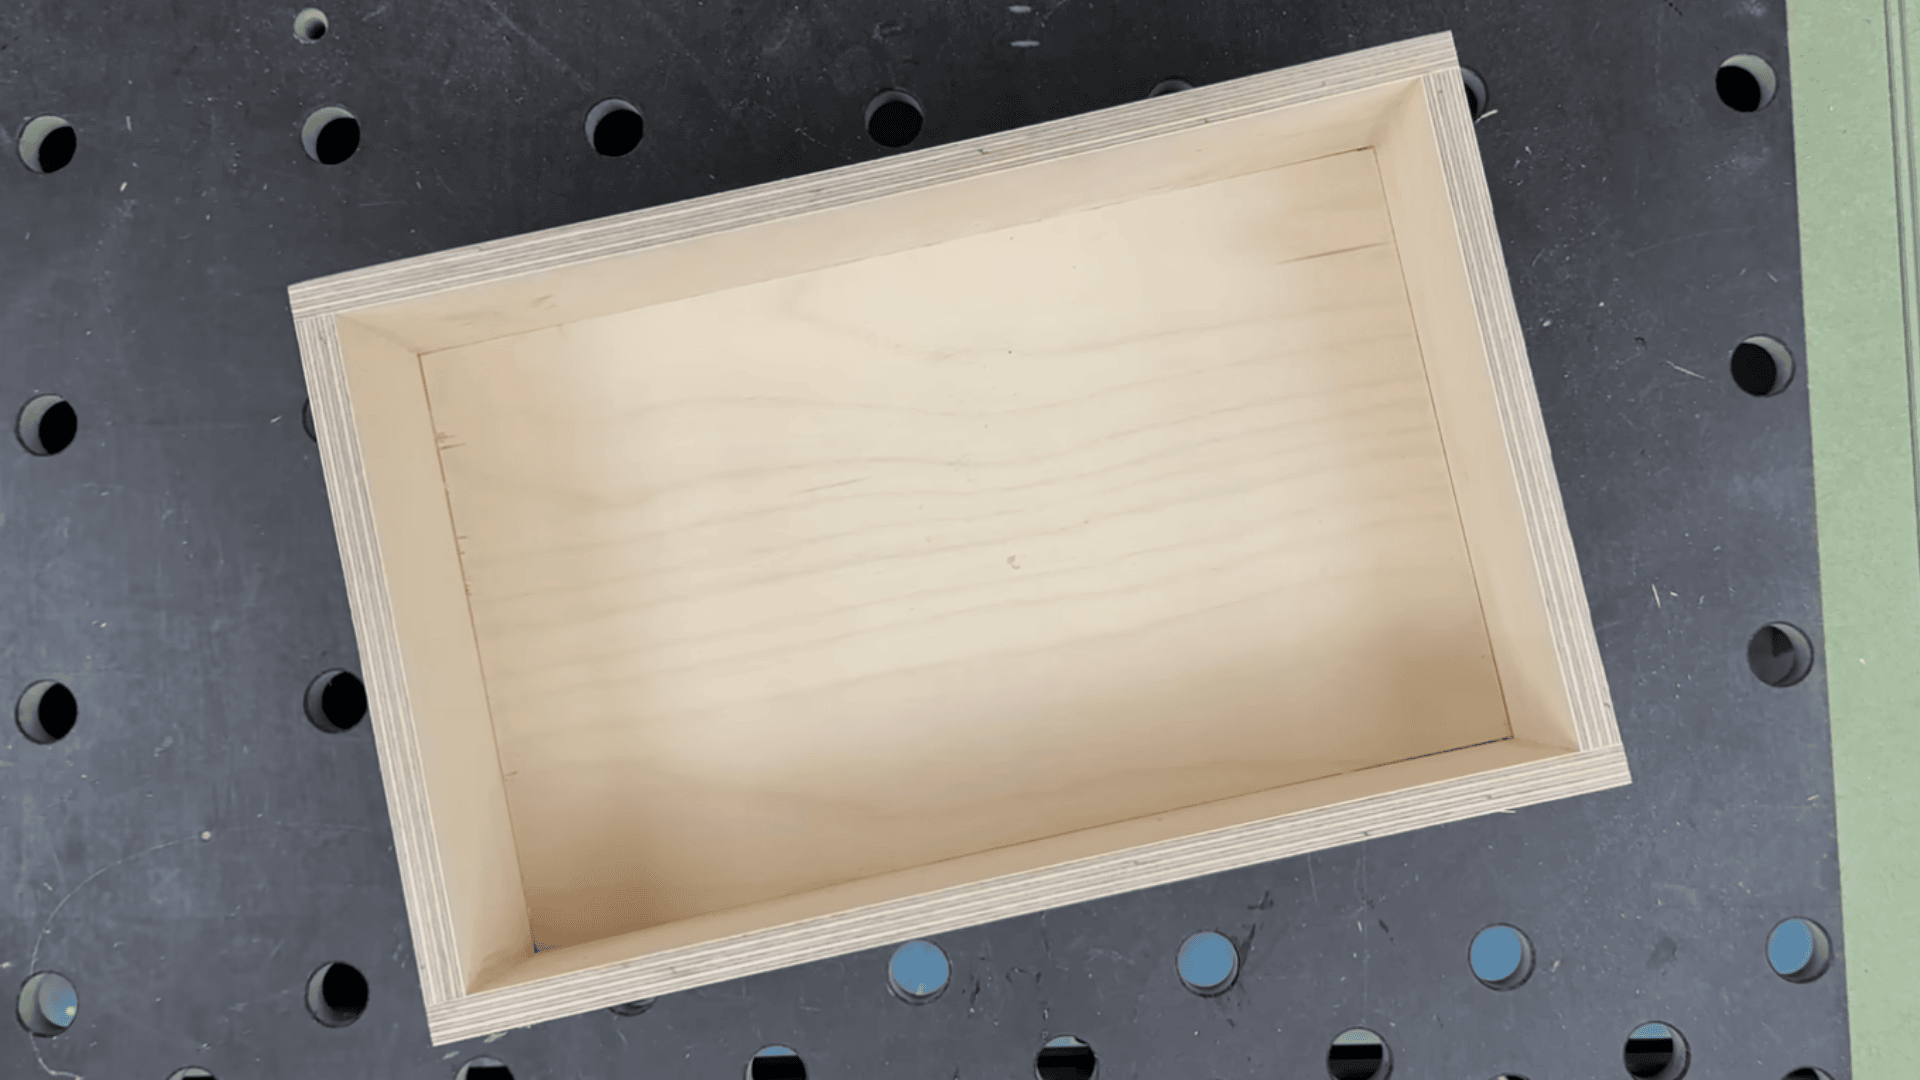
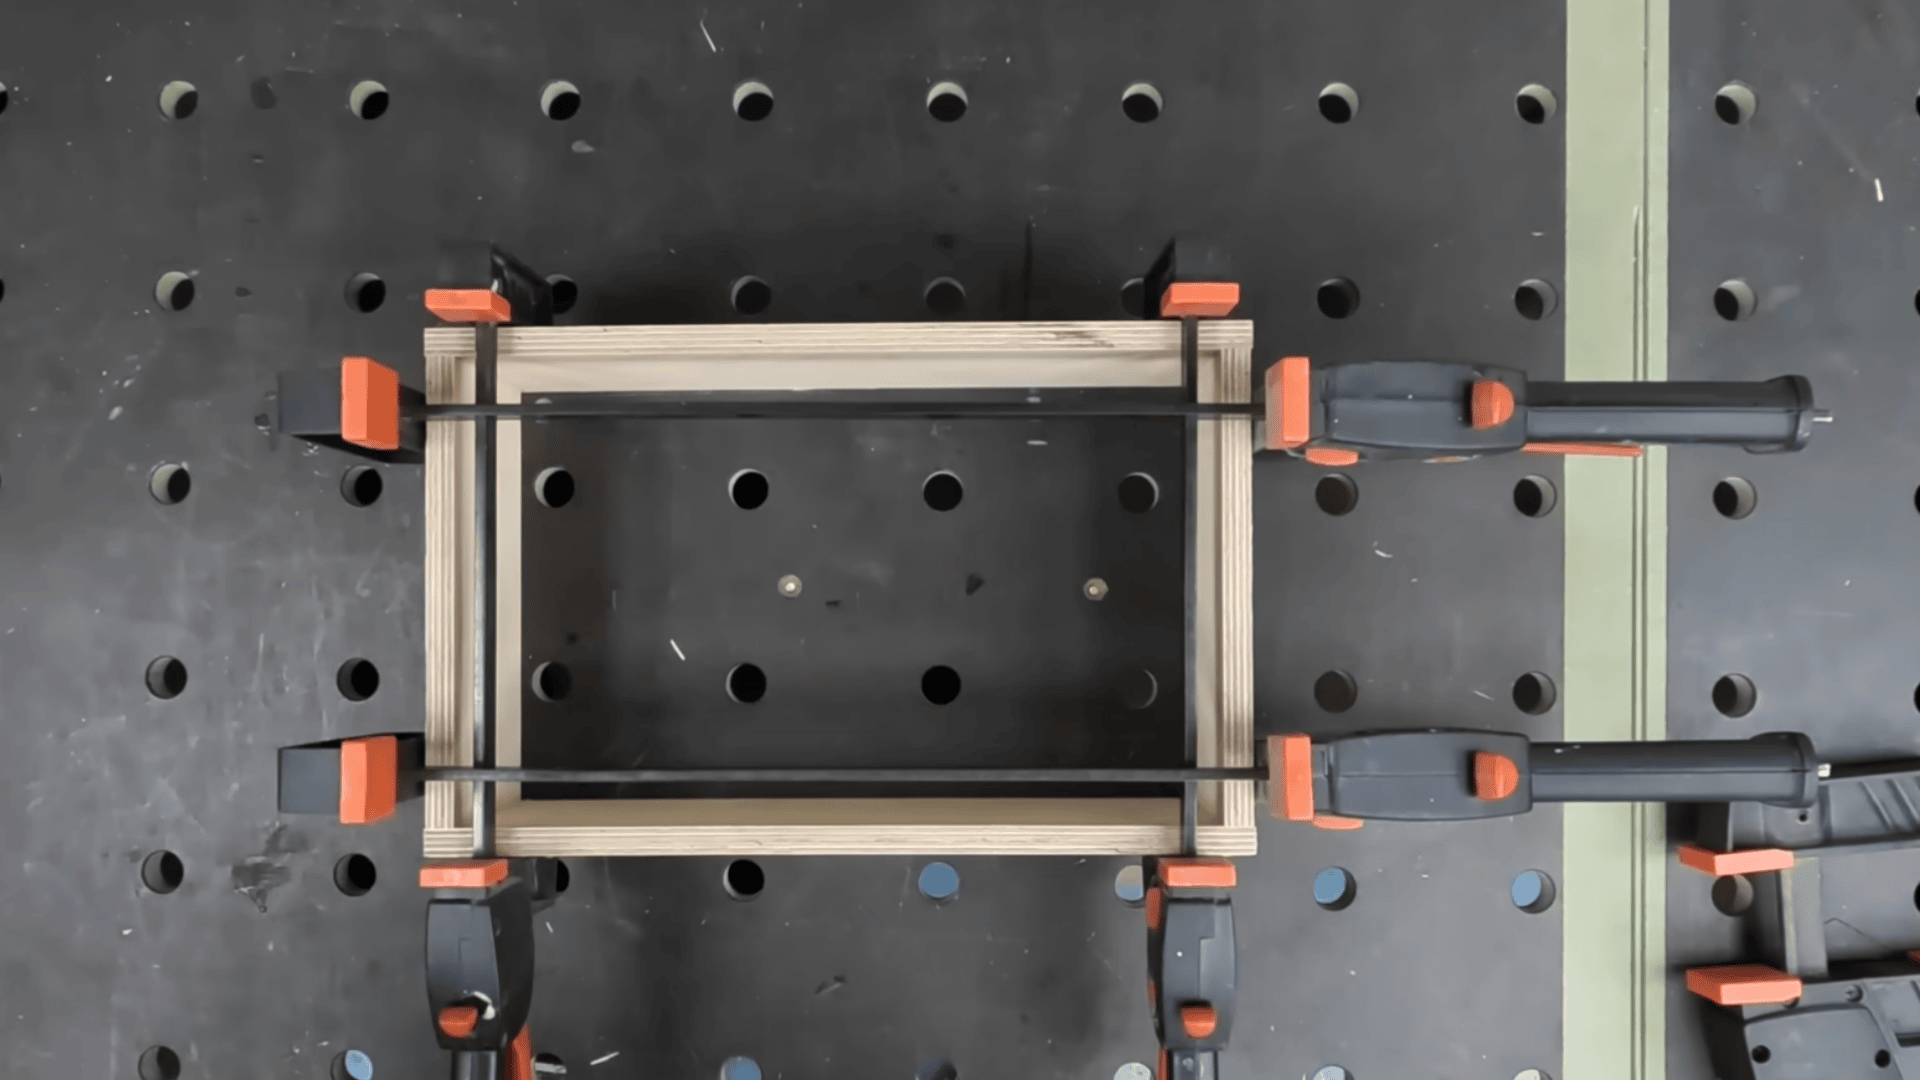
Glue is applied to all finger surfaces, and the box is gently assembled to avoid splitting. Weight or clamps hold the structure until the glue cures.
Once dry, the box is sanded to remove glue residue and smooth the surface. If you’d rather paint the box instead of waxing it, check out these finish options for wooden furniture.
Edges must be sanded carefully to avoid rounding or damaging the veneer. A light finish, such as wax, can be applied to enhance the wood grain.
This final step completes the box and brings out the definition of the finger joints.
This tutorial is based on a helpful video by Peter Millard. You can check out the original video on their YouTube channel or watch it below.
Tips for Cleaner and Stronger Box Joints
Creating cleaner, stronger box joints became easier for me once I focused on a few simple habits. These steps improve accuracy, prevent gaps, and ensure each joint fits tightly without extra effort.
- Measure each finger width carefully to maintain consistent spacing.
- Use a sharp blade or bit to reduce tear-out during cutting.
- Test-fit the joint before gluing to check for tight or loose spots.
- Apply glue evenly across all fingers to strengthen the bond.
- Clamp the joint firmly until the glue fully sets.
Conclusion
Working with box joints has shown me how much a project can improve with the proper technique and a little patience. Careful measuring, steady cutting, and testing the fit make the biggest difference in the final result.
Box joints add a clean, geometric look that works well on drawers, boxes, and small furniture, giving each piece a solid, handmade feel.
With steady practice, this joint becomes a dependable skill you can use in many woodworking projects.
Have you tried cutting a box joint yet? Tell me in the comments how yours turned out, or ask away if you get stuck on any step.
Frequently Asked Questions
Is a Box Joint The Same Thing as a Finger Joint?
Not exactly. People use the two names interchangeably for box corners, but a true finger joint usually splices boards end to end to make a longer piece, while a box joint joins two boards at a right-angle corner.
Is a Box Joint Strong Enough without Extra Hardware?
Yes. The large glued surface area across all the Fingers Gives Box Joints Plenty of Strength for Drawers, Boxes, and Cabinet Frames without Screws or Brackets.
Is a Box Joint Stronger than a Dovetail Joint?
Independent strength tests have found box joints can hold up as well as, or better than, dovetails, since the straight fingers create more glue surface. Dovetails are often chosen for looks rather than added strength.