Aging wood doesn’t have to take years, and I’ve learned that simple methods can help you get that worn, lived-in look much faster.
You can give wood an older look at home using simple, everyday materials.
In this guide, I’ll walk you through what oxidizing wood means, the supplies you’ll need, and the steps that actually make a difference.
You’ll see how basic items like vinegar, steel wool, and tea can change the color and feel of your wood in a short time.
I’ll also share tips to help you avoid blotchy spots and uneven color. By the end, you’ll know how to get an aged finish that looks natural, not forced.
What Oxidizing or Aging Wood Really Means?
Oxidizing or aging wood is a way to change its color by starting a natural reaction on the surface.
When certain liquids touch the wood, they react with the tannins already inside it. This reaction creates darker tones that make the wood look older.
Oxidizing doesn’t paint the wood; it changes the wood itself. That’s why the results often look more real than stains or tinted finishes.
You only need simple items like vinegar, steel wool, or strong tea to make the reaction happen.
Each one shifts the color in a different way, so you can pick the look you want. The goal is to get a finish that feels natural, not forced.
When you understand how the reaction works, it becomes easier to control the final color and avoid patchy spots.
This method is quick, simple, and easy to learn.
Tools and Materials Needed
You only need a few simple items to create an aged look. These tools help you control the color, texture, and final finish.
- White vinegar
- Apple cider vinegar
- Steel wool pads
- Strong black tea bags
- Glass jars or containers
- Paintbrushes or foam brushes
- Clean rags or shop towels
- Sandpaper (medium and fine grits)
- Rubber gloves
- Drop cloth or protective surface
- Stir sticks
- Water for rinsing
- Scrap wood for testing
How to Age Wood Using Baking Soda?
This method relies on a chemical reaction between baking soda and the wood’s tannins, giving certain species a warm, aged patina that develops quickly.
Step 1: Mix the Baking Soda Solution

To begin aging wood with baking soda, prepare the solution that initiates the chemical reaction. Add roughly a tablespoon of baking soda to a cup of warm water.
The warm temperature helps the baking soda dissolve more effectively, ensuring a more even mixture.
Tap water works fine, though distilled water helps keep things consistent by removing minerals and impurities.
Stir until the baking soda dissolves completely, leaving a cloudy but smooth solution. This mixture reacts with tannins in the wood to produce color changes.
Step 2: Prepare Your Wood Samples
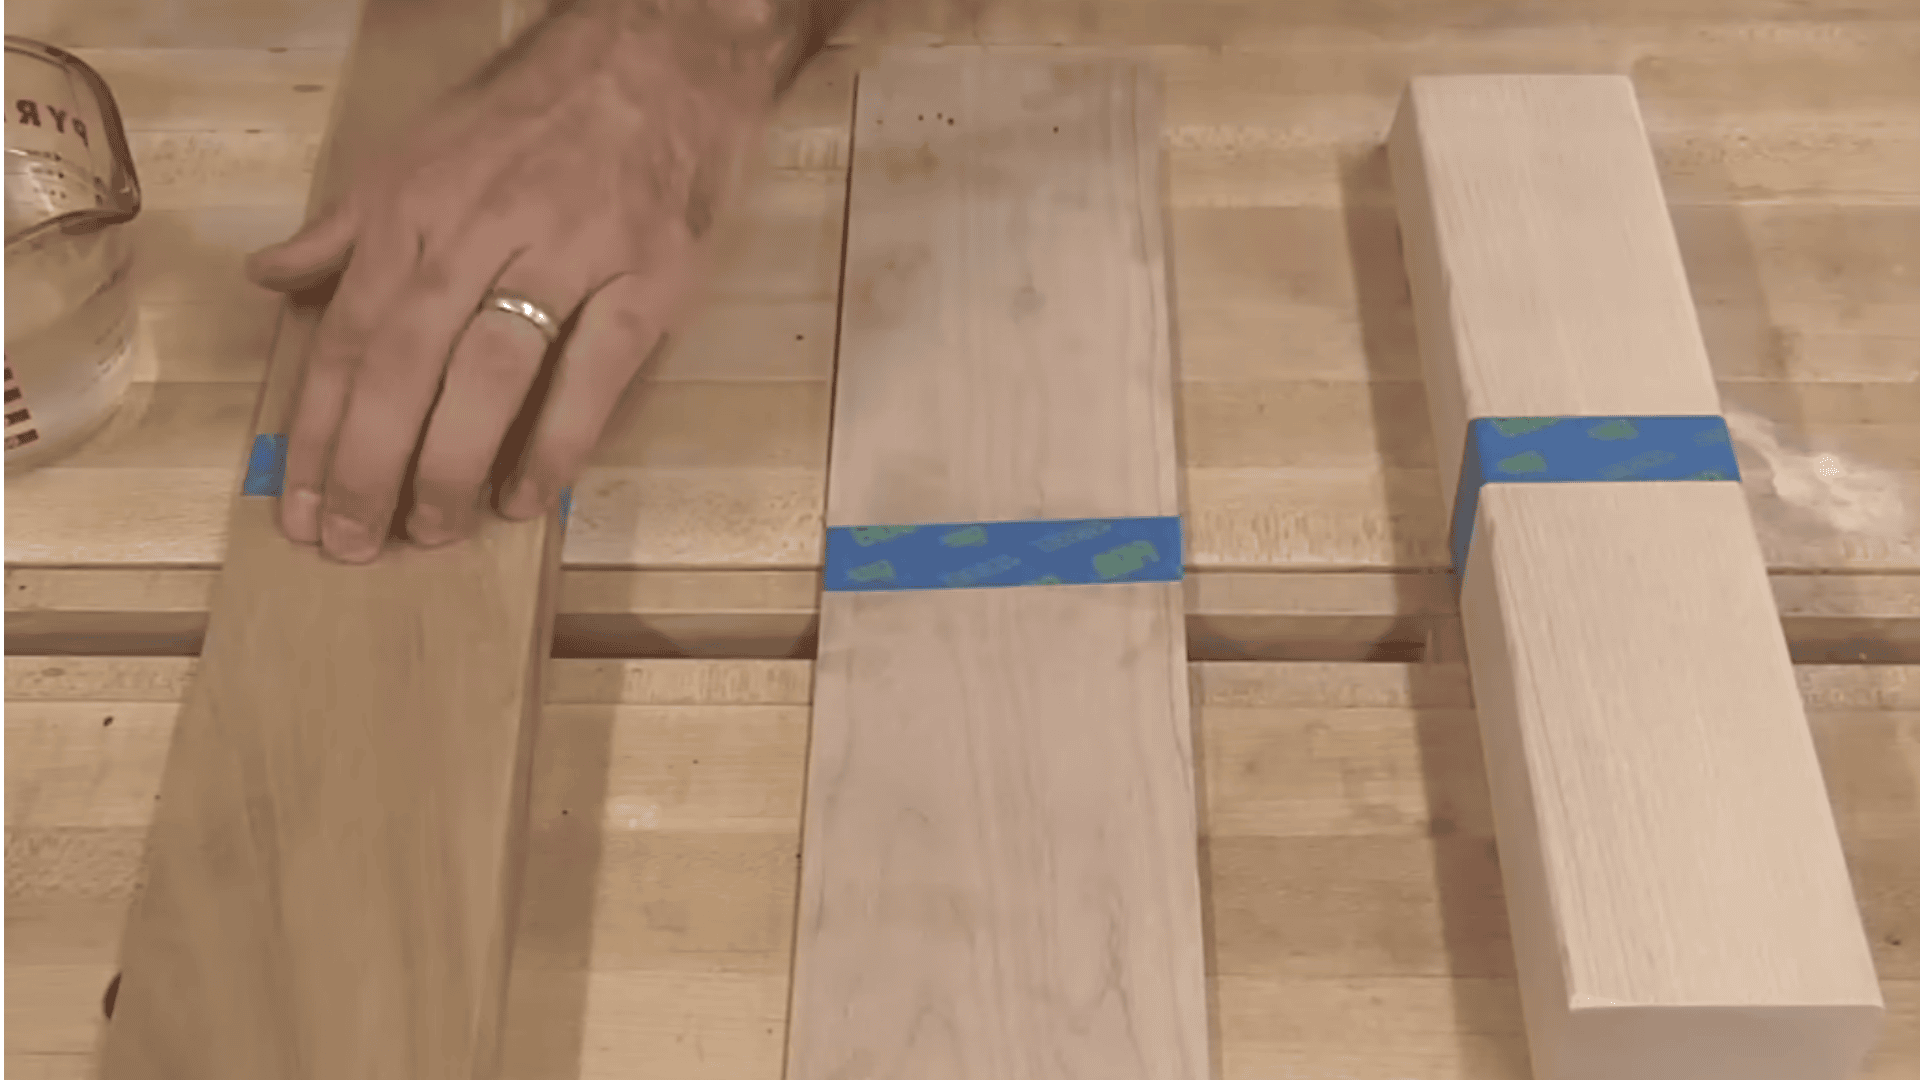
Before applying the solution, pick the boards you want to test. Different wood types have different tannin levels, which affect how baking soda changes the color.
Maple contains very low tannin levels, meaning it won’t show much color change, while cherry has a moderate amount, and mahogany contains significantly more.
Preparing multiple samples helps you see how each species behaves and compare results side by side.
Make sure the boards are clean, dry, and sanded. Test on scraps, too, since boards of the same species can still vary.
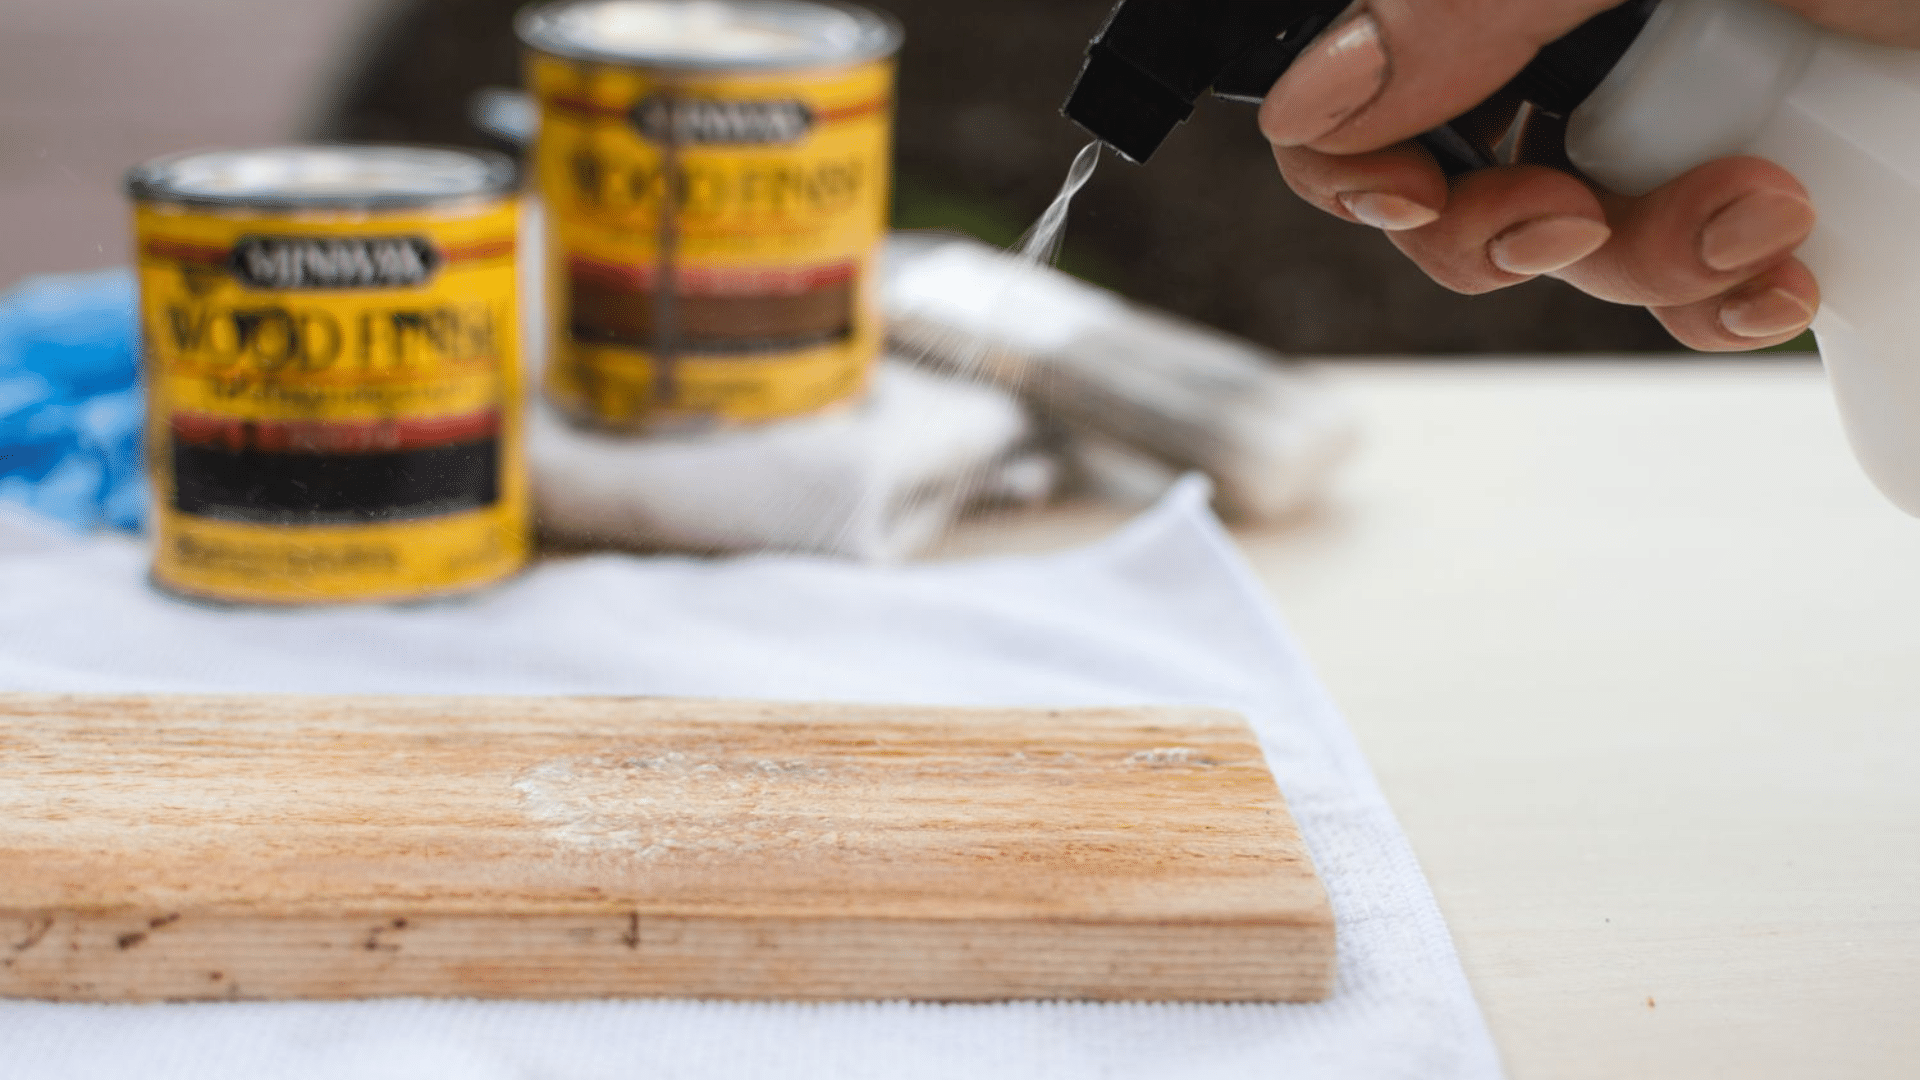
Step 3: Apply the Baking Soda Mixture
Once your boards are ready, apply the baking soda solution using a foam brush. This tool allows you to spread the mixture smoothly across the surface without leaving streaks.
Brush it on evenly, making sure the entire face is coated. You don’t need to flood the wood; apply enough to wet the surface thoroughly.
This begins the chemical reaction between the baking soda and the tannins within the wood fibers.
Work quickly and consistently so the reaction develops evenly across the board.
Step 4: Allow the Reaction to Develop

After applying the solution, let the wood sit undisturbed for about 10 minutes. This is when you’ll start seeing the first hints of color change.
The transformation depends entirely on the tannin content of the wood. Maple will barely change, showing perhaps a slightly darker tone but nothing dramatic.
Cherry begins developing a soft, aged warmth that resembles the natural deepening the wood gains over years of exposure.
Mahogany shows the biggest change, becoming richer and deeper, sometimes with slight purple or red tones.
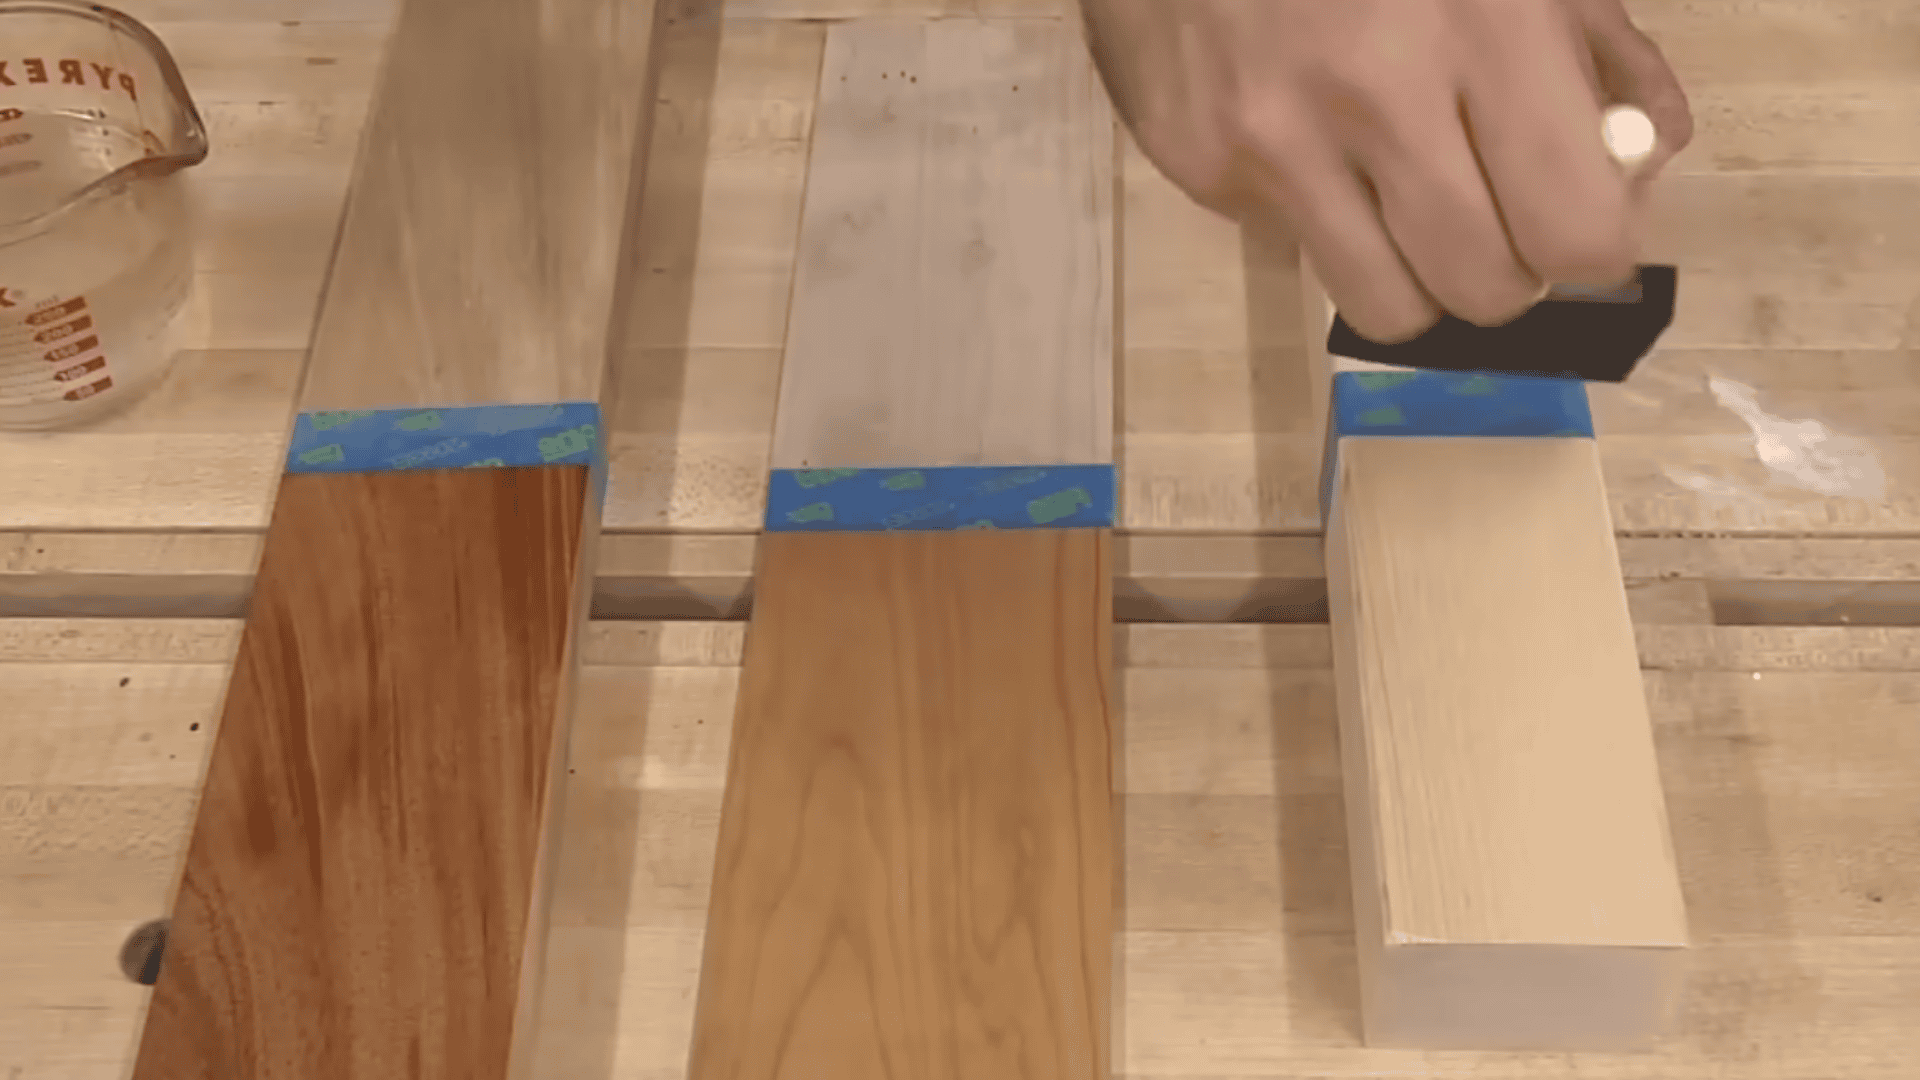
Step 5: Apply a Finish to Reveal the True Color
Once the reaction has settled, apply a clear, oil-based finish to both the treated and untreated areas. This allows you to clearly compare the before-and-after effects.
The finish deepens the color, highlights undertones, and lets you see what the wood will look like in a real project.
On maple, the change will be minimal, even after finishing. Cherry, however, becomes beautifully warm, almost like an accelerated version of the natural aging process.
Mahogany appears richer and more dramatic, with deepened reds or subtle purples that emerge under the finish.
Step 6: Evaluate Variations and Limitations

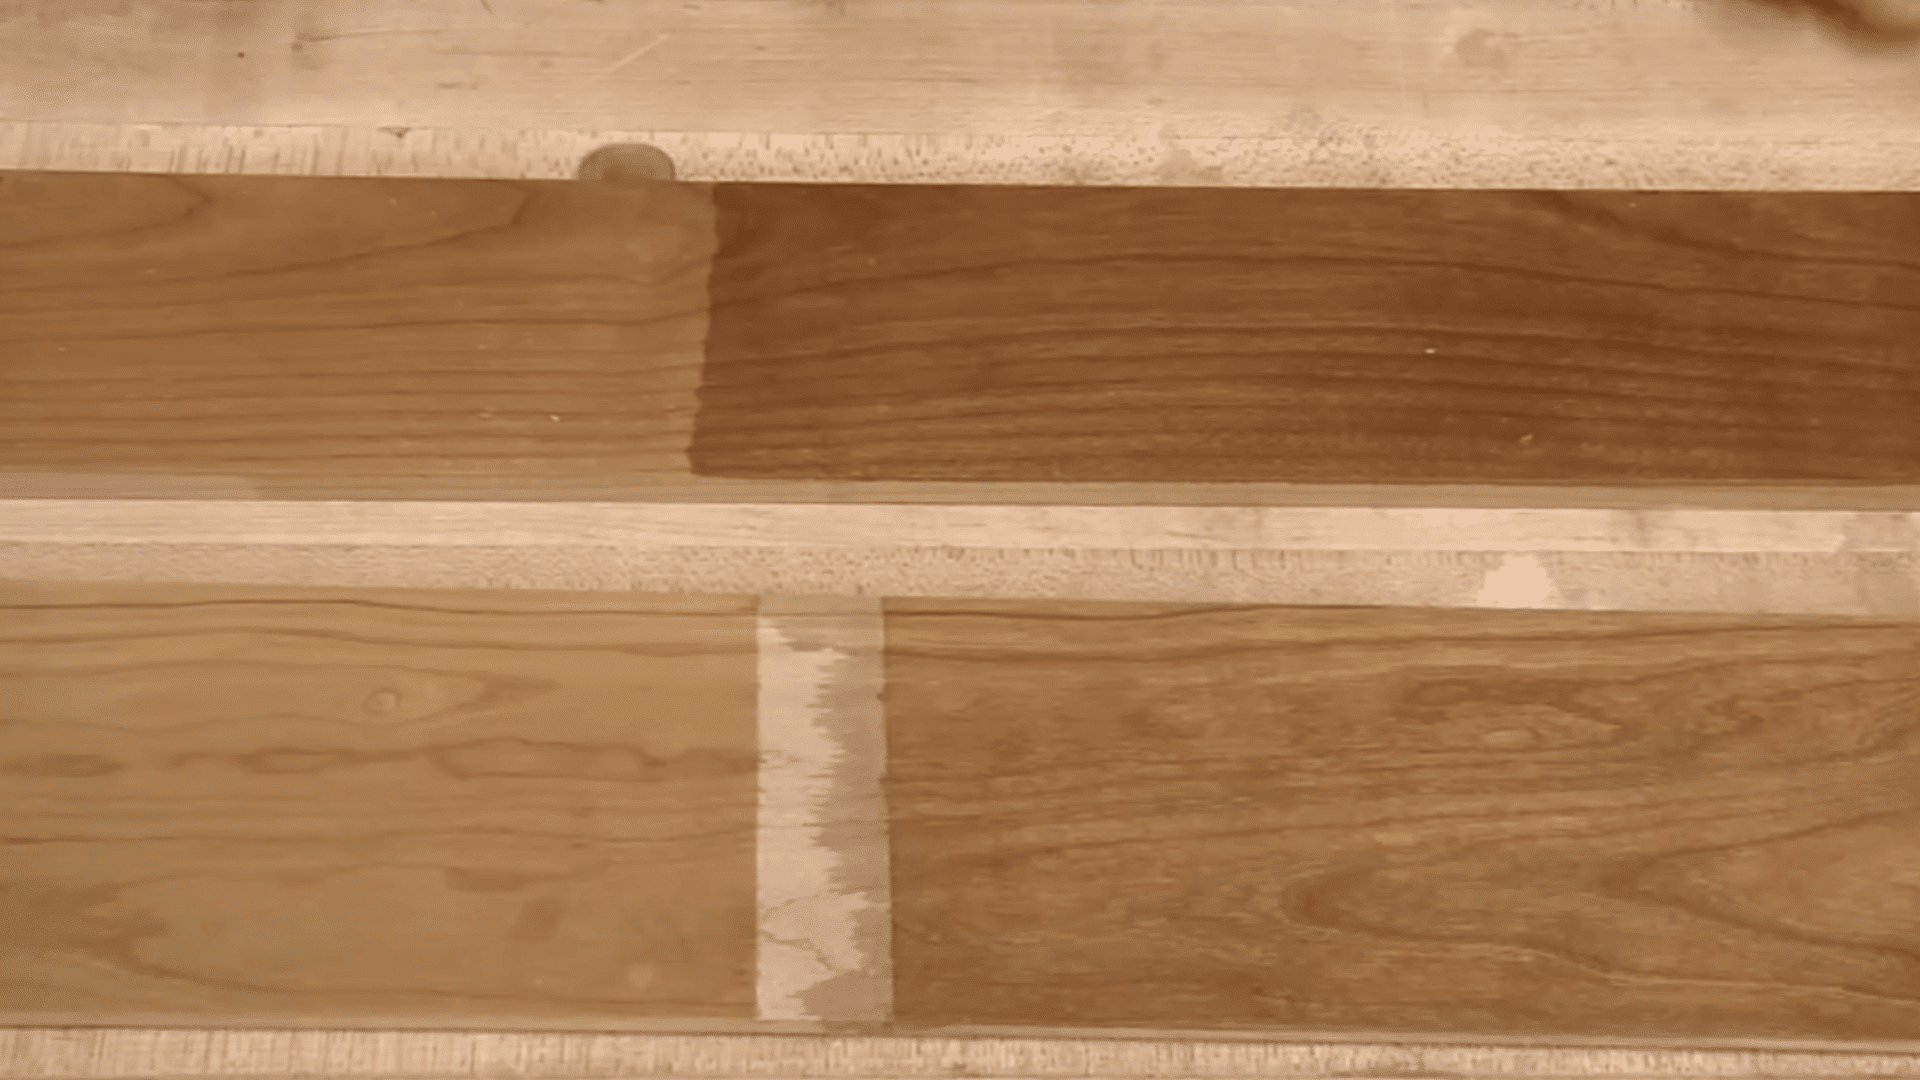
After finishing, compare how each board reacted. This is where you’ll notice a significant limitation of chemical staining: its lack of consistency.
Even when two boards come from the same species, like the two cherry boards shown, the results can differ dramatically because tannin levels vary from tree to tree.
One cherry board may develop a beautifully deep aged color, while another may turn only lightly darker.
This natural variability is why chemical stains, including baking soda, are harder to control than dyes or pigments.
This tutorial is based on a helpful video by The Wood Whisperer. You can check out the original video on their YouTube channel here or watch it below.
Other Methods to Give Wood an Aged Look
Several quick, reliable techniques can transform new wood in just hours, giving it the rich character and worn texture of pieces that have aged naturally outdoors.
1. Vinegar and Steel Wool Oxidation Method
This method uses a simple chemical reaction to create an instant aged finish.
When steel wool dissolves in Vinegar, it forms an iron acetate solution that reacts with the tannins in wood, producing natural gray or brown tones.
Softwoods and hardwoods respond differently to the mixture, resulting in unique color variations. Applying tea beforehand increases tannin levels and deepens the effect.
This technique is beneficial for creating a weathered barn-wood look without harsh chemicals.
2. Baking Soda UV-Boost Weathering
This method works well when I want a naturally sun-bleached look without waiting months.
After I brush a baking soda and water mixture onto the wood, the surface begins to react under sunlight.
UV rays lighten the wood and bring out subtle gray tones that look like they’ve developed over time outdoors.
This approach works exceptionally well on pine and cedar. I’ve noticed that leaving the wood outside longer creates deeper, more pronounced graying.
3. Tea and Vinegar Layering for Gray Tones
When I want deeper gray tones, I use the tea-and-vinegar layering method. I start by brushing strong black tea onto the wood, which adds tannins to the surface.
Once it dries, I apply a vinegar-and-steel-wool solution that reacts instantly with the tea. This gives me rich, dramatic grays that look naturally aged.
I like that I can adjust the final color by adding more tea or more layers of the vinegar mix.
It works exceptionally well on low-tannin woods that don’t usually age evenly, giving me more control over the final finish.
Community Forum Tips and Real-World Lessons
Many DIY woodworkers turn to community forums for practical, real-world advice, and Reddit offers plenty of valuable insights on fast-aging techniques.
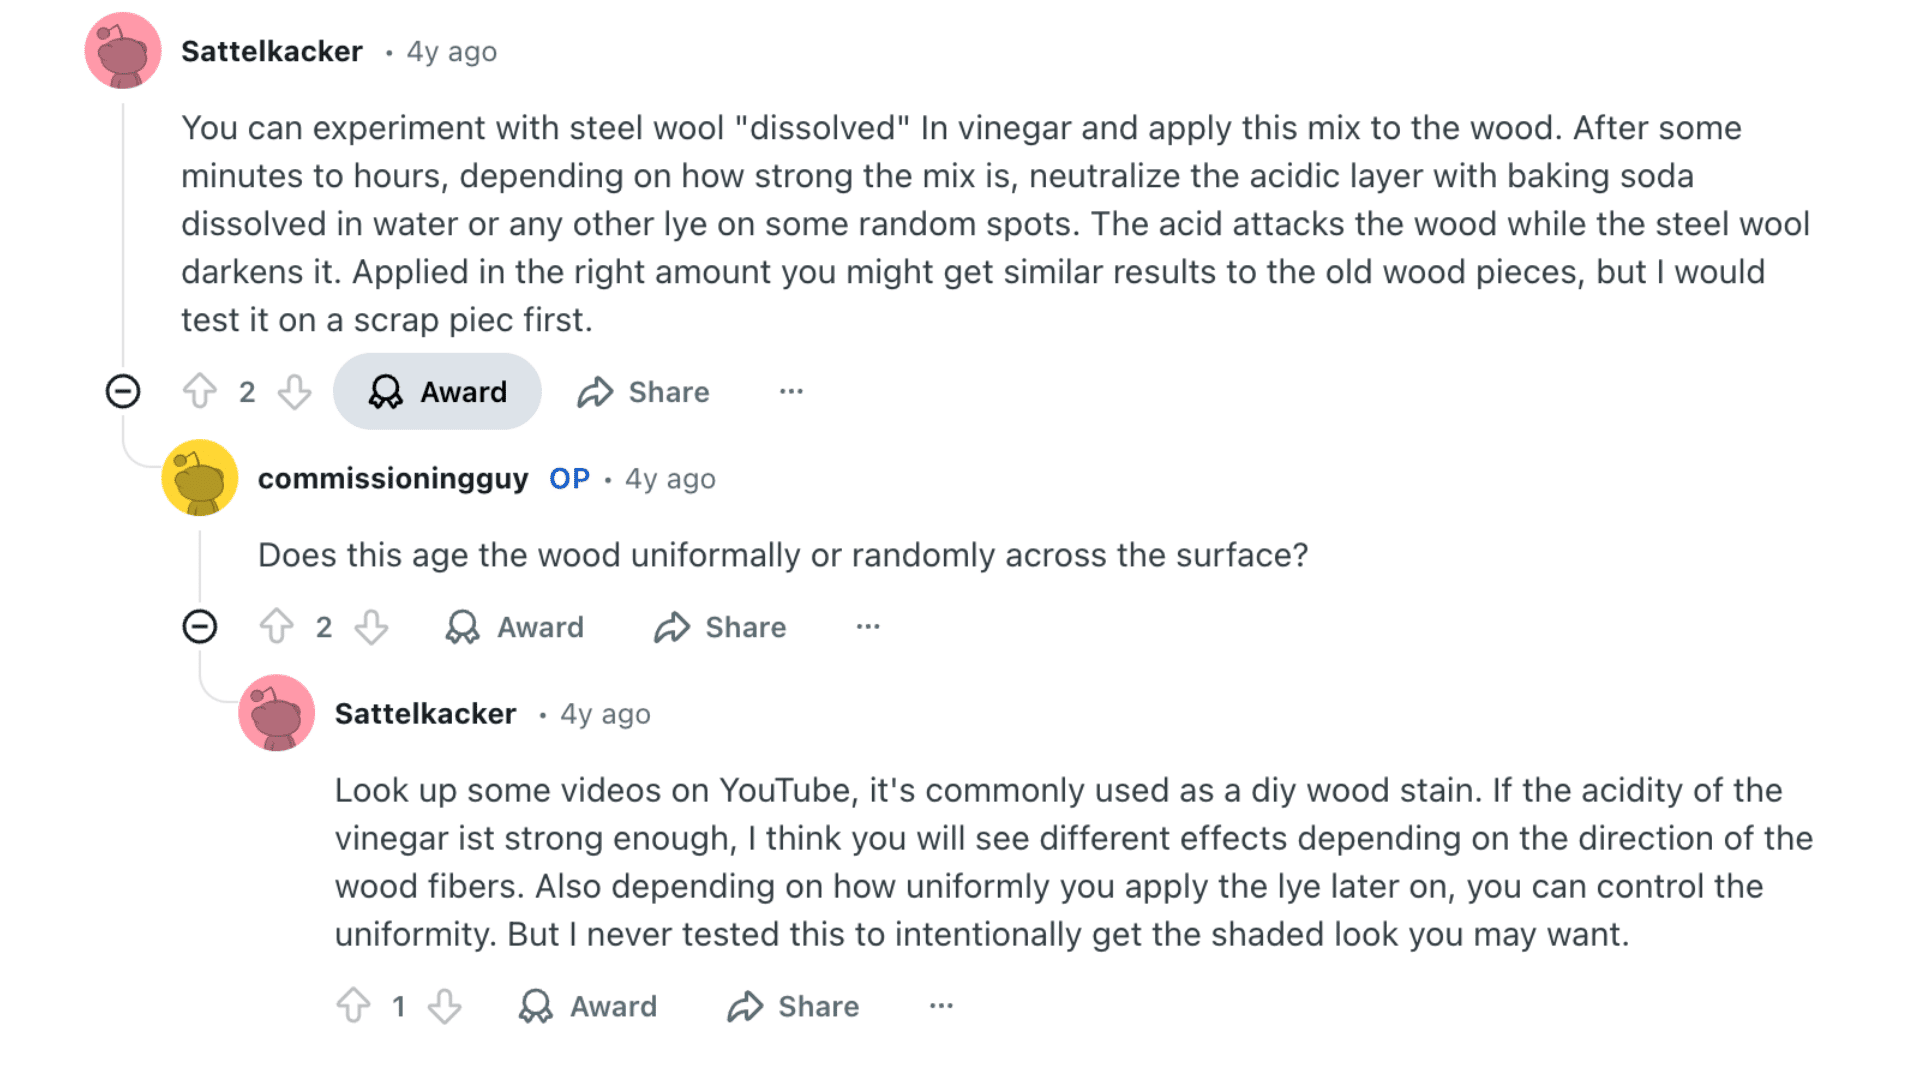
One discussion many users point to involves creating a simple oxidizing mix by soaking steel wool in vinegar.
After the wool breaks down, the liquid turns into a strong aging solution that reacts fast on most wood surfaces.
When you brush this mixture onto the wood, the color begins to change within minutes or a few hours, depending on how long the solution has been brewing.
Some Reddit users also suggest using a light baking soda rinse on certain spots after the vinegar mix dries.
This step can soften the acidity and add gentle shading, helping the wood look older and more worn. These ideas give you quick results without complicated tools.
Oxidizing Different Types of Wood
Different woods react in their own way, so the aging results won’t look the same across all species. Below, you can see how softwoods and hardwoods respond to common aging methods.
| Feature / Behavior | Softwoods (Pine, Spruce, Fir) | Hardwoods (Oak, Walnut, Maple) |
|---|---|---|
| Grain Structure | Open grain, lower density | Tight grain, higher density |
| Reaction to Aging Solutions | Absorb solutions quickly | Slower absorption; stronger reaction |
| Tannin Levels | Low tannin content | High tannin content |
| Color Outcome | Lighter, weathered grays | Darker, richer, dramatic tones |
| Application Notes | Easy penetration; quick results | Requires careful, even application to avoid blotching |
| Drying Time | Dries quickly | Needs longer drying time |
| Best Aging Methods | Baking soda, Vinegar, UV | Iron acetate, reactive stains |
| Overall Predictability | More forgiving | More reactive but trickier to control |
Safety Tips when Working with Chemicals
These steps help you stay safe while handling aging solutions. They also keep your workspace clean and reduce the risk of accidents.
- Wear gloves to protect your skin from strong liquids.
- Work in a well-ventilated area to avoid breathing in fumes.
- Keep vinegar mixtures away from kids and pets.
- Label jars and containers so you don’t mix them up.
- Avoid using metal containers, as they can react with solutions.
- Store chemicals in sealed containers when not in use.
- Wipe spills right away to prevent stains or damage.
- Do not mix products unless the method clearly calls for it.
- Wash your hands after finishing the project.
- Dispose of used steel wool and leftover solutions safely.
Conclusion
Aging wood through oxidation is a simple process once you understand how each solution works and how different wood types react.
You don’t need special tools or advanced skills to get results that look natural and convincing.
With a bit of testing and patience, you can create finishes that feel aged, worn, and full of character.
This method also gives you control over the final look, whether you want a light weathered tone or a deep, rich color. Now that you know the steps, you can try them on your next project with confidence.
And if you experiment with your own mixes or get interesting results, I’d love to hear about it.
Share your experience or tips in the comments below so others can learn from your process, too.