Setting a table properly can make any meal feel more thoughtful, whether you’re preparing for a simple family dinner or hosting a formal gathering.
Many people aren’t always sure which pieces belong where or how table settings change based on the occasion, which can make the process feel confusing.
The good news is that once you understand the basics, setting a table becomes easy and even enjoyable.
This guide walks you through how to set a table for casual meals, everyday dining, special events, and formal occasions.
You’ll learn the proper placement of plates, utensils, glasses, and napkins so each setting looks neat and balanced.
With simple steps and clear examples, you can create a table that feels welcoming, organized, and appropriate for any meal you serve.
Why Table Setting Matters?
Setting the table properly matters because it shapes the tone of the meal long before the food is served.
A well-arranged table shows care, respect, and intention, whether you’re hosting a simple family dinner or a more formal gathering.
It helps guests feel welcomed and comfortable, giving them a clear sense of where everything belongs.
A proper table setting makes dining smoother because utensils, plates, and glasses sit right where they’re needed.
Visually, a thoughtfully set table elevates the entire experience, making even everyday meals feel more enjoyable. And for special occasions, the right setting can add a sense of celebration and style.
Taking a few minutes to set the table correctly creates a meaningful difference in the atmosphere and overall dining experience.
Basic Table Setup Instructions
Setting a table becomes much easier when you follow a clear order for placing each piece. With a simple step-by-step layout, you can create a balanced, functional, and neat table every time.
What You Need for a Basic Table Setup
Before you start setting the table, gather a few simple pieces so the process feels quick and organized. You don’t need anything fancy, just the basics that help create a clean and balanced layout for everyday meals.
- Tablecloth or placemats
- Dinner plate
- Napkin
- Fork, knife, and spoon
- Drinking glass
Having these items ready makes each step smoother and keeps the setup consistent every time.
Step 1: Place the Base
Begin with a placemat or tablecloth to create a clean, defined surface.
This layer helps protect the table and sets the tone for the rest of the arrangement.
Choose something simple or neutral for daily use so the other pieces don’t feel crowded or busy. A solid base also prevents sliding and keeps everything aligned.
Even a basic placemat creates a structure that makes the entire setup look more thoughtful and put-together.
Step 2: Add the Plate
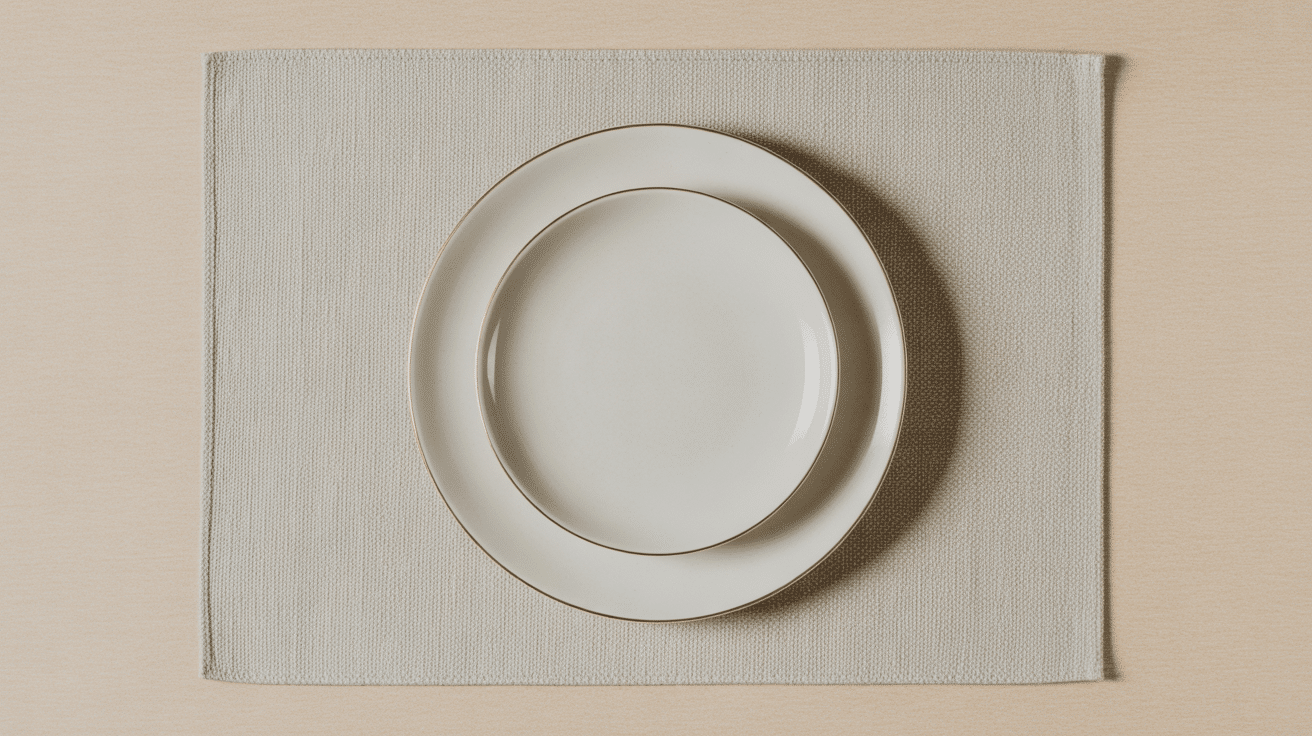
Center the dinner plate on the placemat, as it acts as the foundation for all other items. This placement ensures the utensils, napkin, and glass align naturally around it.
Keeping the plate centered helps balance the visual layout and makes the rest of the setup easy to position.
Once the plate is in place, the entire arrangement feels more orderly and anchored. This simple step helps maintain symmetry and clarity.
Step 3: Set the Napkin
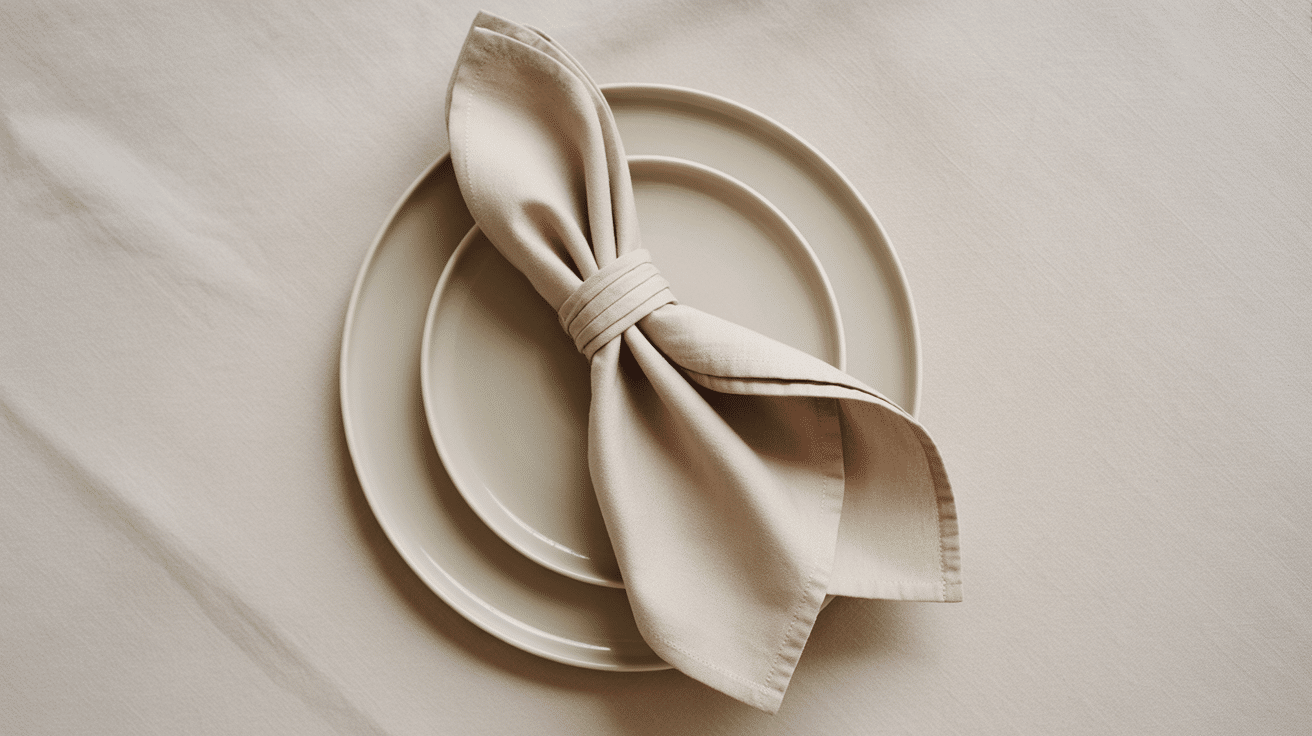
Place the napkin neatly to the left of the plate, or place it centered on top for a slightly more polished look.
Keeping the napkin clean and wrinkle-free adds a touch of care to the setting. Its position guides where the fork will go, helping create a natural structure around the plate.
Consistency in napkin placement also keeps the table from looking cluttered or disorganized, even during casual meals.
Step 4: Arrange the Utensils
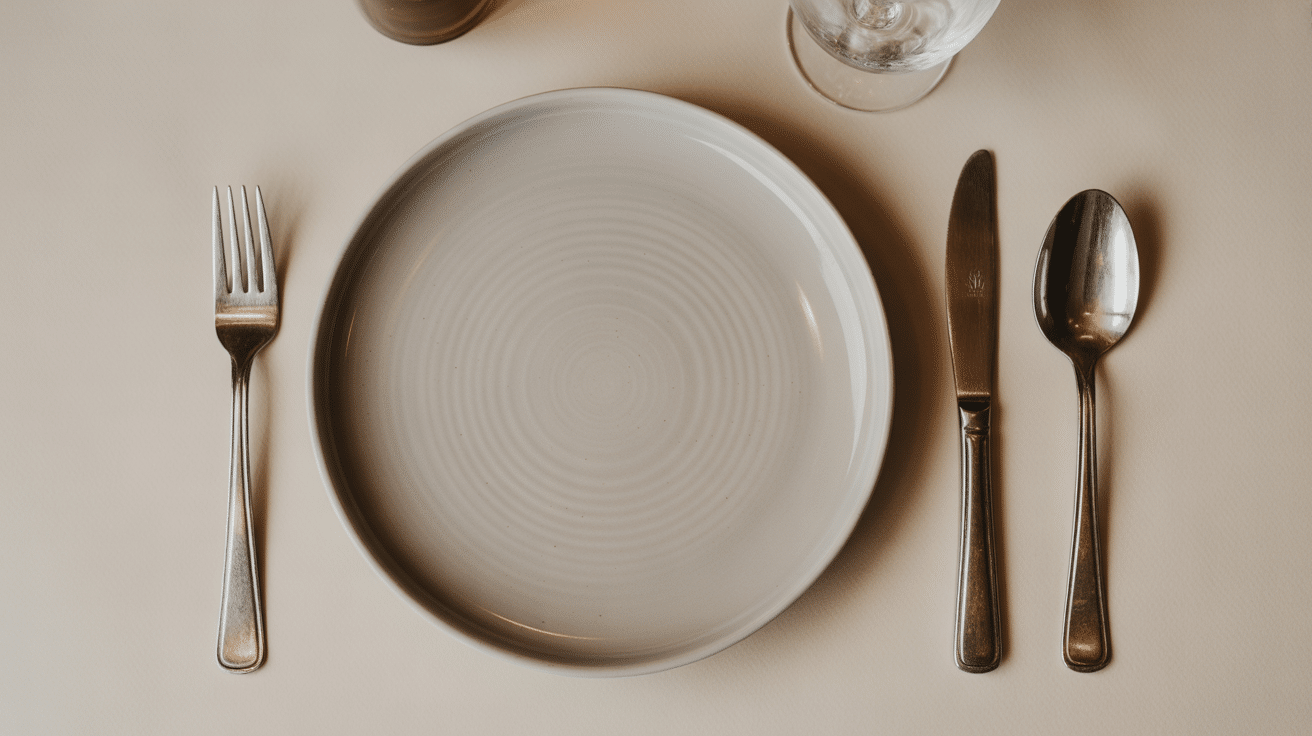
Put the fork on the left side of the plate, resting on the napkin.
Place the knife on the right with the blade facing inward, followed by the spoon. This left-to-right setup reflects common dining habits and feels intuitive for most people.
Aligning the utensils along the bottom creates a clean, balanced look.
The neat spacing also helps the table feel purposeful and avoids crowding the plate.
Step 5: Position the Glass
Place the drinking glass slightly above the knife, around the “one o’clock” position. This spot keeps the glass easy to reach without having to cross utensils.
The slight angle gives the table a more open and balanced appearance while ensuring enough space for movement.
Proper glass placement also reduces the risk of spills during meals. This finishing touch helps complete the setting with a practical layout.
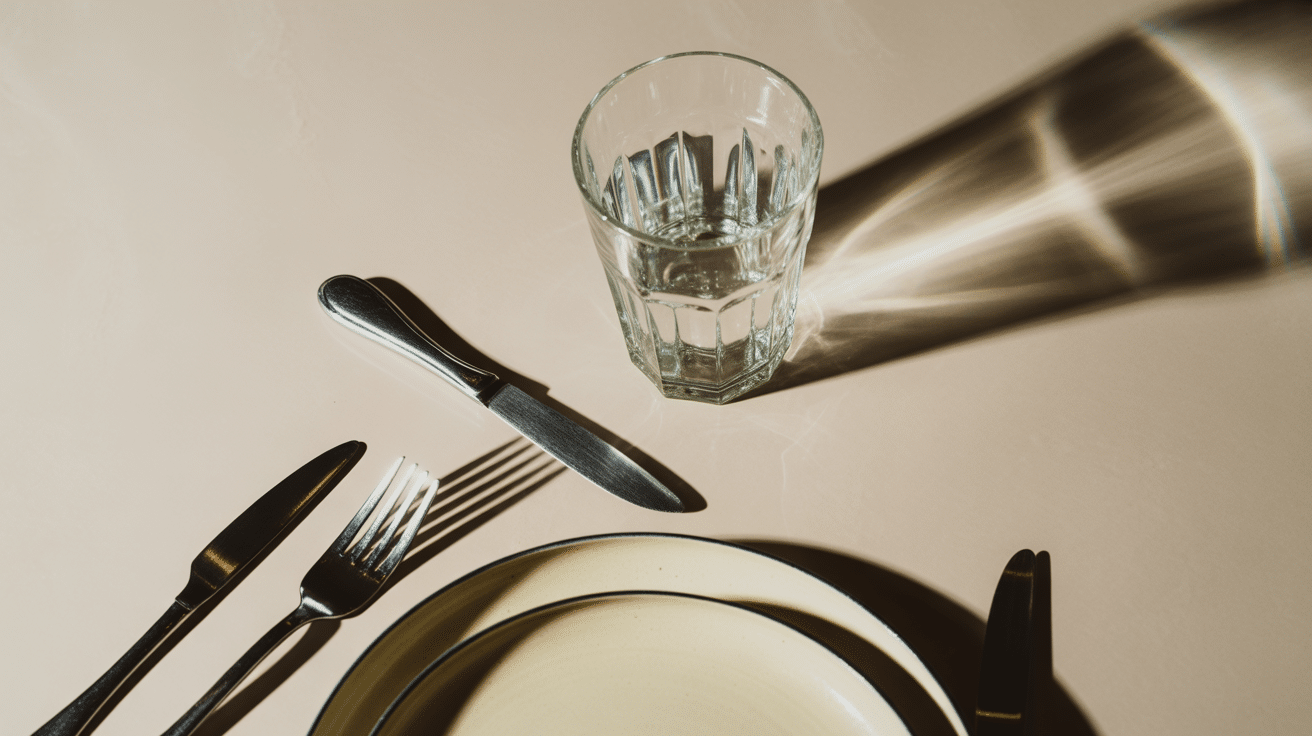
Casual Table Setting Basics
A casual table setup is simple, clean, and easy to create. These steps will help you set a neat table without extra pieces or formal rules.
What You Need for a Casual Setting
A casual table setting uses only a few simple pieces to keep the table neat and easy to set. These basics help you create a clean layout without adding extra steps.
- Placemat or tablecloth to create a clean base
- Dinner plate centered on the placemat
- Cloth or paper napkin for daily meals
- Fork, knife, and spoon for simple place settings
- The drinking glass is placed above the knife
- Optional extras like a small bowl or side plate, if the meal needs it
A casual table setting works well when each piece is placed with a clear purpose and enough space to feel comfortable.
Start by setting a placemat or tablecloth to define the area, then center the dinner plate to anchor the layout and guide the rest of the placement.
Add the napkin to the left of the plate or place it on top if you want a cleaner, more pulled-together look.
Position the fork on the left and the knife and spoon on the right, keeping the spacing even so the table feels balanced and easy to use.
Place the drinking glass slightly above the knife so it’s simple to reach during the meal without crossing over other items.
When everything is aligned and uncluttered, the table feels neat, relaxed, and ready for any casual meal.
Formal Table Setting Guide
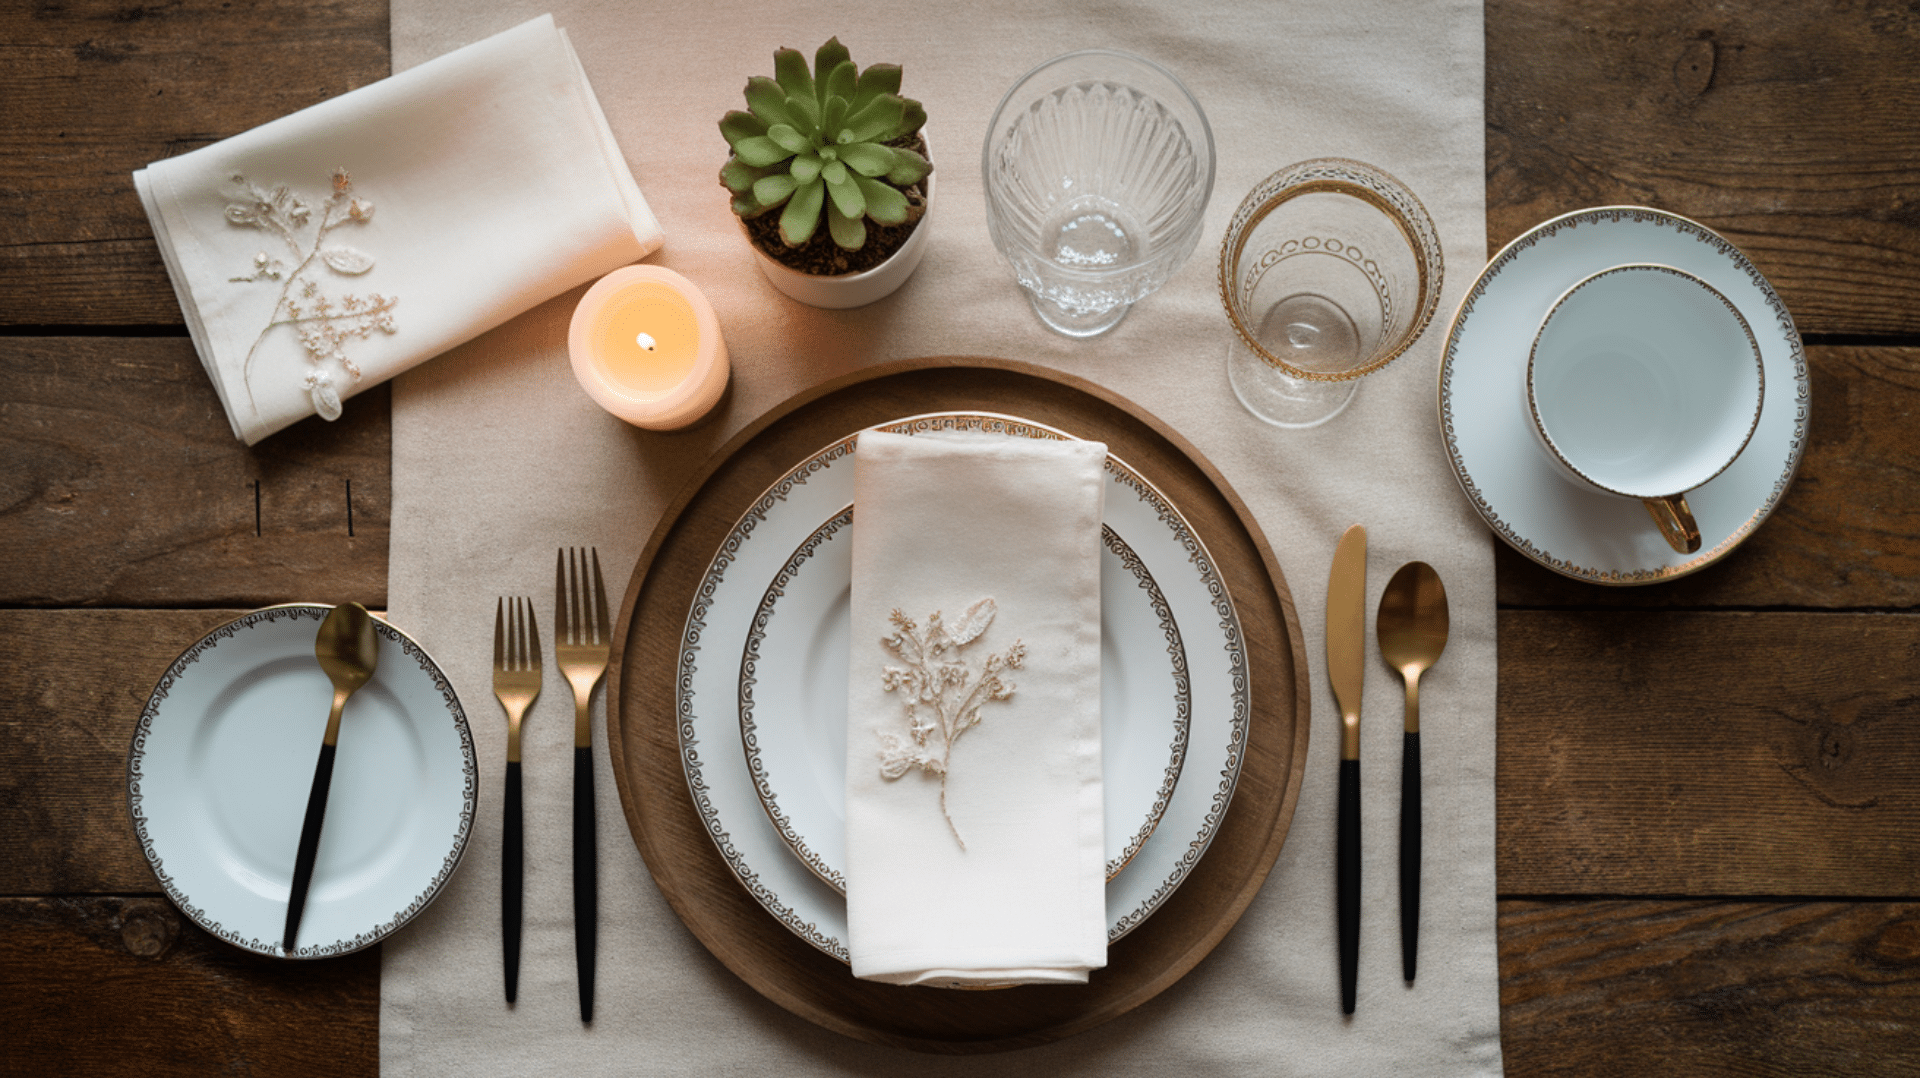
A formal table setting follows clear placement rules to keep the meal smooth and organized. These steps help you arrange each piece with purpose, creating a clean and proper layout.
1. Formal Dinner Plate Arrangement
Begin by placing a charger plate at the center of each setting, as it anchors the entire layout.
Set the dinner plate on top of the charger and position the salad plate or soup bowl above it if the meal includes multiple courses.
Keep each piece centered for a clean, balanced look. This layered approach gives structure to the setting and helps guide where utensils and glassware will go.
Even small shifts can disrupt the symmetry, so keep everything aligned.
2. Correct Utensil Order and Placement
Place utensils in the order they will be used, starting from the outside and moving inward.
Set the fork on the left, with the salad fork to its left if used. Put the knife on the right with the blade facing the plate, followed by the soup spoon.
If dessert requires utensils, place them horizontally above the plates.
Proper spacing keeps the layout clean and prevents crowding. These careful placements help guests feel confident about which utensil to use at each course.
3. Glassware Setup for Formal Meals
Position the water glass above the knife, then place the wine glasses to the right in the order they’ll be used, white wine glass first, red wine glass next.
Keep each glass slightly angled to form a gentle diagonal line.
This arrangement allows guests to reach each glass without shifting other pieces. Proper glass placement also improves flow during the meal, especially when several courses are served.
Keeping glassware grouped neatly helps maintain a polished, organized layout the entire evening.
4. Napkin Placement for a Polished Look
Fold the napkin neatly and place it on the dinner plate, under the fork, or inside a napkin ring for a more formal feel.
Choose a clean fold that sits flat so the setting looks tidy. The napkin should be easy to reach without disturbing other items.
A well-placed napkin signals the start of the dining experience and adds structure to the table.
Keeping it consistent across all settings helps the entire table appear coordinated and thoughtful.
5. Charger Plates and Their Purpose
A charger plate stays on the table through early courses and serves as the base for dishes that follow. It adds structure and keeps the setting anchored, especially in multi-course meals.
Place the charger under the dinner plate before guests arrive, and remove it only when the main course begins if the meal follows strict etiquette.
Chargers also help catch crumbs or drips between courses.
Their steady presence keeps the layout organized and supports the flow of a formal dining setup.
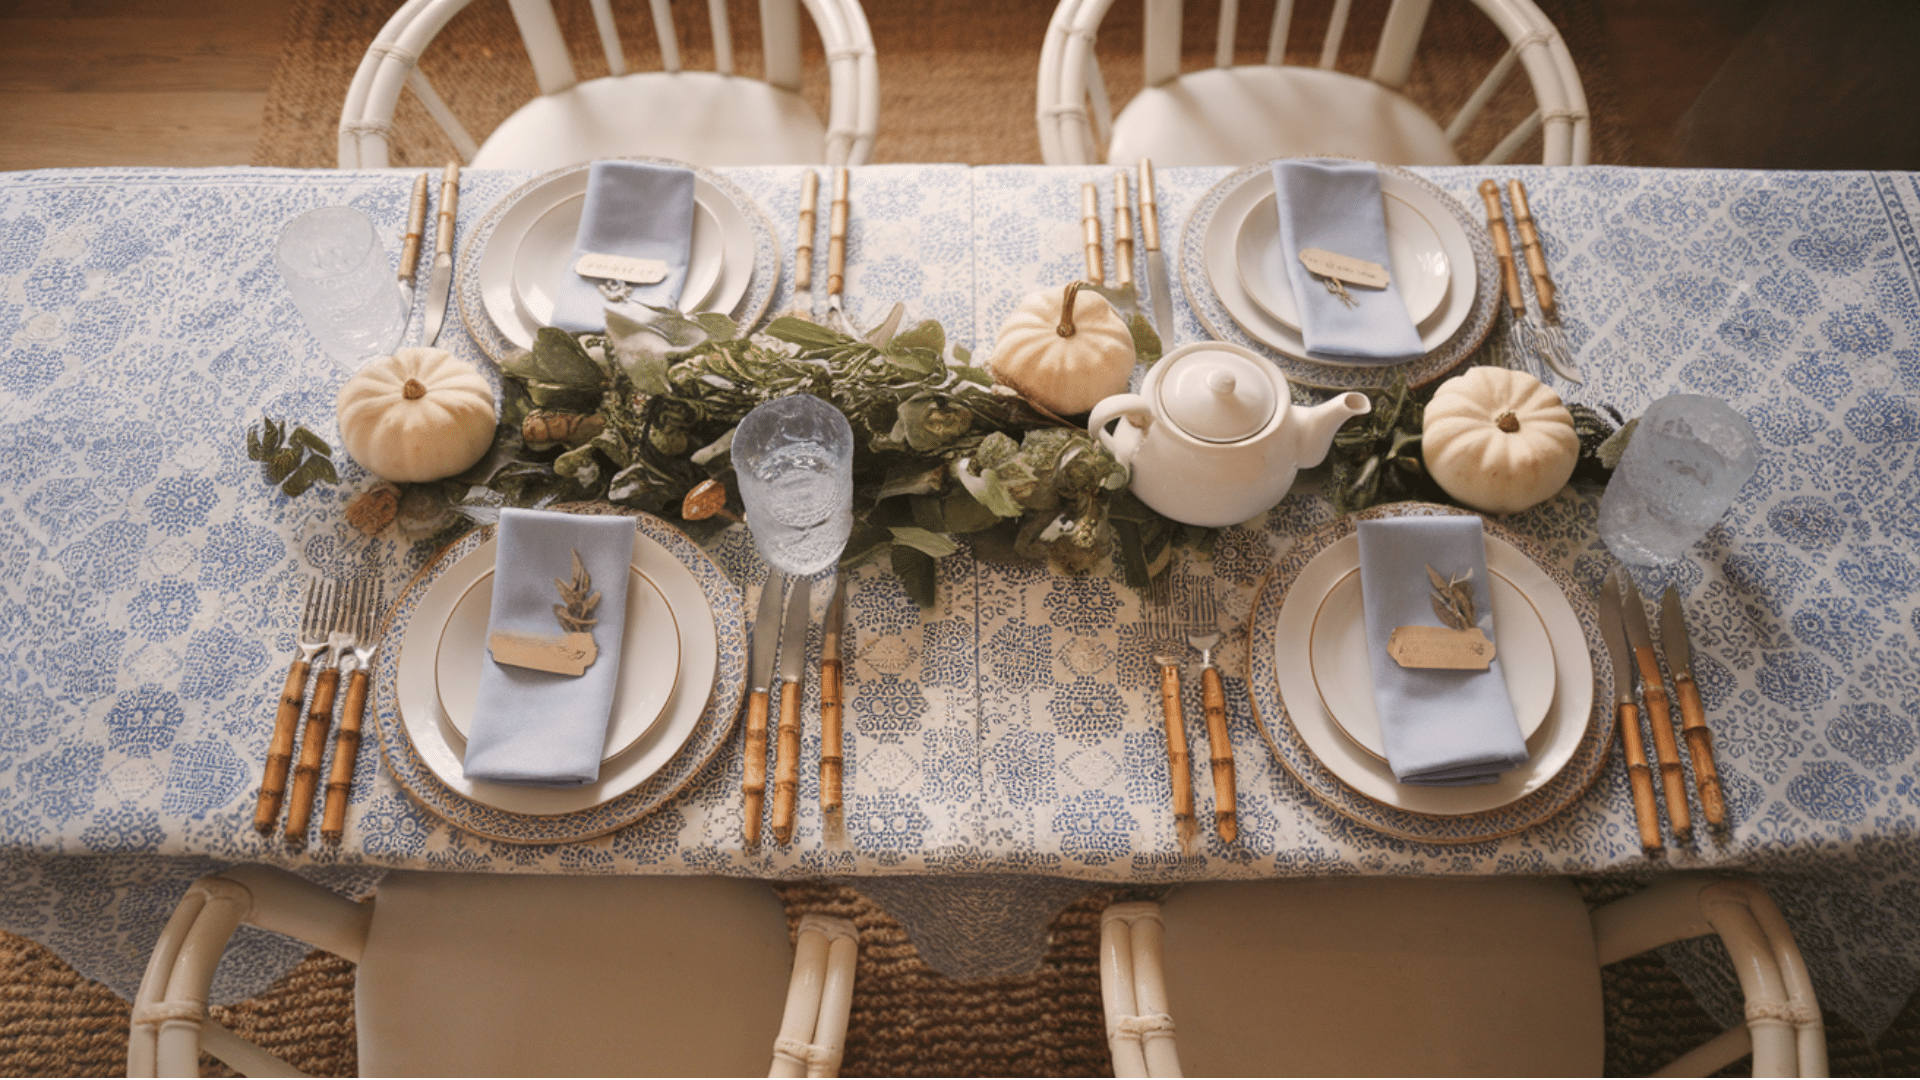
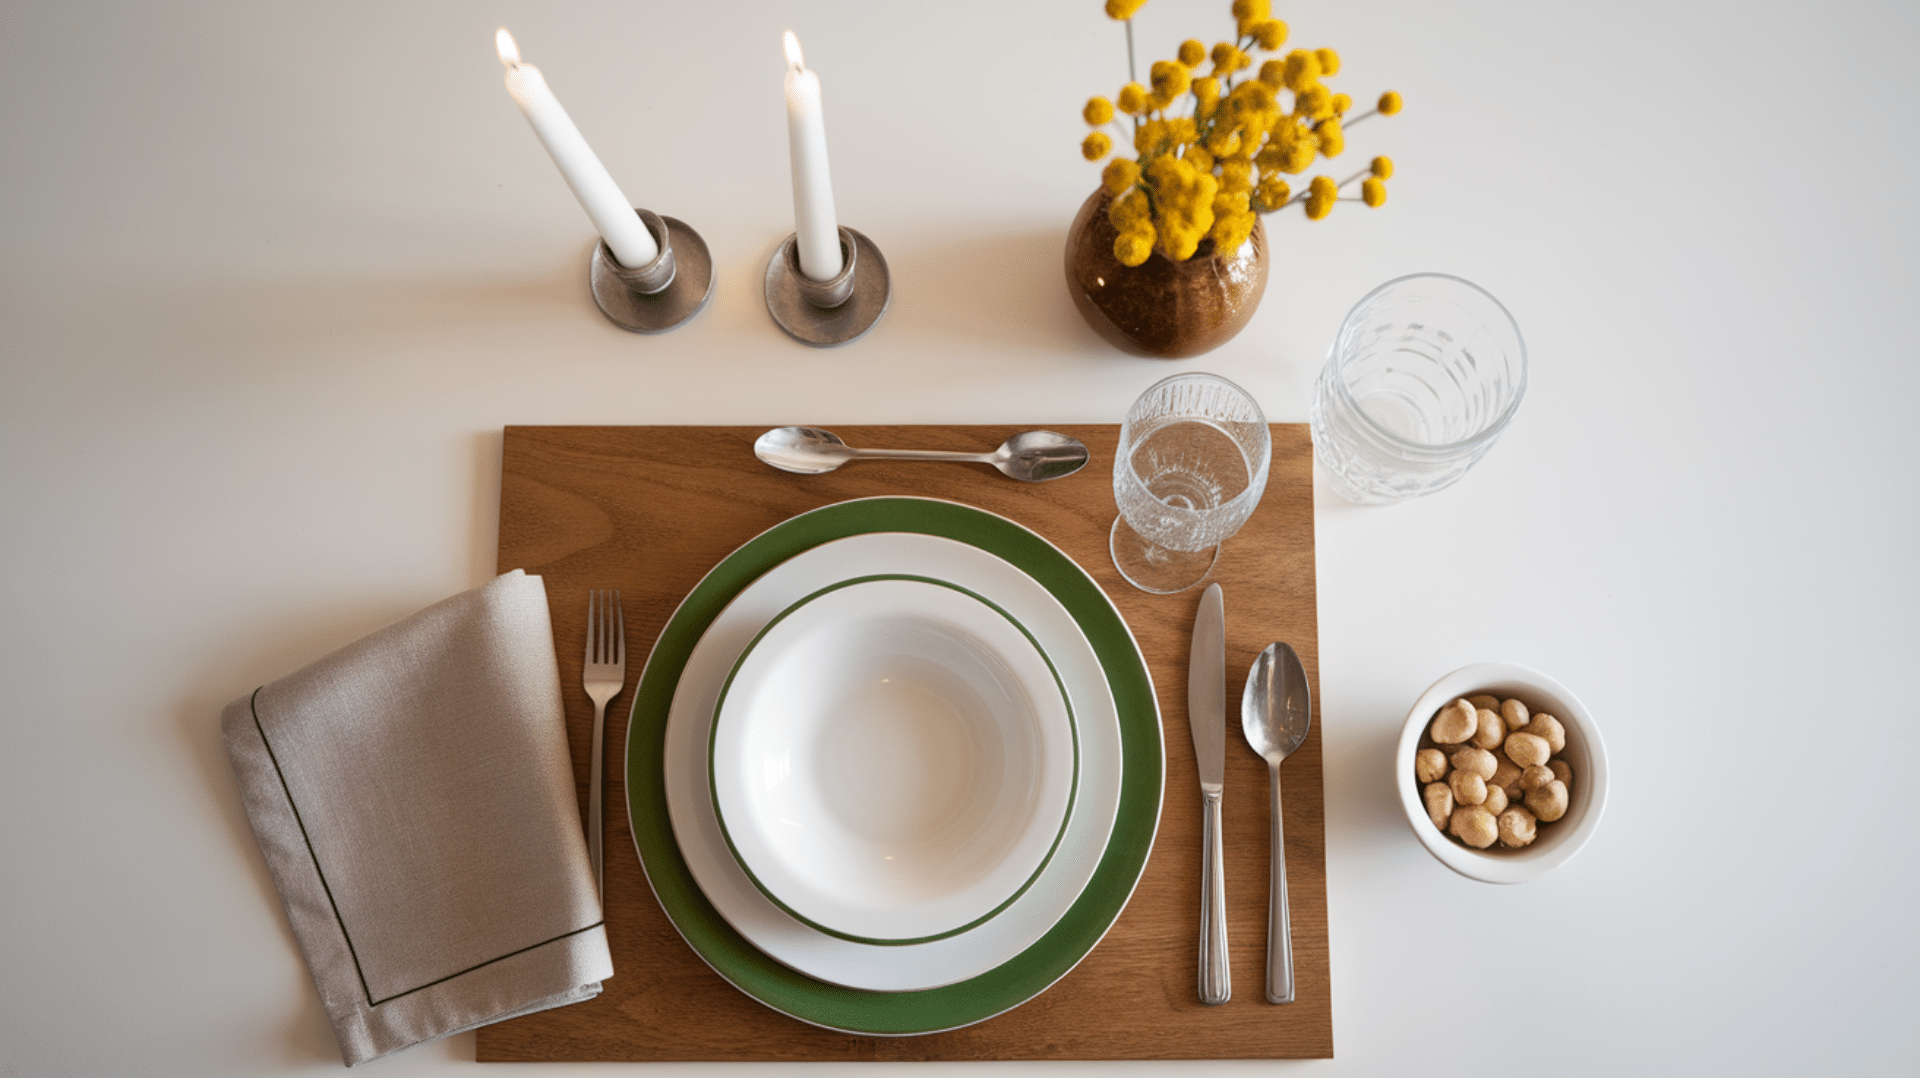
Holiday Table Setting Tips
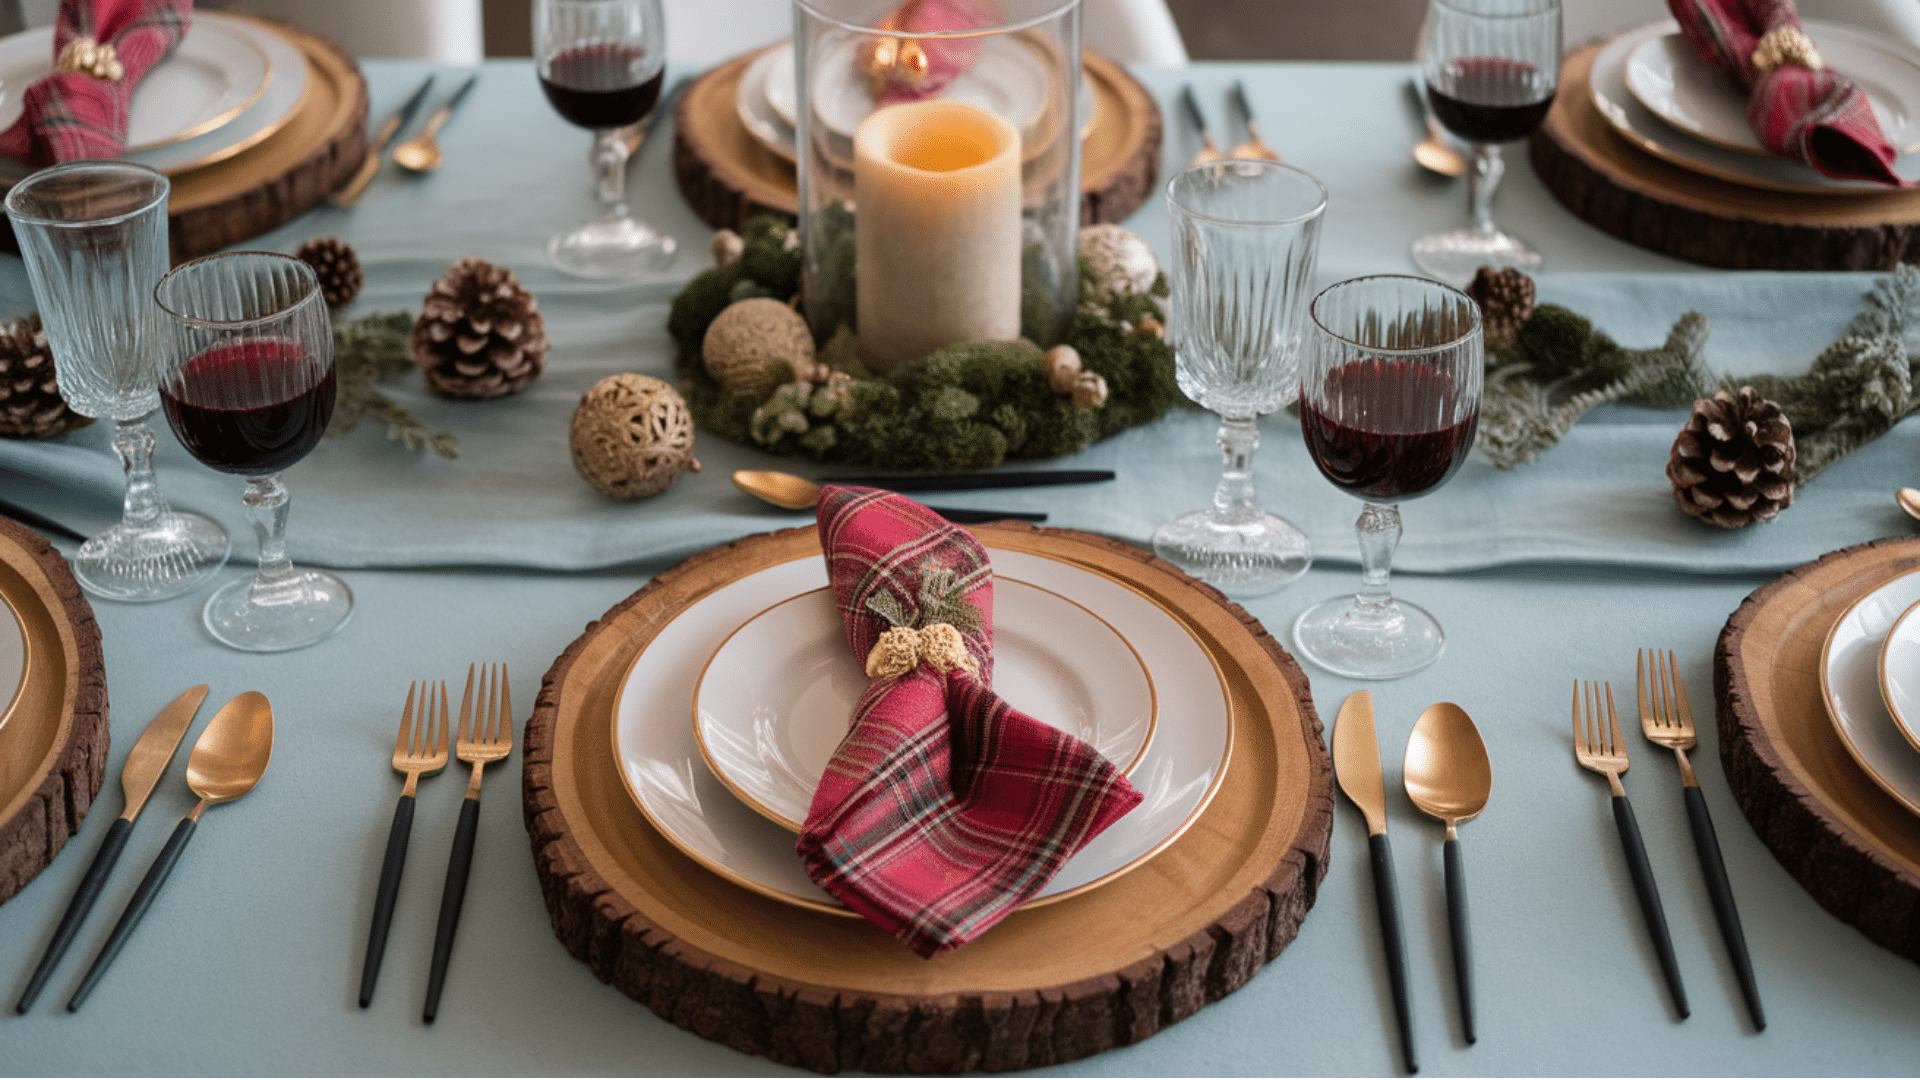
Holiday table settings use simple layers and small details to make meals feel special. These tips help you add seasonal touches without making the table feel crowded.
- Use a neutral tablecloth or runner as the base so seasonal pieces stand out without overwhelming the layout.
- Layer dinnerware by placing a charger under the dinner plate to add structure and a more festive look.
- Add cloth napkins in seasonal colors like deep red, forest green, gold, or winter white for a clean look.
- Include place cards to guide seating and give each guest a personal touch without adding clutter.
- Keep centerpieces low so guests can talk easily; use candles, greenery, or simple ornaments.
- Place glassware at an angle above the knife to keep the layout balanced when adding holiday decor.
- Add small accents such as napkin rings, pine sprigs, or ribbon ties to bring in festive details without crowding the table.
Quick Table Setting Cheat Sheet
This cheat sheet gives you a fast, clear view of how each table setting should look. Use it as a quick reference whenever you need to set the table in seconds.
| Table Style | Plates | Utensils | Napkin | Glassware | Extra Notes |
|---|---|---|---|---|---|
| Casual Setting | Dinner plate centered on a placemat | Fork on left; knife and spoon on right | Left of the plate or on top | Above the knife | Keep the layout simple and uncluttered |
| Everyday Setting | Dinner plate with optional side plate | Fork left; knife and spoon right; dessert spoon optional | Left or on the plate | Above the knife, angled slightly | Works well for daily family meals |
| Formal Setting | Charger + dinner plate + salad plate or soup bowl | Utensils are placed in order of use, from outside to inside | On a plate, beside a plate, or in a ring | Water glass above the knife; wine glasses to the right | Best for multi-course meals |
| Holiday Setting | Charger under the dinner plate | Same as formal or everyday, based on the meal | Seasonal napkin or ring | Above the knife, you can add extra glassware | Add low centerpieces and simple decor |
| Buffet Setup | Plate stack at the start of the line | Utensils are bundled or placed at the end | Rolled or placed beside plates | Set on the dining table, not the buffet | Keep the flow easy for self-serve meals |
Conclusion
Setting a table the right way doesn’t have to feel complicated. Once you understand where each item belongs and why placement matters, the entire process becomes simple and even enjoyable.
Whether you’re preparing for a basic family meal, a relaxed dinner with friends, or a formal celebration, using the right structure helps create a warm, organized, and inviting atmosphere.
A thoughtful table setting shows your guests that you value their presence and want their dining experience to be comfortable from the moment they sit down.
With the steps, tips, and guidelines in this guide, you can confidently set any table style and avoid common mistakes.
A well-set table not only looks beautiful but also enhances the way everyone enjoys the meal.