A messy closet can make any room feel tight, so finding a simple way to add order can make a big difference.
I’ve been through the guesswork of choosing closet kits, and I know how confusing all the options can be when you just want something that works.
You might be looking for more hanging space, better shelves, or a setup that fits a small room.
In this guide, I’ll walk you through the six best DIY closet kits you can buy online.
I picked them based on ease of setup, value, and how well they solve real storage problems. You’ll also see ideas and steps to help you set up your closet with confidence.
By the time you finish, you’ll know which kit fits your space and what to expect when installing it on your own.
What to Look for in a DIY Closet Kit?
When you shop for a DIY closet kit, start by checking the size. Make sure it fits your space without forcing you to change your layout. Look at the materials, so you know the kit will hold up to daily use.
Some are made from metal, while others use wood or laminate.
Pick what fits your needs and budget. Check how much hanging space and shelving you get, especially if you share the closet.
Look at the adjustable parts because they make it easier to set things the way you like.
Make sure the kit includes clear instructions and simple tools so you can install it without stress.
If you want extra shelves or drawers later, look for a kit that offers add-ons. These details help you choose a closet system that works well and stays useful over time.
Buying a DIY Closet Kit
Buying a DIY closet kit makes it easy to upgrade storage without having to design everything from scratch. These kits come with pre-cut parts, hardware, and clear instructions, helping you organize the space with less effort.
1. Deluxe Closet Kit by The RTA Store
I like this closet kit because it makes getting organized easy without any major changes to the room.
The shelves and panels feel dependable with their thermally fused laminate and strong wood-fiber core, so I don’t have to think about wear over time.
The steel rail system is another feature that works well for me.
It mounts into the studs for support and keeps the floor open, which means I don’t need to remove baseboards or deal with extra steps during installation.
2. Rubbermaid Configurations Deluxe Custom Closet Kit by Amazon
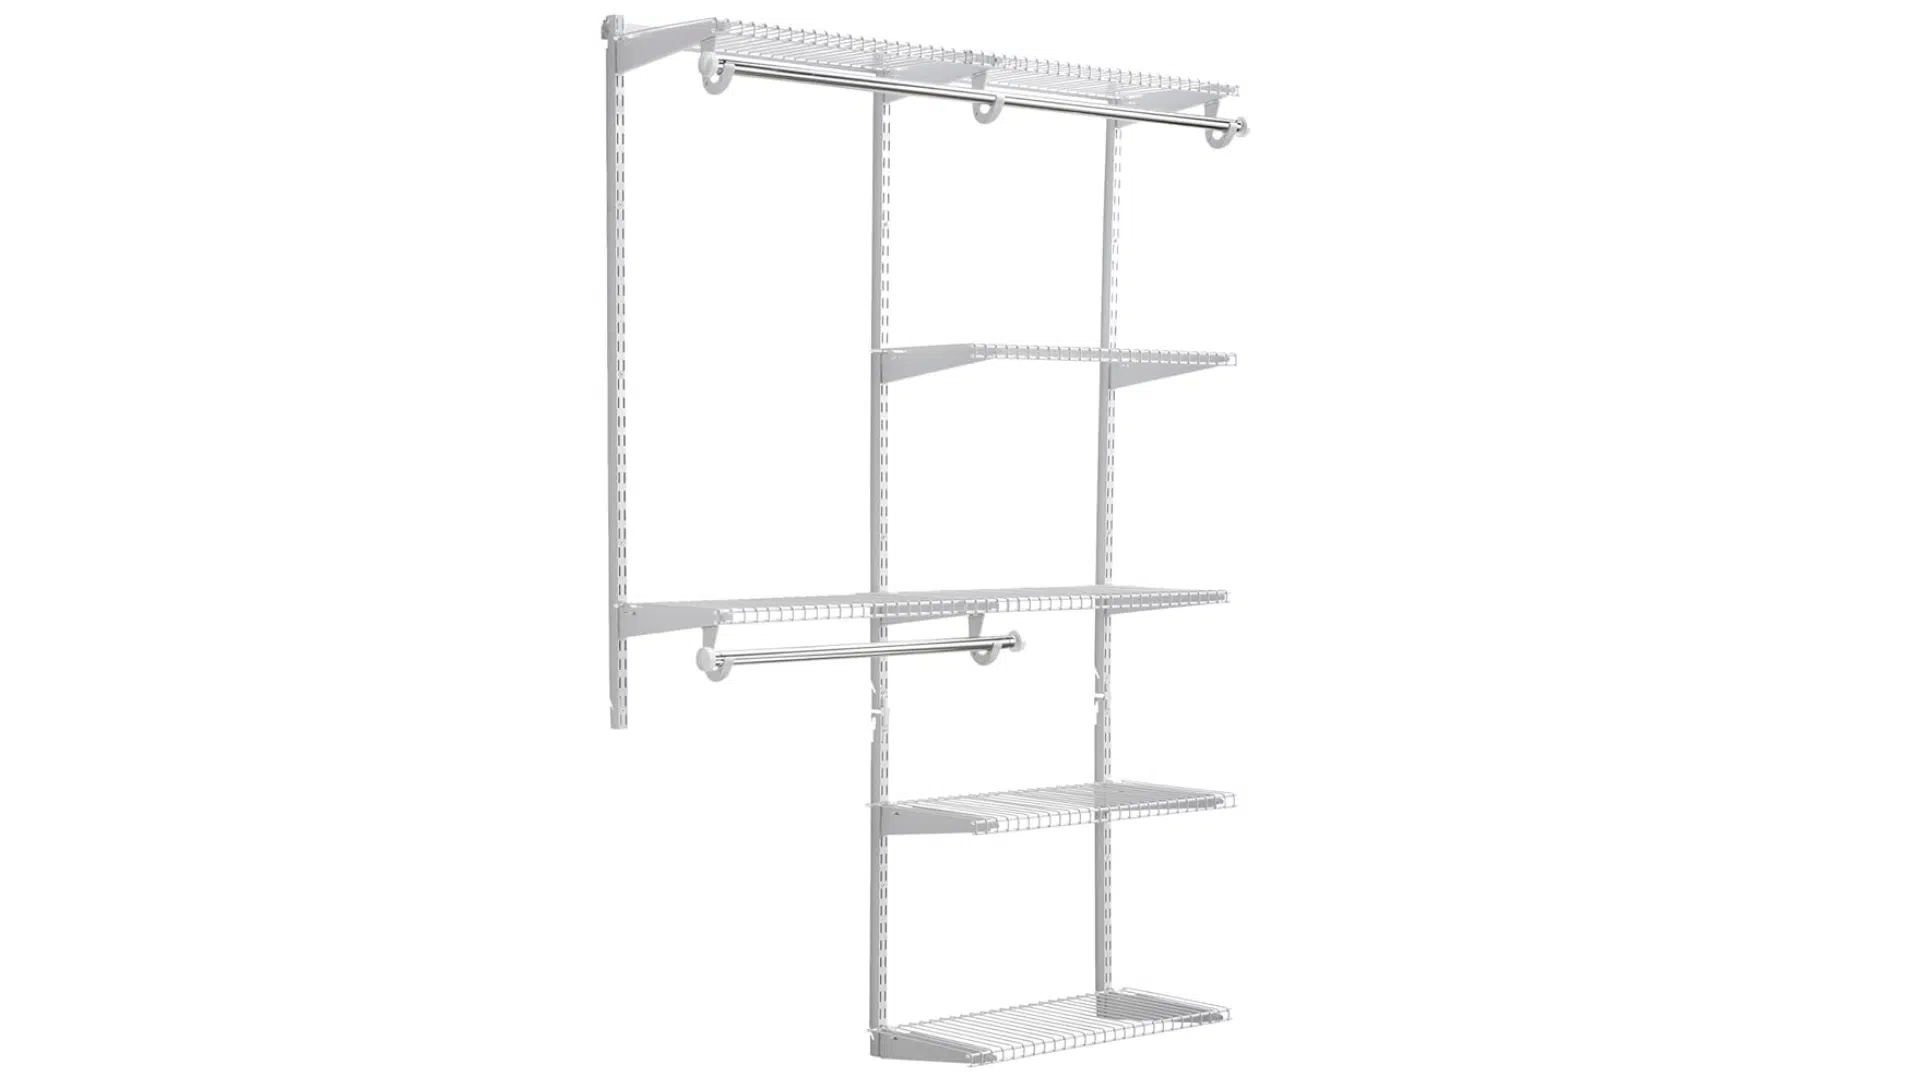
I like this closet kit because it works for both walk-in and reach-in closets without any guesswork, especially in spaces between 4 and 8 feet wide.
The epoxy-coated finish is another feature I value since it stays smooth, avoids snags, and doesn’t rust, even with daily use.
The modular design also helps a lot because I can move the parts around without tools whenever my storage needs change. It gives me flexibility without making the setup complicated or time-consuming.
3. Double Hanging Tower by Modular Closets

I appreciate this multi-level hanging unit because it instantly opens up more space in my closet without needing a big remodel.
The two hanging rods make it easy to sort shorter garments like shorts and skirts, keeping everything more organized.
The installation is simple, which makes the whole upgrade stress-free.
I genuinely recommend it for anyone trying to add more usable hanging space.
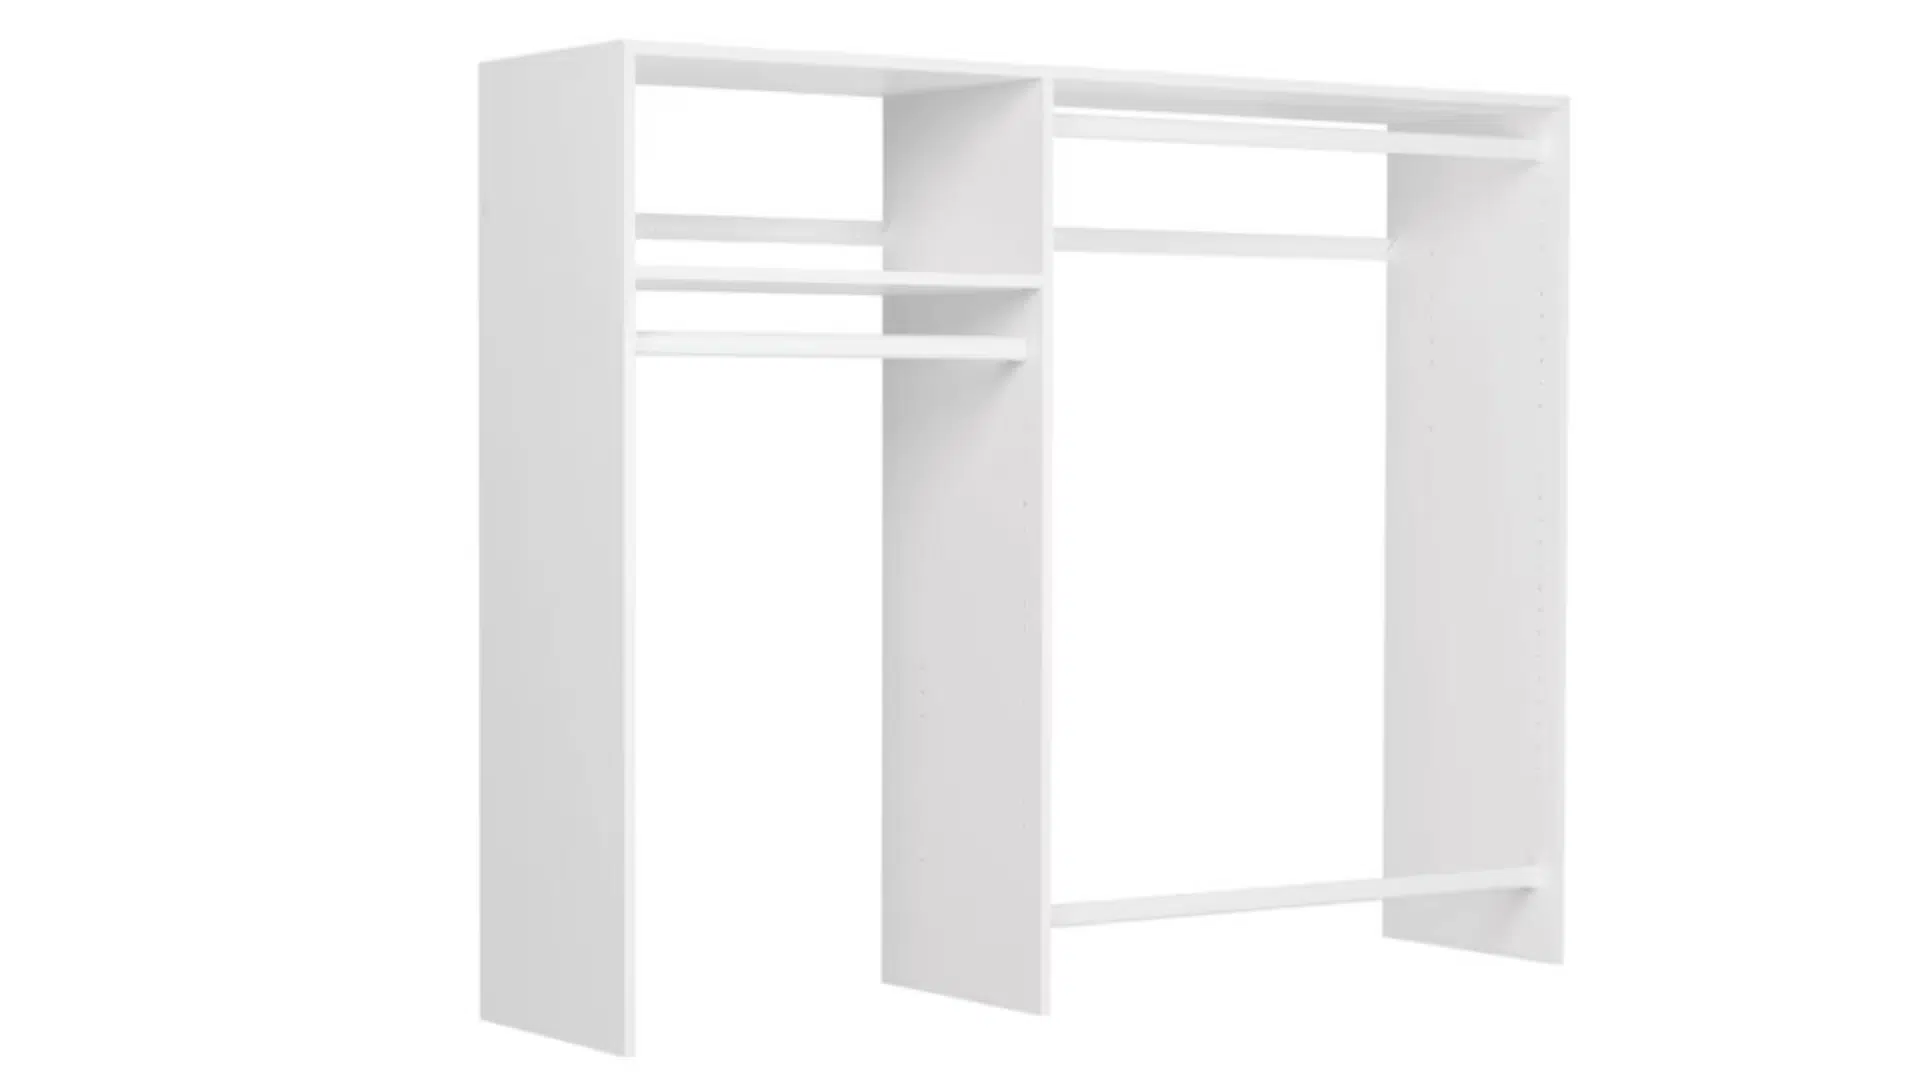
4. Closetmaid BrightWood Closet System by Lowe’s
I like that this closet system gives me a lot of flexibility and lets me set up the layout in a way that fits my space.
It was easy for me to assemble and install, and it made my closet feel much more organized right away. I also like that it works in different areas, including closets, mudrooms, and garage spaces.
The installation is simple because all the hardware comes in the box, and I don’t have to deal with any cutting or extra steps.
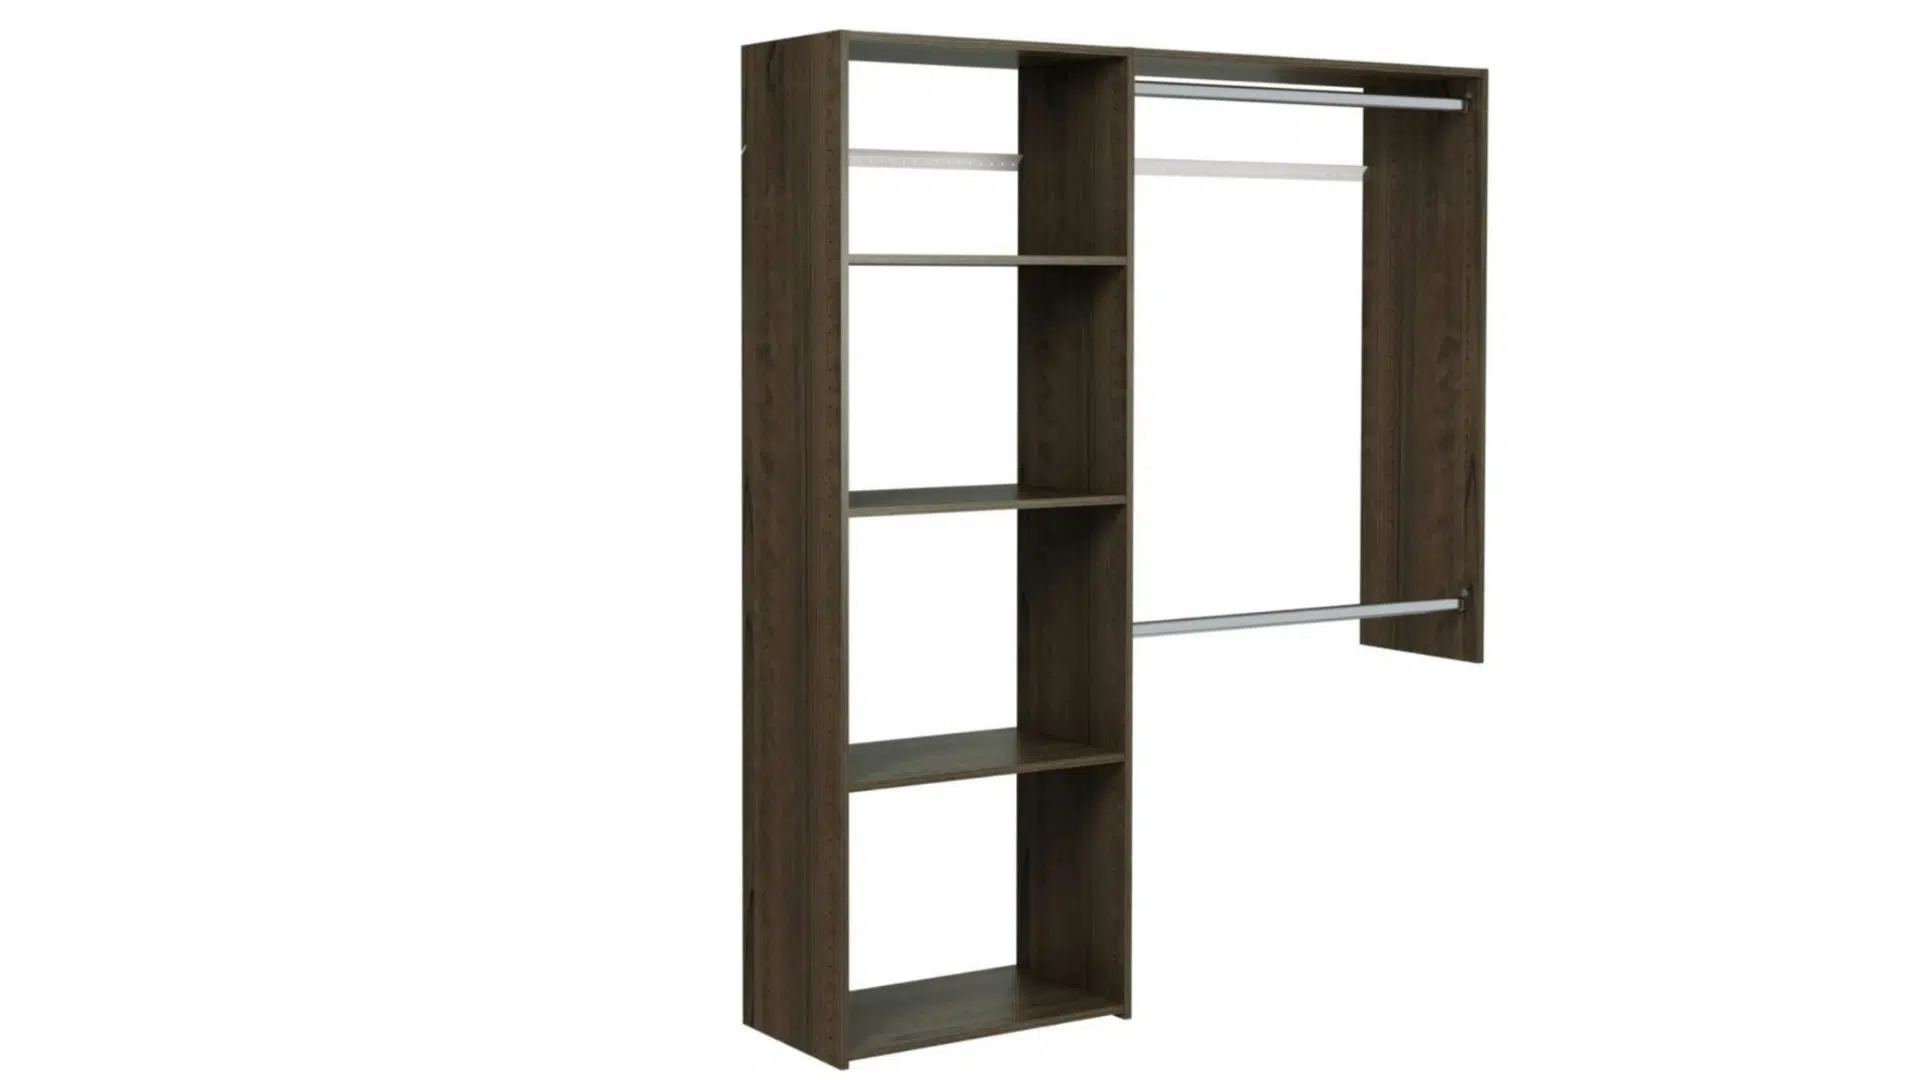
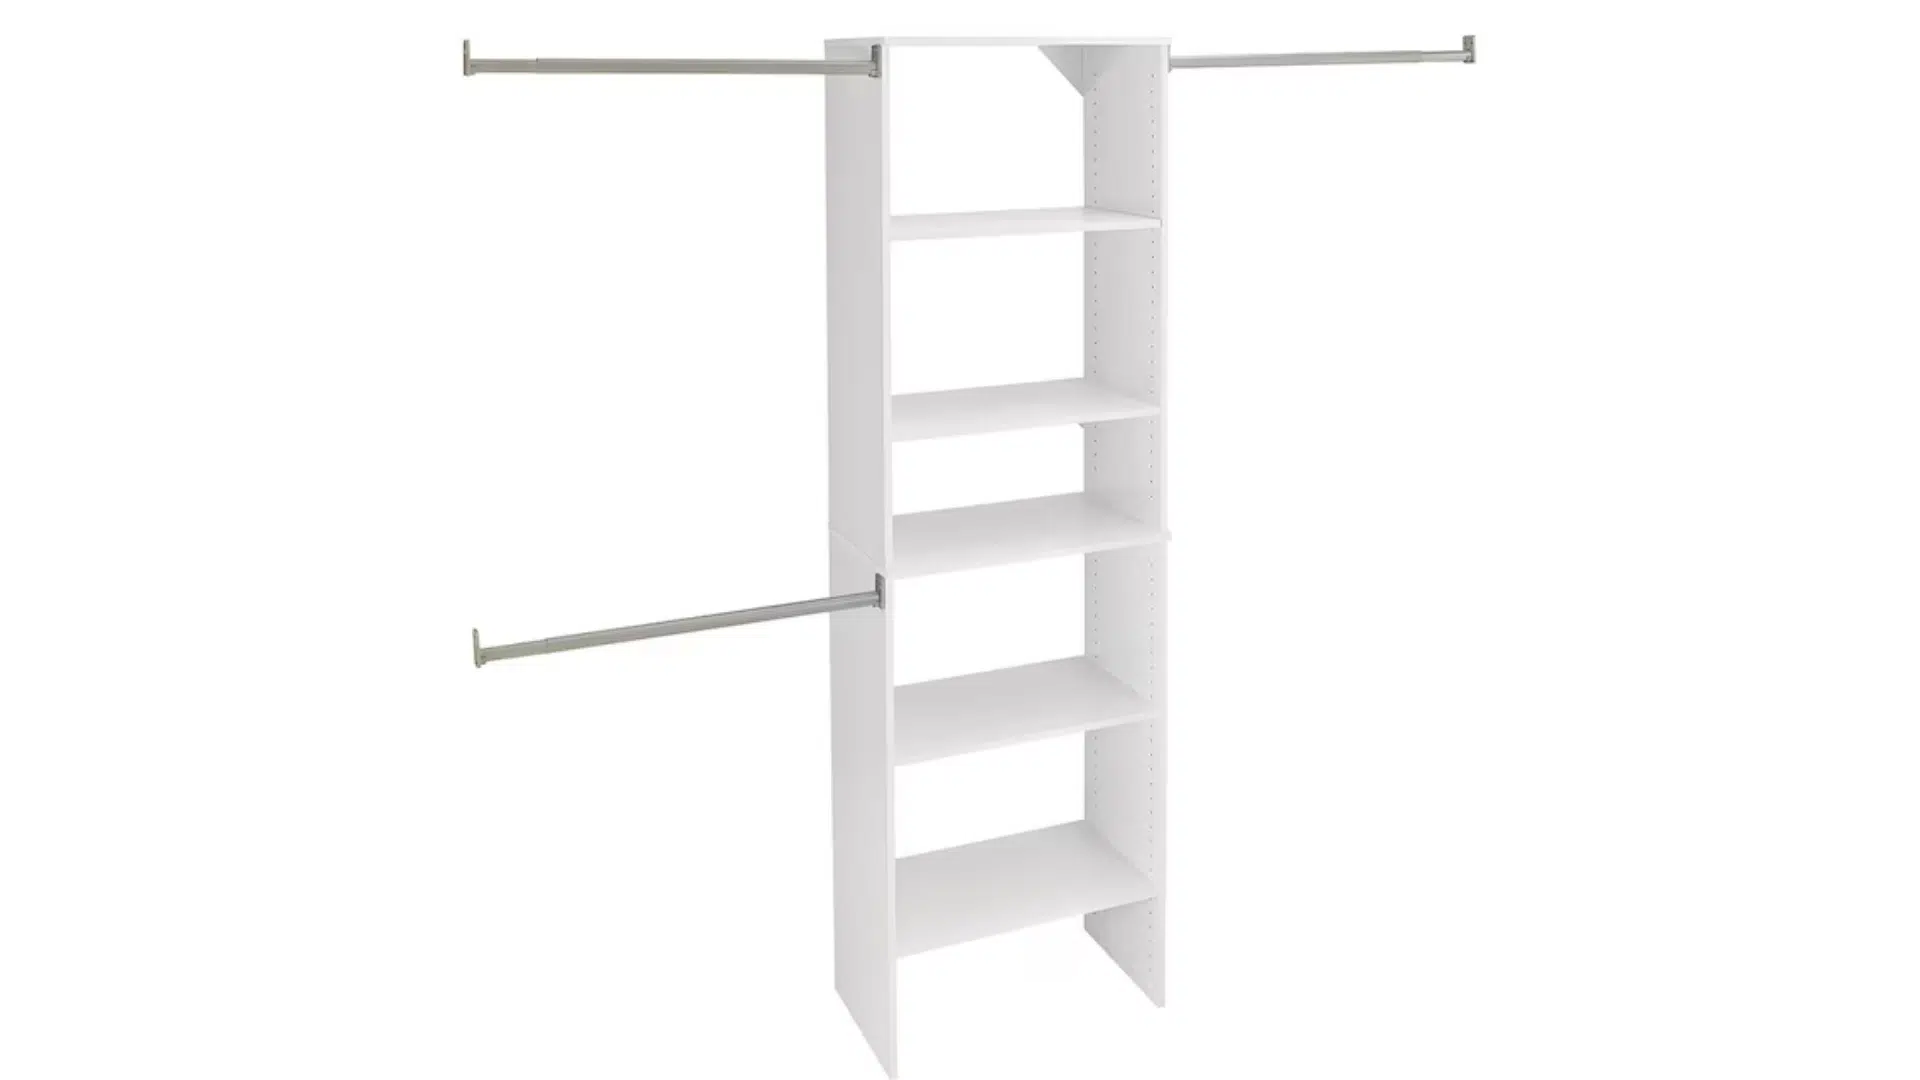
5. Easy Track White Solid Shelving Wood Closet System by Lowe’s
I’ve had a good experience with this closet organizer system because it’s easy to install and simple to customize.
The adjustable shelves give me the flexibility to set up the space exactly how I want it, and the overall construction feels sturdy once everything is in place.
I also really like the clean, appealing look it adds to the closet.
For my setup, it created a more organized and functional space without much effort, and the customization options made it easy to adapt to different storage needs.
6. Wardrobe combination by IKEA
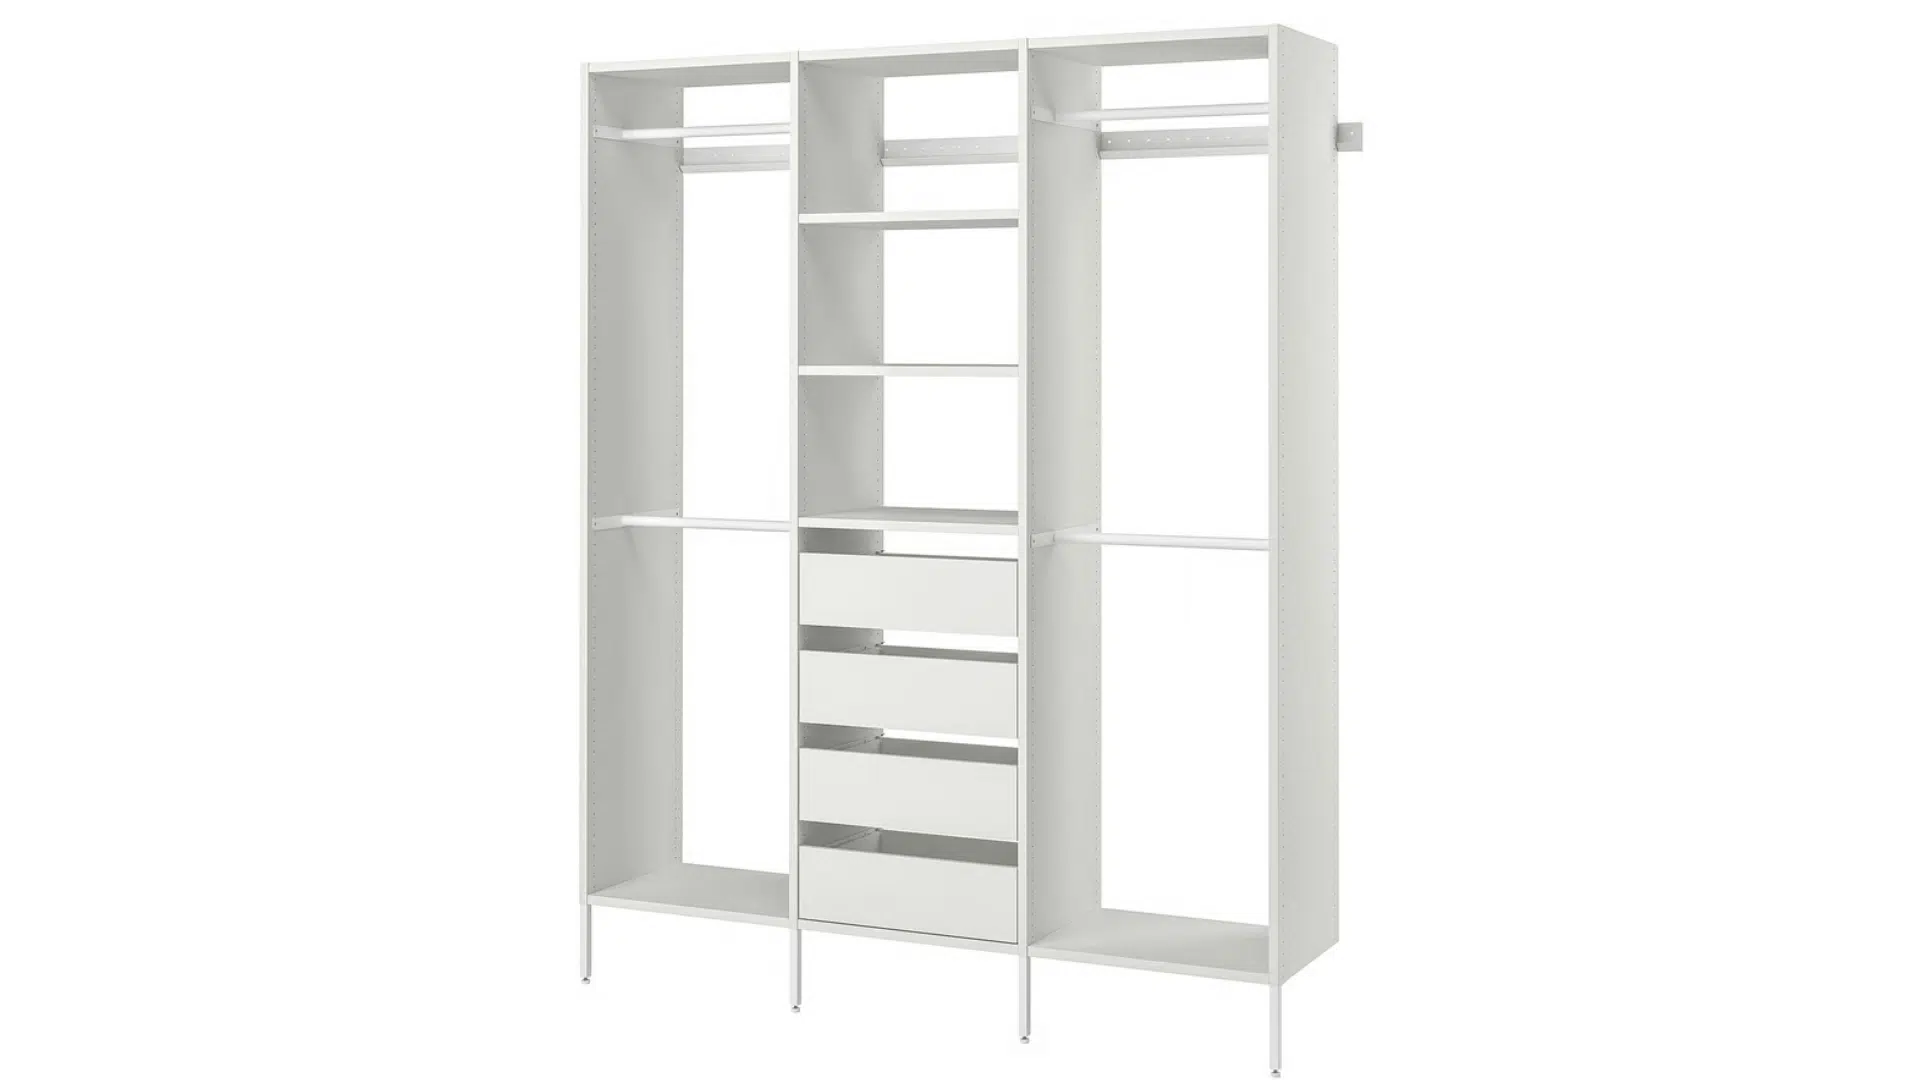
I like this closet system because the long leg design gives it a clean, modern look, especially in rooms with a higher plinth.
It also works well for me because I can adapt or expand the setup whenever my storage needs change.
The adjustable shelves and clothes rail make it easy to keep things organized without feeling cramped.
I also appreciate the adjustable feet, which help the whole system stay steady, even if the floor isn’t perfectly level. It keeps everything balanced and easy to use.
Steps to Install a DIY Closet Kit
Building a custom closet starts with choosing materials, measuring your space, and planning a layout for shelves, rods, and storage. A simple plan helps everything fit well and stay useful.
Materials to Use
Choosing the right materials makes a custom closet system stronger and easier to build. I focus on sturdy options that handle weight well and stay stable over time.
- Thermally fused laminate: Sturdy, smooth, and resistant to scratches.
- Solid wood or wood-fiber panels: Provide strength and hold hardware securely.
- Metal hanging rods: Support heavy loads and last longer without bending.
- Steel mounting rails: Keep the system stable and make installation easier.
- Adjustable brackets: Let you move shelves up or down when your needs change.
- Quality screws and anchors: Make the frame secure and prevent shifting.
These are the key steps that guide you from start to finish. Each step helps you set up your closet kit with confidence and ease.
Step 1: Measure Your Space
Start by measuring the width, height, and depth of your closet. Write the numbers down so you don’t lose track.
Make sure to note any obstacles like vents, outlets, or uneven areas.
These details help you avoid mistakes later. Accurate measurements also guide you when choosing shelf heights and hanging sections.
When you know your space well, the rest of the installation becomes much easier and more predictable from the beginning.
Step 2: Mark the Placement
Use your measurements to mark where each part of the kit will go. Mark the stud locations, shelf heights, and the position of the hanging rods.
Keeping these marks clear helps you stay organized as you install the pieces.
This step also helps you adjust anything before drilling.
Double-check your marks to make sure everything lines up. Clear marking keeps the setup simple and saves time once you start attaching hardware.
Step 3: Mount the Hardware
Begin by installing the main support rails or brackets. Make sure they sit level so the system stays steady. Mount them into studs whenever possible for better strength.
Follow the instructions in the kit since each system may use slightly different hardware.
Take your time with this step because the rest of the system depends on secure mounting. When the hardware is solid, the shelves and rods will stay steady and safe.
Step 4: Install Shelves and Rods
Once the hardware is mounted, attach the shelves and hanging rods.
Most kits use clips or brackets that slide easily into place. Adjust the shelves to the heights you prefer.
Make sure everything locks in securely so nothing shifts when you add clothes. This part of the process usually moves quickly because the main support is already set.
Good placement helps you use the space in a way that feels comfortable and practical.
Step 5: Add Extra Storage
After the main pieces are installed, add drawers, baskets, or extra shelves if your kit includes them.
These pieces help you organize smaller items and fill empty areas. Make sure the add-ons fit well with the rest of the layout.
You can also adjust shelf spacing if you need more room for bins or taller items.
Extra storage pieces keep your closet tidy and help you use every inch of space effectively.
Tips for Measuring Your Closet the Right Way
These steps help you avoid sizing mistakes that lead to a poor fit. Use them before buying or installing any closet kit.
- Measure the width, height, and depth of your closet and write everything down.
- Check both the top and bottom width since walls are not always perfectly straight.
- Measure from floor to ceiling to know how much vertical space you can use.
- Note any obstacles like vents, outlets, or sloped ceilings that affect placement.
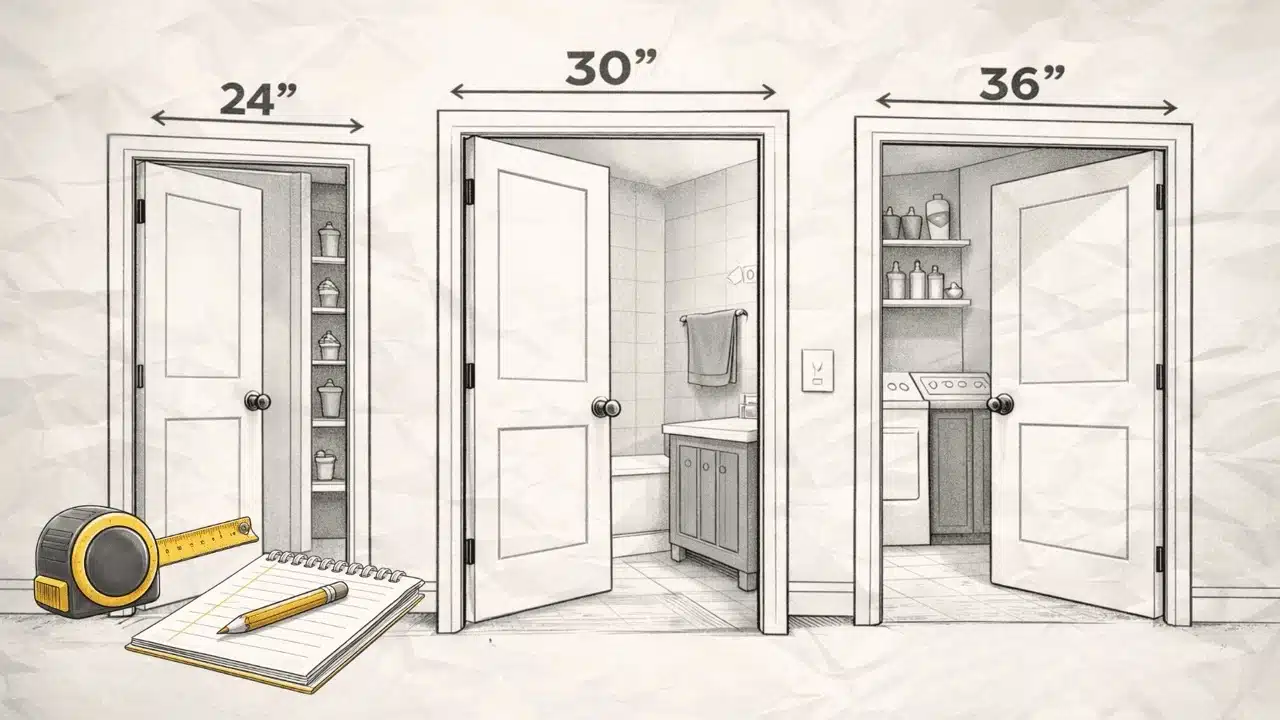
- Measure the door opening to make sure shelves and rods don’t block it.
- Use a level to check if the floor or walls are uneven before installing hardware.
- Leave a little wiggle room so shelves and rods fit without forcing anything.
DIY Closet Ideas that Work Best
Creating extra storage in a small home doesn’t have to be hard. These DIY closet ideas make it easy to use every inch of space while keeping things neat and practical.
1. DIY Closet Office (Cloffice)
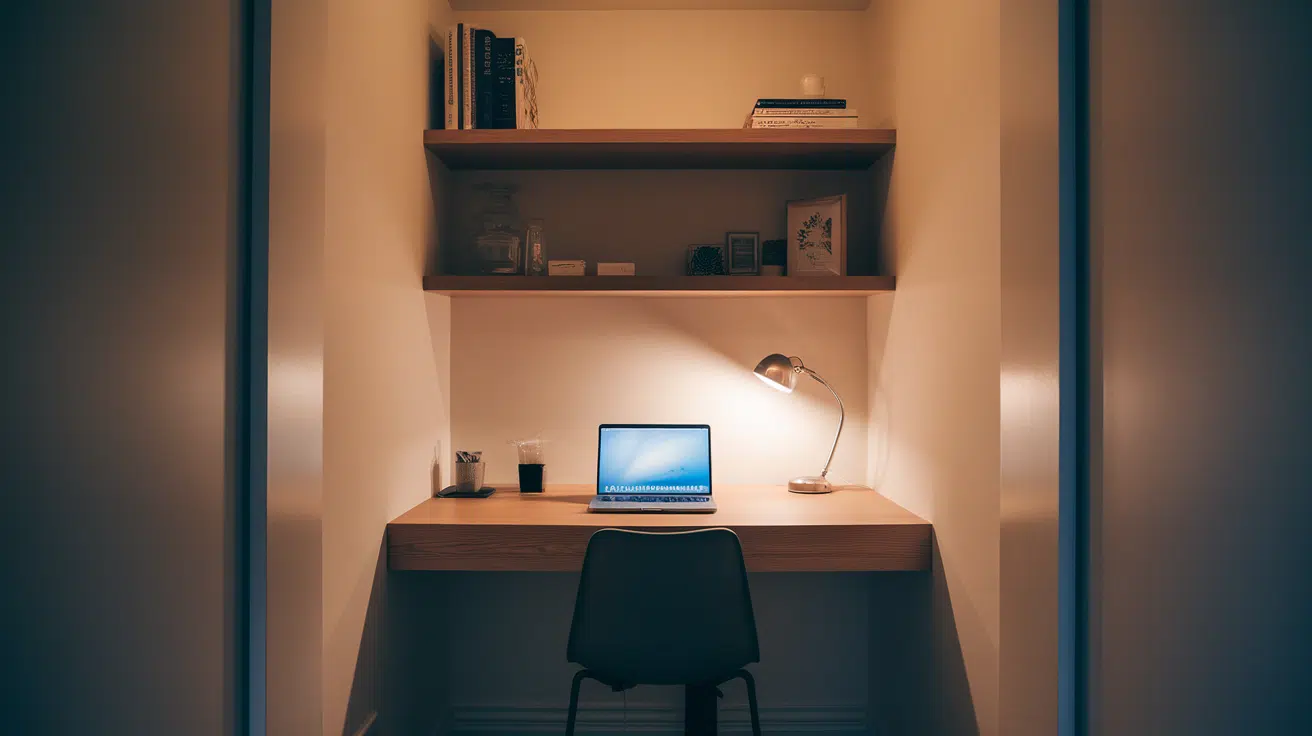
Turning a spare closet into a tiny office felt like creating a secret workspace just for myself.
With a little paint and a few basic tools, I built a functional closet that fits right into a guest room without taking up extra space.
I love how cozy and efficient it feels, and it’s perfect for working, studying, or even crafting.
This simple DIY helped me turn unused space into something purposeful, and it’s one of my favorite small-home upgrades.
2. DIY Standalone Wardrobe
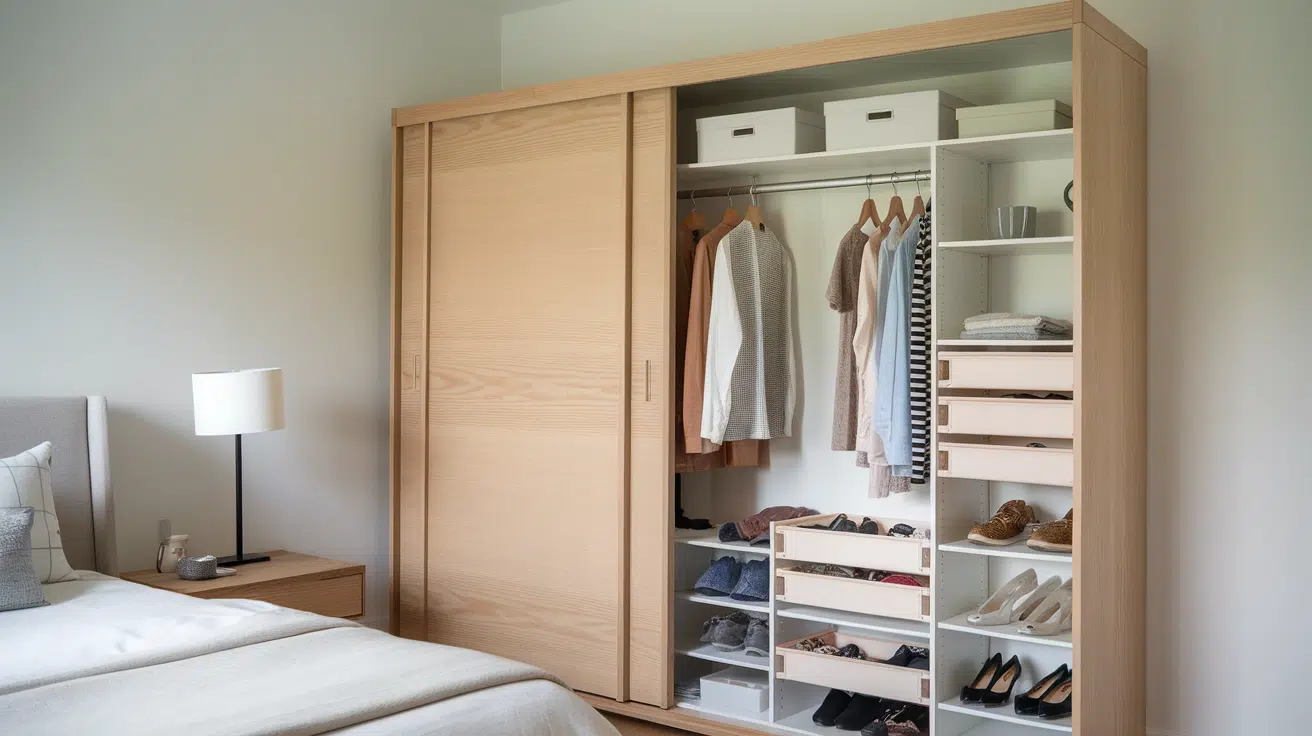
Building a standalone wardrobe helped me add storage without dealing with major construction.
It holds clothes, shoes, and accessories without making the room feel crowded.
I like that it’s flexible, so I can move it, redesign it, or expand it as my needs change. It also gave me the look and storage I wanted while keeping the floor space open.
This kind of setup works well when you need extra room for your things but don’t want a built-in system.
3. IKEA Closet Hack
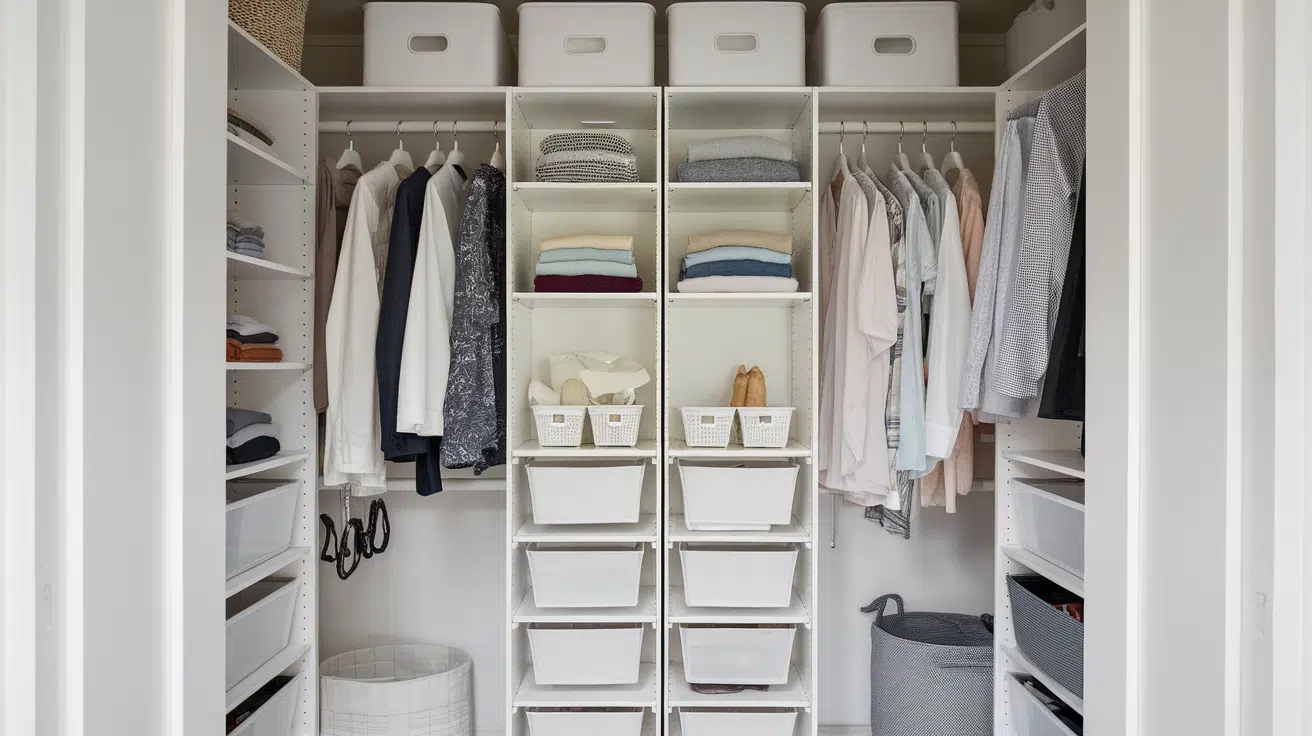
I’m always surprised by how much an IKEA hack can improve a closet, especially when I’m working with a small budget.
This setup cost me less than $100, yet it looks clean, organized, and more custom than I expected.
IKEA pieces are easy to adjust, so I could change things as I worked. This project also showed me that I don’t need to spend much to build a closet that feels polished and fits my daily routine.
It’s a simple upgrade that works in almost any space.
4. Industrial Pipe Shelving
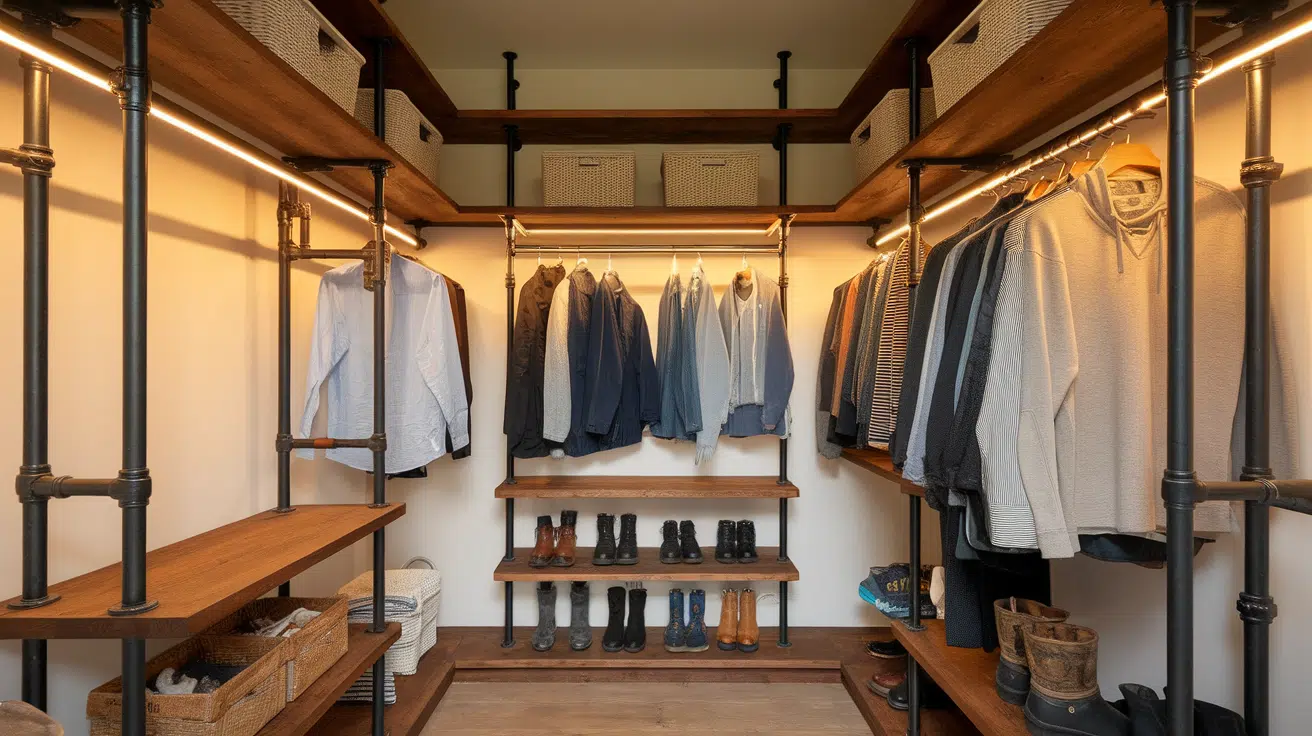
I love the look of industrial pipe shelving because it feels sturdy and stylish at the same time.
Building a closet system with stained wood and metal pipes gives the space a rustic, hardworking feel that also lasts for years.
This design is perfect for walk-in closets where I want a mix of durability and personality.
The open shelving makes everything easy to see, and the materials give the whole project a high-quality, long-lasting feel.
5. DIY Accessories Closet
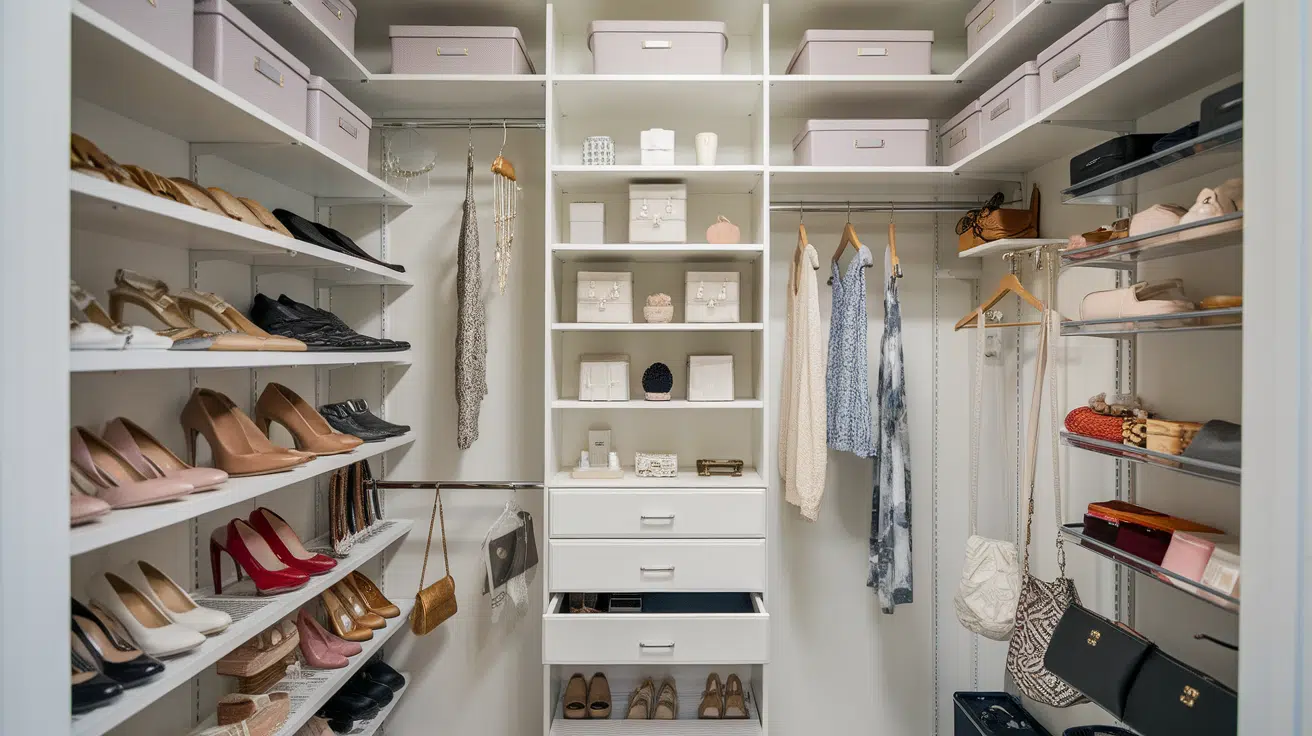
Building a dedicated accessories closet felt like creating a small display just for my favorite items.
Adding shelves along the side walls helped me store shoes, jewelry, bags, and other small pieces without losing track of anything.
I like how well this idea works in deep but narrow closets, where standard layouts usually waste space.
Everything stays visible and easy to reach, and the setup makes the closet feel more organized. It’s a simple way to turn a tight space into useful storage.
Conclusion
A well-planned closet can make everyday life feel easier, and choosing the right DIY kit is one of the simplest ways to get there.
Whether you want more hanging space, better shelves, or a layout that finally fits your routine, the kits and ideas in this guide give you a solid place to start.
Each option is something you can install on your own, without needing major tools or construction skills.
As you look at your closet and think about what you want it to do, pick the setup that matches your space and your daily needs.
If you’ve tried any of these kits or built your own DIY closet project, I’d love to hear how it turned out. Share your experience in the comments below.