I’ve always loved the gallery-style look of frame TVs, but the price tag? Not so much. That’s why I decided to build my own DIY TV frame instead of spending thousands on a brand-name model.
The best part is that creating a frame TV that looks at home is surprisingly simple.
With basic materials and tools, you can change your regular TV into a stylish piece of wall art, no advanced woodworking skills required.
I’ll show you how to build a DIY TV frame from start to finish, including the materials, tools, and steps to put it all together.
I’ve also included timestamps from a helpful video tutorial, so you can follow along visually if needed. If you’re a beginner or experienced DIYer, this project is totally doable on a weekend.
Let’s get started and save some money while upgrading your living space.
What You Need to Build a DIY TV Frame
Before you start cutting or assembling anything, gather all your materials and tools in one place. This prevents frustrating mid-project trips to the hardware store and helps the build process flow smoothly from start to finish.
- Picture frame (for repurposing)
- Wood glue
- Brackets (DIY wooden brackets or alternative methods)
- Brad nails or finish nails
- Primer
- Paint
- Wood filler
- Screws and washers
- Miter saw or miter box
- Measuring tape
- Ratchet strap
- Sandpaper
- Table saw (if making DIY brackets)
- Screwdriver
Step-By-Step Guide to Build a DIY TV Frame
This section walks you through every step of building your DIY TV frame. Follow along carefully, and you’ll have a professional-looking frame TV in no time.
Step 1: Measure Your TV
Start by carefully removing your TV from the wall mount. Lay it face down on a soft surface, such as a blanket, to protect the screen from scratches.
Use your measuring tape to record the outer edges of your TV’s bezel.
Please measure the width, height, and most importantly, the depth from the front face to where it sits against the wall.
These measurements are crucial because your frame needs to fit perfectly around the TV without blocking any vents or buttons. Write down all dimensions and keep them handy for the next steps.
Step 2: Find a Picture Frame

Head to thrift stores, clearance sections, or online marketplaces to find a large wooden picture frame.
The frame should be significantly bigger than your TV measurements. Look for frames with sturdy wood construction and substantial width on the molding.
Avoid flimsy frames or those made from composite materials, as they won’t hold up well.
The goal is to find something with enough material that you can cut it down to your exact TV size. A frame that’s too big is much better than one that’s too small for this project.
Step 3: Prep the Frame
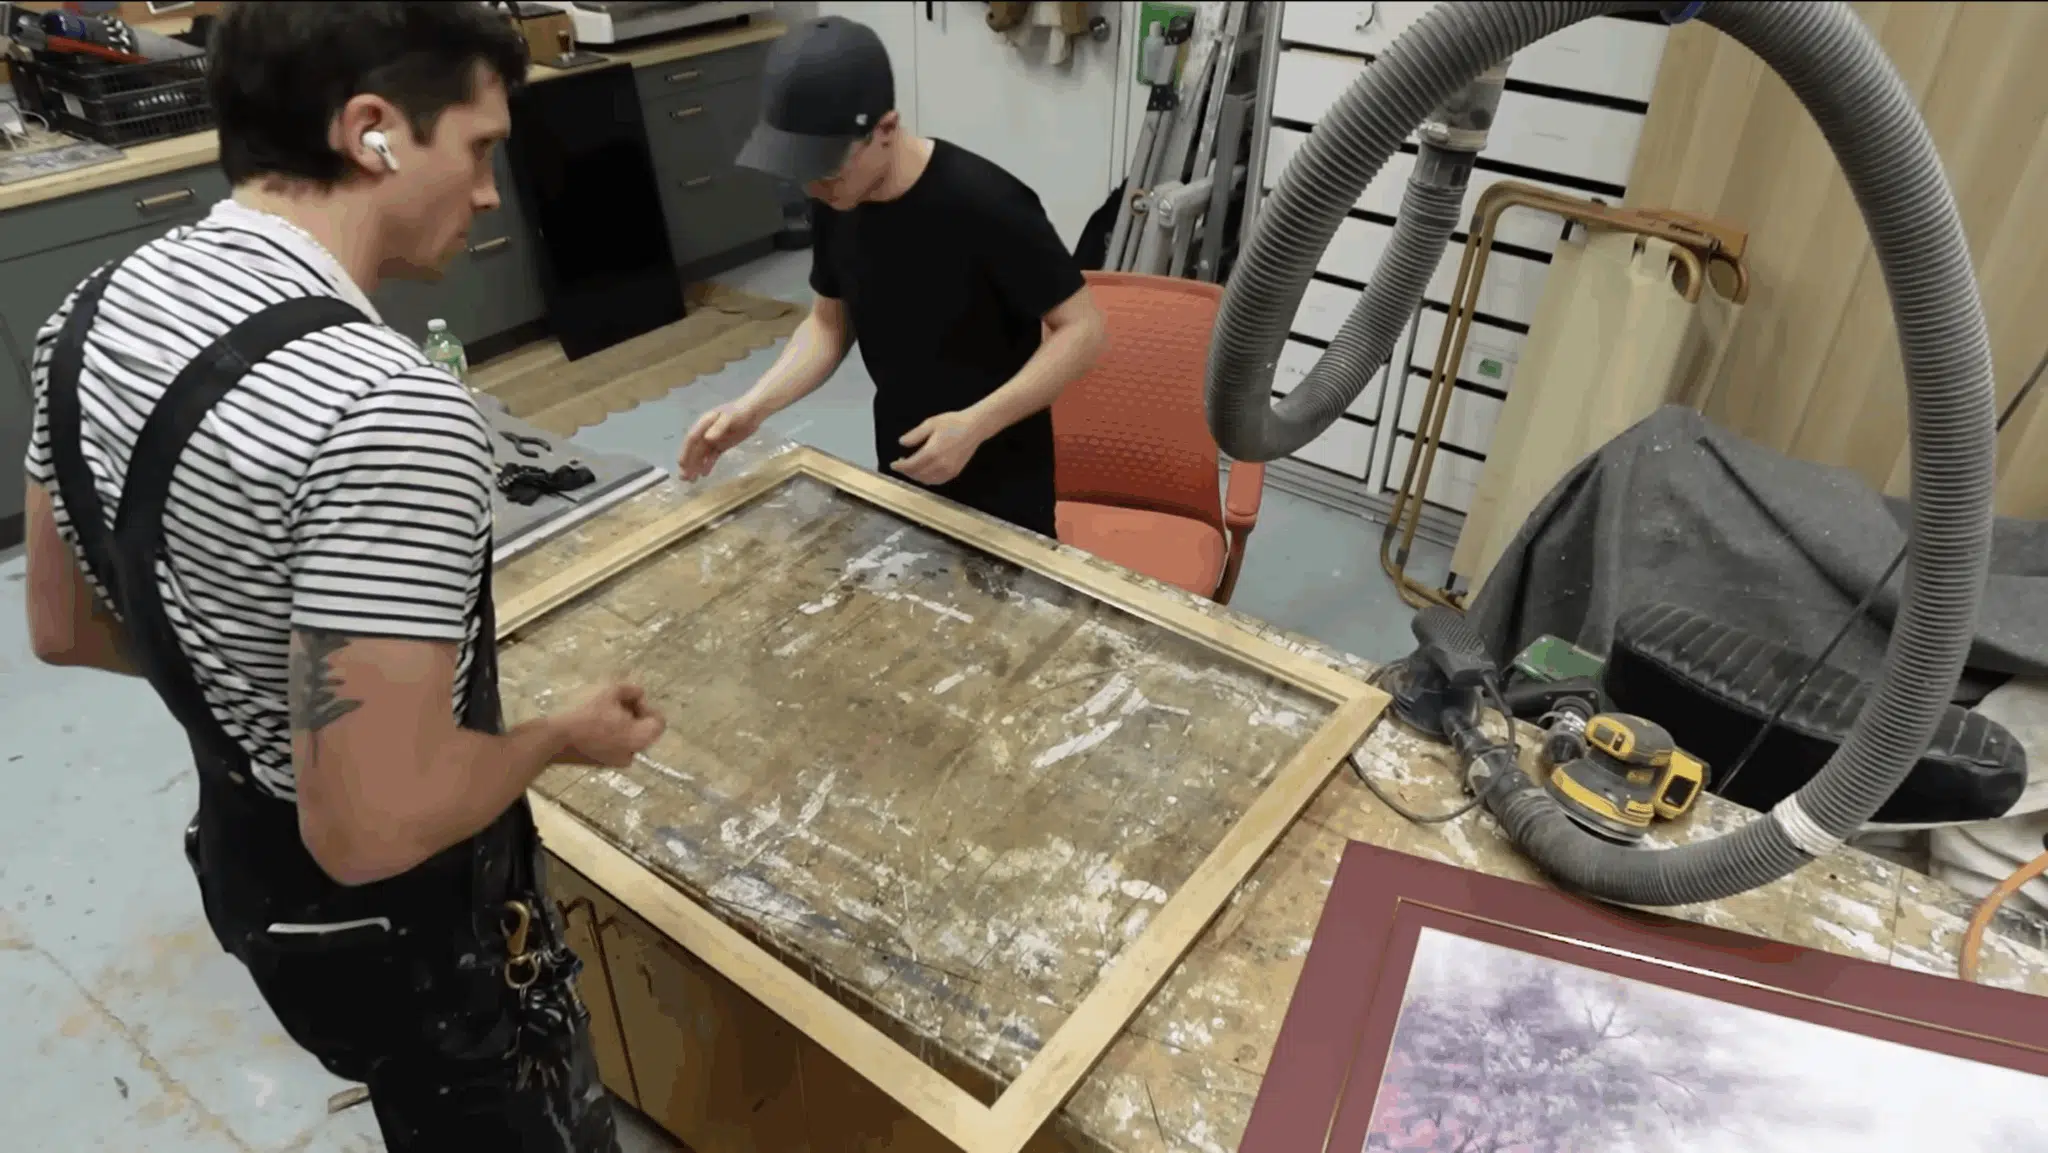
Once you have your frame, it’s time to strip it down to just the wooden pieces. Remove any artwork, matting, or decorative elements that came with the frame.
Take out the backing board and carefully remove the glass or acrylic front.
Set these aside for another project or dispose of them properly if you won’t need them. You should now have just the four wooden frame pieces.
Clean off any dust, old adhesive, or staples that might interfere with your measurements and cuts.
Step 4: Rout the Inner Edge
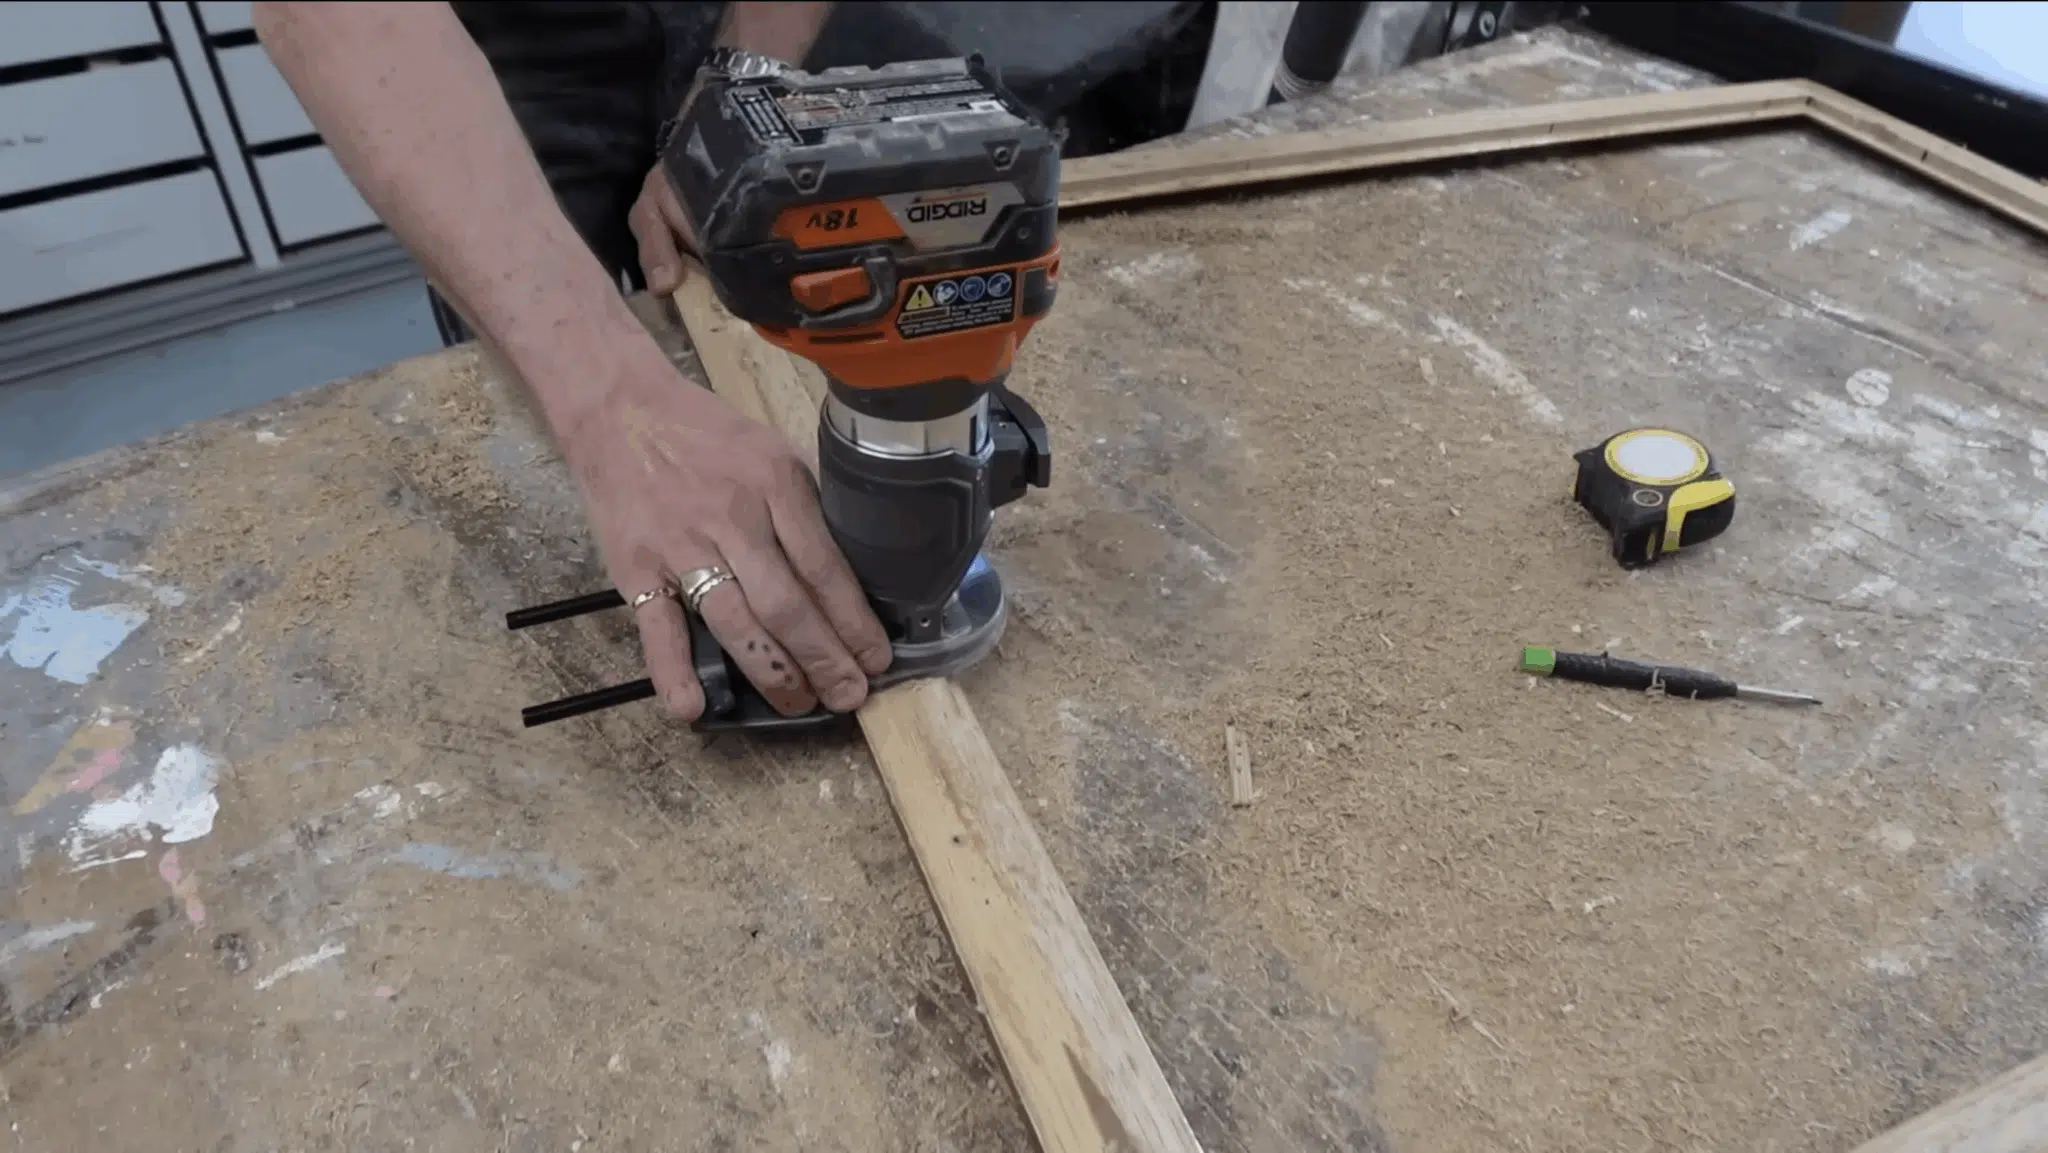
This is an optional step that creates a sminorgroove or ledge on the inner edge of your frame. It helps the frame sit flush and snug against your TV’s bezel.
If you have a router, run it along the inside edge of each frame piece to create a shallow channel.
This allows the frame to “hug” the TV more naturally. If you don’t have a router or feel comfortable skipping this step, that’s perfectly fine.
Your frame will still work well without routing, though it may sit slightly further from the TV face.
Step 5: Cut the Frame to Fit

Here’s where precision matters most. Instead of cutting the frame into four separate pieces, cut it into just two L-shaped sections.
This maintains structural integrity and makes assembly easier. Mark the direction of your miter cuts carefully on each piece. The angles need to match perfectly when you reassemble the frame around your TV dimensions.
Leave yourself a little extra wood beyond your measurements for fine-tuning.
It’s much easier to trim off excess than to add wood back if you cut too short.
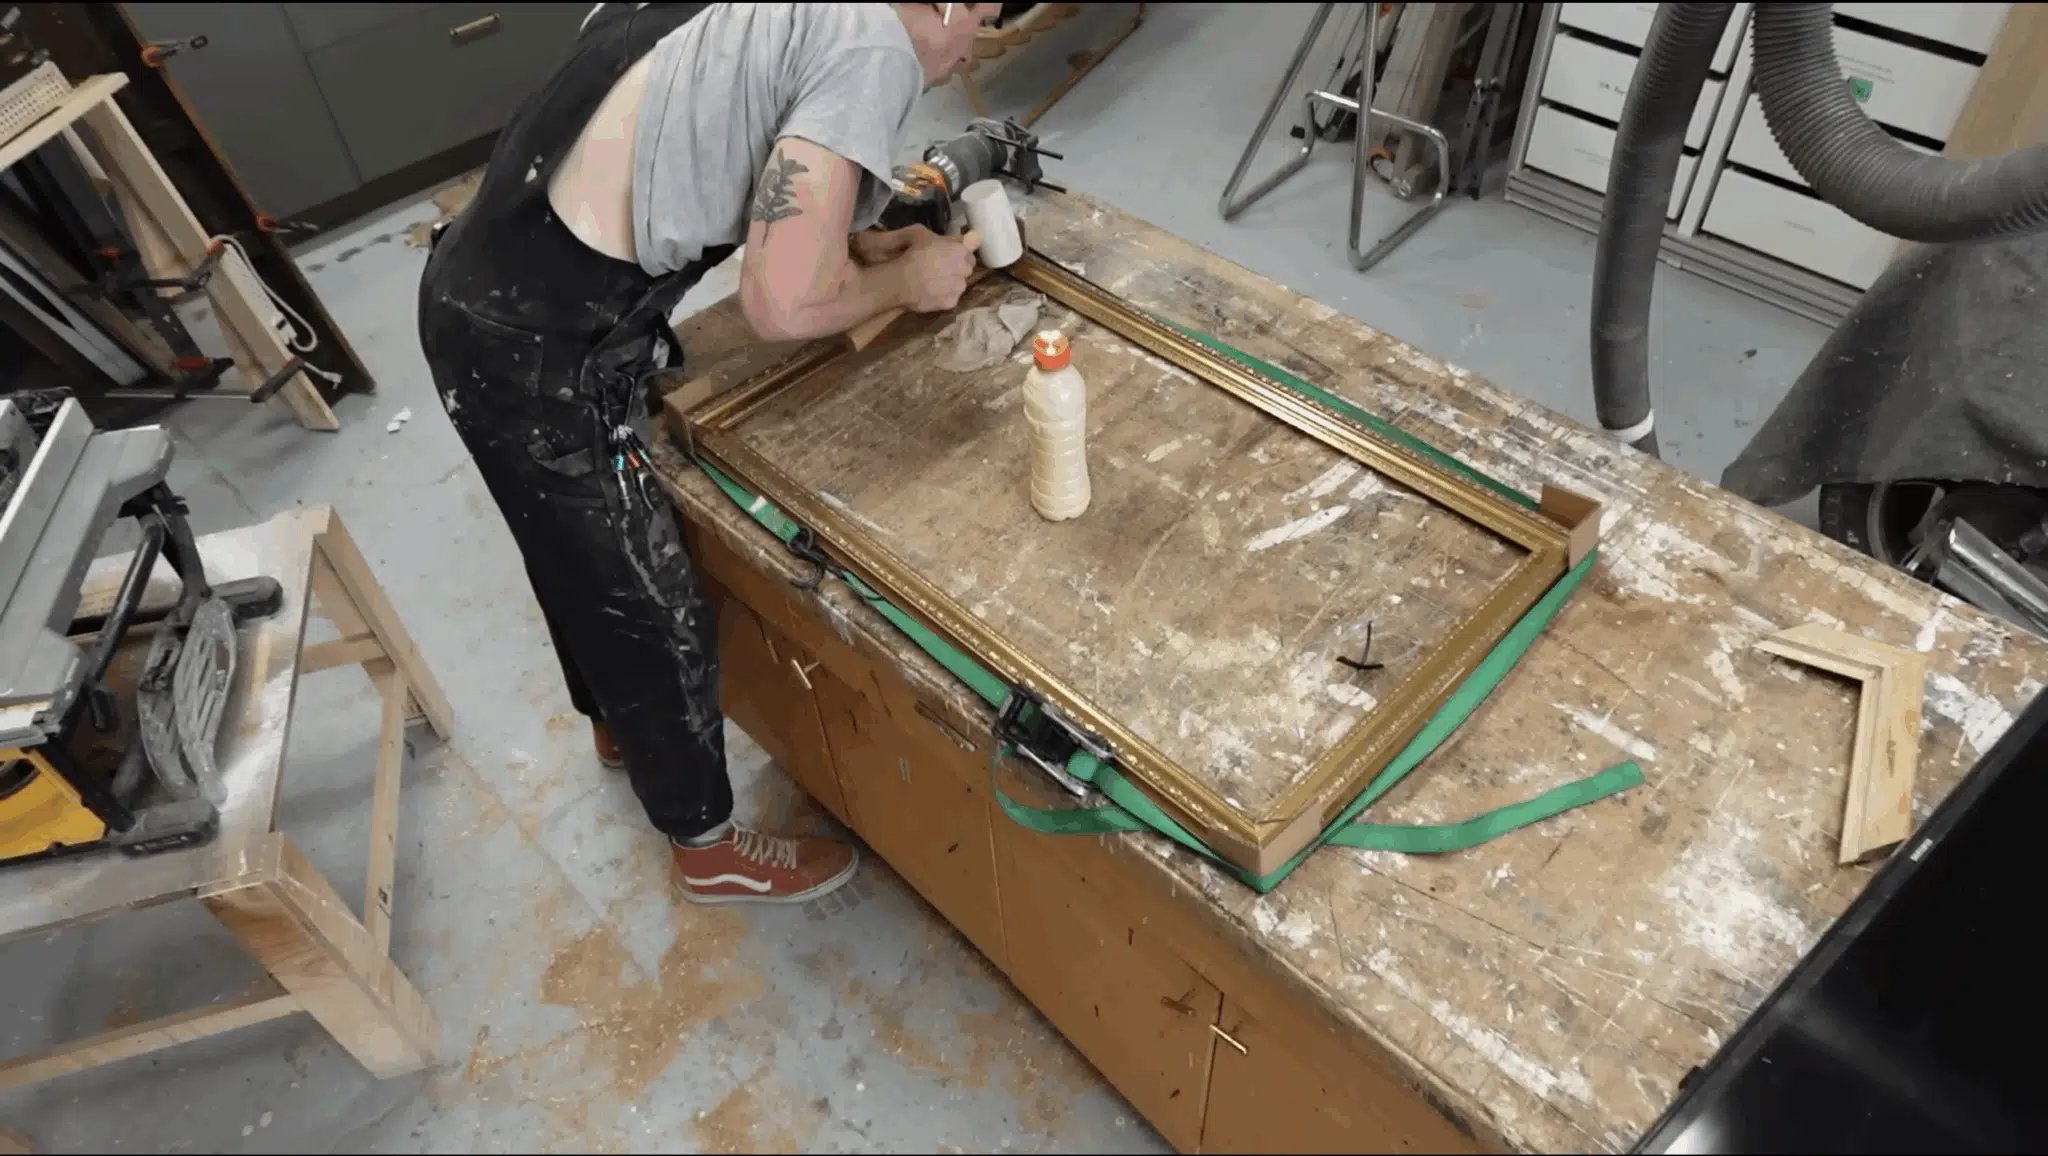
Step 6: Glue and Clamp the Frame
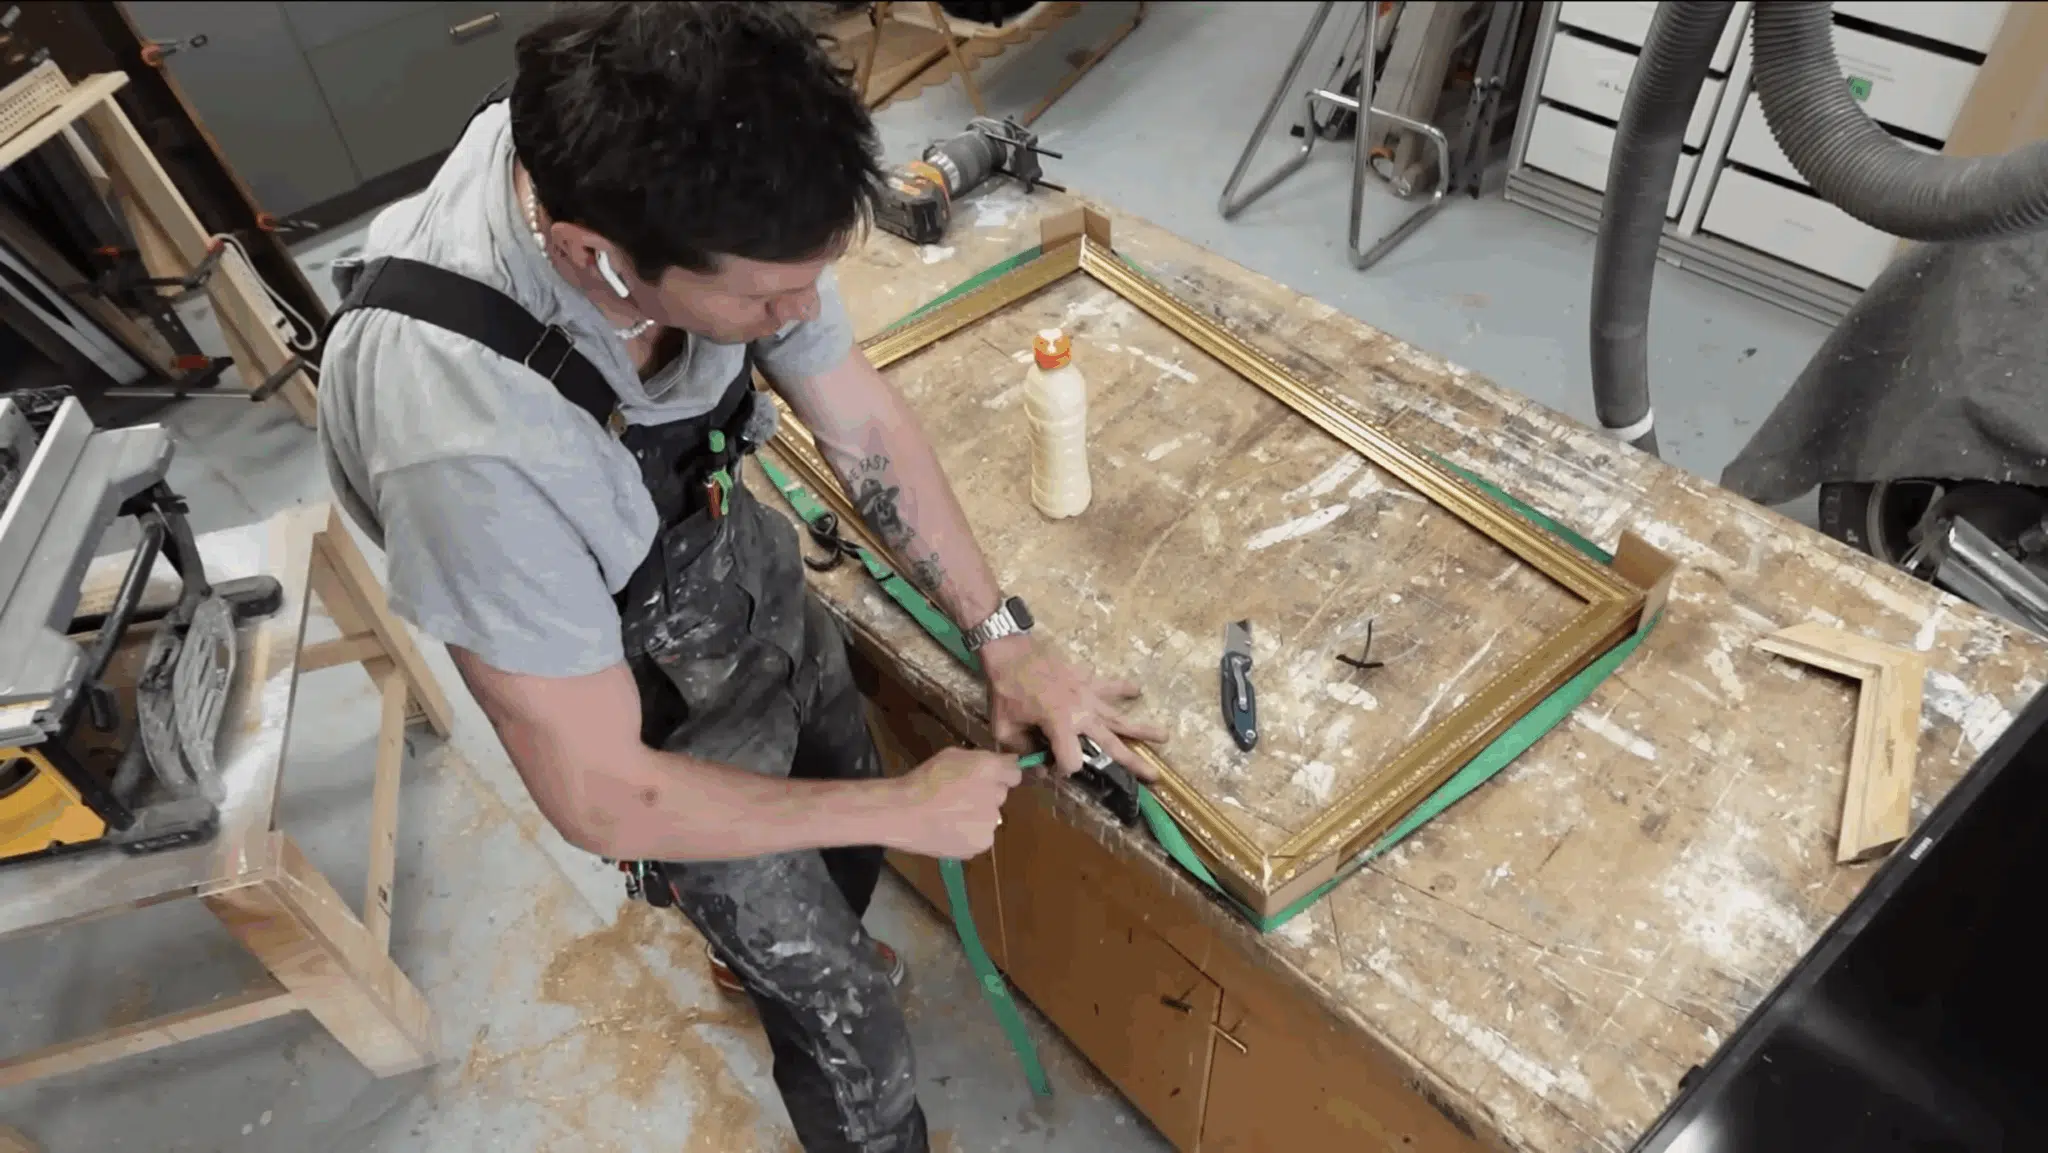
Apply a generous but not excessive amount of wood glue to the miter joints where your frame pieces will connect. Work quickly before the glue begins to set.
Wrap your ratchet strap around the entire frame and tighten it gradually to pull the joints together. Gently tap the corners into perfect alignment with a rubber mallet.
Wipe away any excess glue that squeezes out immediately with a damp cloth.
Let the frame dry completely according to your wood glue’s instructions, usually several hours or overnight.
Step 7: Fix Gaps or Mistakes
Even with careful measuring and cutting, small gaps can appear at the joints. If you notice any gaps, cut a thin sliver of wood and glue it into the space.
Once any repairs are dry, apply wood filler to any remaining gaps, nail holes, or imperfections.
Use your finger or a putty knife to press it firmly into place. After the filler dries completely, sand everything smooth with medium-grit sandpaper.
The surface should feel uniform with no bumps or rough spots before painting.
Step 8: Build and Install the Brackets
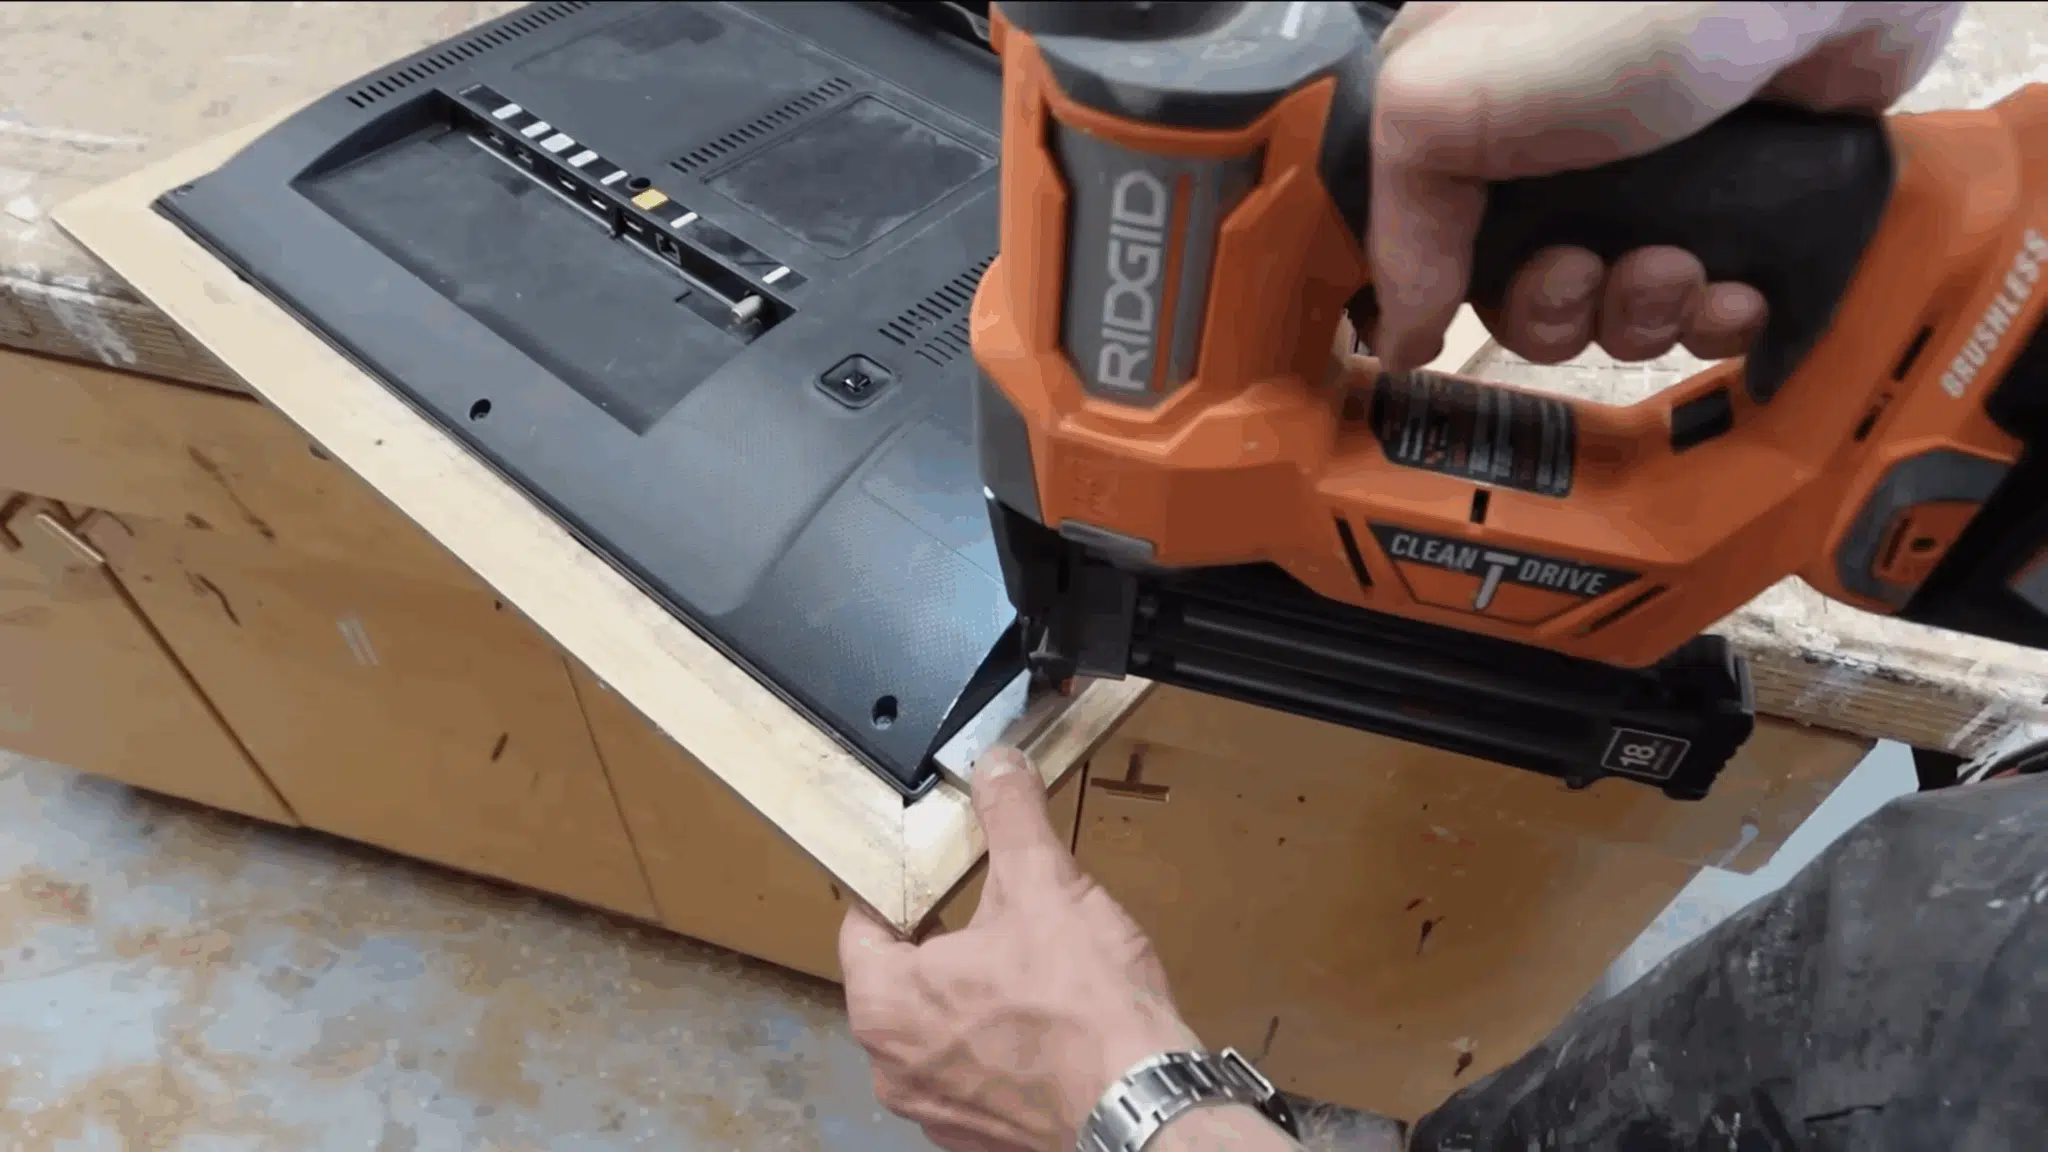
Cut notches in small pieces of wood to create custom brackets that will hold your frame to the TV.
These notches should fit snugly over the TV’s edges. Attach the brackets to the back of your frame using wood glue, brad nails, and screws.
Position them where they’ll grip the TV securely without blocking vents or ports.
Don’t tighten the screws; leave them completely loose so the brackets can swivel slightly. This flexibility makes it much easier to attach and remove the frame from your TV.
Step 9: Prime and Paint
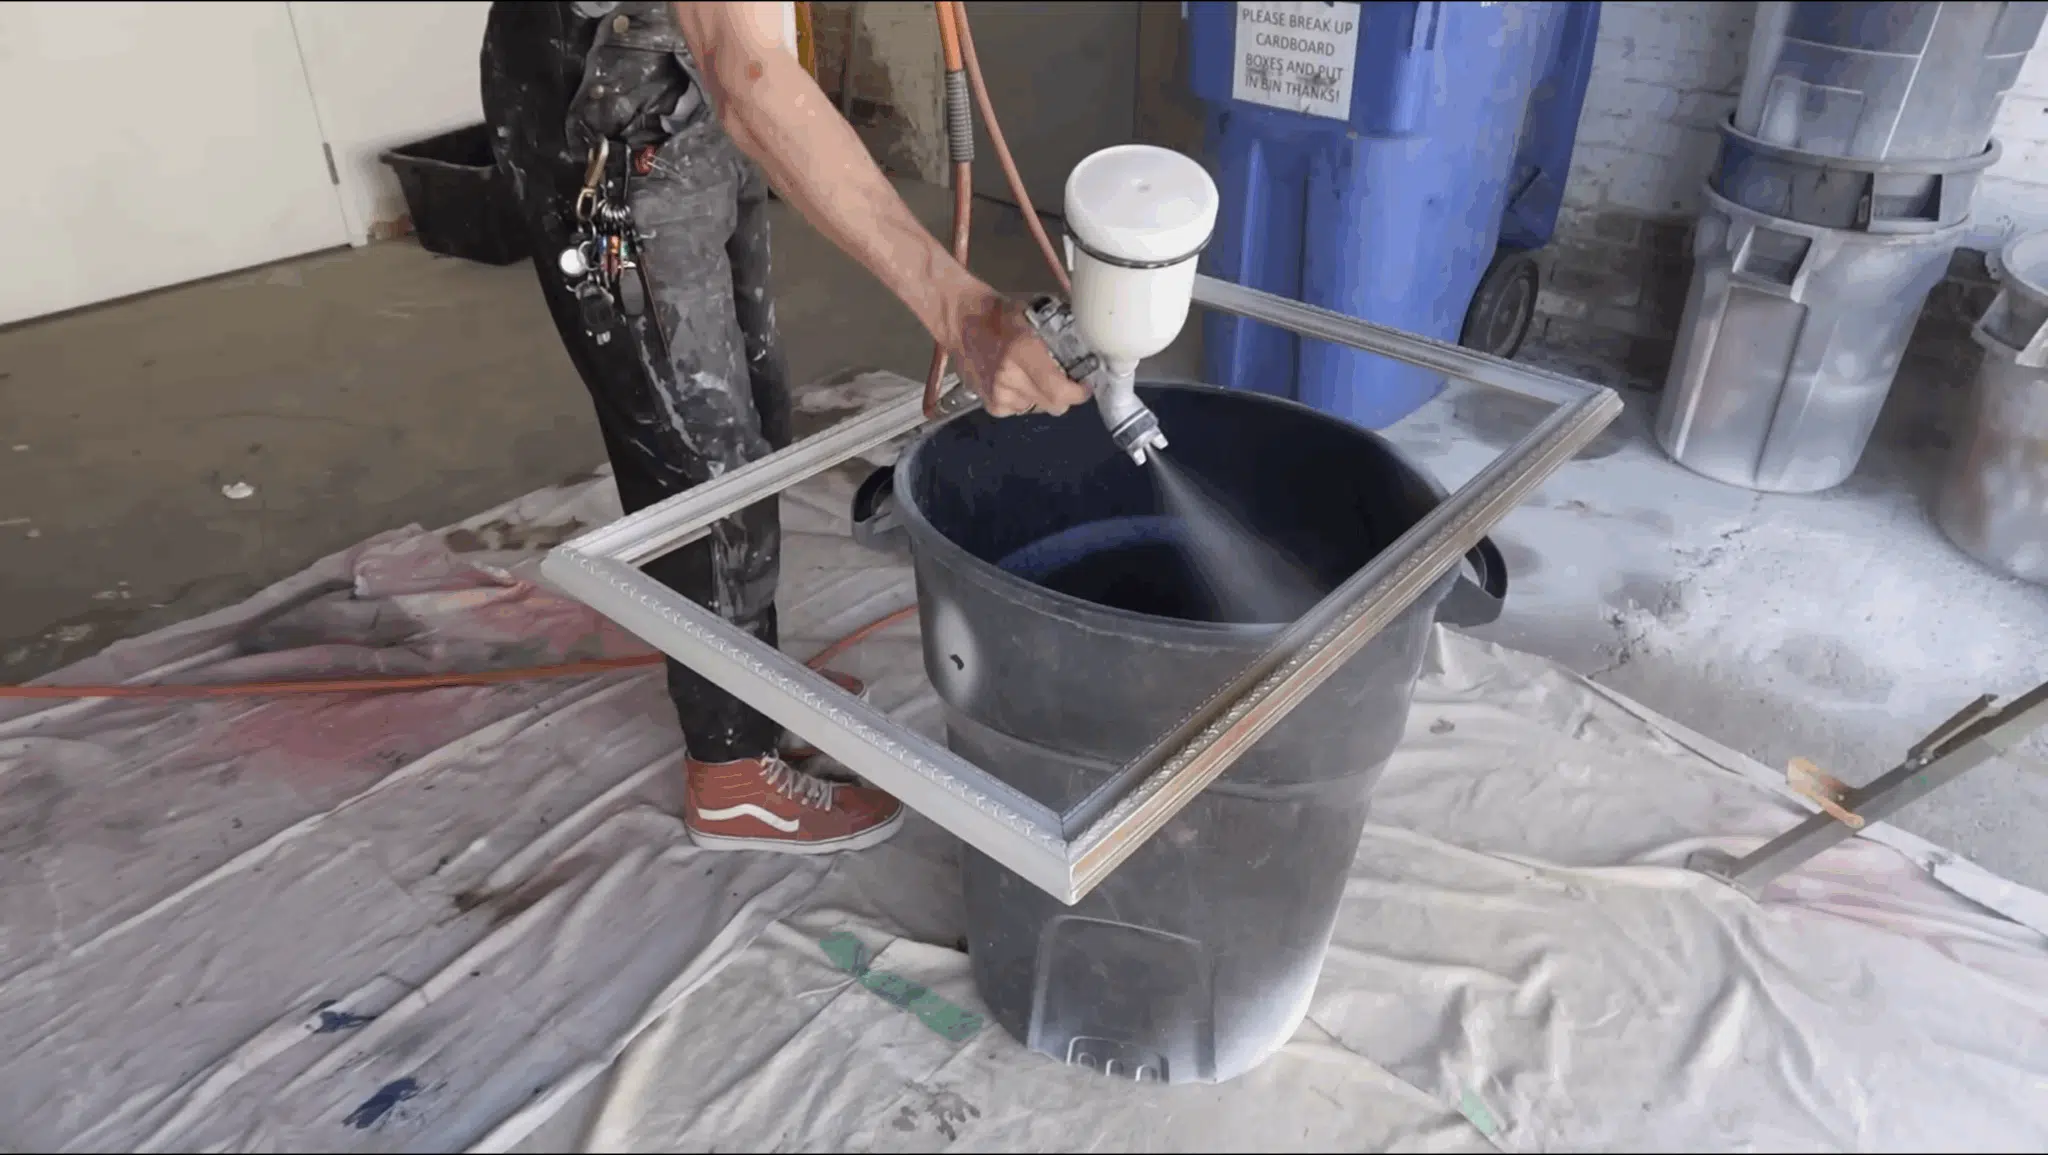
Start with one coat of primer over the entire frame. This creates an even base and helps your paint color look accurate and vibrant.
Once the primer dries, apply three coats of paint in your chosen color.
Allow each coat to dry completely before adding the next for the best finish. Use light, even strokes and avoid overloading your brush.
Multiple thin coats always look better than one thick coat that might drip or show brush marks.
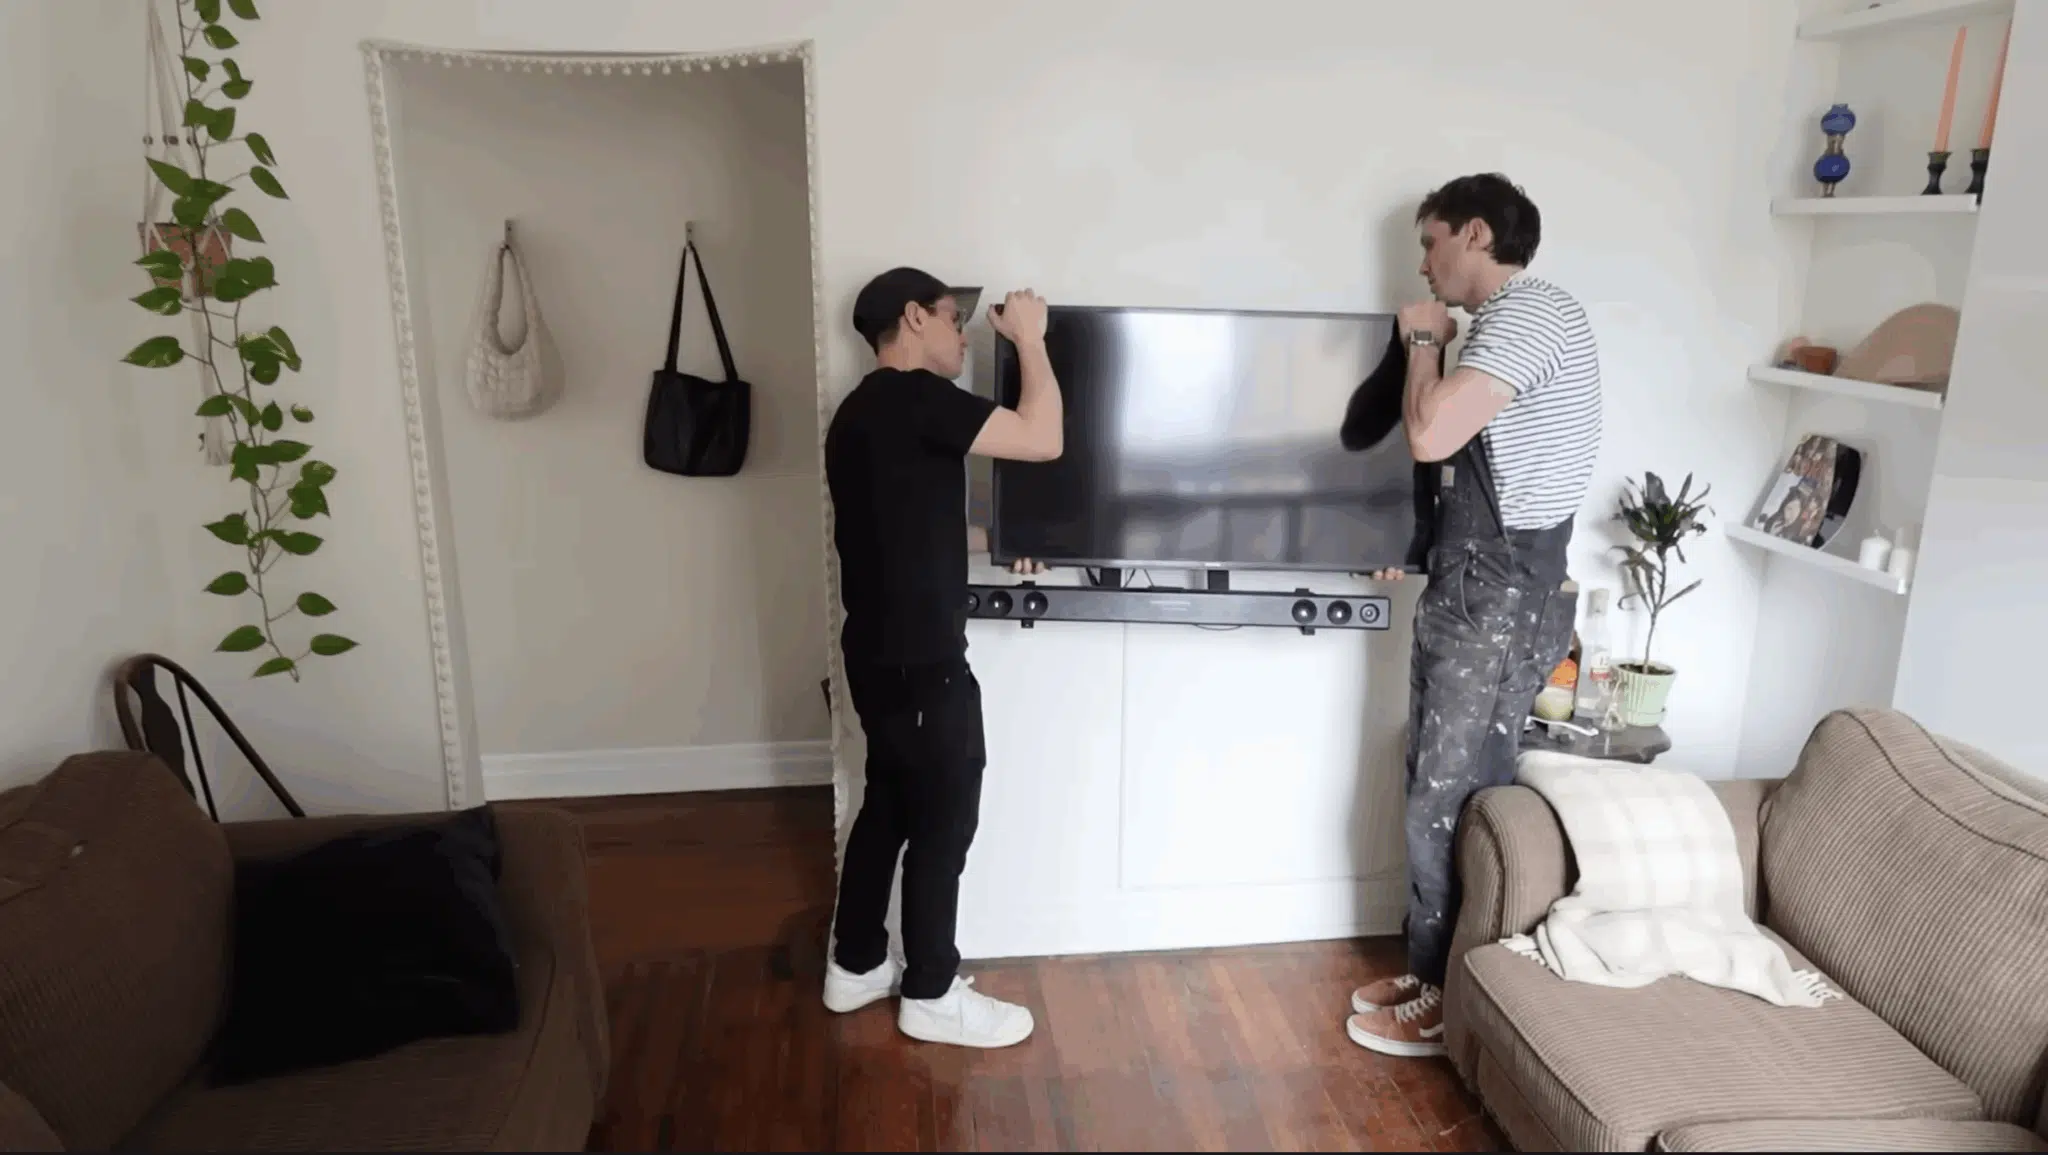
Step 10: Attach the Frame to The TV
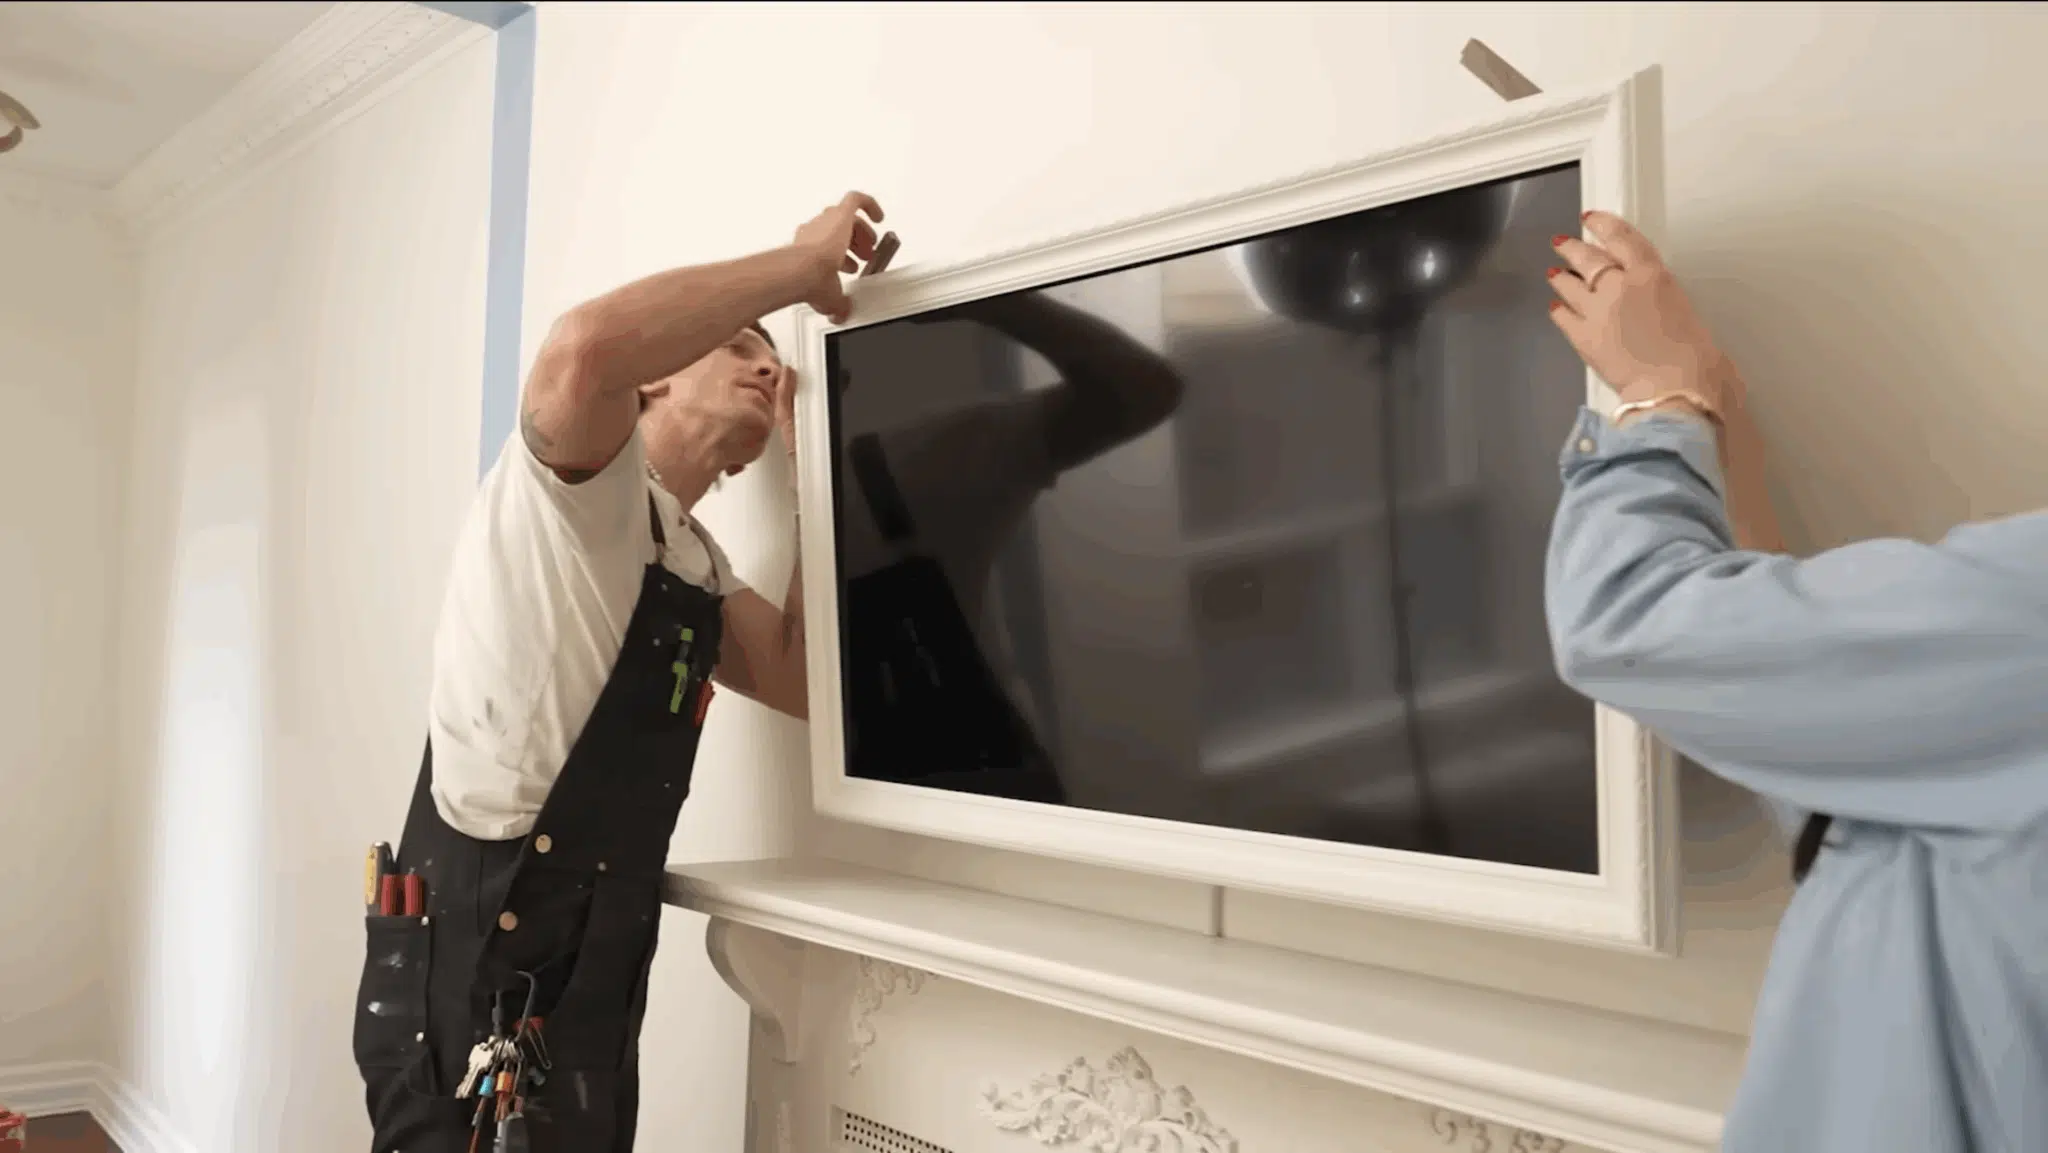
With your frame fully dry, it’s time for the final step. Carefully position the frame over your TV, lining up the brackets with the TV’s edges.
The brackets should grip the TV securely without any adhesive or tape.
This allows you to remove the frame anytime you need access to ports or want to change the look. Step back and admire your work.
You’ve just created a custom frame TV for a fraction of the cost of buying one from a major brand.
This tutorial is based on a helpful video by @handyman.graham. You can check out the original video on their YouTube channel here or watch it below.
Additional Style Choices
Once you’ve mastered the basic build, it’s time to personalize your frame TV with a style that matches your home décor. These are some popular finishing options to consider.
1. Classic White
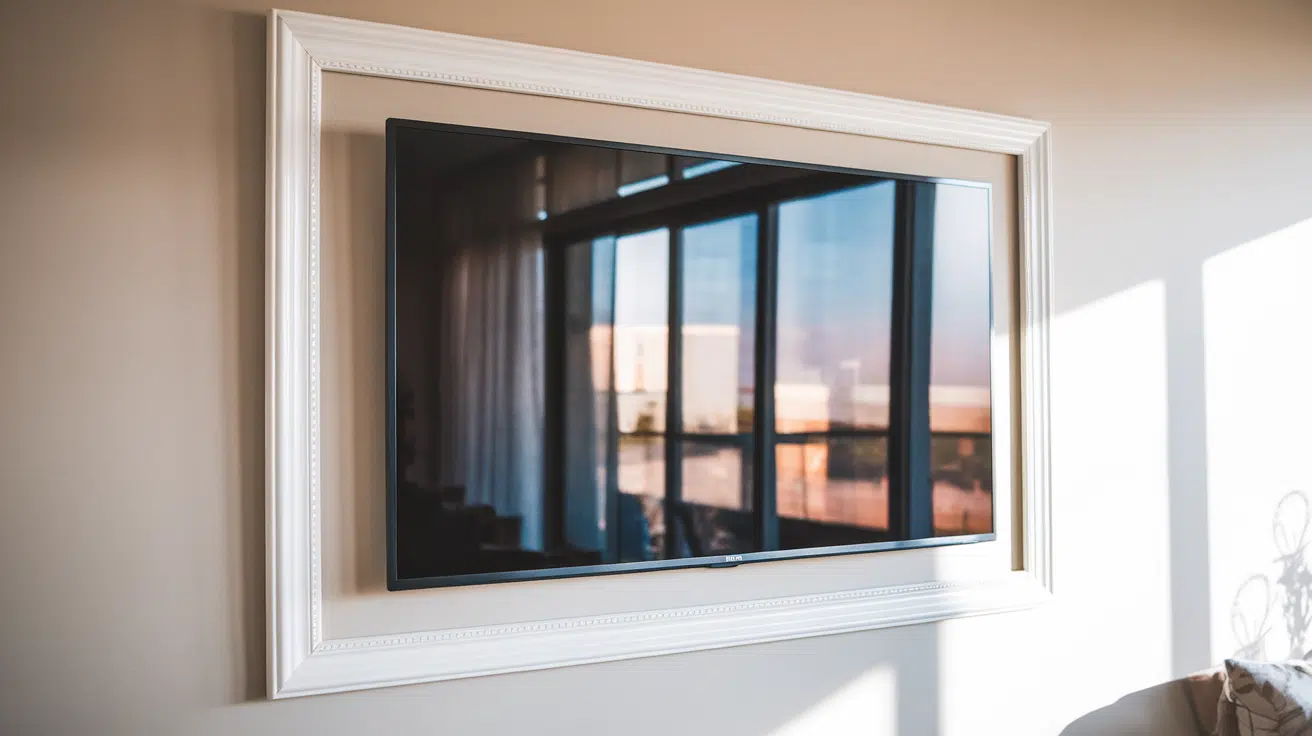
White frames are timeless and work beautifully in any room style.
They create a clean, gallery-like appearance that makes your TV look like expensive wall art.
Use a semi-gloss or satin white paint for easy cleaning and a subtle shine. This finish complements modern farmhouse, coastal, and minimalist interiors perfectly.
White also helps the frame blend seamlessly with most wall colors, making your TV less of a focal point when it’s off.
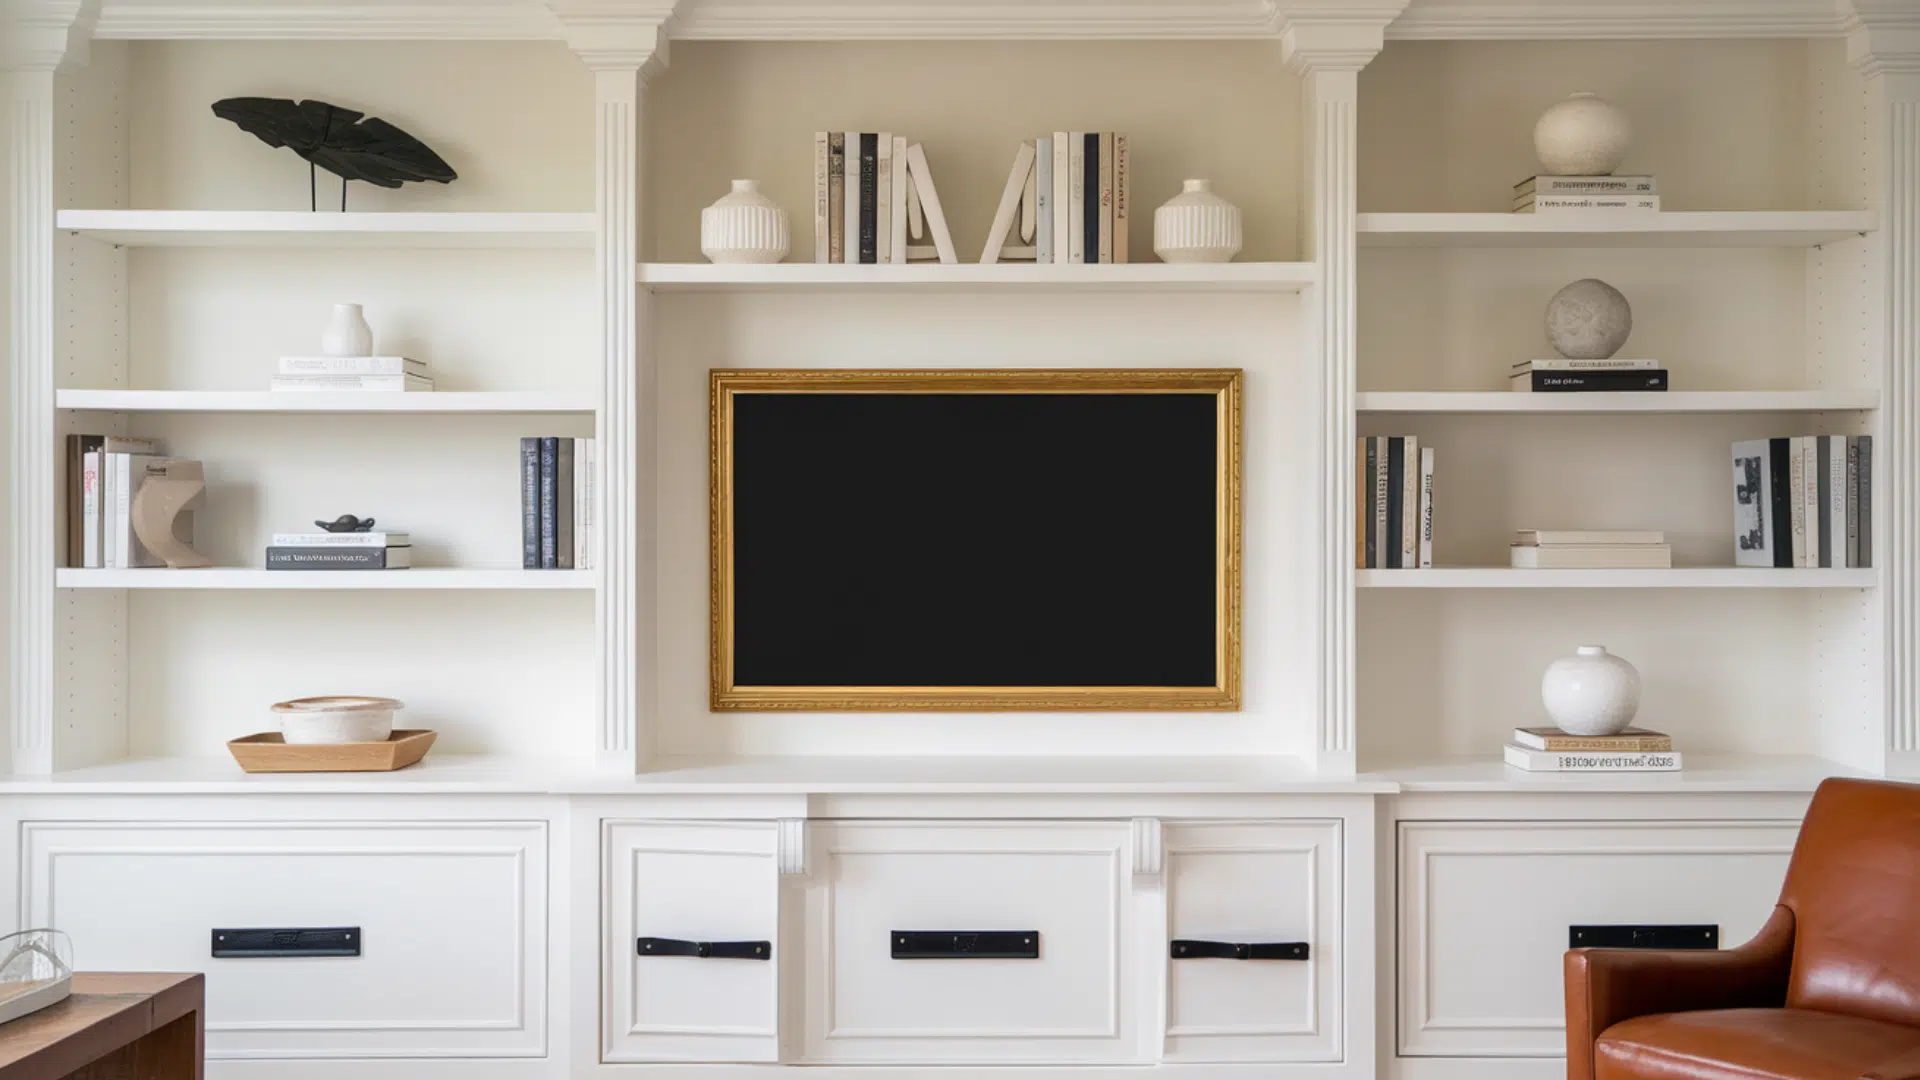
2. Gold Finish
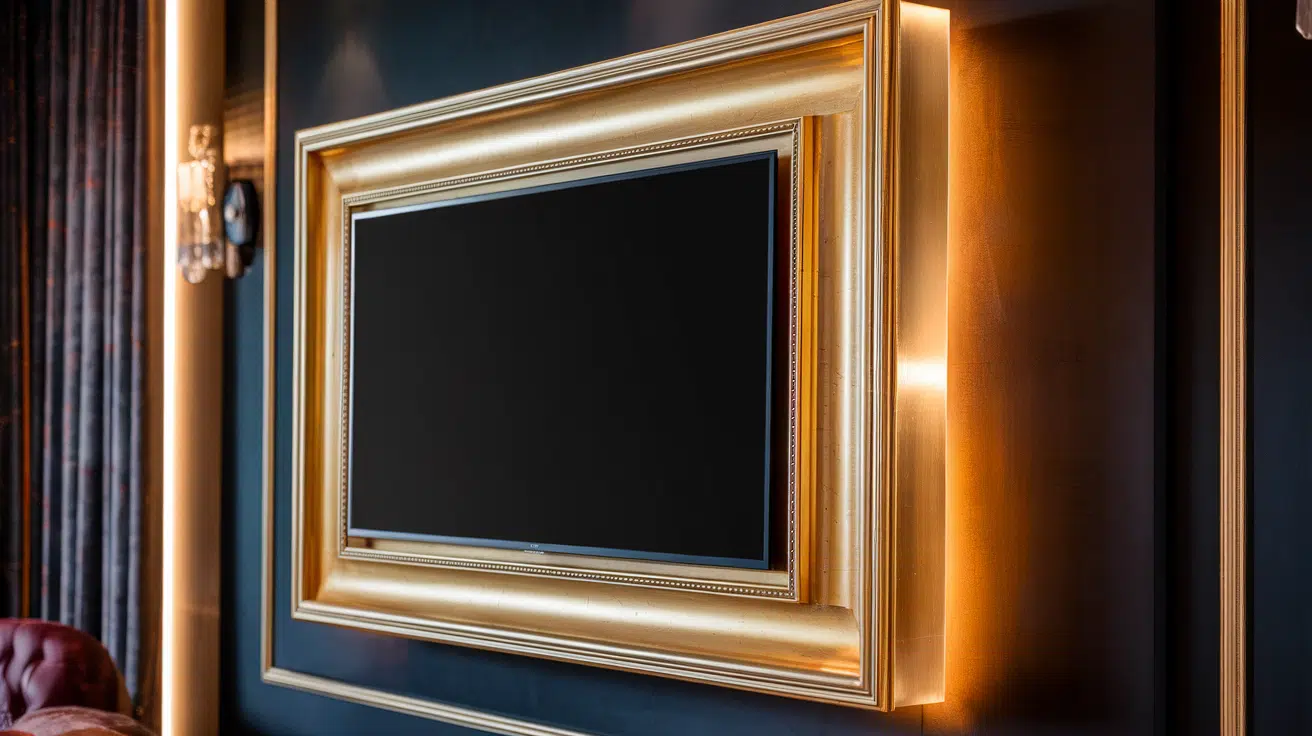
A gold or brass finish adds instant elegance and luxury to your DIY frame TV.
This style works exceptionally well in traditional, glam, or eclectic spaces. You can achieve this look with metallic gold spray paint or rub-n-buff wax for an antique effect.
Apply multiple light coats for even coverage and rich color.
Gold frames make a bold statement and pair beautifully with jewel tones, dark walls, or sophisticated neutral palettes in living rooms and bedrooms.
3. Wood Stain
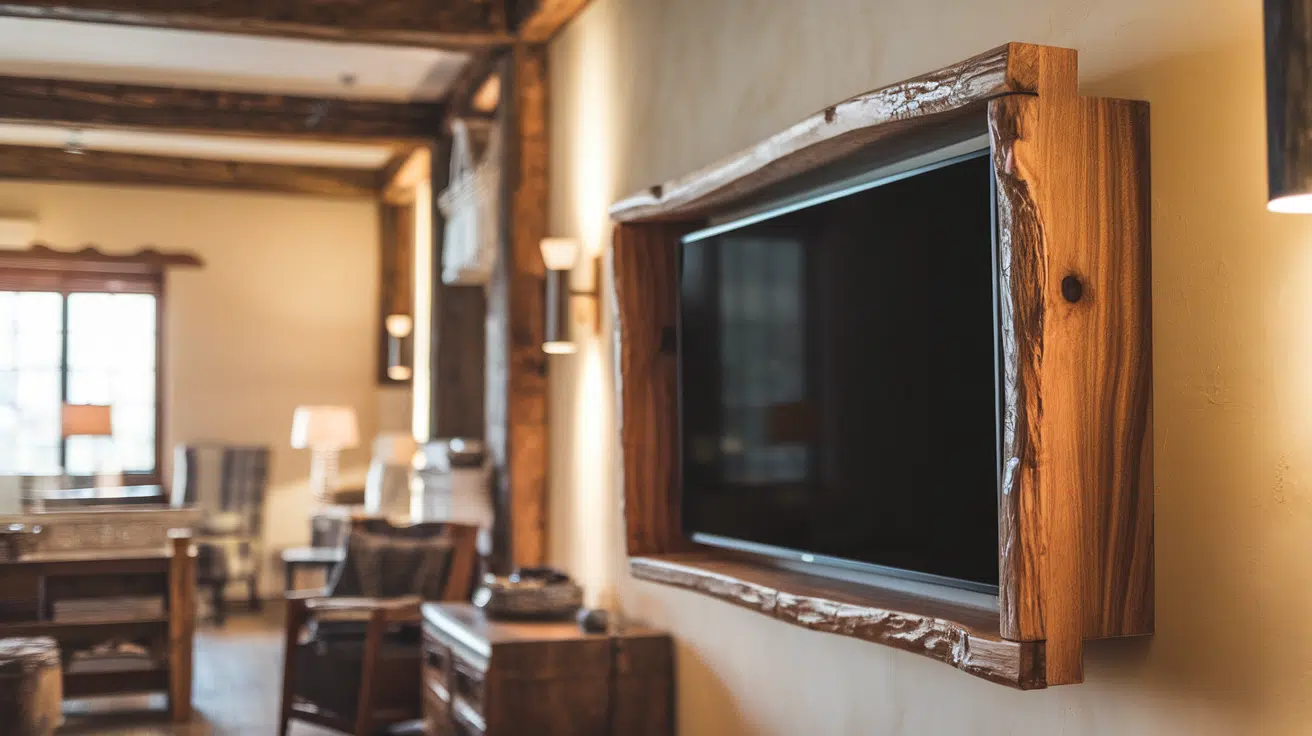
Natural wood stain highlights the grain and texture of your frame, creating a warm, organic feel. This option brings rustic charm and natural beauty to your space.
Skip the paint entirely and apply wood conditioner, then use your chosen stain color, walnut, oak, or cherry, which work beautifully. Finish with a clear polyurethane coat for protection.
Stained frames complement craftsman homes, rustic décor, and spaces with existing wood furniture or exposed beams for a cohesive design.
Tips for a Clean Fit
Getting your DIY TV frame to look professional comes down to a few key details:
- Keep the frame lightweight: Use thin wood or hollow frames to prevent extra weight that could stress your TV mount or the brackets holding the frame in place.
- Avoid blocking vents: Check your TV’s sides and back for ventilation holes. Position your frame and brackets so air can flow freely, preventing overheating issues.
- Ensure flush alignment: Test-fit your frame multiple times before final assembly. The frame should sit perfectly flat against the TV bezel with no gaps or uneven edges showing.
- Don’t cover ports or buttons: Make sure your frame doesn’t block HDMI ports, power buttons, or USB connections you might need to access regularly.
- Test bracket placement first: Before permanently attaching brackets, hold them in different positions to find the most secure and balanced mounting points on your TV.
Conclusion
Building a DIY TV frame is one of the most satisfying weekend projects I’ve tackled. From measuring your TV to the final paint coat, each step brings you closer to that high-end frame TV look without the premium price tag.
The best part is how customizable this project is. You control the style, color, and finish to perfectly match your exact vision and home decor.
I’ve saved hundreds, if not thousands, of dollars by creating my own frame instead of buying a brand-name version.
Plus, the sense of accomplishment when guests compliment your “expensive” TV is unbeatable. Don’t let the steps scare you.
Grab your materials, follow this guide, and change your regular TV into a beautiful piece of wall art this weekend.