Finding a safe place to store firearms can be difficult when most store cabinets are either costly, weak, or the wrong size for your home.
Some look strong at first but don’t offer the space or support you need, making it hard to feel confident about buying one.
This often means you pay more and still end up with a cabinet that doesn’t work well.
One simple way to avoid this problem is to build a DIY gun cabinet that fits your storage needs from the start.
This blog walks you through the tools, materials, and steps to help you build a cabinet that suits your setup.
Why Build a DIY Gun Cabinet?
A DIY approach lets you create exactly what you need without paying for features you don’t want.
Store-bought options often use cheap particleboard and weak hardware that won’t last more than a few years of regular use.
When you build it yourself, you can choose quality three-quarter-inch plywood and solid locks for the same price, putting your money into materials instead of manufacturer markups and retail overhead.
You get to design shelves and compartments that fit your exact collection instead of forcing rifles into generic slots that don’t quite work.
You can also add security features, such as steel plates behind locks and concealed hinges, that commercial cabinets often skip.
Tools and Materials
Getting organized with the right materials and tools makes the build process much easier.
This list covers everything from wood panels and fasteners to power tools and safety equipment, so check what you already have and gather the rest before starting construction.
| What You Need | Specifics |
|---|---|
| Wood | ¾” plywood or solid lumber, ¼” plywood for back |
| Fasteners | Wood screws (1¼”, 2″, 3″), lag bolts, wood glue, brad nails |
| Hardware | Hinges (piano or cabinet style), lock |
| Power Tools | Saw, drill/driver, sander, jigsaw (optional) |
| Hand Tools | Tape measure, square, level, clamps (4-6), screwdriver, chisel |
| Finishing | Sandpaper (120, 150, 220-grit), tack cloth, painter’s tape, shims |
| Safety Gear | Safety glasses, ear protection, dust mask, gloves |
DIY Gun Cabinet: Simple Steps to Follow
Now that you have your tools and materials ready, let’s start building. Follow these simple steps given below to create a sturdy DIY gun safe:
Step 1: Building the Basic Box Frame

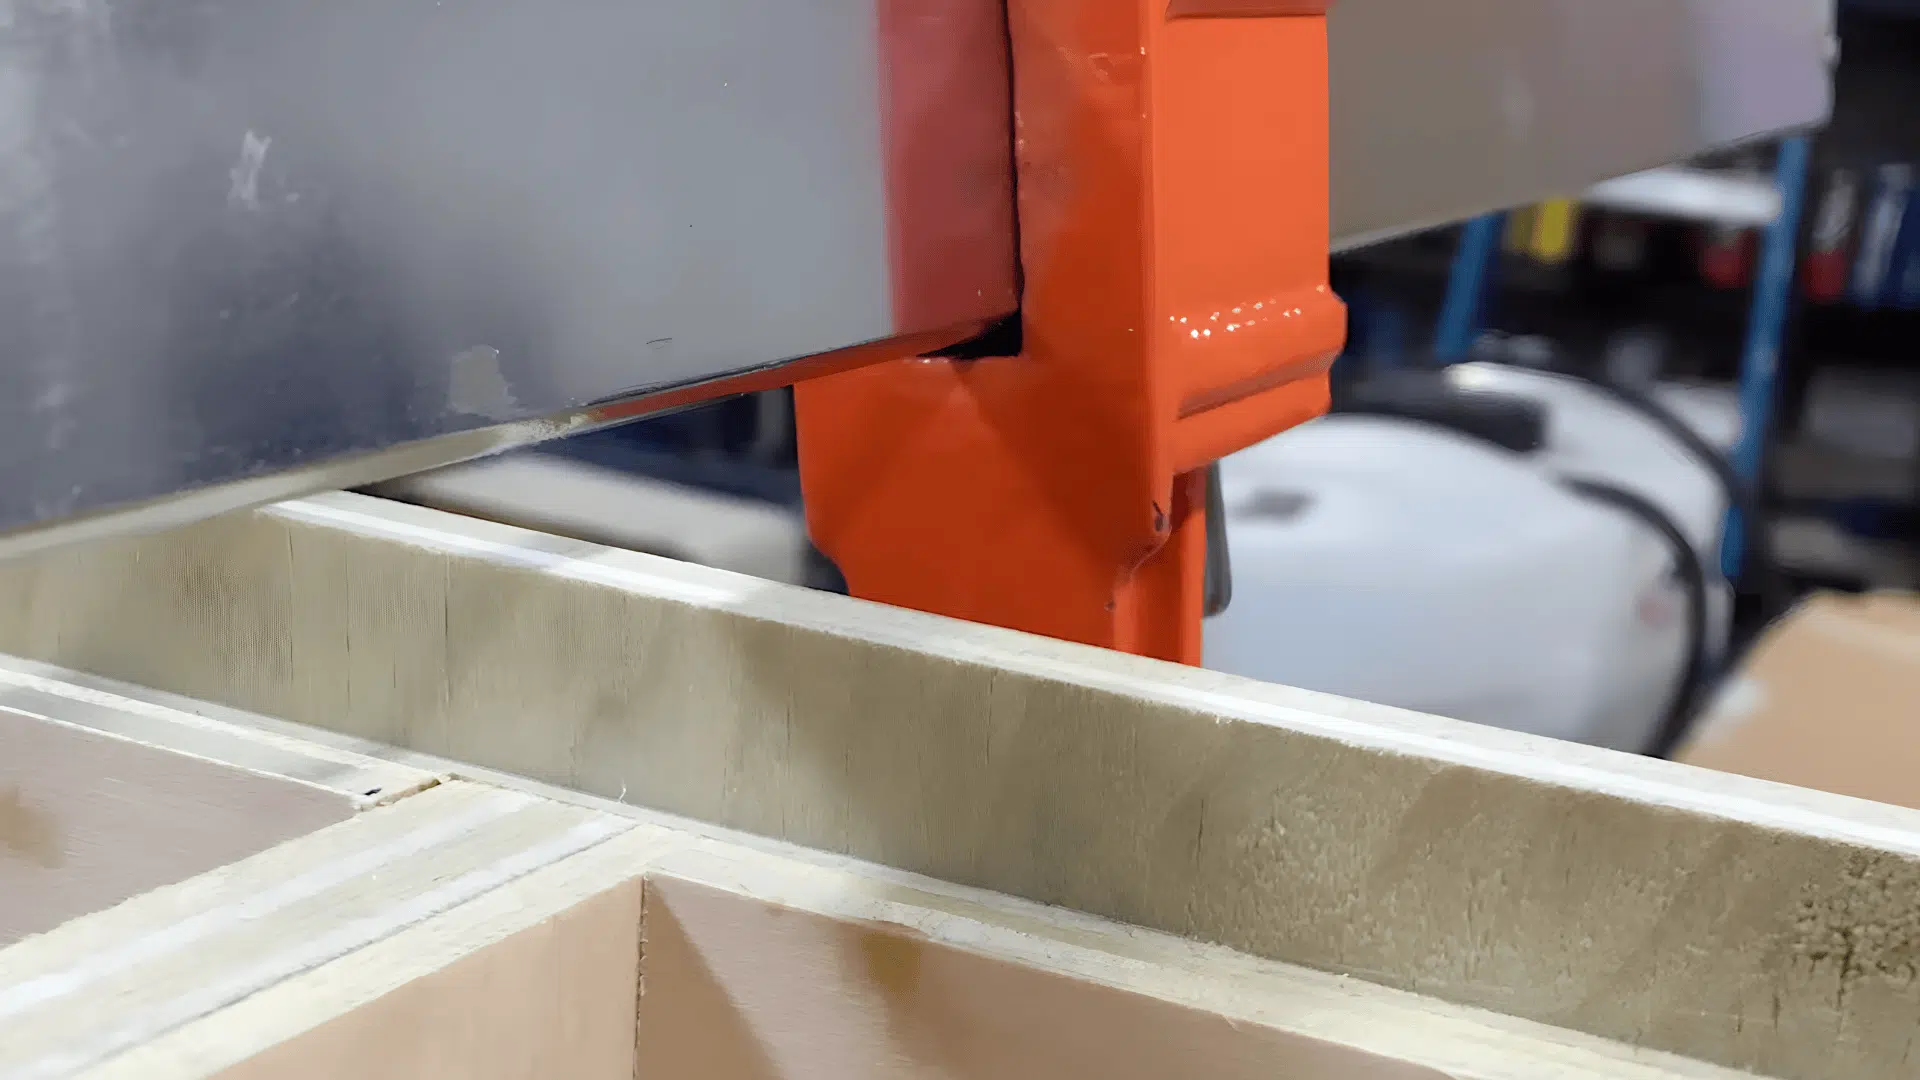
Cut your side panels, top, and bottom pieces to size, then use a dado blade to cut rabbets (L-shaped notches) where pieces will connect.
Apply wood glue to the rabbets and clamp everything in place.
Pre-drill holes before adding screws to prevent splitting. Check if your box is square by measuring diagonally from corner to corner.
Check if your box is square by measuring diagonally from corner to corner, as both diagonal measurements should match exactly.
If they don’t, adjust your clamps and recheck before the glue sets.
Handy Tip: Use scrap wood under clamps to avoid denting your finished panels
Step 2: Cutting and Installing Shelves
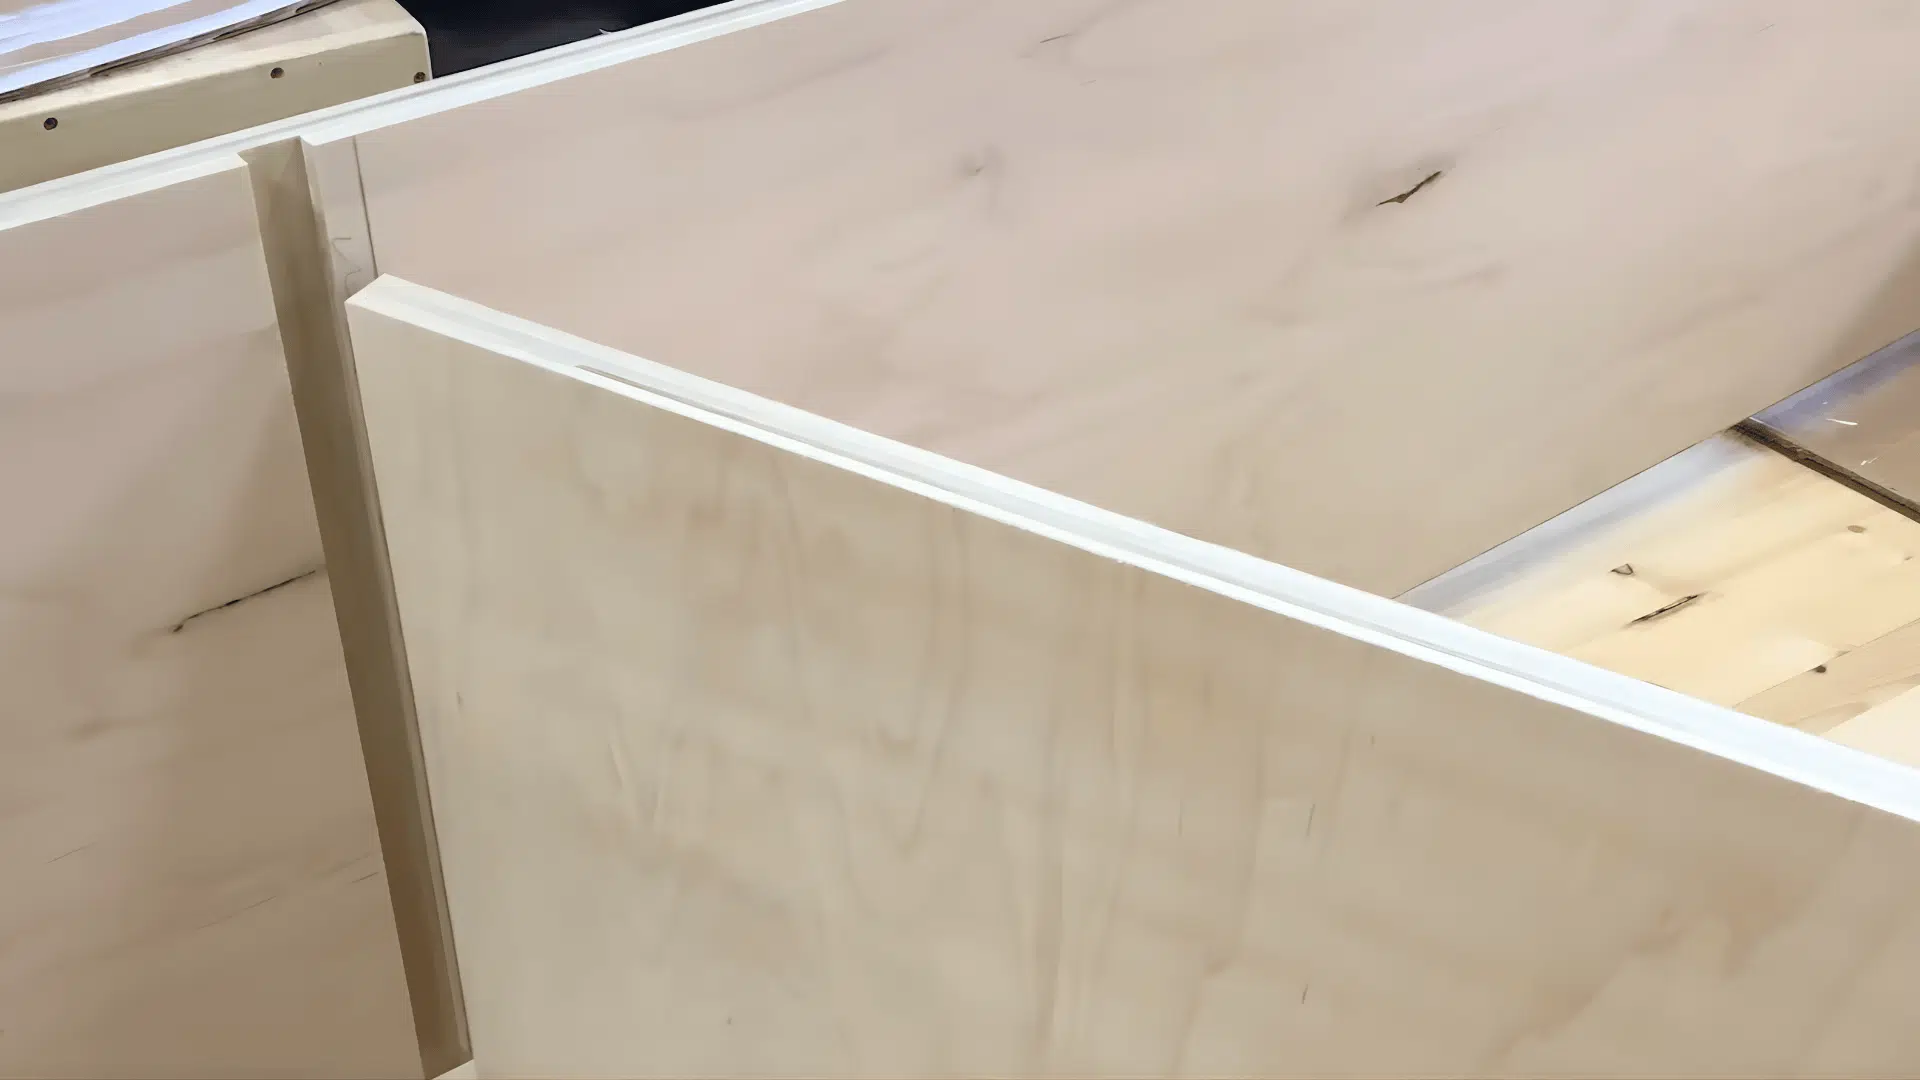
Cut dado grooves across both side panels where your shelves will sit.
For perfectly aligned grooves, leave your plywood double-wide, cut all the grooves at once, then rip the panels lengthwise.
This ensures both sides match perfectly without measuring twice.
Set your dado blade depth to about one-third the thickness of your plywood for a strong joint.
Slide the shelves into the grooves with wood glue and secure them using clamps and a nail gun or brad nails, and make sure each shelf is level before the glue sets, as adjustments become difficult once it dries.
Handy Tip: A pegboard template helps keep shelf pin holes perfectly aligned if you want adjustable shelves.
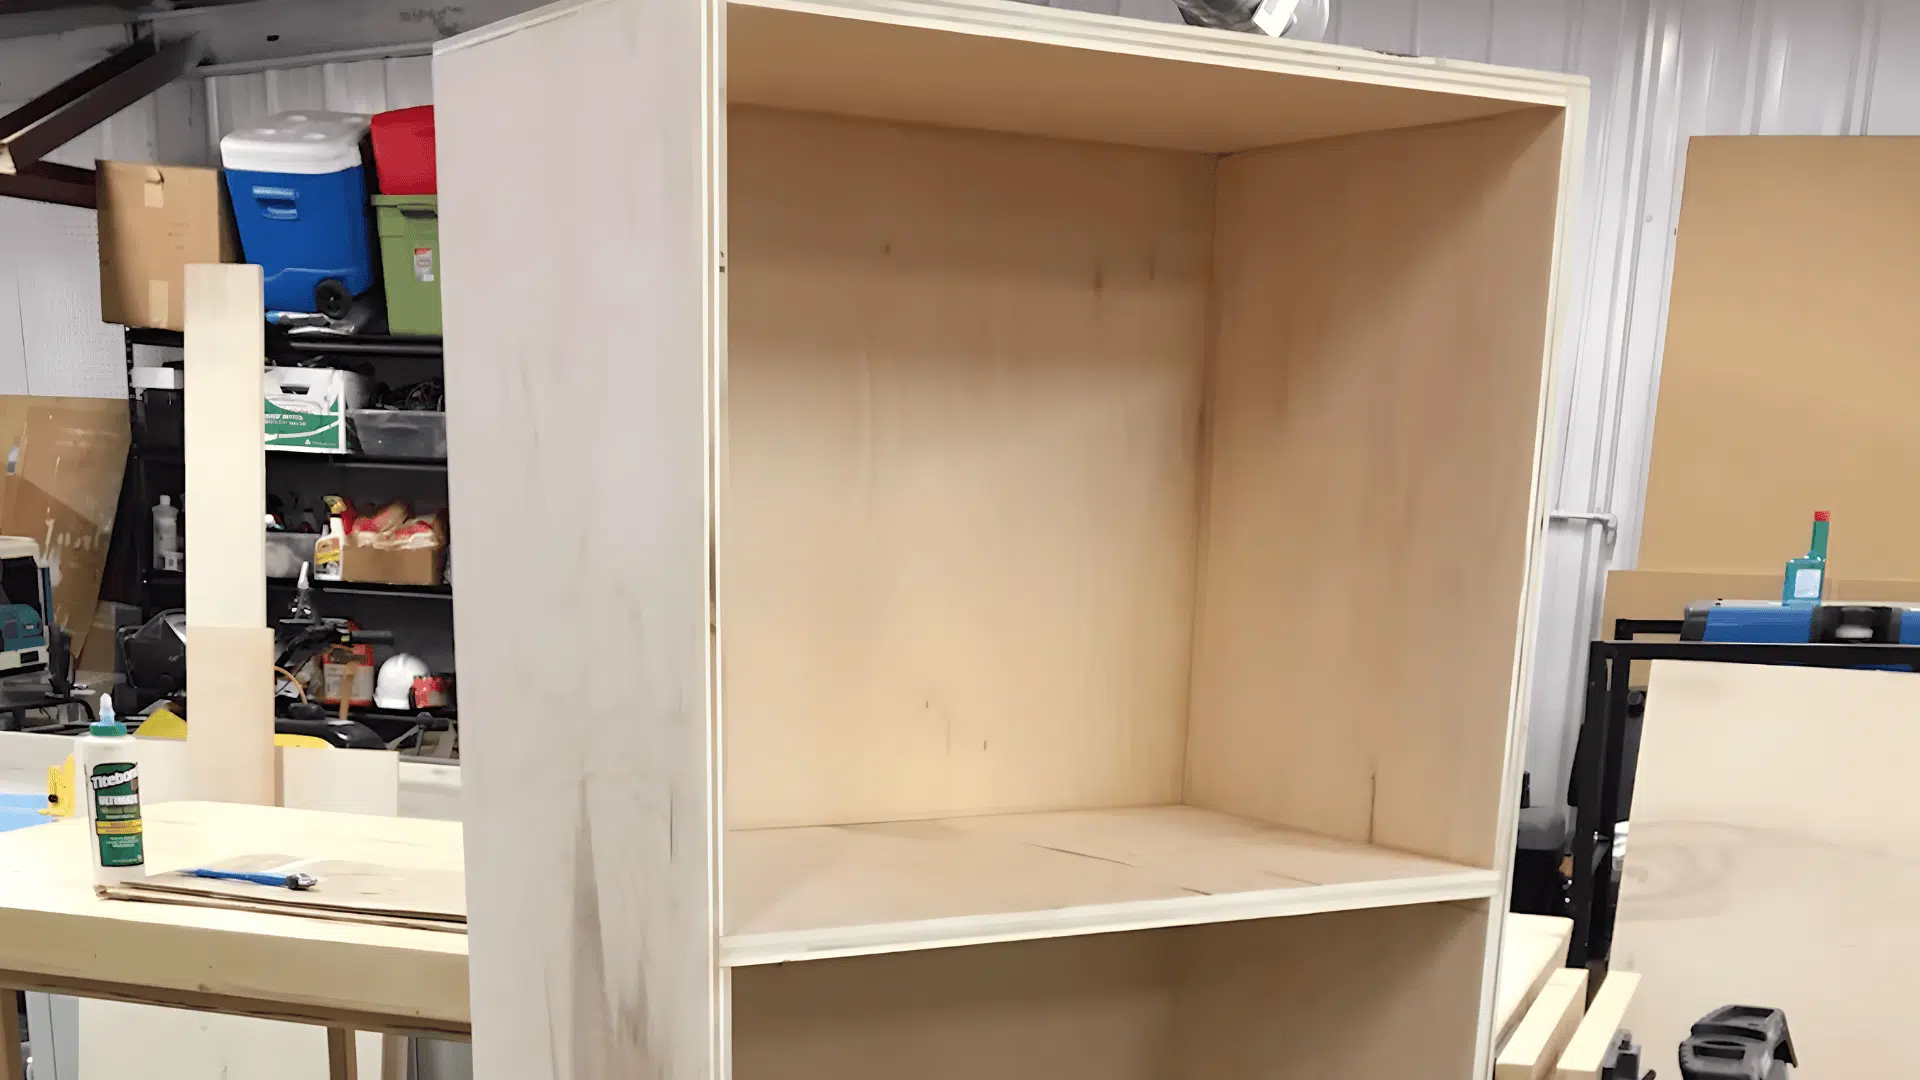
Step 3: Attaching the Back Panel
Cut a rabbet along the back edges of your cabinet frame to create a ledge where the back panel will sit flush.
Measure the opening carefully and cut your back panel from quarter-inch plywood to fit precisely.
The back panel can be cut from two pieces if needed, with the seam positioned at the middle shelf for a cleaner look.
Apply glue along the rabbet and position the panel in place, making sure all edges align with the frame.
Secure the panel with brad nails spaced every 6 inches to lock everything square and add strength.
Handy Tip: The back panel prevents your cabinet from twisting out of shape.
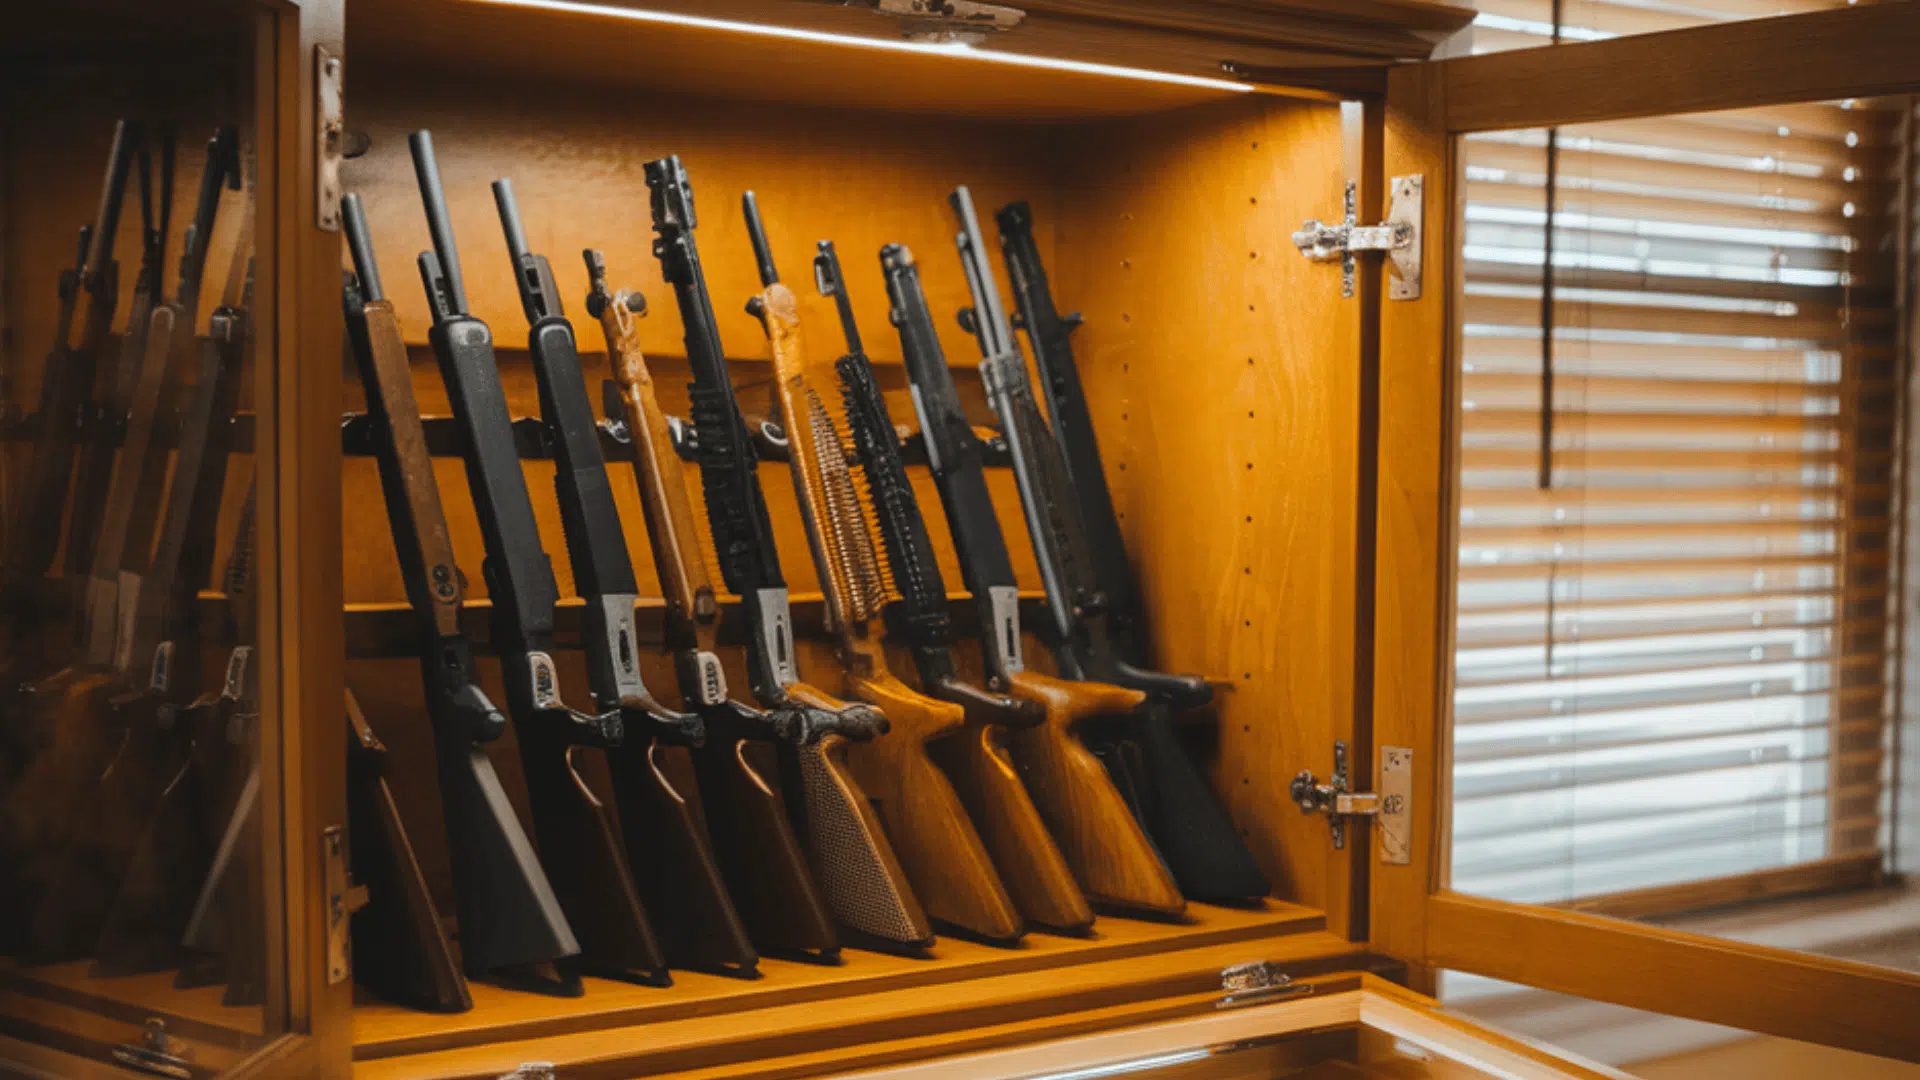
Step 4: Creating the Gun Barrel Rest
Create a barrel rest for the top section by cutting U-shaped notches in a piece of wood.
Use the bottom of a paint can to trace uniform curves spaced about 4 inches apart, adjusting spacing based on how many rifles you plan to store.
Mark each curve carefully before cutting to ensure they’re evenly distributed across the board.
Cut out the shapes with a jigsaw, working slowly around each curve for clean edges.
Sand them smooth to remove any rough spots that could scratch your gun barrels, and mount the barrel rest horizontally in the upper section using wood glue and screws.
Handy Tip: Test the notch width with your largest gun barrel before cutting all of them.
Step 5: Adding Decorative Base Legs (Optional)
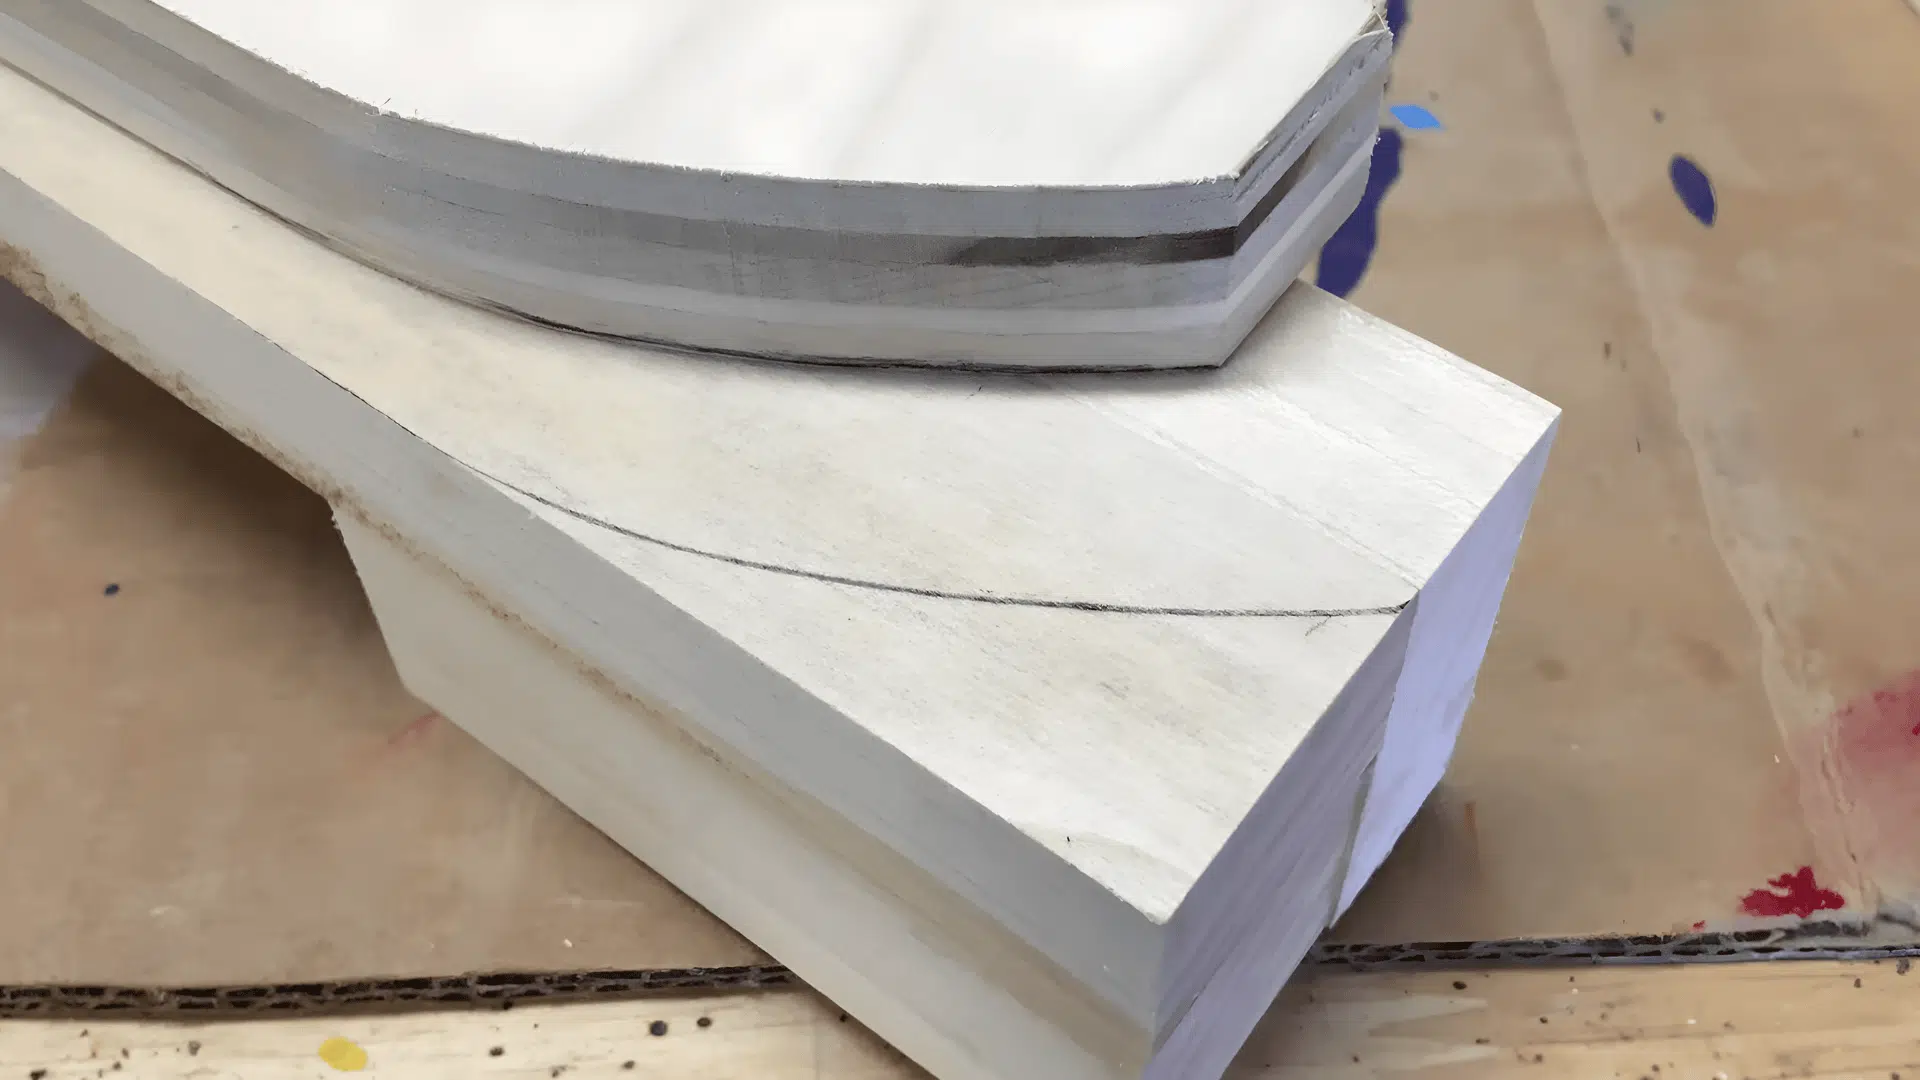
Cut four corner legs using angled cuts on a miter saw to create a tapered look that adds visual interest.
Make curved cutouts on the inside corners using a bandsaw and template for a furniture-quality appearance.
You can even create your template from cardboard or thin plywood, testing the shape until you’re satisfied.
Cut all four legs using the same template so they match perfectly and sand the legs smooth with 120-grit followed by 220-grit sandpaper, paying special attention to the curved areas.
Check that they fit neatly in the corners and sit flat on the floor, and attach the legs to the bottom corners with wood glue and brad nails, making sure each leg is positioned identically.
Handy Tip: Use a jointer to make the legs perfectly flat before attaching them.
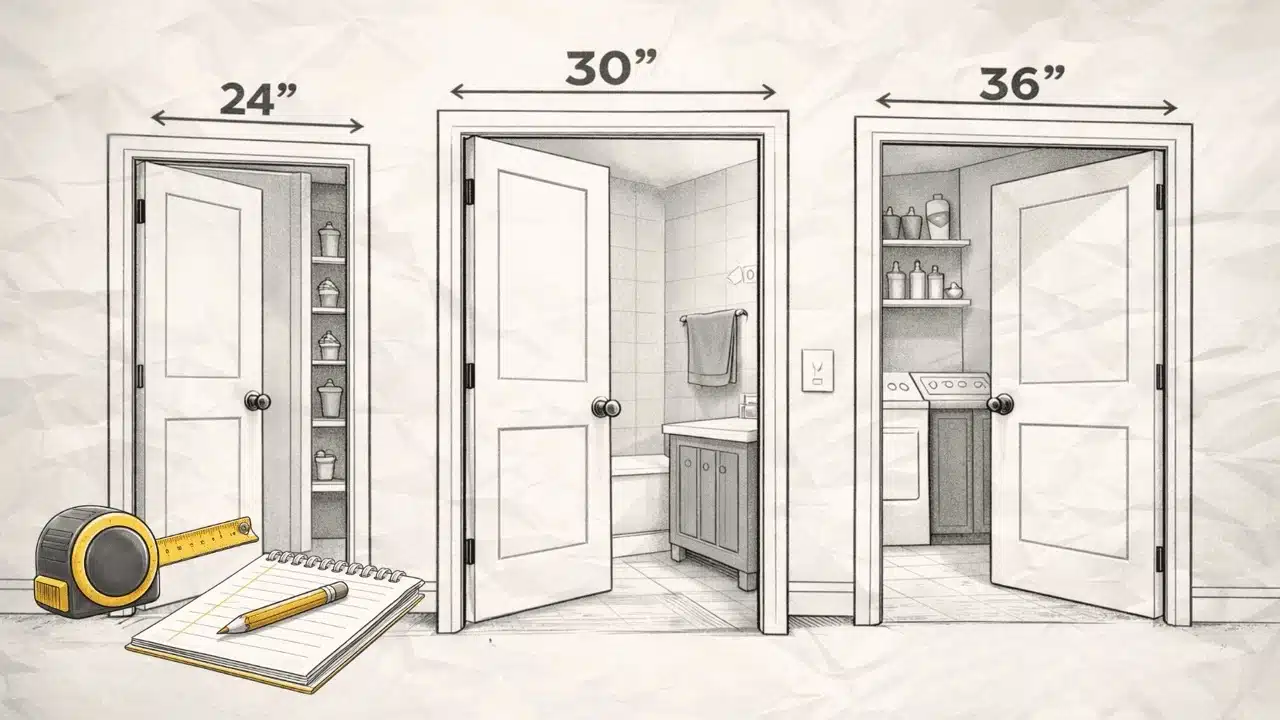
Step 6: Installing the Door and Hardware
Cut your door panel to size with a 1/16 to 1/8 inch gap around all edges for proper clearance.
Mark hinge positions 3-4 inches from the top and bottom, adding a center hinge if your door exceeds 48 inches.
Install the hinges on the door first, using pilot holes, then position the door and use shims to maintain even gaps while attaching to the frame.
Check that the door swings smoothly before securing all screws, and add your lock centered at 40-48 inches from the floor, drilling slowly to avoid splintering.
For a display cabinet, use tempered glass in a routed frame to showcase your collection.
Handy Tip: Use shims when hanging the door to maintain even gaps on all sides.
Step 7: Finishing the Cabinet

Sand everything with 120-grit, then 150-grit, and finish with 220-grit sandpaper for a smooth surface.
Fill any nail holes with wood filler and let it dry before applying your finish, and for paint, use a primer first, then apply two coats of semi-gloss or satin finish.
Stain enhances natural wood grain but requires a clear protective topcoat like polyurethane, and apply finish to all surfaces, including the interior and back panel, to protect against moisture.
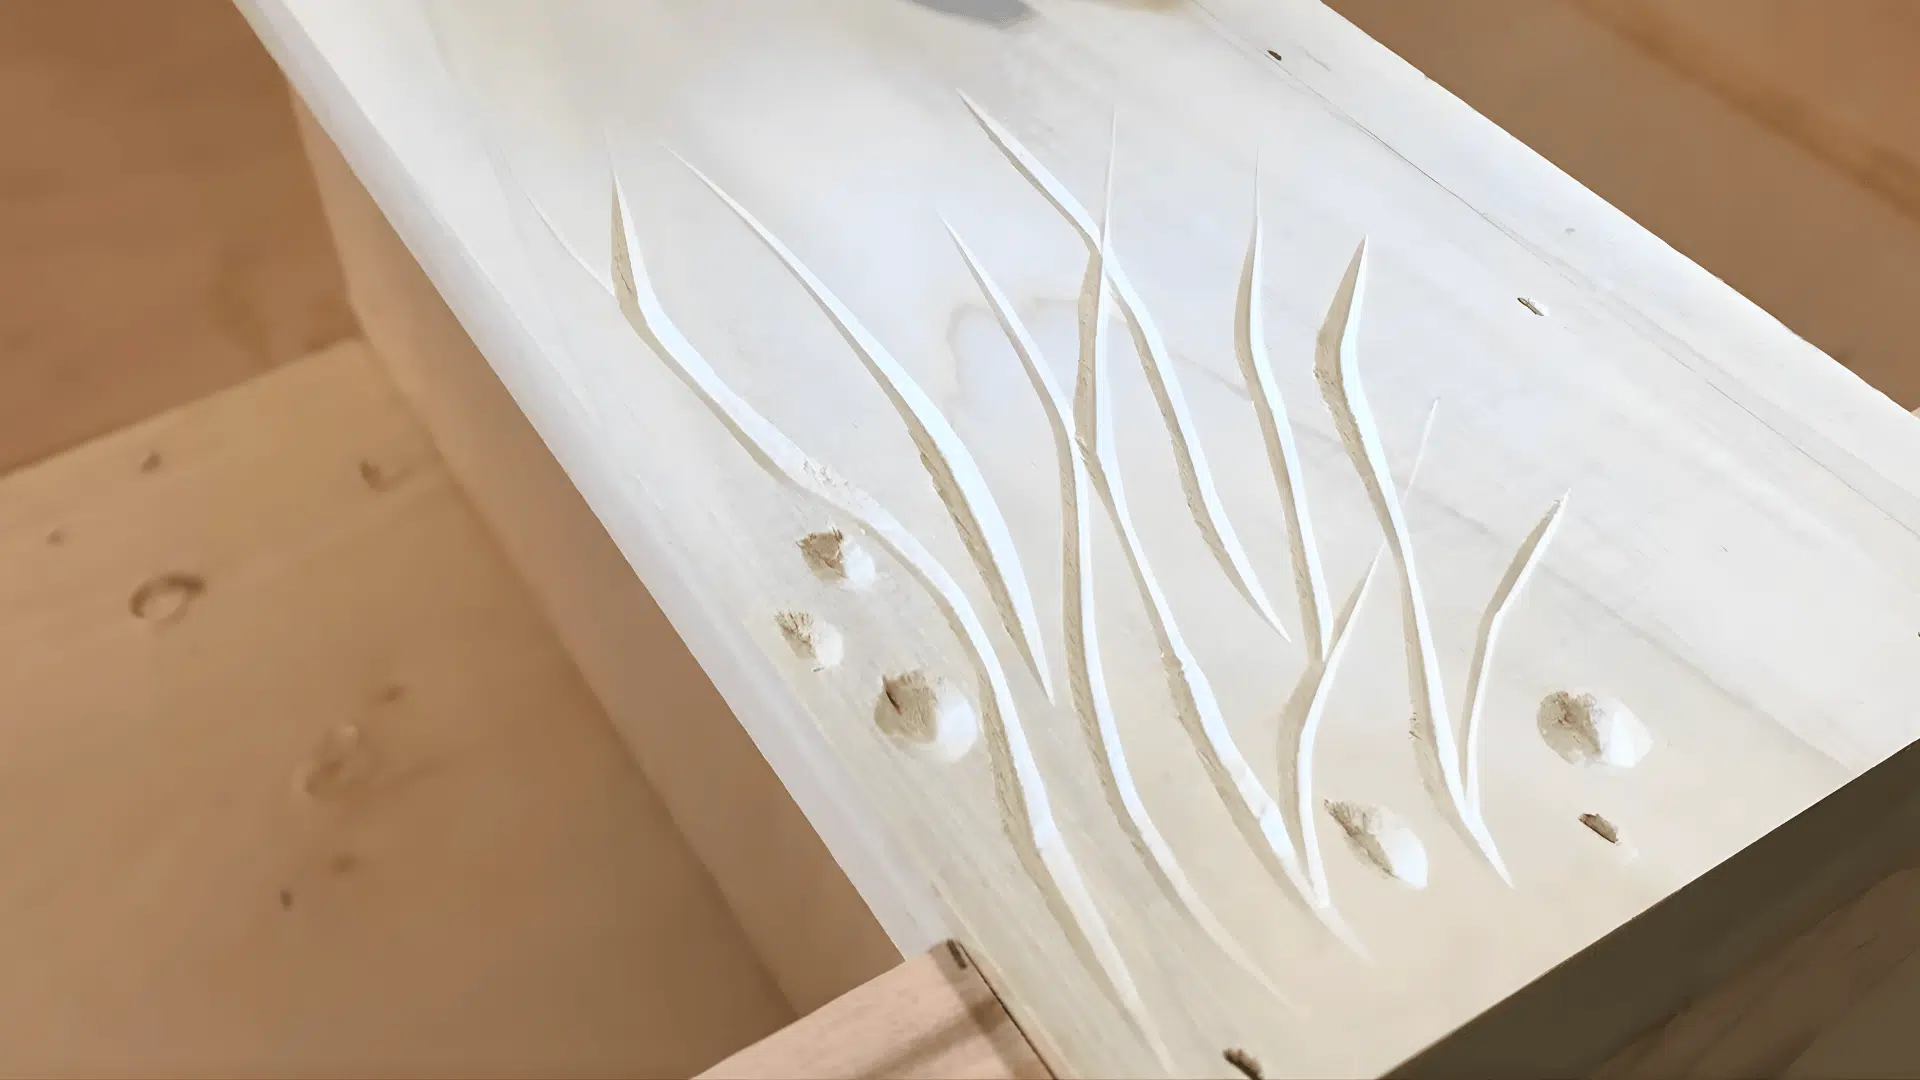
Add personal touches like decorative carved details, trim pieces on the front, or felt lining on shelves to protect your firearms.
Let everything cure completely before loading your guns.
Handy Tip: Flip a handheld belt sander upside down to use it like a stationary sander.
Want a visual reference for the same? Watch this process build in action by GUNS and American Handgunner Magazinesbelow:
Gun Cabinet Plans
Planning your dimensions before cutting saves time and materials.
You shall start by measuring your longest firearm and adding 4-6 inches for clearance.
Standard Cabinet Dimensions:
- Height: 60-72 inches
- Width: 18-24 inches
- Depth: 12-14 inches
Note: These dimensions may vary based on your design.
Mark where the barrel rest goes in the upper section, and plan your middle shelf to divide storage between long guns above and handguns or accessories below.
Safe Use and Maintenance
A few simple habits can prevent damage and maintain performance. Take a look at some key steps below to keep your gun safe, secure, and reliable.
1. Hardware Checks: Tighten loose screws on hinges and locks, ensure the door hangs correctly, and replace worn hardware early.
2. Managing Humidity: Keep humidity between 40-50% using a hygrometer to monitor levels. Watch for warping, swelling, or mold as signs of moisture damage.
3. Surface Cleaning: Dust often and wipe with a slightly damp cloth. Avoid harsh cleaners and reapply finish when the wood feels dry.
4. Placement and Safety: Keep away from windows, moisture, and heat. Store ammunition separately and follow local storage laws.
Common Mistakes to Avoid
Small errors can cost you time and materials, especially on a first build when every step matters. Knowing what to watch for helps you avoid issues from the start.
- Skipping the Squaring Check: Measure diagonally before the glue sets to prevent a twisted cabinet.
- Cutting Grooves Separately: Cut dado grooves on both side panels at the same time for perfect alignment.
- Forgetting to Pre-Drill: Pre-drill pilot holes to prevent splitting, especially near edges.
- Using Cheap Hinges: Cheap hinges sag over time, so invest in heavy-duty ones rated for your door’s weight.
- Skipping the Back Panel: Install at least a quarter-inch plywood back to keep the cabinet square.
- Poor Placement: Avoid windows, moisture, and heat to protect the wood and maintain security.
Conclusion
Building your own DIY gun cabinet gives you full control over how your firearms are stored and protected.
You choose the materials, design the layout to fit your collection, and create furniture that serves a practical purpose.
The process requires planning, precision, and patience, but the result is a custom storage solution built to your specifications.
Following the steps discussed ensures creating a cabinet that functions reliably for many years, and remember that safe storage is your primary responsibility as a firearm owner.
If you found this resource helpful, make sure to share it with others who might benefit.
Have questions or want to show off your finished project? Leave a comment below.
Frequently Asked Questions
Do Gun Cabinets Need to Be Bolted Down?
Hardwoods like oak, maple, and cherry are best because they’re strong, durable, and resist wear. Pine also works for budget builds but dents more easily.
Is It Cheaper to Buy or Build Your Own Cabinets?
Building your own is usually cheaper if you already have tools. Material costs are lower, and you can customize the size and features.
Do Gun Cabinets Need to Be Bolted Down?
Bolting down adds stability and security, especially in homes with children or heavy use. Many builders recommend it to prevent tipping or forced removal.